


End-of-Season Outboard Maintenance Checklist
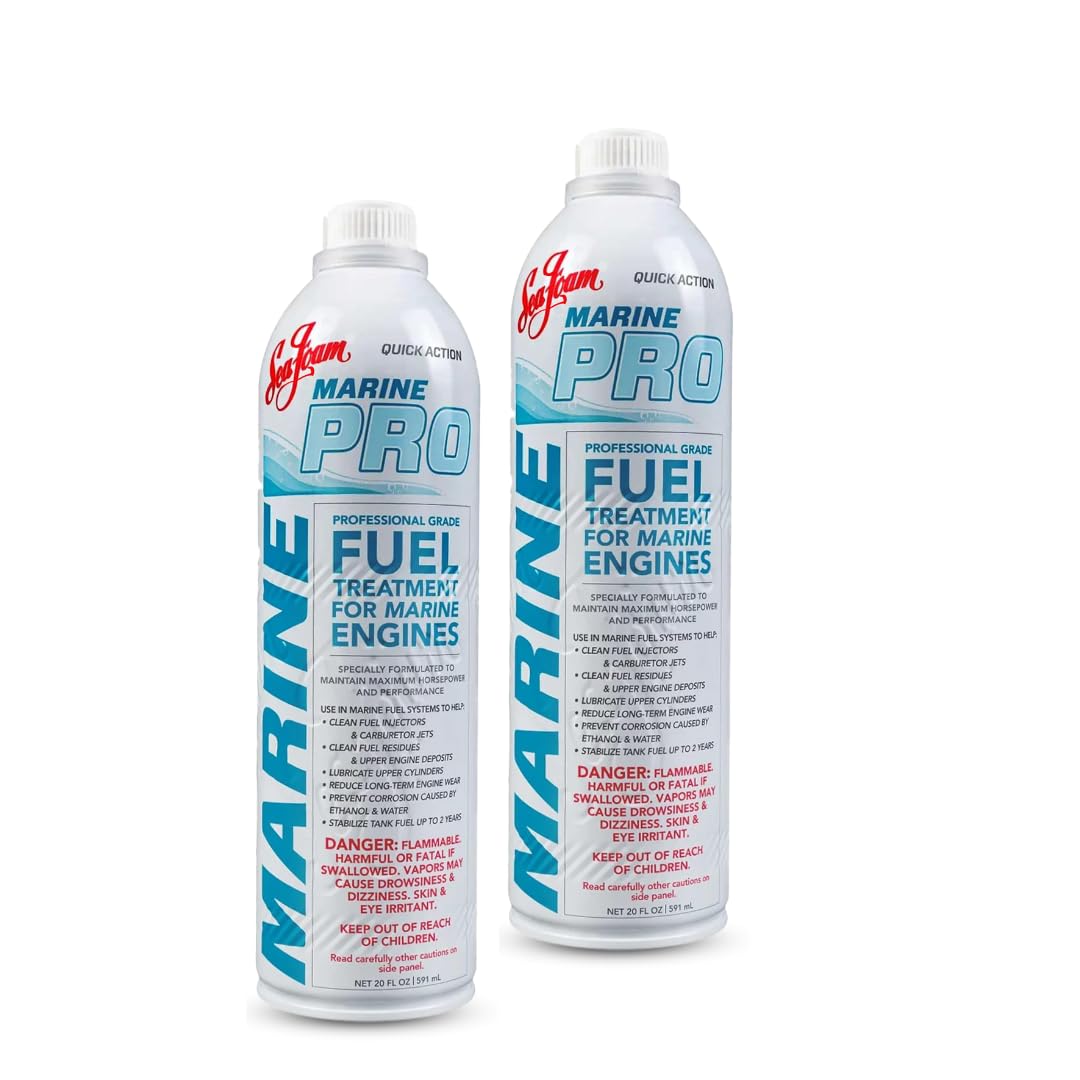
- Fuel System: Stop Problems Before They Start
- Engine Oil and Filter: Get the Acids Out
- Internal Engine Protection: Fogging
- Lower Unit: Check for Water and Fishing Line
- Trim Fluid and Electrical System
- Lubrication and External Protection
- Engine Storage Position
- Tools and Supplies You'll Need
- What Damages Engines During Storage
- Professional Service vs. Doing It Yourself
- OEM vs. Aftermarket Parts
- If You Stored Your Engine Improperly Last Year
- Pro Tip for Outboard Longevity
Fuel System: Stop Problems Before They Start

Ethanol-blended gasoline absorbs moisture and separates within 30–60 days, creating a corrosive layer that attacks fuel lines, carburetors, and injectors. According to Mercury Marine service data, most spring issues dealers handle come from stale fuel.
Add marine-grade fuel stabilizer. Run the engine for 10 minutes with treated fuel circulating. This ensures stabilized fuel reaches every passage in the system.
Tank strategy depends on your setup. For carbureted engines, drain the fuel system completely. For fuel-injected engines, fill the tank to 90–95% capacity with fresh fuel to minimize air space and reduce condensation. If your fuel is more than a month old, pump it out and replace it with fresh fuel before adding stabilizer. For more on fuel systems and maintenance, see our detailed Fuel & Induction parts collection.
Replace fuel filters. Old filters trap sediment and emulsified fuel that causes carburetor jets to clog. Find quality replacements in the Fuel Filter collection.
Check the fuel water separator if your rig has one. Dump the contents into a clear jar. If you see a milky layer at the bottom, you've got phase separation—the ethanol has pulled water out of the air and formed a separate layer that'll corrode everything it touches.
For portable tanks, drain them completely and store them empty with the cap loose to allow air circulation. Built-in tanks follow the fill-to-95% rule. For pros and cons of different fuel system setups, check out our blog on Portable Fuel Tank vs. Built-in Tank: Pros and Cons.
Engine Oil and Filter: Get the Acids Out
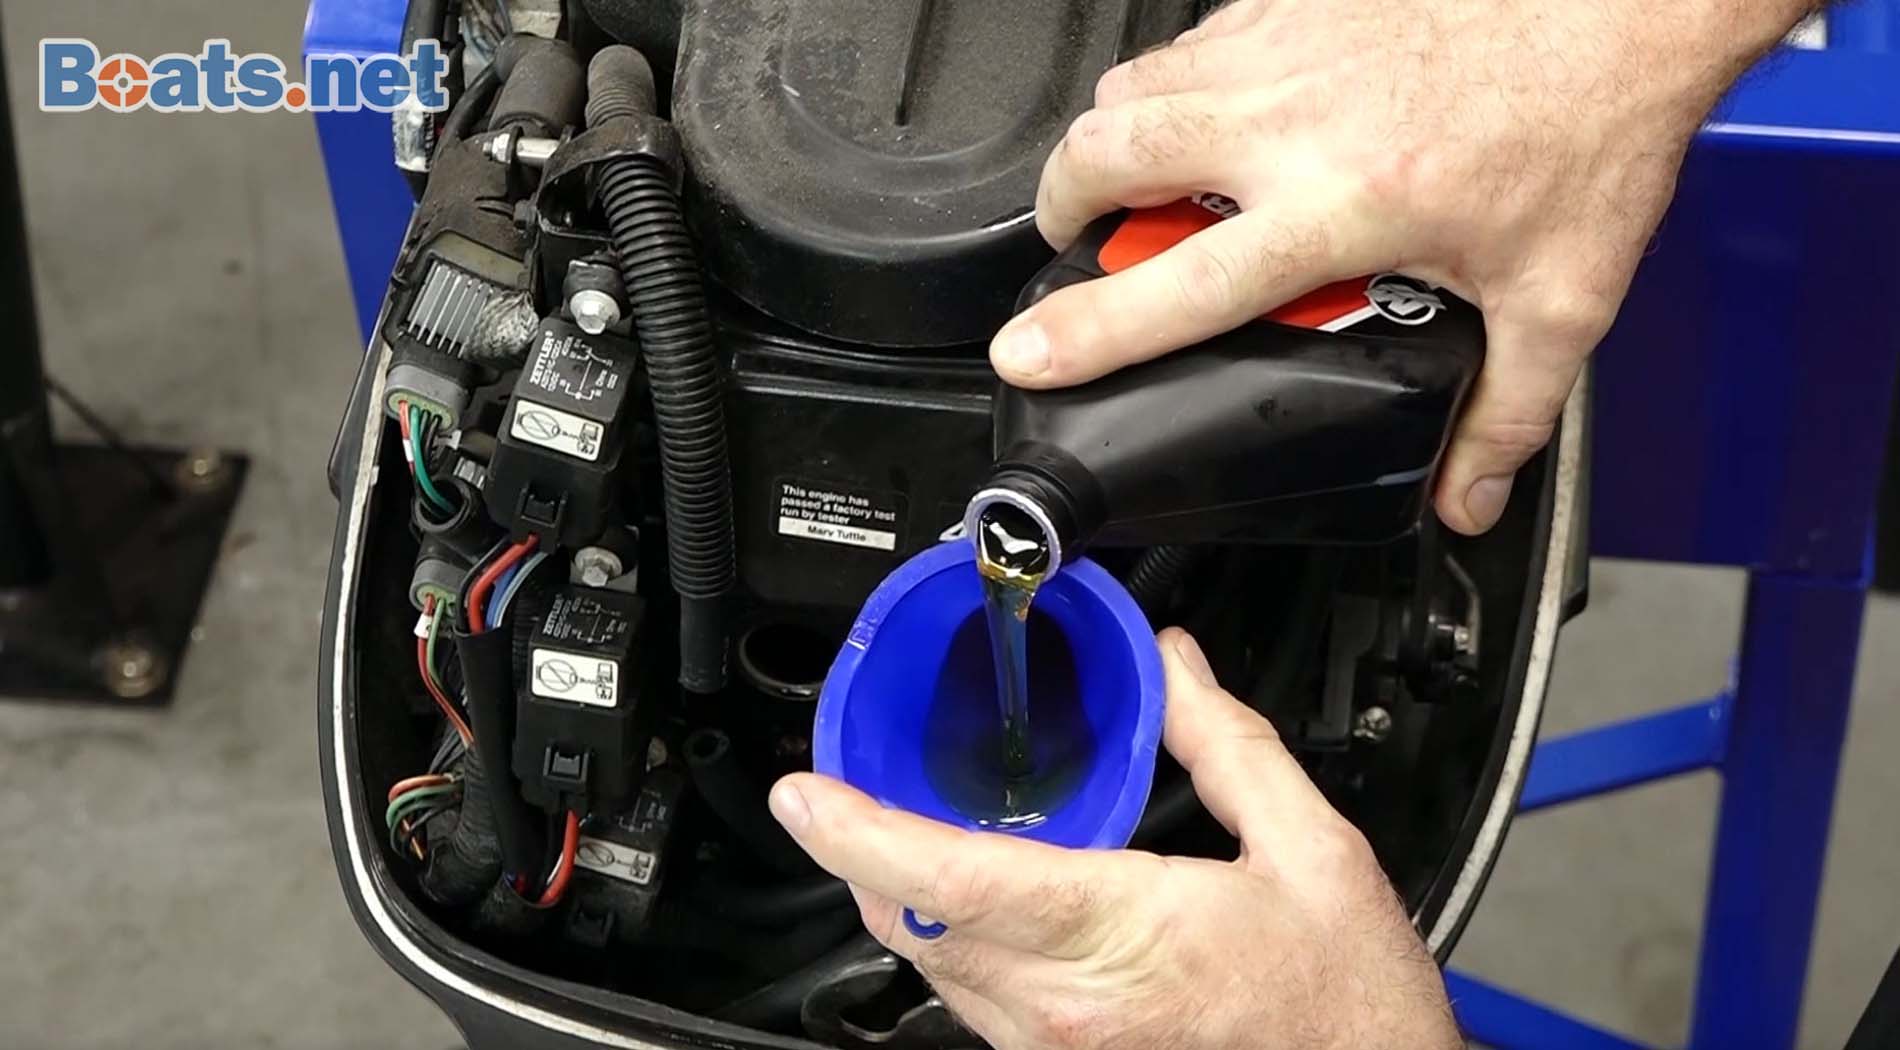

Change oil and filter on four-stroke engines every 100 hours or once per season. Do this while the engine is warm—warm oil flows faster and carries out more contaminants. Used oil contains combustion acids and moisture that corrode bearings and cylinder walls during storage.
Use a crush washer on the drain plug every time. Reusing the old one risks a drip that turns into a puddle by spring.
Dispose of used oil at a recycling center or auto parts store. Most take it for free.
Two-stroke engines don't need an oil change, but you still need to fog them. Learn more about the differences and proper procedures in the Winterizing a 2-Stroke vs. 4-Stroke Outboard: Key Differences blog.
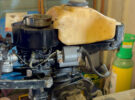
Internal Engine Protection: Fogging


Spray fogging oil into the carb throat or air intake until the engine begins to smoke heavily or stalls. This coats cylinder walls, piston rings, and valves with a protective film that blocks moisture.
For engines with accessible spark plug ports, remove the plugs, spray fogging oil directly into each cylinder for 3–4 seconds, then rotate the flywheel by hand a few turns to spread the oil. Reinstall the plugs hand-tight with a spark plug socket. Gap new plugs to spec before installation.
Without fogging, condensation forms on bare metal surfaces inside the cylinders. This causes rust pitting that scrapes past rings and scores cylinder walls when you start up in spring. For detailed guidance, see our Fogging Your Engine for Winter: Why and How post.
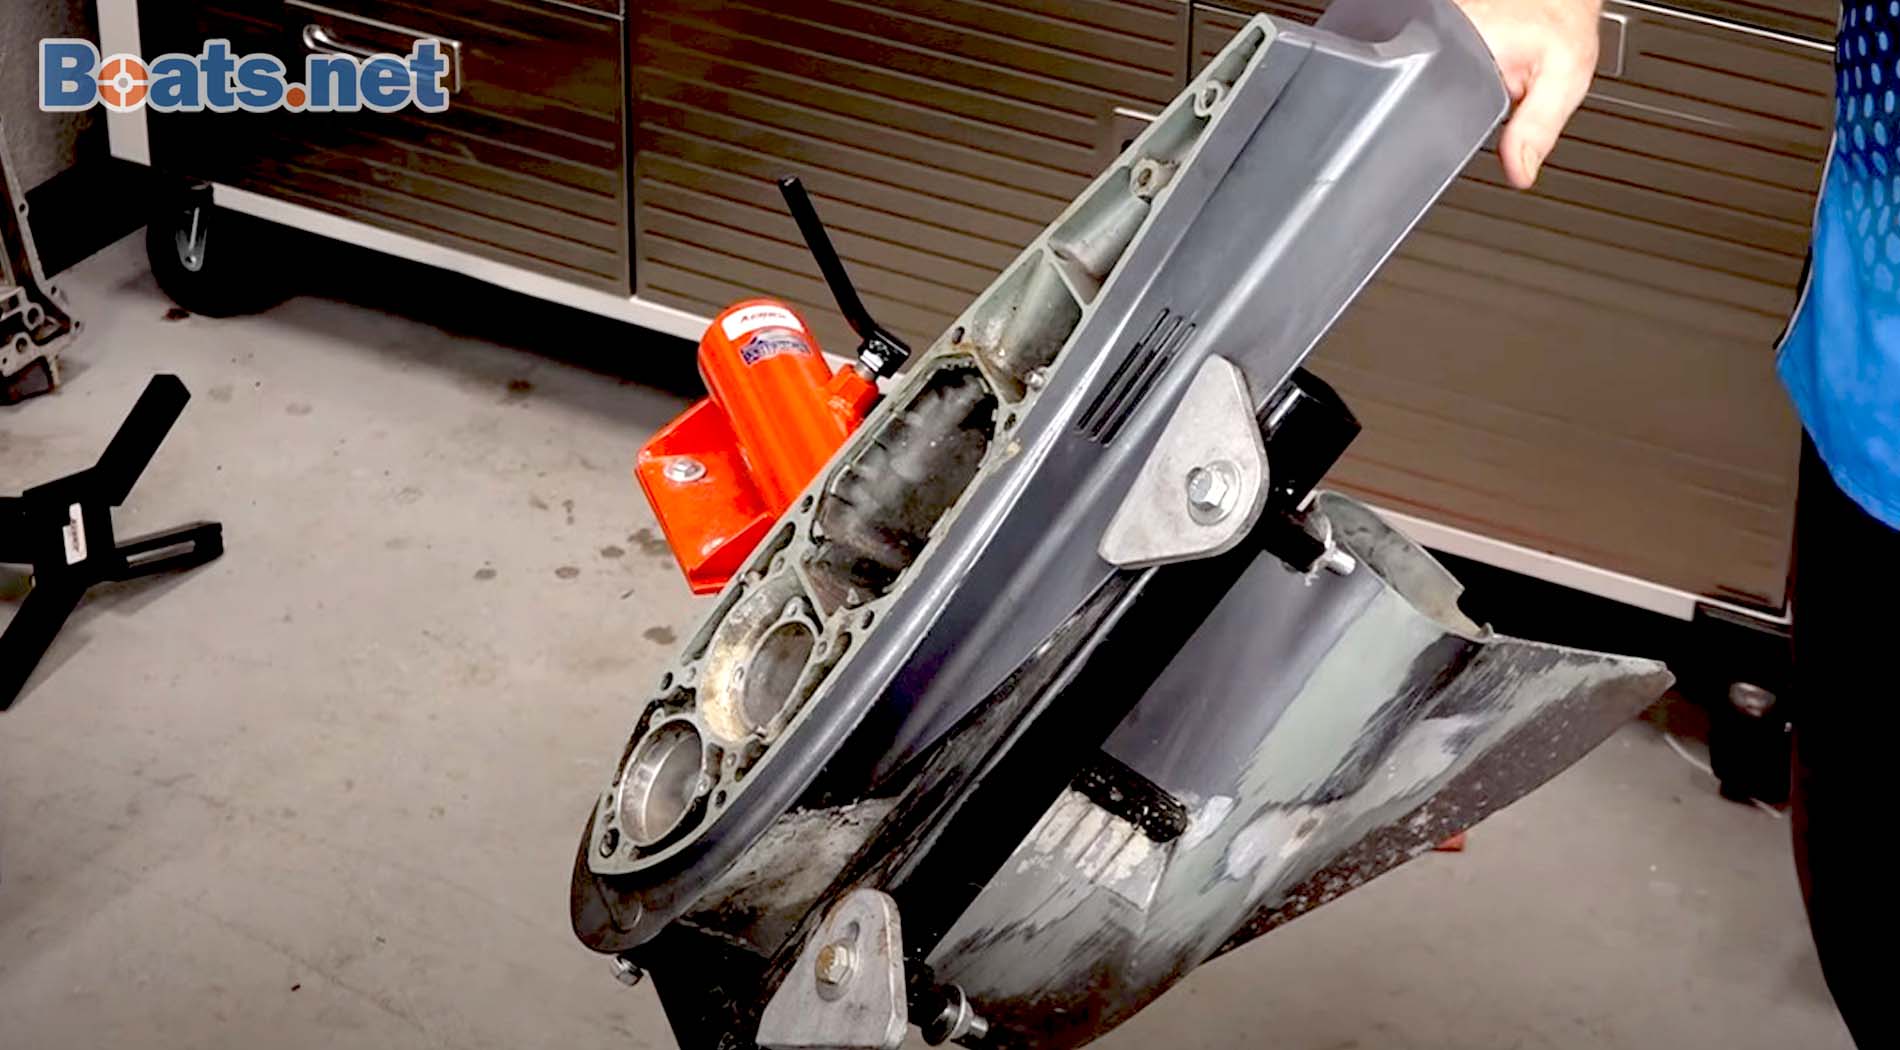
Lower Unit: Check for Water and Fishing Line


Change gear lube every 100 hours or annually. Remove the top vent screw first, then the bottom drain screw. Let the old lube drain into a pan.
Inspect the old lube carefully. Milky or creamy lube means water contamination, usually from a failed propeller shaft seal or a drain screw washer that's worn out. If you see this, the seals need replacement before next season. Ignoring it leads to bearing failure. For parts and kits, browse our Inboard & Outboard Motor Parts collection.
Pump new gear lube in from the bottom drain hole until it exits the top vent hole. This pushes air out and prevents air pockets that cause gear whine. Replace both drain and vent screw washers every time—they're one-time-use crush washers.
Remove the propeller. Check the prop shaft for fishing line. Even a few wraps of monofilament cut into the shaft seal and let water into the gear case. Clean the shaft, inspect the shaft seal behind the prop hub for cuts or leaks, then grease the shaft with marine-grade waterproof grease before reinstalling the prop. Get marine-grade grease and grease guns from our Boat Accessories collection.
Check the prop itself for bent blades, nicks on the leading edges, and cracks in the hub. A bent prop shaft causes vibration that wears out seals and bearings. For advice on propeller care and replacement, see our guide on Propeller Vibrations: Diagnosing Bent Shafts or Blades.
Trim Fluid and Electrical System
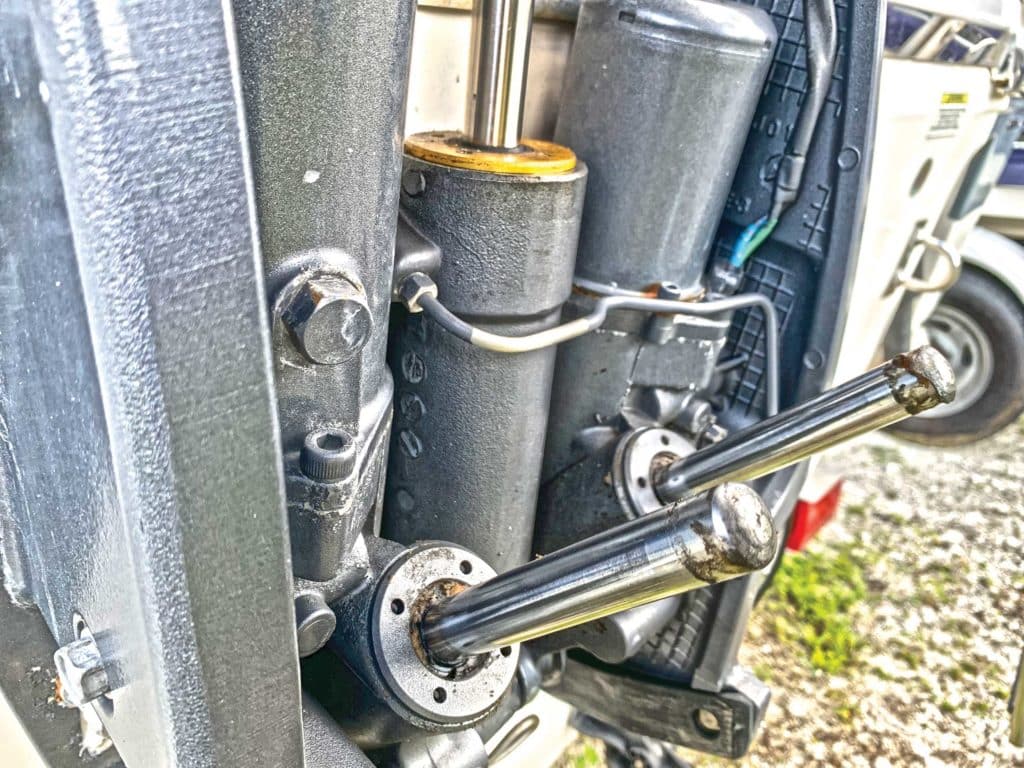
Check trim fluid level in the reservoir. Fluid should be bright red. Pink or milky fluid means water contamination, which points to a failed seal in the hydraulic ram. This needs repair—contaminated hydraulic fluid doesn't protect the pump and will cause trim failure.
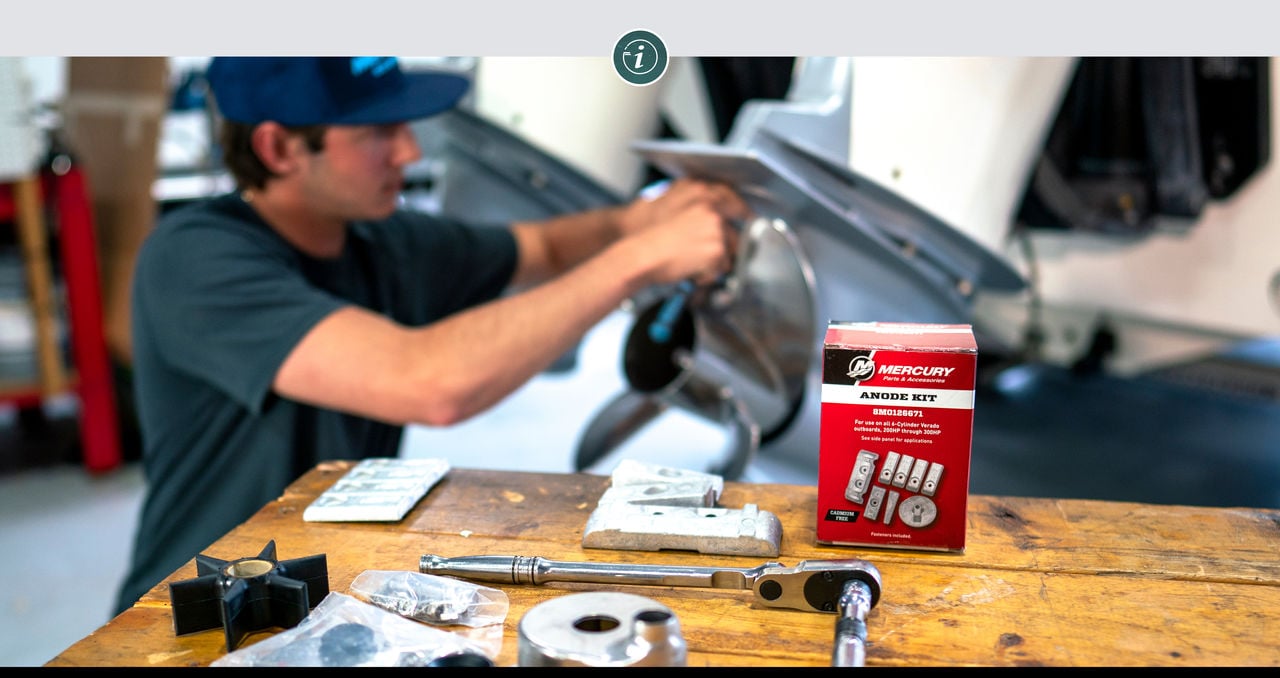
Inspect sacrificial anodes. Replace them when they're more than 50% deteriorated. In saltwater, anodes corrode faster—check them every season. In freshwater, they last longer but still need inspection. Anodes prevent galvanic corrosion from eating your powerhead, lower unit, and trim components. Without good anodes, your expensive aluminum parts become the sacrificial material. You can find fresh anodes in our On Sale Items collection.
Remove the battery. Clean terminals with a wire brush or a paste of baking soda and water to neutralize acid corrosion. Rinse with fresh water, dry completely, then apply terminal protectant spray. Store the battery in a cool, dry place on a trickle charger or battery maintainer. A dead battery in spring is avoidable. For tips on battery care, see Battery Care During the Off-Season: Keep It Charged.
Lubrication and External Protection


Hit all grease fittings with a grease gun: tilt tube, steering linkage, shift linkage, and any other points called out in your owner's manual. Grease pushes out water and prevents corrosion in pivot points and cables.
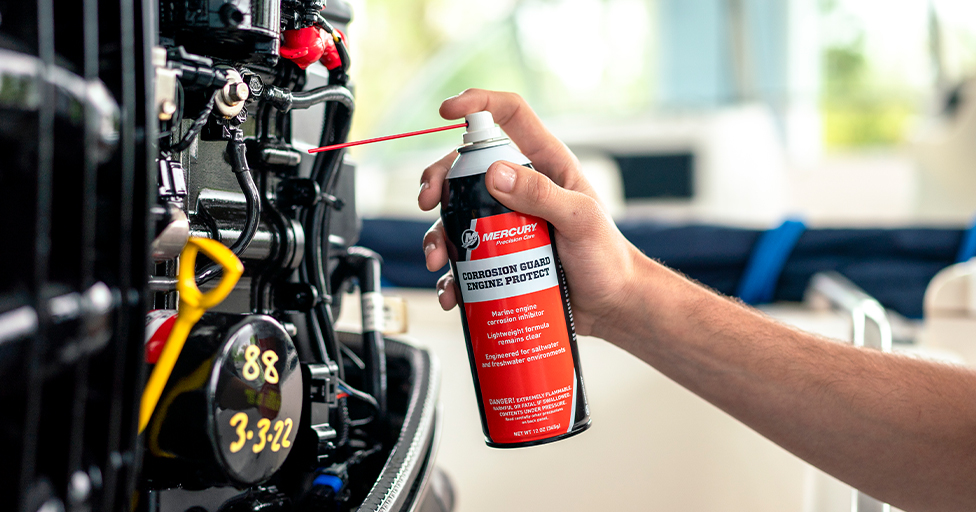
Spray marine-grade corrosion inhibitor (look for products with lanolin or Teflon as active ingredients) on the powerhead, lower unit external surfaces, and any exposed metal. This forms a moisture barrier.
Touch up paint nicks and scratches on the lower unit and cowling with matching touch-up paint. Bare aluminum oxidizes fast, especially in saltwater. A $5 paint pen prevents a $200 powdercoating job. For a step-by-step paint guide, visit Polishing and Touching Up Your Outboard’s Paint.
Engine Storage Position


Store the motor in the vertical or tilted-up position. Never store it tilted down. Storing tilted down traps water in the powerhead cooling passages. When that water freezes, it expands approximately 9% and cracks aluminum blocks and cylinder heads. Even in warmer climates, trapped water causes internal corrosion.
Tilt the engine up to let water drain from all cooling passages after your final flush. For flushing gear recommendations, refer to Daily Engine Flush for Saltwater Boats: A Good Habit.
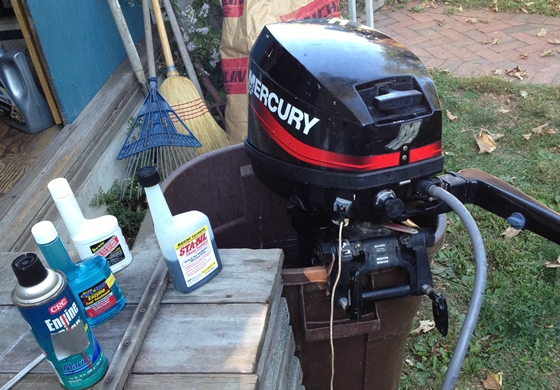
Tools and Supplies You'll Need

Before you start, gather: marine fuel stabilizer, engine oil and filter (four-stroke), lower unit gear lube with a pump, fogging oil, marine waterproof grease and grease gun, corrosion inhibitor spray, flushing muffs or a flushing port adapter, new spark plugs (gapped to spec), crush washers for lower unit drain screws, a prop wrench, spark plug socket, drain pan, clear jar (for checking fuel water separator), wire brush or baking soda, shop rags, and touch-up paint matched to your engine. For high-quality parts and tools, shop through our JLM Marine HUB.
What Damages Engines During Storage

Industry service data shows 25 to 35% of spring workload is caused by improper winterization—not normal wear. Over 60% of winter damage repairs come from owners who thought they winterized correctly.
Three failure mechanisms cause most damage:
Freezing. Water trapped in cooling passages expands 9% when frozen, cracking aluminum powerhead components and exhaust passages.
Fuel degradation. Ethanol-blended gasoline (E10 or E15) absorbs moisture and begins separating after 30–60 days. The ethanol layer pulls water from the air, forming a corrosive mix that clogs jets, corrodes fuel pumps, and leaves varnish in carburetors and injectors.
Internal corrosion. Without protective oil coating from fogging, condensation forms on cylinder walls, piston rings, and bearings. This causes rust pitting and oxidation that scores cylinders and damages rings when the engine starts.
Professional Service vs. Doing It Yourself
Marine dealers offer professional winterization, often bundled with shrink wrapping and storage at discounted rates. Certified technicians catch issues you might miss. Scott Klein, President of Wendt's Marine, notes that during winterization, technicians often spot problems customers overlook, "like a throttle or shift cable out of adjustment" which "can affect how the motor performs," and bigger issues "like loose transom bolts or a bent propshaft, which can cause real trouble down the road."
You can winterize your own engine if you follow manufacturer procedures in your owner's manual and use the right supplies. Document everything you do—a maintenance log with winterization records adds 10 to 15% to resale value. An engine with unknown storage history loses value.
We manufacture and supply all the parts mentioned in this checklist—fuel filters, spark plugs, anodes, lower unit gear lube, impellers, and seals—direct from the factory. Getting the right parts for your specific engine model is straightforward: email us your engine details (brand, model, year, serial number), and we'll confirm fitment. You get factory-spec quality without dealership markup.
Our parts fit Mercury, Yamaha, Suzuki, Honda, and other major brands. Jim Walker, our CTO with a Ph.D. in mechanical engineering and ten years designing cooling systems for high-horsepower outboards, points out that "cooling system failures are among the most common causes of engine damage, making regular maintenance particularly important." We often see water pump housings scored by sand and debris that could've been flushed out with regular maintenance. For detailed help, see our How to Replace a Mercury Outboard Water Pump Impeller.
OEM vs. Aftermarket Parts

OEM parts are reliable, but you pay a premium for the brand sticker. Cheap aftermarket parts from unknown sellers cause headaches—rubber that's too hard, poor fitment, failed seals. You'll tear the lower unit off again next weekend.
Quality aftermarket parts come from the same factories that manufacture for OEM brands, using excess capacity to produce non-OEM items at lower prices. These parts meet the same specifications. We source from these factories and supply parts that fit right and last, without burning cash on dealership markup. For more discussion, check OEM vs. Aftermarket Outboard Parts: What’s the Difference?.
If You Stored Your Engine Improperly Last Year

If you suspect your engine wasn't winterized correctly, don't just turn the key in spring. Pull the spark plugs and inspect the cylinders with a borescope or flashlight for rust. If you see surface rust on cylinder walls, spray fogging oil into each cylinder, let it sit overnight, then rotate the engine by hand to work the oil in before attempting to start.
Check gear lube before launching. If it's milky, change it and inspect seals before running. Change fuel filters and dump old fuel. Replace it with fresh fuel and run the engine on muffs for 10 minutes to flush the system before launching. See our Flushing Out Fogging Oil and Old Fuel in Spring for detailed flushing advice.
Neglected engines often show symptoms at startup: rough idle, water spitting instead of a steady stream at idle, or reluctance to reach full RPM. Address these immediately—they indicate impeller damage, clogged cooling passages, or fuel system varnish.
Pro Tip for Outboard Longevity


Flush your engine with fresh water after every ride, especially in saltwater. Connect a hose to the flushing port or use flushing muffs, and run fresh water through the cooling system for 10 minutes while the engine idles. Salt crystals harden in cooling passages and water pump housings when they dry. Once hardened, they don't dissolve—even with a later flush—and they block water flow, causing overheating. Immediate flushing prevents buildup and keeps your thermostat from seizing by next season. For flushing techniques, see our article on Daily Engine Flush for Saltwater Boats: A Good Habit.
For easy navigation to all our parts and guides, visit the JLM Marine HUB page.