


Winterizing a 2-Stroke vs. 4-Stroke Outboard: Key Differences
- Tools and Materials You'll Need
- The Big Difference: Oil Systems
- Fuel Stabilization: Same Process, Different Risks
- Fogging: Protecting the Cylinders
- Lower Unit Gear Oil: Same Process for Both
- Cooling System: Flushing and Antifreeze
- Engine Oil Change (4-Stroke Only)
- Battery Removal and Storage
- Storage Position and Propeller Maintenance
- Carbureted vs. EFI: Different Fogging Approaches
- Common Mistakes to Avoid
- Full Tank vs. Empty Tank Debate
- Indoor vs. Outdoor Storage
- DIY Cost and Time
- Monthly Winter Checks
- OEM vs. Aftermarket Parts for Winterizing

I've been wrenching on outboards for 20 years, and the biggest mistake I see every spring is guys who don't winterize properly—or who winterize the wrong way for their engine type. A 2-stroke and a 4-stroke are completely different animals when it comes to winter prep. Miss a step, and you're looking at a cracked block, corroded cylinders, or a fuel system so gummed up you'll need a carburetor rebuild before you even get on the water.
Tools and Materials You'll Need
Before you start, get everything together. For both engine types, you need:
- Marine fuel stabilizer (don't buy the cheap automotive stuff)
- Fogging oil
- Gear oil pump
- Lower unit gear oil (check your manual for the correct grade)
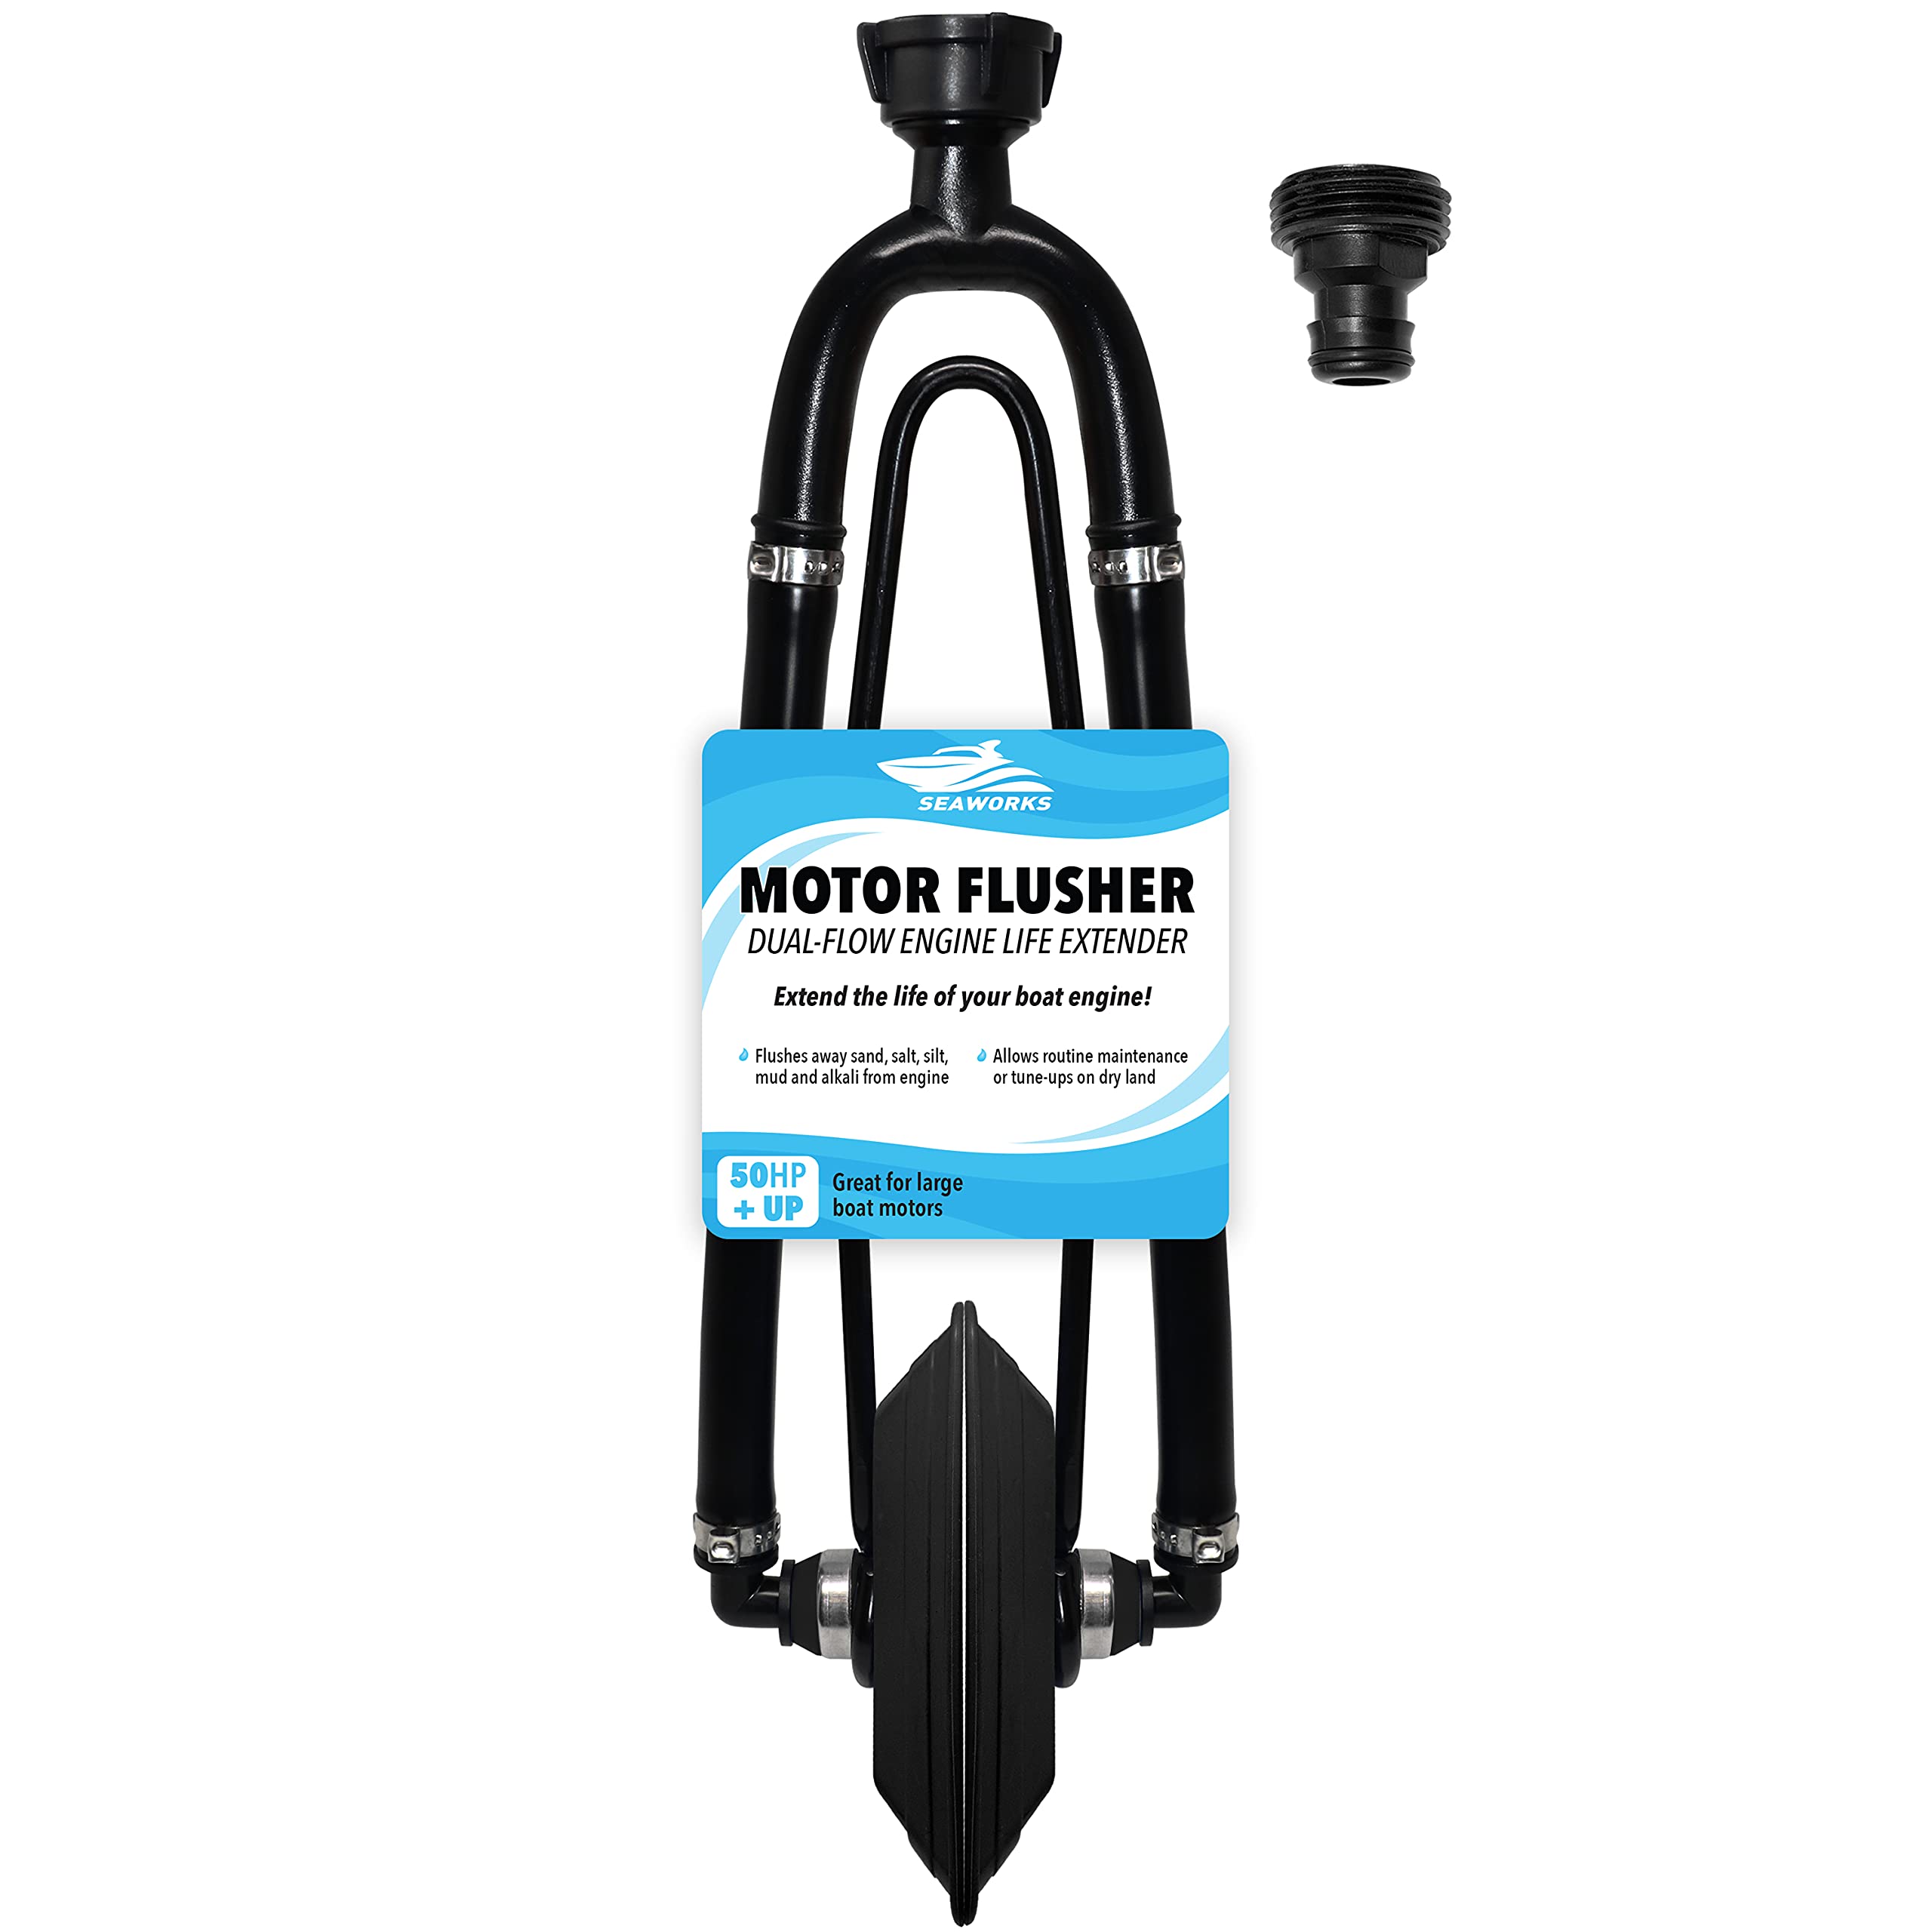
- Fresh water hose with flush attachment
- Socket set (10mm, 12mm, and 14mm are the usual suspects for drain plugs)
- Oil drain pan
- Rags
For 4-strokes, add:
- Engine oil (marine-grade, correct viscosity for your motor)
- Oil filter
- Propylene-glycol marine antifreeze rated to at least -50°F (if you're in freezing climates)
The Big Difference: Oil Systems
The main split between these engines is how they handle lubrication. A 2-stroke mixes oil directly with fuel—there's no separate crankcase. You're not changing engine oil because there isn't a sump to change. A 4-stroke has a dedicated oil reservoir, just like a car. That means fresh oil and a new filter every season, no exceptions.
When you store a 4-stroke with old oil sitting in the crankcase all winter, you're letting moisture and acidic combustion byproducts eat away at bearings, cam lobes, and cylinder walls. I've pulled apart motors in March that looked like they'd been underwater for a year, all because the owner skipped the oil change. According to Mercury Marine's winterization guide, you should change 4-stroke oil and filter every 100 hours or once per season, whichever comes first.
2-strokes don't have this problem. The oil burns with the fuel, so you're constantly cycling fresh lubricant through the motor during operation. But that also means internal parts are more exposed when the engine sits, which is why fogging is absolutely critical.
Fuel Stabilization: Same Process, Different Risks

Both engines need stabilized fuel. Old fuel turns to varnish, clogs jets, gums up injectors, and creates a mess you don't want to deal with. Tim Hurney, Mercury Marine Dealer Team Lead, puts it bluntly: "Most of the issues our dealers run into are caused by stale fuel."
Pour the stabilizer into your fuel tank—follow the bottle's ratio, usually 1 oz per gallon. Then fire up the engine and let it run for 10 minutes. This circulates treated fuel through the entire system, from the tank to the carb bowls or injector rails.
Here's where the engines diverge. On a carbureted 2-stroke, some guys like to run the carburetor dry after stabilizing. Disconnect the fuel line, let the engine burn off what's left in the bowls, and it'll stall out. This prevents any residual fuel from sitting in the carb over winter. On a 4-stroke with EFI, you don't do this—just stabilize and shut it down. The injectors are sealed, and running it dry can damage the fuel pump.
For carbureted 4-strokes, you can go either way. I usually leave stabilized fuel in the system because draining every last drop is a pain, and good stabilizer does the job.
Fogging: Protecting the Cylinders
Fogging oil coats the inside of your cylinders, piston rings, and crankshaft with a sticky film that won't evaporate or drip off. It sits there all winter, blocking moisture and preventing rust. Skip this step, and you'll find surface corrosion on cylinder walls come spring—sometimes bad enough that the rings won't seat properly anymore.
Fogging a 2-Stroke
With the engine warm, pull the cowling off. Start the motor and spray fogging oil directly into the air intake (or into each carb throat if it's a multi-carb setup) until the engine starts to choke and stall. You'll see a huge cloud of white smoke—that's normal. Once it dies, pull the spark plugs. Spray fogging oil directly into each cylinder through the spark plug holes, then slowly turn the flywheel by hand a few times to spread the oil around. Reinstall the plugs (don't overtighten—15-18 ft-lbs is standard).
This double-application method ensures you get oil on every internal surface. The intake spray covers the crankcase and lower cylinder walls; the plug-hole spray coats the upper cylinders and piston crowns.
Fogging a 4-Stroke
Start the engine and let it idle. Spray fogging oil into the air intake (remove the air filter first if there is one) until the engine starts to stumble and die. Then pull the plugs and spray a short burst—maybe 2 seconds—into each cylinder. Turn the engine over by hand a couple of rotations to distribute the oil.
4-strokes don't need as heavy a coat as 2-strokes because they already have oil in the crankcase providing some protection. But you still need to fog the combustion chambers and intake valves.
One exception: if you've got a direct fuel injection (DFI) 2-stroke like a Mercury OptiMax, don't use standard fogging oil. Mercury recommends 1 oz of DFI outboard oil per cylinder instead, squirted through the spark plug hole. Standard fogging oil can foul the injectors on these motors.
Lower Unit Gear Oil: Same Process for Both
This step is identical whether you're running a 2-stroke or a 4-stroke. The lower unit is completely separate from the powerhead.
Warm up the engine first—warm oil drains faster and carries out more contaminants. Then locate the drain screw on the bottom of the gearcase and the vent screw near the top (usually on the side, just above the cavitation plate). Put your drain pan under the motor and pull the drain screw first, then the vent screw. Let it drain completely.
Watch the color of the old oil as it comes out. If it's milky or has a grey sheen, you've got water intrusion—bad seals. If you see metal flakes or chunks, your gears are chewing themselves apart. Either way, that's a problem you need to fix before next season.
Once it's drained, take your gear oil pump, stick the nozzle into the lower drain hole, and pump fresh oil in from the bottom. Keep pumping until clean oil starts to dribble out of the upper vent hole. This ensures you've displaced all the air and completely filled the gearcase. Reinstall the vent screw first (while oil is still dripping out), then pull the pump and quickly reinstall the drain screw. Torque them to spec—usually around 20-25 ft-lbs, but check your manual.
JLM Marine carries marine-grade gear oils that meet or exceed OEM specs. You're getting the same quality the factory uses, just without the dealer markup. Check out our Inboard & Outboard Motor Parts for all your gear oil and maintenance supplies.
Cooling System: Flushing and Antifreeze
Both engines need a freshwater flush, especially if you've been running in saltwater. Salt crystals will corrode anything they touch.
For 2-strokes and most 4-strokes, attach a flush hose to the flushing port (if your motor has one) or use a set of flush muffs clamped over the lower unit water intakes. Turn the water on, start the engine, and let it run for 10-15 minutes. You should see a steady stream of water coming out of the tell-tale (pee hole). If the stream is weak or intermittent, your water pump impeller might be shot—deal with that before storage. You can find reliable Water Pump Impellers at JLM Marine.
Shut the engine off, turn off the water, and you're done for a 2-stroke. For a 4-stroke, especially if you're storing in a climate where temperatures drop below freezing, you need antifreeze in the cooling passages.
Disconnect the flush hose and set up a bucket with marine antifreeze (propylene-glycol, not automotive ethylene-glycol—the automotive stuff is toxic and can damage seals). Drop a hose from the flush port into the bucket, start the engine, and let it suck antifreeze through the system until you see pink fluid coming out of the tell-tale. Shut it down. Now your cooling passages are protected down to -50°F or lower, depending on the antifreeze concentration.
Some guys ask if antifreeze is really necessary. If you live in Florida and store indoors, probably not. If you're in Minnesota and the motor sits in an unheated garage, absolutely yes. A cracked block from frozen coolant is a total loss.
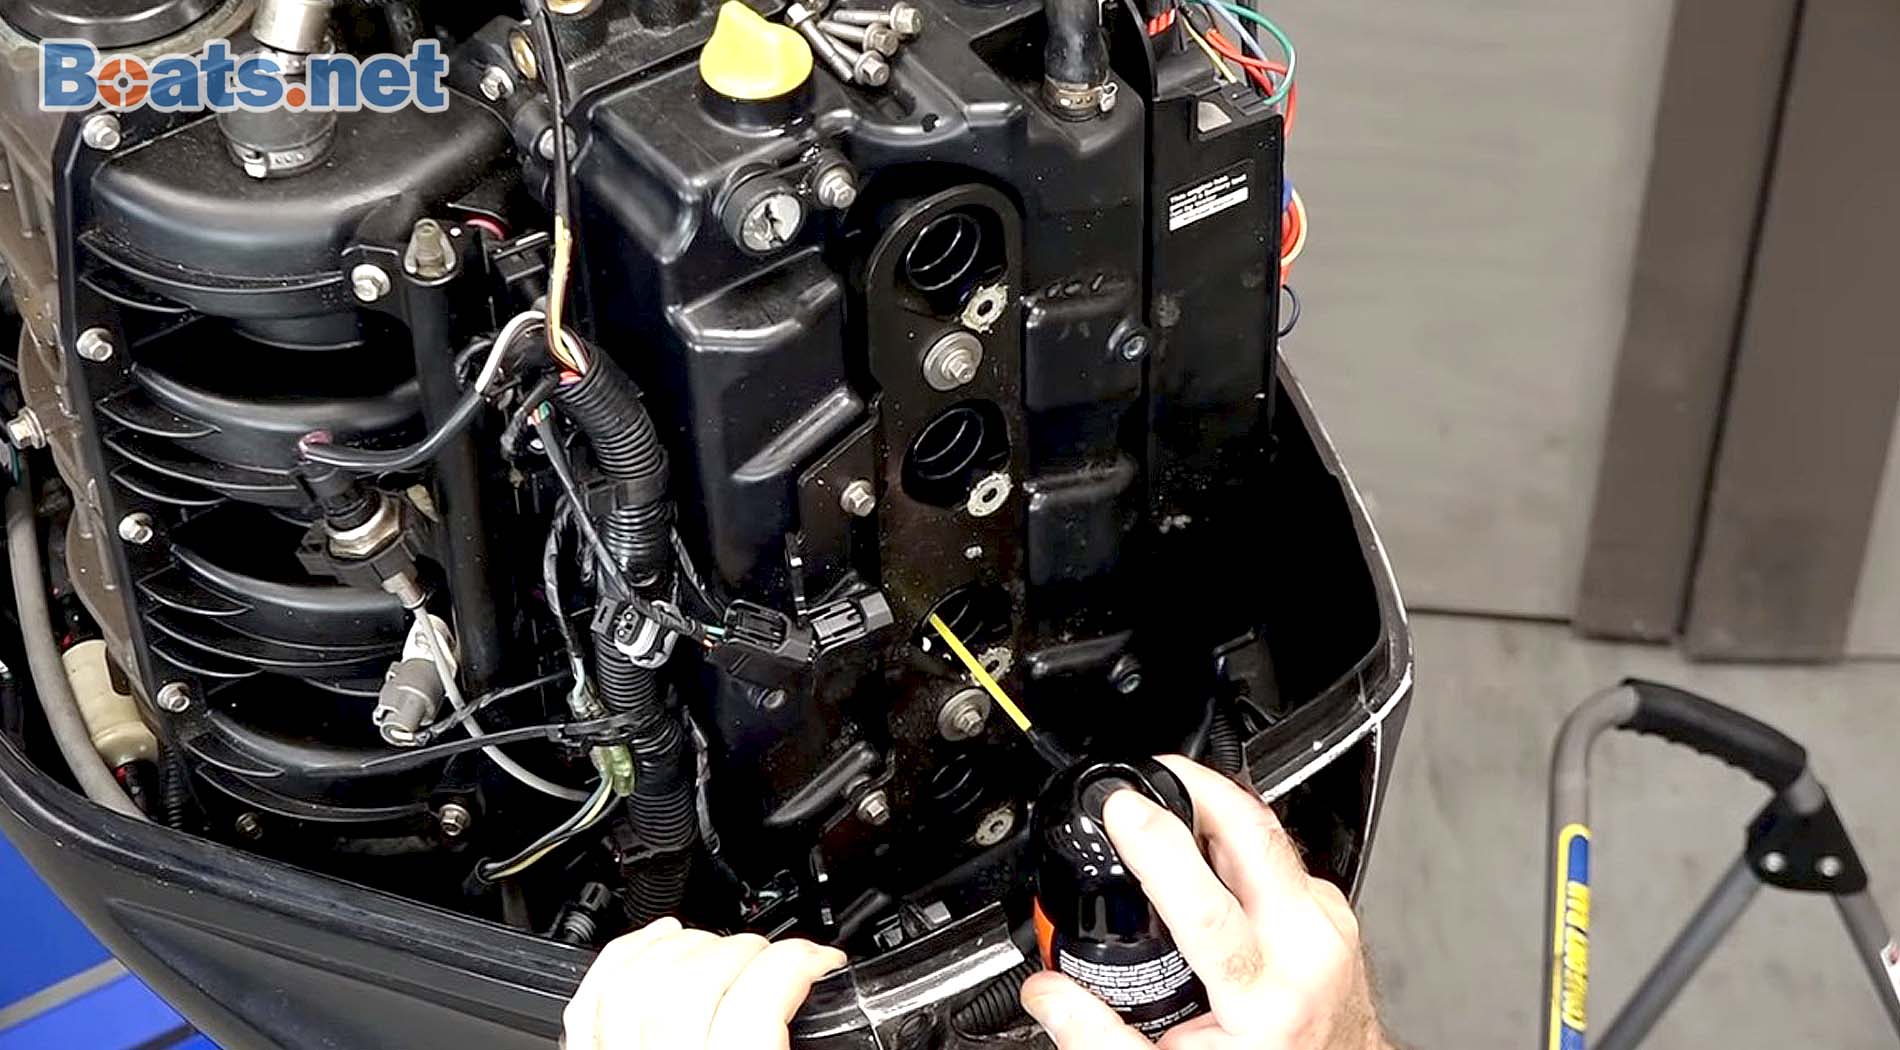
Engine Oil Change (4-Stroke Only)

This is the step that separates 4-stroke winterizing from 2-stroke.
Run the engine until it's warm—warm oil flows faster and carries more contamination. Shut it down. Locate the oil drain plug on the bottom of the engine (consult your manual if you're not sure). Pull the plug, let the old oil drain into your pan, and inspect it. If it's black and smells burnt, that's normal. If it's milky, you've got water in the crankcase—bad head gasket or cracked block.
Once it's drained, replace the drain plug and gasket (some motors use a crush washer that should be replaced every time). Swap the oil filter. Pour in fresh marine-grade engine oil to the correct level—check the dipstick as you go. Overfilling is just as bad as underfilling.
The oil you just drained is contaminated with acids, carbon, and moisture. Leaving that sitting in the crankcase all winter will corrode bearings and camshafts. Fresh oil has additives that neutralize acids and protect metal surfaces.
Battery Removal and Storage
Pull the battery. Disconnect the negative terminal first, then the positive. Clean the terminals with a wire brush—corrosion builds up fast in a marine environment. Store the battery in a cool, dry spot (not on a concrete floor, if you can help it). Hook it up to a battery maintainer or trickle charger to keep it topped off. A battery that sits discharged all winter will sulfate and lose capacity. By spring, it might not hold a charge at all.
If you can't remove the battery—maybe it's buried in a console—at least disconnect the negative terminal and use a solar maintainer to keep it alive.
Storage Position and Propeller Maintenance
Store the motor upright. If it's on the boat, tilt it all the way down so any remaining water in the cooling passages can drain out. If you've removed the motor, use a proper engine stand or wall bracket—don't just lean it in a corner.
Pull the propeller. Check the prop shaft for fishing line wrapped behind the seal. I've seen line work its way into the seal and destroy it, letting water into the gearcase. Grease the prop shaft with marine grease and reinstall the prop, or leave it off and store it separately. Either way, this is a good time to inspect the prop for bent blades or damaged hubs.
Grease all external fittings—steering pivots, tilt rams, throttle linkage. A few pumps of marine grease on each zerk fitting will keep everything moving smoothly and prevent corrosion on pivot points.
Carbureted vs. EFI: Different Fogging Approaches
If you've got a carbureted motor (common on older 2-strokes and some small 4-strokes), fogging through the carb throats is straightforward. Pull the air box off, spray into each carb barrel while the engine is running, and let it choke out.
EFI motors don't have carb throats. You're spraying into a throttle body or a single intake runner. The process is the same—spray until it stalls—but you need to be more careful. Some EFI systems have sensors in the intake tract (MAF sensors, intake air temp sensors) that can be damaged by heavy oil spray. Check your manual. On some motors, you're better off just fogging through the spark plug holes and skipping the intake spray entirely.
For parts related to carburetor maintenance and repair, see our Carburetor Repair Kit collection.
Common Mistakes to Avoid
I've seen guys crack engine blocks because they didn't drain the cooling system and thought "it doesn't get that cold here." I've seen carburetors so varnished from unstabilized fuel that they had to be ultrasonically cleaned. I've seen lower units full of water because someone stripped the drain plug threads and didn't notice the leak.
Here's the top three errors:
- Skipping the fuel stabilizer run time. Pouring stabilizer in the tank and calling it done doesn't work. You need to run the engine to get treated fuel all the way through the system.
- Forgetting to change 4-stroke oil. Storing with dirty oil will corrode your engine from the inside out.
- Not checking lower unit oil for water. If you've got a bad seal, you need to know before the water freezes and cracks the gearcase.
Full Tank vs. Empty Tank Debate
Some guys swear by storing with a full fuel tank to minimize the air space and reduce condensation. Others drain it completely to avoid any risk of varnish or phase separation (especially with ethanol fuel). Here's my take: if you've added a quality stabilizer and run the engine to circulate it, a full tank is fine and probably better. The less air in the tank, the less moisture can condense on the walls. If you're worried about fuel quality or you've got old gas, drain it and start fresh in spring—but dispose of it properly at a hazardous waste facility, not down the storm drain.
Indoor vs. Outdoor Storage

If you're storing indoors in a heated space, you can skip the antifreeze step for the cooling system. The engine won't freeze. You still need to do everything else—fuel stabilizer, fogging, oil change (4-stroke), gear oil, battery removal.
Outdoor storage, even under a cover, exposes the motor to temperature swings and humidity. Antifreeze becomes mandatory if there's any chance of freezing. Use a good breathable cover to keep rain and snow off but allow moisture to escape. A plastic tarp that doesn't breathe will trap condensation and promote rust.
DIY Cost and Time
For a 2-stroke, you're looking at maybe 45 minutes of work and $30-40 in supplies: stabilizer, fogging oil, and gear oil. A 4-stroke takes longer—maybe 90 minutes—and costs more because of the engine oil and filter, call it $60-80 total. Compare that to a dealer charging $150-300 for winterization. The dealer might catch something you miss (Scott Klein, president of Wendt's Marine, notes that "When we are winterizing engines, we might see things that are wrong with them that our customers might not catch"), but if you follow these steps and do a basic inspection as you go, you'll be fine.
Monthly Winter Checks
Don't just button up the motor and ignore it until April. Once a month, take a quick look. Check for leaks (oil, fuel, coolant). Look for signs of corrosion. If you can, start the engine and let it run for a few minutes—this keeps seals lubricated and circulates oil. If you stored the motor with stabilized fuel, a brief monthly run won't hurt and might actually help keep everything fresh.
OEM vs. Aftermarket Parts for Winterizing
When you're buying oil, filters, and fogging spray, you'll see OEM parts and aftermarket options. OEM is good quality, no question, but you're paying extra for the logo on the box. Cheap no-name aftermarket stuff is a gamble—I've seen filters that don't seal right and oils that don't meet marine specs.
The middle ground is reputable aftermarket from manufacturers that supply OEM factories with excess capacity. JLM Marine parts are factory-spec quality without the dealership markup. You get the right fit, the right materials, and the right performance, and you're not burning cash unnecessarily. Shop trusted boat accessories and parts right from the factory.
After you've finished winterizing, check your fuel-water separator and replace the element if it's dirty. It takes five minutes and prevents fuel starvation next spring when you're trying to get on the water.
For more expert boating and maintenance resources, visit the JLM Marine Hub.