


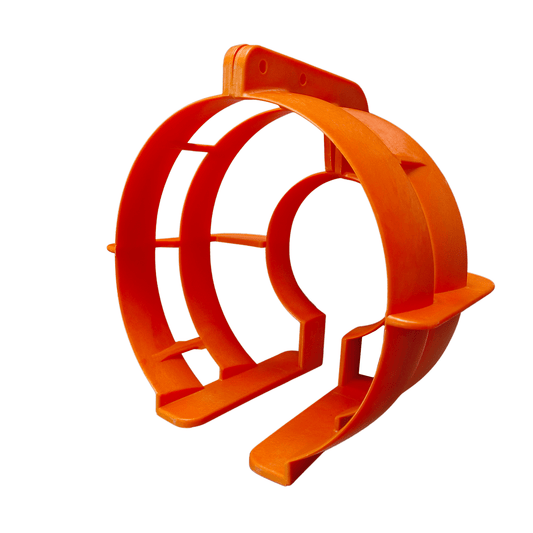

Shrink Wrapping Your Boat: What About the Outboard?
- Protecting Your Outboard During Shrink Wrapping
- Winterize the Motor First
- Motor Position: Vertical, Not Tilted
- The Condensation Problem
- How to Wrap Around the Outboard
- Wrapping Technique Details
- 2-Stroke vs. 4-Stroke Differences
- What Shrink Wrap Material to Use
- Troubleshooting After Unwrapping
- The Environmental Side
- When You Need Parts
- Common Questions
Protecting Your Outboard During Shrink Wrapping
Most guys pull their boat for the season, toss on shrink wrap, and assume they're done. The hull's covered, winter's handled. But that outboard hanging off the transom? That's where it gets tricky. I've torn down too many motors in spring that looked fine on the outside but had corrosion eating away at the starter solenoid or water still sitting in the block because someone sealed everything up tight and walked away.
The biggest mistake is treating the outboard like the rest of the hull—wrapping it drum-tight and calling it protected. You're not protecting it. You're trapping moisture under the cowl, and when temperatures swing, that moisture condenses. Next thing you know, you've got green corrosion on electrical terminals, seized throttle linkages, or worse, a cracked block because water froze in the passages.
Winterize the Motor First
Before the wrap touches anything, the outboard needs a full winterization. This isn't optional.
Drain every drop of water from the cooling system. Run the engine until it's bone dry, or use compressed air to blow out the passages if your model allows it. Any water left in there will freeze, expand, and crack components—I've replaced more than one cracked exhaust housing because someone skipped this step.
Add fuel stabilizer to the tank and run the engine long enough to get treated fuel through the carbs or injectors. Untreated fuel degrades over winter and gums up jets or clogs screens. Change the lower unit gear lube. If you see water mixed in with the old oil (it'll look milky), you've got a seal issue that needs fixing before storage. Grease all the fittings—steering pivot, tilt tube, prop shaft. We stock high-quality marine greases that stay put in cold weather; the cheap stuff hardens up and does nothing.
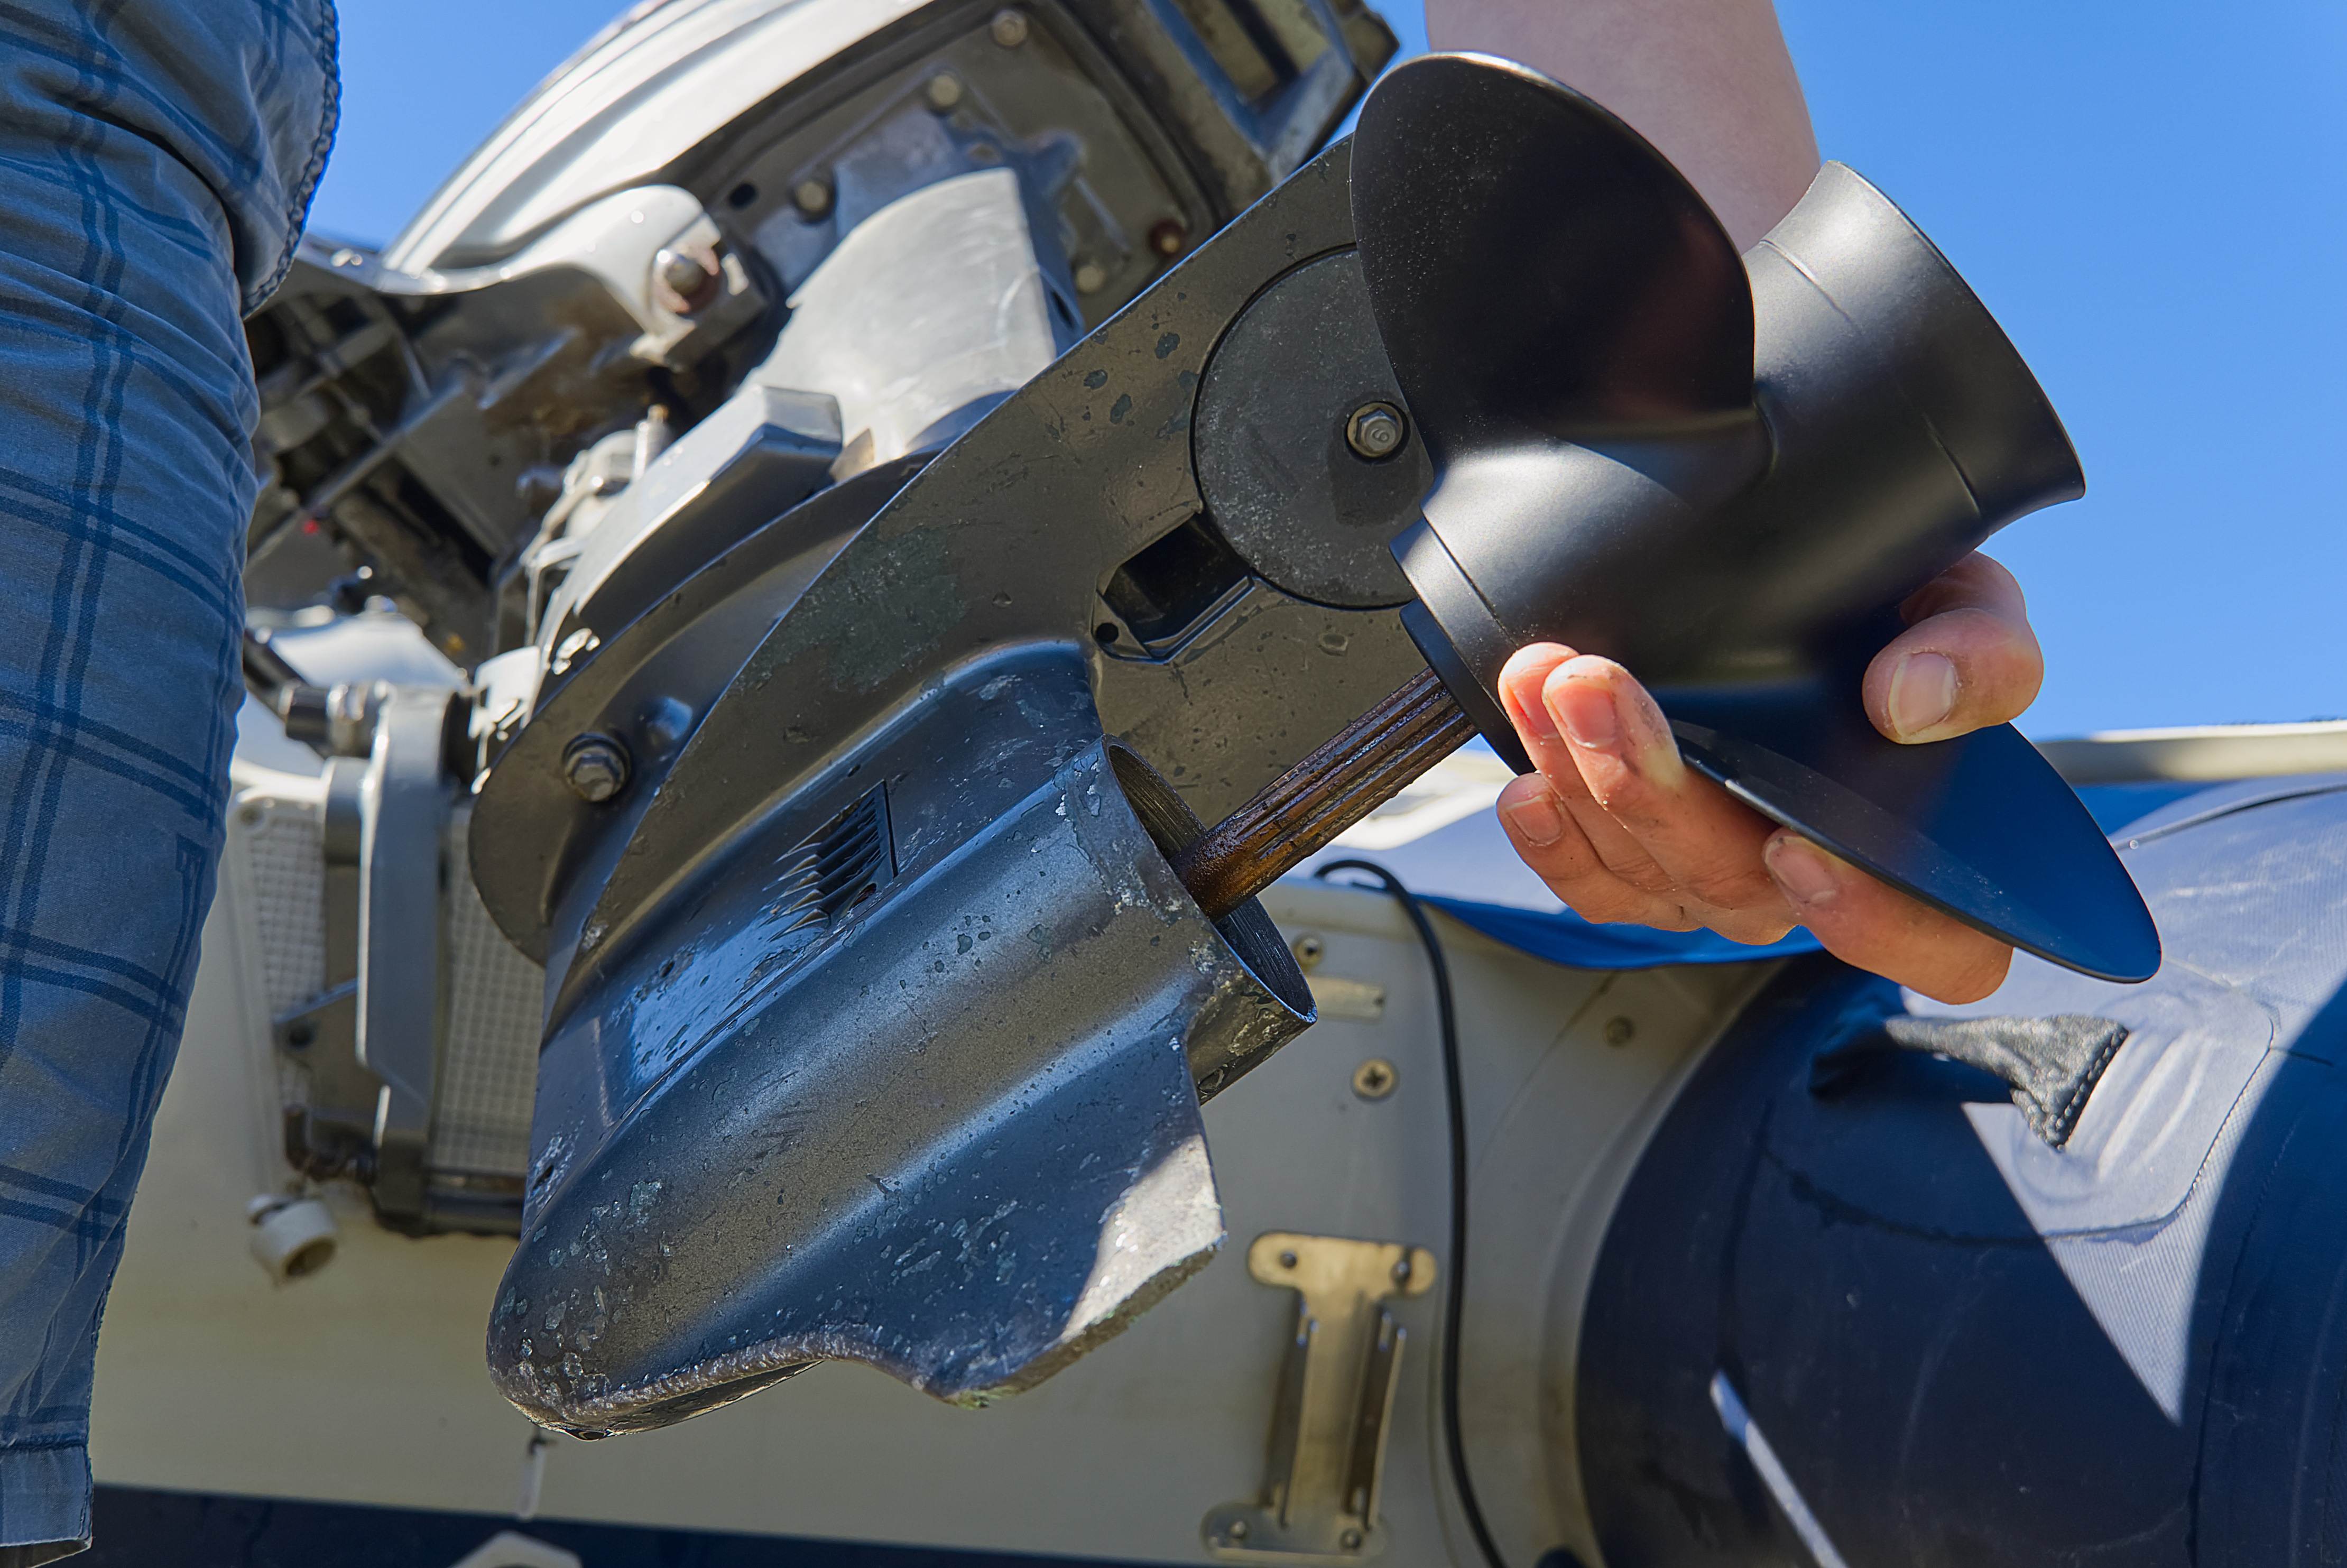
Before you put the cowl back on, spray the entire powerhead with a water-displacing lubricant like WD-40 or Boeshield T-9. It pushes out any residual moisture and leaves a protective film on metal surfaces. Pull the propeller off the shaft. Inspect the hub for fishing line wrapped around the seal (it happens more than you'd think), grease the splines, and store the prop separately. This prevents theft and lets you check for damage. For a detailed guide on proper winterization, see our How to Winterize Your Outboard Engine (Step-by-Step).
Motor Position: Vertical, Not Tilted
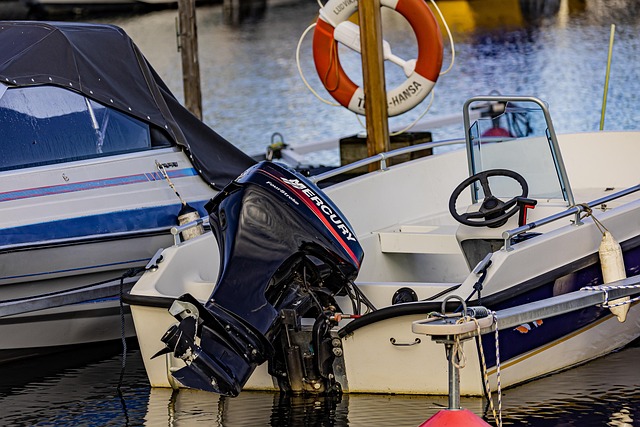
Store the outboard in the full-down vertical position. This isn't about aesthetics—it's about drainage. When the motor's vertical, any leftover water in the gearcase or exhaust system drains out naturally through the prop hub or exhaust ports. Tilt it up, and water pools in low spots where it can freeze.
If you trailer the boat with the motor up, that's fine for transport. But before you shrink wrap it for the winter, lower the motor and leave it down. According to the experts at Boats.com, keeping it vertical also reduces stress on the tilt mechanism over months of storage.
The Condensation Problem
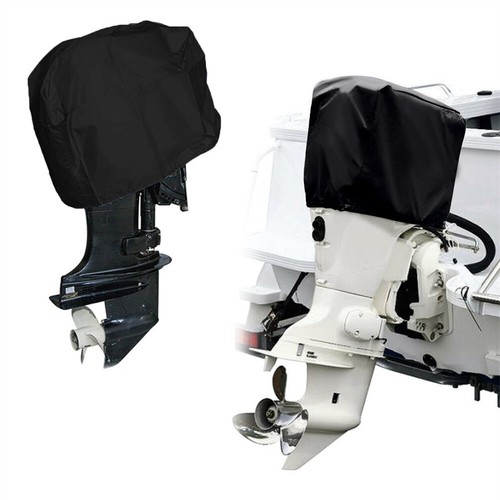
Ryan Polcyn, sales manager at Dr. Shrink, put it plainly: "It's never a good idea to cover an outboard with a tight plastic wrap or a tarp because condensation will form under the cowl and can cause electrical and corrosion issues." (Source)
This is the core issue. When you seal plastic tightly around the motor, you create a closed environment. Temperatures drop at night, warm up during the day, and moisture inside that sealed space condenses on cold metal surfaces—spark plug wells, stator coils, wiring harnesses, the starter motor case. That condensation doesn't evaporate if there's no airflow. It just sits there, doing damage.
I've seen motors unwrapped in spring with visible water droplets pooled in the valley between cylinders. The owner thought he was protecting the engine by wrapping it up like a mummy. Instead, he created a humidity chamber.
How to Wrap Around the Outboard
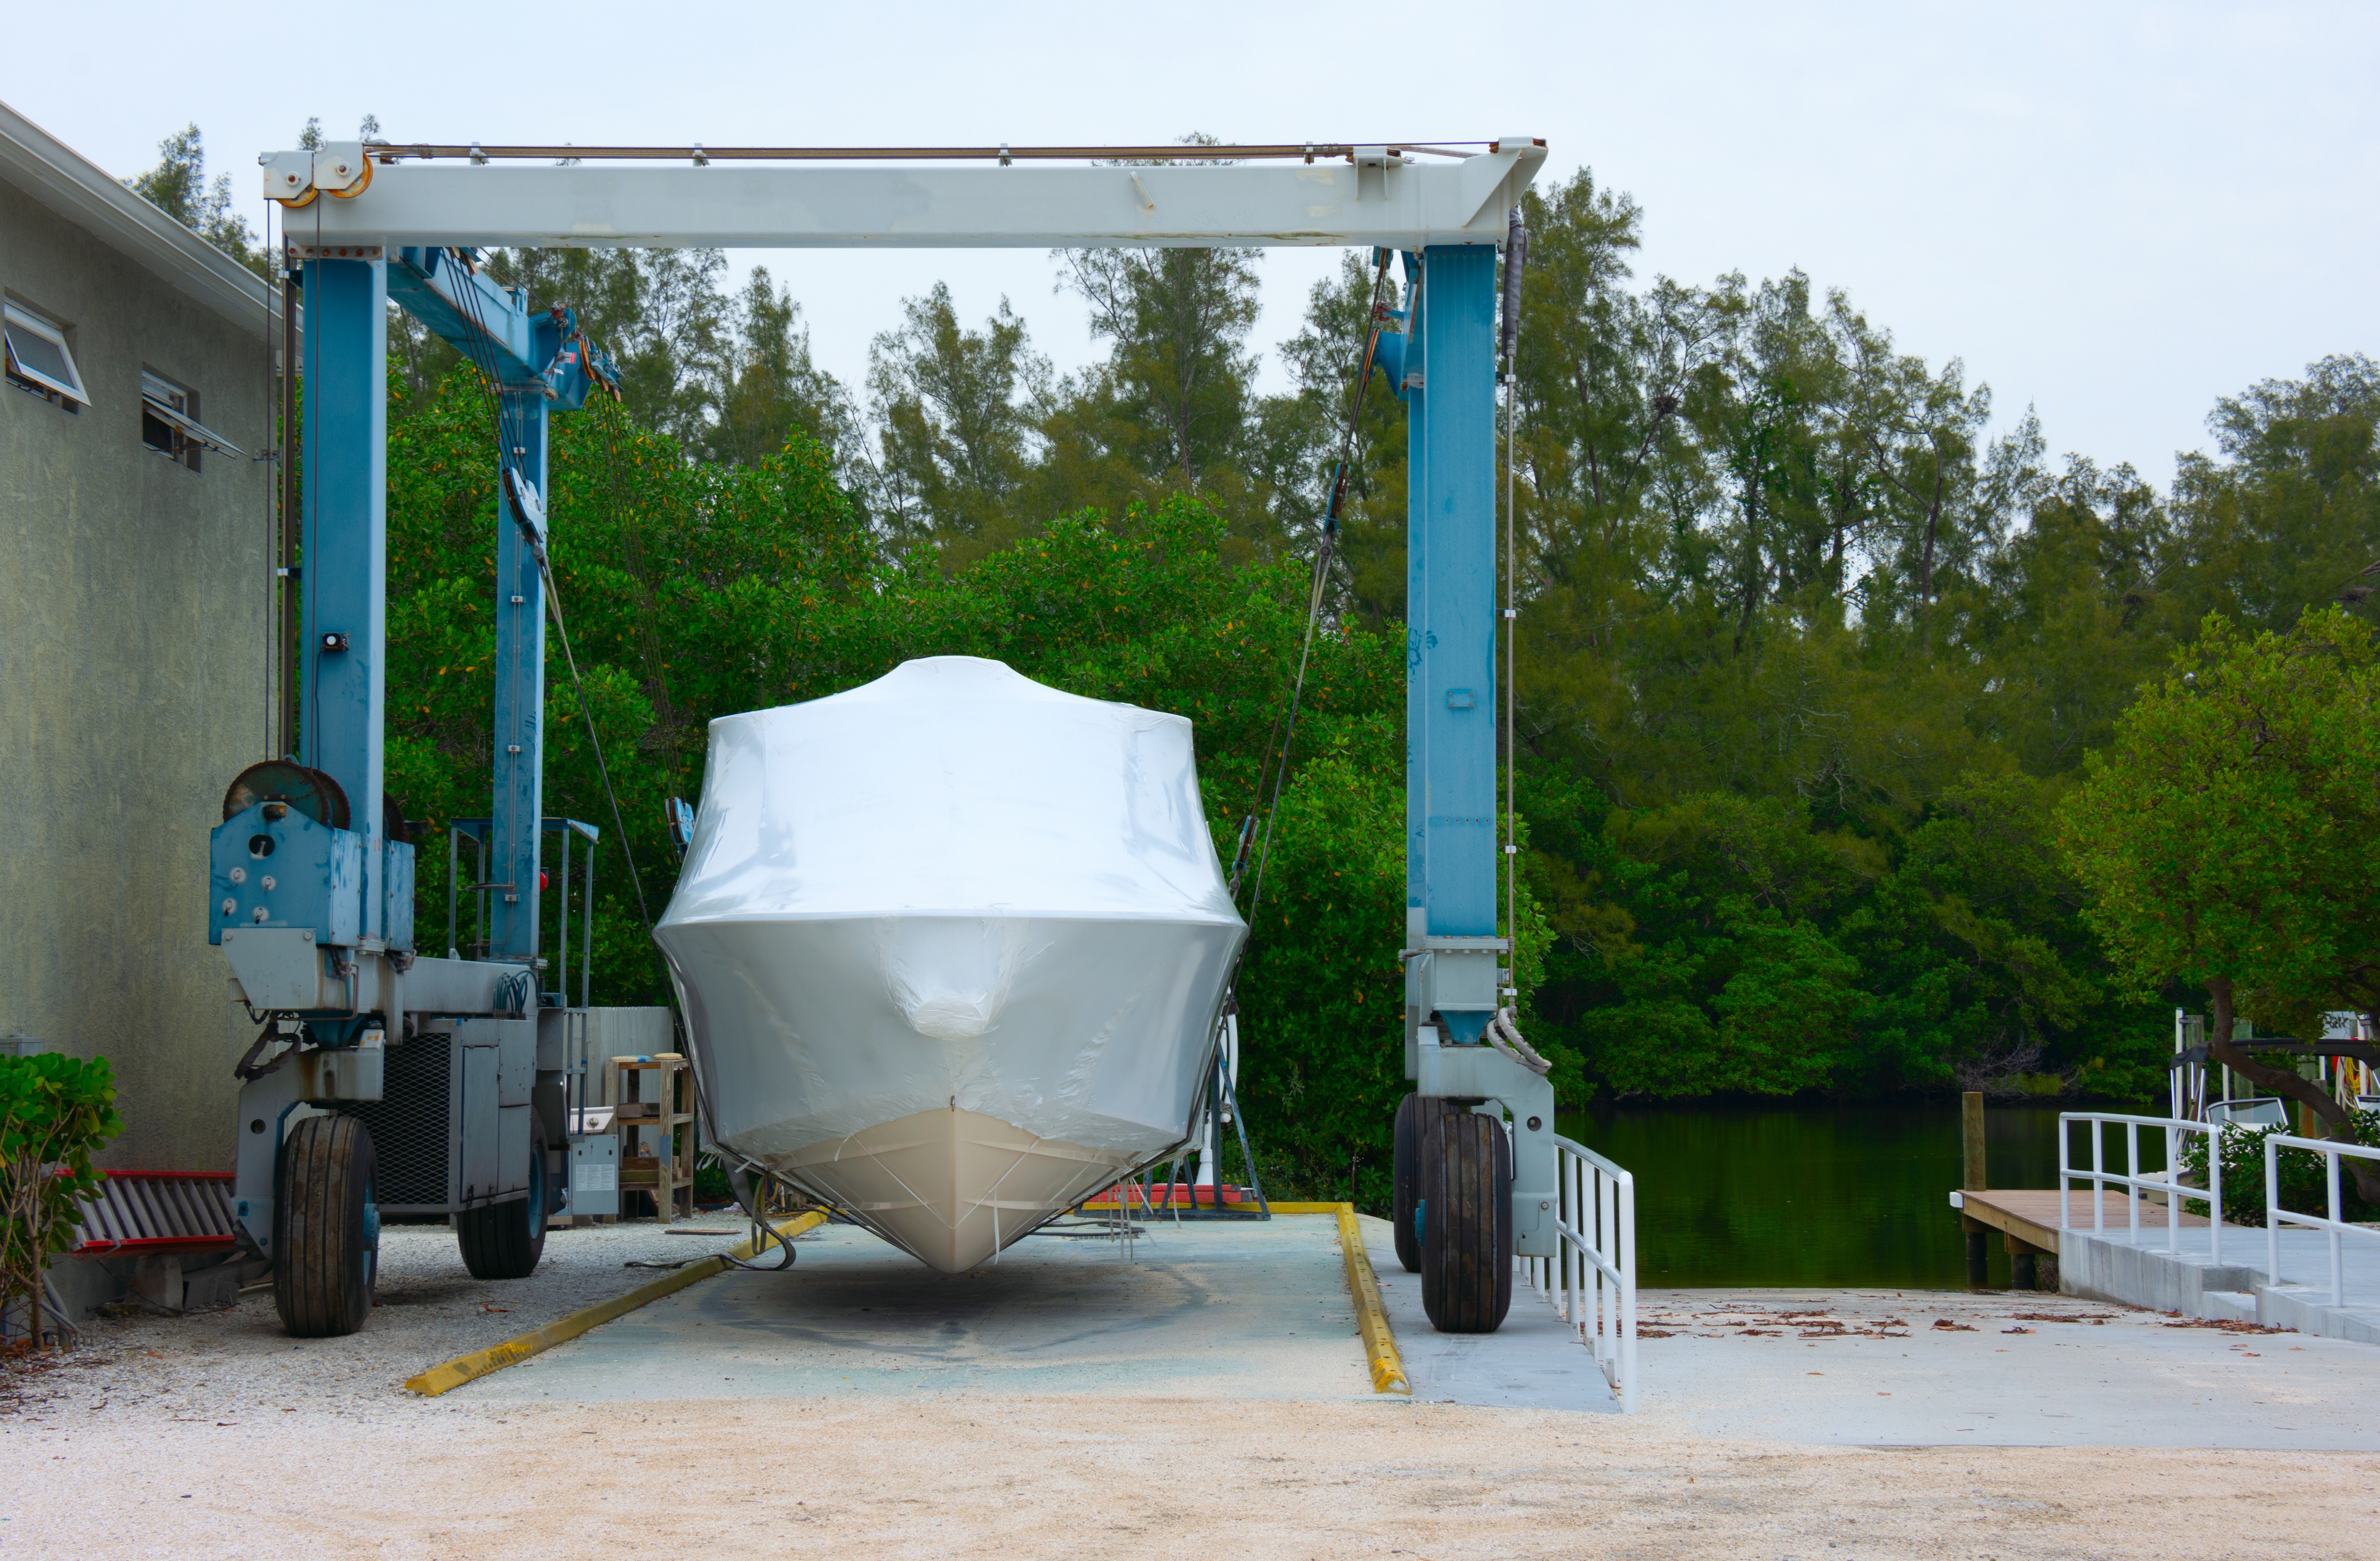
The shrink wrap needs to protect the boat's stern and transom from snow and rain, but it can't suffocate the motor. Here's how we handle it.
Option 1: Leave the Outboard Fully Exposed
The safest method is to shrink wrap the hull and leave the outboard completely outside the wrap. Seal the wrap tight against the transom just forward of the motor. The outboard sits exposed to air, which prevents any moisture buildup. Snow and rain won't hurt a winterized motor as long as water's been drained from the block and the cowl is on.
This works well if you're storing the boat in a relatively sheltered area or if the wrap can be rigged to create an overhang above the stern that sheds water away from the motor.
Option 2: Wrap Over the Motor with Ventilation
If the wrap needs to extend over the outboard—common if you're storing in an open yard with heavy snow load—you can do it, but you have to allow air circulation.
First, apply protective padding or tape anywhere the belly band or straps will contact the motor or the boat's gelcoat. We use 2-inch preservation tape; it's sticky enough to stay put and thick enough to prevent the plastic from wearing through the paint when wind flaps it around.
Run the shrink wrap over the stern and motor. Use straps or belly bands positioned over the cowl and lower cowling to hold the plastic in place, but do not cinch it tight against the cowl vents. Leave gaps at the rear near the cowl latch and along the sides where air can flow in and out. Some guys cut small vent holes in the plastic near the cowl and reinforce the edges with tape to prevent tearing. Others install purpose-built shrink wrap vents—these are small plastic louvers that let air pass but keep precipitation out. You can find them at marine supply shops or through distributors.
If you're wrapping over the motor, Polcyn's advice is critical: "make sure air can circulate up under it, and that there's sufficient venting in the back near the cowl." (Source)
USA Marine Inc. in Central Massachusetts shrink wraps over 1,250 boats a year using 7-mil thick white shrink wrap to handle New England winters. (Source) They wrap over outboards but they know how to manage ventilation—they've been doing it long enough that they have systems in place to prevent the moisture issues that kill motors.
Adding Access Doors
Consider cutting an access door into the wrap near the motor. This lets you check on the outboard mid-winter if you're storing it for months. Just cut a U-shape or rectangle in the plastic, fold it back, and tape it down. You can lift the flap, inspect the motor for condensation or issues, and re-tape it. Atlantic Outboard in Maryland demonstrates this method in their shrink wrap tutorial—they add doors so owners can access batteries or check for leaks without tearing the whole wrap.
Wrapping Technique Details
When you apply the wrap, tension matters. The hull portion should be drum-tight so it sheds snow and doesn't flap in wind. Use a heat gun to shrink the plastic evenly—don't hold the gun in one spot or you'll melt through. Keep it moving, working from the center outward.
Around the motor, you want the plastic snug enough that it won't tear loose in a storm, but not so tight that it seals every gap. Buffalo Boat Shrink Wrapping, a side-hustle operation out of New York, shows a good example in their ALUMAcraft Edge 185 wrap video. They create loops on the lower cowling to tuck the shrink wrap into belly bands, then use straps to secure it without over-tightening. The plastic stays put, but air can still move.
If you're rigging straps over the motor, run them horizontally across the cowl and down to hard points on the transom or trailer. Don't loop them around fragile components like the tilt release lever or fuel line fittings. Pad contact points so the strap doesn't dig into painted surfaces.
2-Stroke vs. 4-Stroke Differences
Most of the wrapping and ventilation advice applies to both, but there's a difference in how you store them.
2-Stroke motors: These are simpler. Fog the cylinders through the carb intakes or spark plug holes before storage to coat the internals with oil. Once fogged and drained, they're pretty tolerant of sitting all winter. Ventilation is still critical because electrical components (CDI boxes, stator coils) corrode just as easily. We have detailed info on Two-Stroke Oil Injection Troubleshooting Guide which complements winter prep.
4-Stroke motors with EFI: These have more electronics—ECU modules, fuel injectors, throttle position sensors. Moisture is a bigger threat because it can short out the ECU or corrode injector connectors. If you're wrapping a 4-stroke, be extra cautious about ventilation. Some guys will even remove the ECU and store it indoors if they're paranoid, but if you vent properly, it's not necessary.
Also, 4-strokes have crankcase breather hoses. Make sure those aren't blocked by the wrap or covered in a way that traps moisture inside the engine.
What Shrink Wrap Material to Use
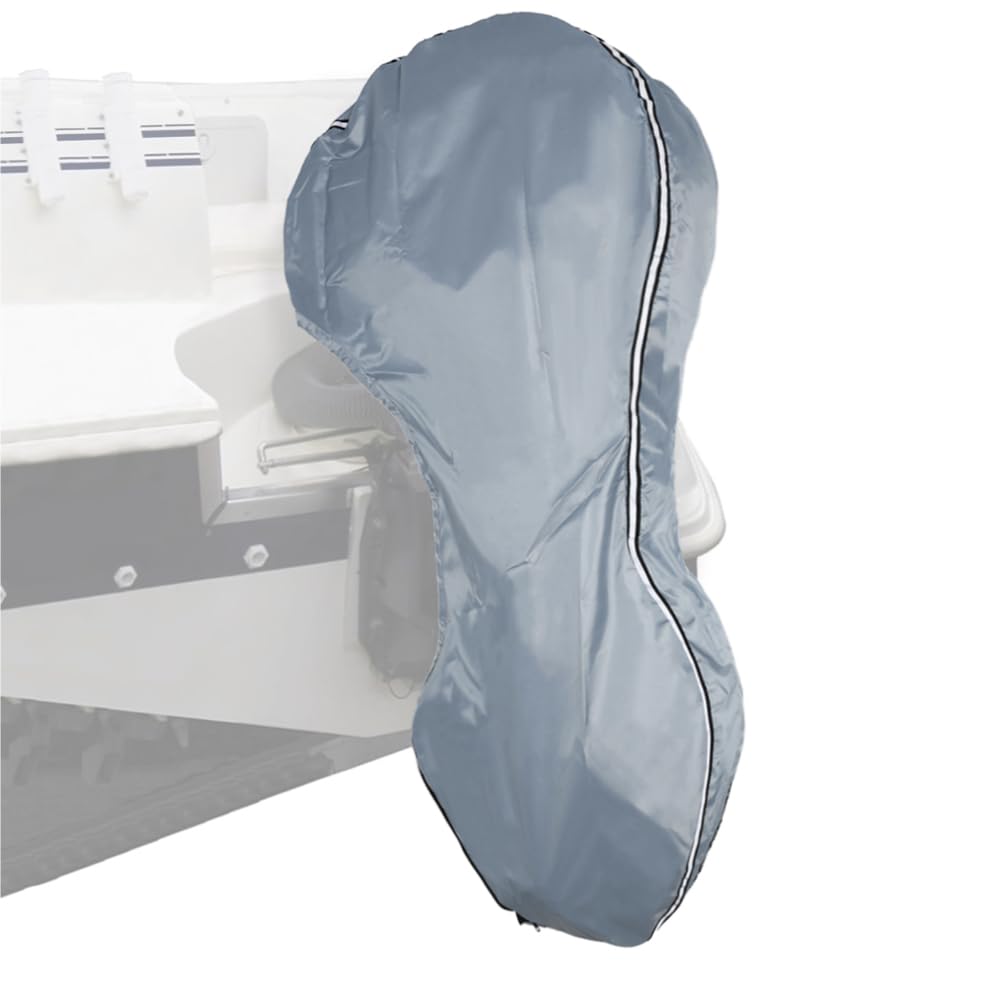
Not all shrink wrap is the same. The cheap rolls you find at discount retailers are often 4-mil or thinner. They tear easily, don't shrink evenly, and the seams fail under snow load. For a boat stored outdoors in northern climates, you want 6-mil or 7-mil virgin resin shrink wrap. It costs more, but it holds up to wind, snow, and UV exposure all winter.
The thickness matters when wrapping over an outboard because the plastic has to handle the irregular shape of the motor without tearing at stress points. Thicker material gives you more margin for error when you're heat-shrinking around cowl contours or over the lower unit.
We've seen guys try to save money using recycled shrink wrap or reusing last year's wrap. It's a gamble. The plastic degrades in UV light and loses elasticity, so it won't shrink tight the second time. It'll sag, collect water, and create more problems than it solves.
Troubleshooting After Unwrapping
When you unwrap the boat in spring, inspect the motor before you launch.
Pull the cowl off and check for visible corrosion. Green or white powdery deposits on electrical terminals mean moisture got in. If you see it on the starter solenoid or the main wiring harness connector, clean it off with a wire brush and spray with electrical contact cleaner. If it's heavy corrosion (like on the stator coils), you might need to replace components.
Check the spark plugs. If they're rusty or the ceramic insulator is discolored, condensation reached the combustion chamber. Replace them before you run the motor. For advice on high-performance ignition components, see our High-Performance Spark Plugs: Do They Make a Difference? article.
Look at the throttle linkage and shift cables. If they're stiff or sticky, spray them with lubricant and work them back and forth until they move freely. Moisture can cause the pivot points to seize if they weren't greased before storage.
If you find standing water anywhere inside the cowl or around the powerhead, you had a ventilation problem. Make a note to improve airflow next season.
The Environmental Side
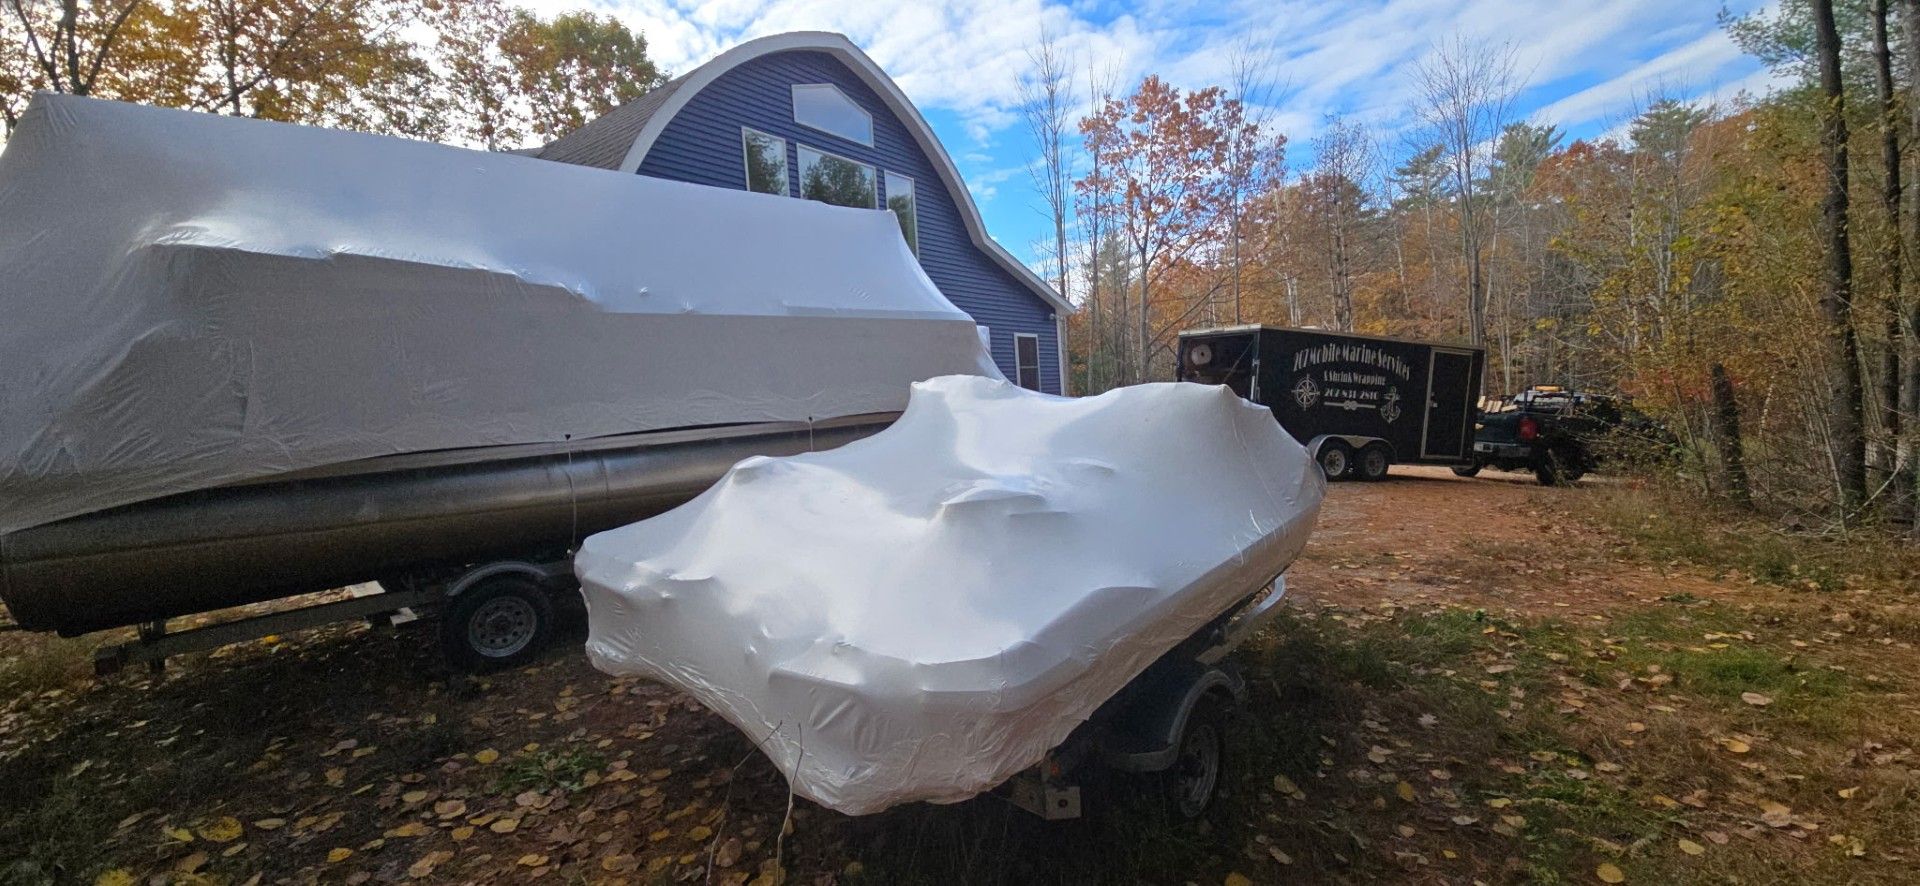
Shrink wrap generates a huge amount of waste. In the US, over 46,000 tons of shrink wrap plastic goes into boat storage every year. (Source) That's 92 million pounds of plastic, most of which ends up in landfills. Only about 7% gets recycled in some areas like Rhode Island. (Source)
We don't have a perfect solution for this. Shrink wrap works, and it's what most northern boat owners rely on to protect their investment. But it's worth looking into local recycling programs. Some marinas collect used shrink wrap and send it to recyclers that turn it into plastic lumber or other products. If your area has a program, participate. If not, push your marina to start one.
Tarps are reusable, but they don't seal as well and they flap in wind, which can damage the boat's finish. Fabric covers work for smaller boats, but they don't handle heavy snow loads. For now, shrink wrap is still the best option for full winter protection in harsh climates, but we need to get better at recycling it.
When You Need Parts

Even with perfect winterization and wrapping, parts wear out. Impellers fail, thermostats corrode, fuel pumps quit. When that happens, you need the right part fast.
We shipped a lower unit seal kit to a boat owner in Queensland, Australia, last month. He had a 1998 Mercury 75HP that was leaking gear oil—classic seal failure. The motor was long out of production, and local dealers quoted him three weeks for an OEM part at a markup he couldn't justify. He emailed us the engine serial number, we matched him with a factory-spec seal kit, and had it in his hands in 10 days. He installed it himself, refilled the gearcase, and the leak stopped. For more on seals and impellers, check out our Signs Your Outboard Impeller Needs Replacement and Maintaining Your Outboard’s Gearcase: Mercury vs. Yamaha blogs.
That's what we do. Whether it's a seal kit for a 25-year-old motor or a fuel pump for a current-model Yamaha, we get you the part without the dealership markup. We ship direct from the factory to your dock, anywhere in the world.
OEM parts are good quality, but you're paying extra for the brand logo on the box. Cheap aftermarket parts from random sellers are a gamble—wrong fitment, brittle gaskets, seals that leak the first time you put the motor under load. The middle ground is reputable aftermarket manufacturers who produce factory-spec parts. Some of the same factories that make OEM components will use their excess capacity to produce non-OEM parts under different labels, and the quality is identical. That's the tier we source from. Learn more about part options in our OEM vs. Aftermarket Outboard Parts: What’s the Difference? article.
Common Questions
What's the best way to prevent condensation under the outboard cowl when shrink wrapping?
Leave gaps in the plastic near the cowl vents so air can circulate. Don't seal it tight. Install purpose-built vents in the wrap if you're covering the motor, or leave the outboard completely outside the wrap.
Can I store the outboard tilted up while shrink wrapped?
No. Store it vertical (down) so water drains out of the gearcase and exhaust. Tilting it up traps water in low spots where it can freeze and crack components.
Do I need to remove the propeller before shrink wrapping?
Yes. Pull the prop, inspect the shaft and hub for fishing line or damage, grease the splines, and store it separately. It prevents theft and lets you check for seal issues.
What shrink wrap thickness should I use for a boat with an outboard?
Use 6-mil or 7-mil virgin resin shrink wrap for outdoor storage in cold climates. Thinner material tears too easily around the irregular shape of an outboard motor.
How do I know if moisture got into the motor over winter?
When you unwrap, check for corrosion on electrical terminals, rust on spark plugs, or standing water inside the cowl. Sticky throttle linkage or shift cables also indicate moisture exposure.
After you've winterized and wrapped your boat, check the cowl drain holes before storage. A lot of outboards have small drain ports at the bottom of the cowl that let water escape if it gets in. Make sure they're not clogged with dirt or old grease—poke a wire through them to clear any blockage so water can drain freely all winter.
For more on protecting your boat and parts, explore the Boat Accessories collection and our Inboard & Outboard Motor Parts collection. For all your marine parts needs, visit the JLM Marine hub for direct factory shipping worldwide.
Sources:
- https://www.11thhourracingteam.org/news/shrink-the-environmental-impact-of-shrink-wrapping-your-boat/
- https://www.boats.com/how-to/shrink-wrapping-a-boat/
- https://www.boats.com/how-to/winter-storage-tips-for-outboard-motors/
- https://www.usamarineinc.com/pages/boat-shrink-wrapping
- https://www.youtube.com/watch?v=7Tu_XUgvUKc
- https://www.youtube.com/watch?v=oE-OV5g1Qgg
- https://vansoutboardparts.com/blog/outboard-winterization-thats-a-wrap
- https://www.boeshield.com/
Hi—I’m Jim Walker
I grew up in a Florida boatyard, earning pocket money (and a few scars) by rebuilding outboard carbs before I could drive. That hands-on habit carried me through a Ph.D. in mechanical engineering, where I studied how salt water quietly murders metal.
I spent ten years designing cooling systems for high-horsepower outboards, then joined JLM Marine as CTO. We bench-test every new part in the lab, but I still bolt early prototypes onto my own 23-foot skiff for a weekend shake-down— nothing beats real wake and spray for finding weak spots.
Here on the blog I share the fixes and shortcuts I’ve learned so your engine—and your day on the water—run smooth.

For Boat Owners:
To assist you in maintaining and repairing your marine engines, we hope the following resources may be of use:
- Mercury Serial Number Guide
- Owner's Manuals from Mercury
- Official Model Number Reference Guide PDF from BRP
- Johnson Serial Number Guide
-
Boat Accessories from JLM Marine
About JLM Marine
Founded in 2002, JLM Marine has established itself as a dedicated manufacturer of high-quality marine parts, based in China. Our commitment to excellence in manufacturing has earned us the trust of top marine brands globally.
As a direct supplier, we bypass intermediaries, which allows us to offer competitive prices without compromising on quality. This approach not only supports cost-efficiency but also ensures that our customers receive the best value directly from the source.
We are excited to expand our reach through retail channels, bringing our expertise and commitment to quality directly to boat owners and enthusiasts worldwide.
Boat Accessories on Sale
- $37.99
$45.99- $37.99
- Unit price
- per
- $34.99
- $34.99
- Unit price
- per
- $128.99
- $128.99
- Unit price
- per

- $25.30
$30.00- $25.30
- Unit price
- per


- $34.99
$41.99- $34.99
- Unit price
- per

- $32.50
$31.00- $32.50
- Unit price
- per

- $139.99
- $139.99
- Unit price
- per


- $45.00
- $45.00
- Unit price
- per
-
Red
-
Blue

- $28.50
$29.00- $28.50
- Unit price
- per

- $159.99
- $159.99
- Unit price
- per


- $105.00
- $105.00
- Unit price
- per


- $34.99
$41.99- $34.99
- Unit price
- per


- From $68.00
- From $68.00
- Unit price
- per
-
Silver
-
Blue
-
Red


- $34.99
$41.99- $34.99
- Unit price
- per

- $59.95
$71.00- $59.95
- Unit price
- per

- $59.99
$71.00- $59.99
- Unit price
- per


- $34.99
$41.99- $34.99
- Unit price
- per

- $65.50
$78.00- $65.50
- Unit price
- per

- $67.00
$65.00- $67.00
- Unit price
- per

- $19.99
- $19.99
- Unit price
- per