


Fall Engine Flush: Removing Salt & Grime Before Storage
- Why Salt Kills Engines During Storage
- Flushing Methods: What Actually Works
- Open-Loop vs. Closed-Loop Systems
- Using Chemical Flush Solutions
- Step-by-Step: Pre-Storage Flush Using the Canister System
- Troubleshooting Common Flush Problems
- Engine Types: What's Different
- When NOT to Flush
- How Often to Flush: Real-World Schedule
- Alternative Methods Without a Kit
- The Protective Barrier: How Long Does It Last?
- Cost and Availability
- Is It Safe for My Engine?
- Final Check: What You Need
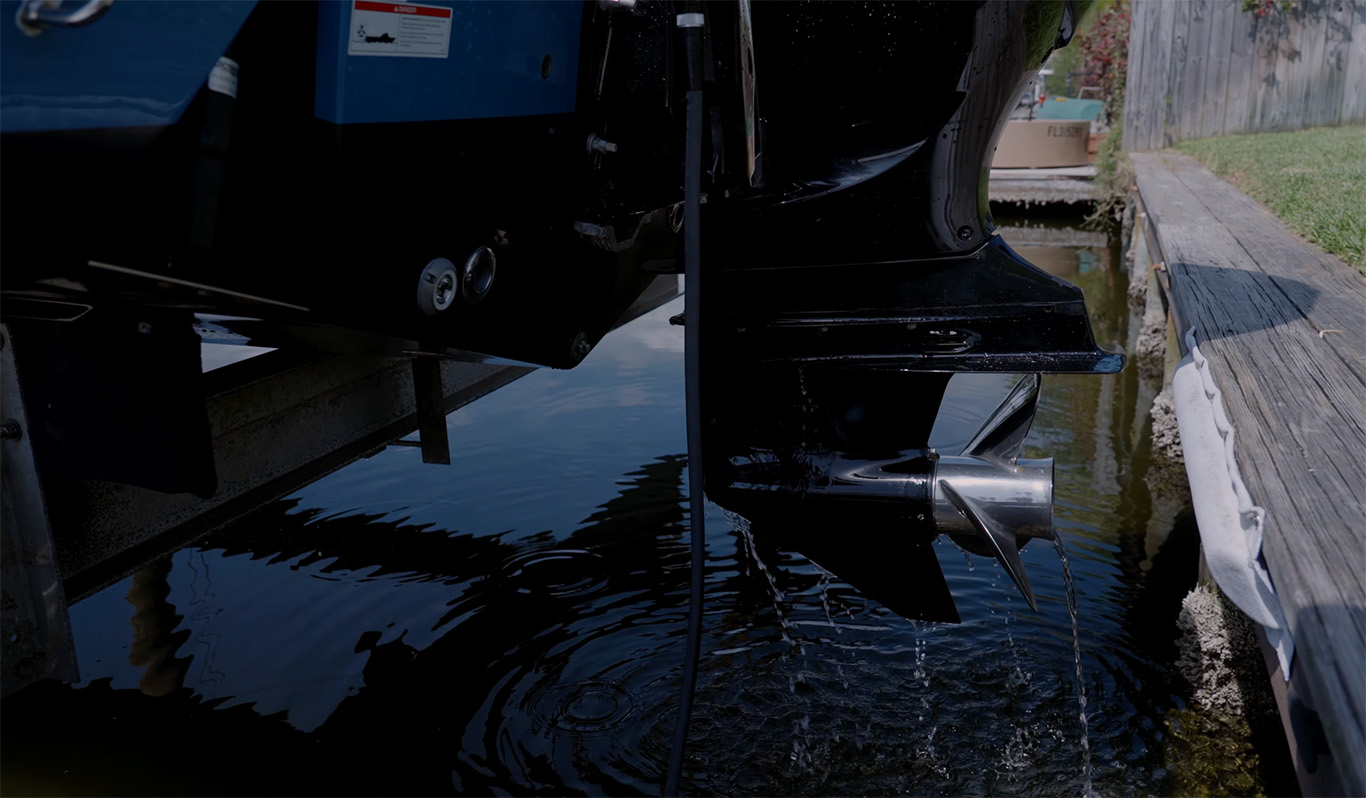
After 20 years working on outboards, I've torn down enough corroded engines to know that flushing before storage isn't optional—it's the difference between firing up clean next spring and dealing with seized pistons or eaten-through cooling passages.
Saltwater gets everywhere. Not just the outside—inside your cooling jacket, your exhaust manifolds, your cylinder walls if you've got any worn rings. When you let that sit for three months, you're giving corrosion a head start. Same goes for road salt if you're trailering near treated highways or launching at coastal ramps.
Why Salt Kills Engines During Storage
Salt crystals don't just sit there. They pull moisture out of the air—hygroscopic, the chemistry guys call it. That moisture plus salt creates the perfect electrolyte for galvanic corrosion, where dissimilar metals in your block, impeller housing, and anodes start eating each other. I've seen aluminum castings pitted so bad they looked like moon craters after one winter of neglect.
Calcium deposits are the other issue. Hard water and combustion byproducts leave scale that clogs narrow cooling passages. A restricted passage means your engine runs hot, and if you're storing it clogged, that scale just hardens further. When you try to flush it next season, you're already behind.
According to ABYC standards on corrosion management, galvanic corrosion accelerates exponentially in stagnant saltwater environments, which is exactly what you create inside an unflushed engine during storage. The Marine Industry Association notes that up to 40% of premature engine failures in coastal areas trace back to inadequate post-use flushing.
Flushing Methods: What Actually Works
You've got a few ways to do this. Most guys use flush muffs (ear muffs), which clamp over the lower unit intakes. They work fine for quick rinses but don't always get full pressure to the back of the cooling system. For storage prep, I prefer an inline hose adapter or a dedicated flush port if your engine has one—usually a threaded fitting on the block.
Standard muff method: Clamp the muffs over both intake screens on the lower unit. Turn on the hose before starting the engine—you need water flow first or you'll fry the impeller in about ten seconds. Start the engine and let it idle. You should see a strong tell-tale stream from the pilot hole. If it's weak or spitting intermittently, your impeller might already be shot or you've got a clog.
Flush port method: Most Yamahas, Mercs, and Suzukis from the last 15 years have a port on the block. Thread your hose adapter in, turn on the water, start the engine. This pushes water through the entire system under pressure—better coverage than muffs. If you need parts for this system, check our Cooling System collection for adapters and hoses.
Bucket method: If you've got a small outboard (under 10HP), you can run it submerged in a trash can. Fill it deep enough to cover the intakes fully. Useful for adding chemical flush solutions, which we'll get to.
Open-Loop vs. Closed-Loop Systems
If you're running an open-loop (raw water) system—most outboards and some sterndrives—flushing is straightforward. Water comes in, runs through the block, exits through the exhaust. Flush until the discharge runs clean and the tell-tale is warm.
Closed-loop systems (common on larger inboards) use a heat exchanger. Raw water cools the exchanger; coolant circulates inside the block. You still need to flush the raw water side to clear salt from the exchanger and its plumbing, but you won't be pushing flush solution through the actual block. On these, I focus on the raw water pump, exchanger inlet/outlet, and any aftercoolers. If your intercooler is seawater-cooled (common on turbocharged diesels and some PWC), budget extra time—those cores clog fast.
Check out our Water Pump Impeller collection for replacement parts essential to keep your raw water pump functioning well.
Using Chemical Flush Solutions

Freshwater alone helps, but it won't dissolve hardened salt crystals or calcium scale. That's where a chemical flush comes in. I've used everything from white vinegar (cheap, works okay, acidic so it can attack anodes if you leave it in) to harsh industrial degreasers (effective but murder on rubber seals).
Salt Shift Marine Engine Flush is one I've been running the last few seasons. It's plant-derived, pH-neutral, and biodegradable—matters if you're flushing dockside and don't want to dump harsh chemicals into the water. More importantly, it's safe on gaskets, impellers, and painted surfaces, which acidic cleaners aren't.
Here's what I like about it: it actually dissolves salt and calcium without attacking your sacrificial anodes. Acidic flushes (like some citric-acid-based products) are aggressive on zinc and aluminum anodes, which defeats the purpose—you're cleaning the engine but eating the parts designed to protect it. A pH-neutral formula won't do that, and according to the NMMA corrosion prevention guidelines, maintaining anode integrity is critical for long-term corrosion resistance.
I ran a simple test last fall: took two seized thermostat housings from a pair of 90HP Yamahas. Soaked one in straight Salt Shift for 30 seconds, the other in tap water. The Salt Shift housing wiped clean with a rag—the salt just dissolved. The water-soaked one still had white crust in every crevice. Not scientific, but convincing enough for my purposes. For thermostat replacement parts, see our Yamaha Water Pump Impeller Kit collection to ensure quality parts for your flush-related repairs.
How to use it with a flush kit:
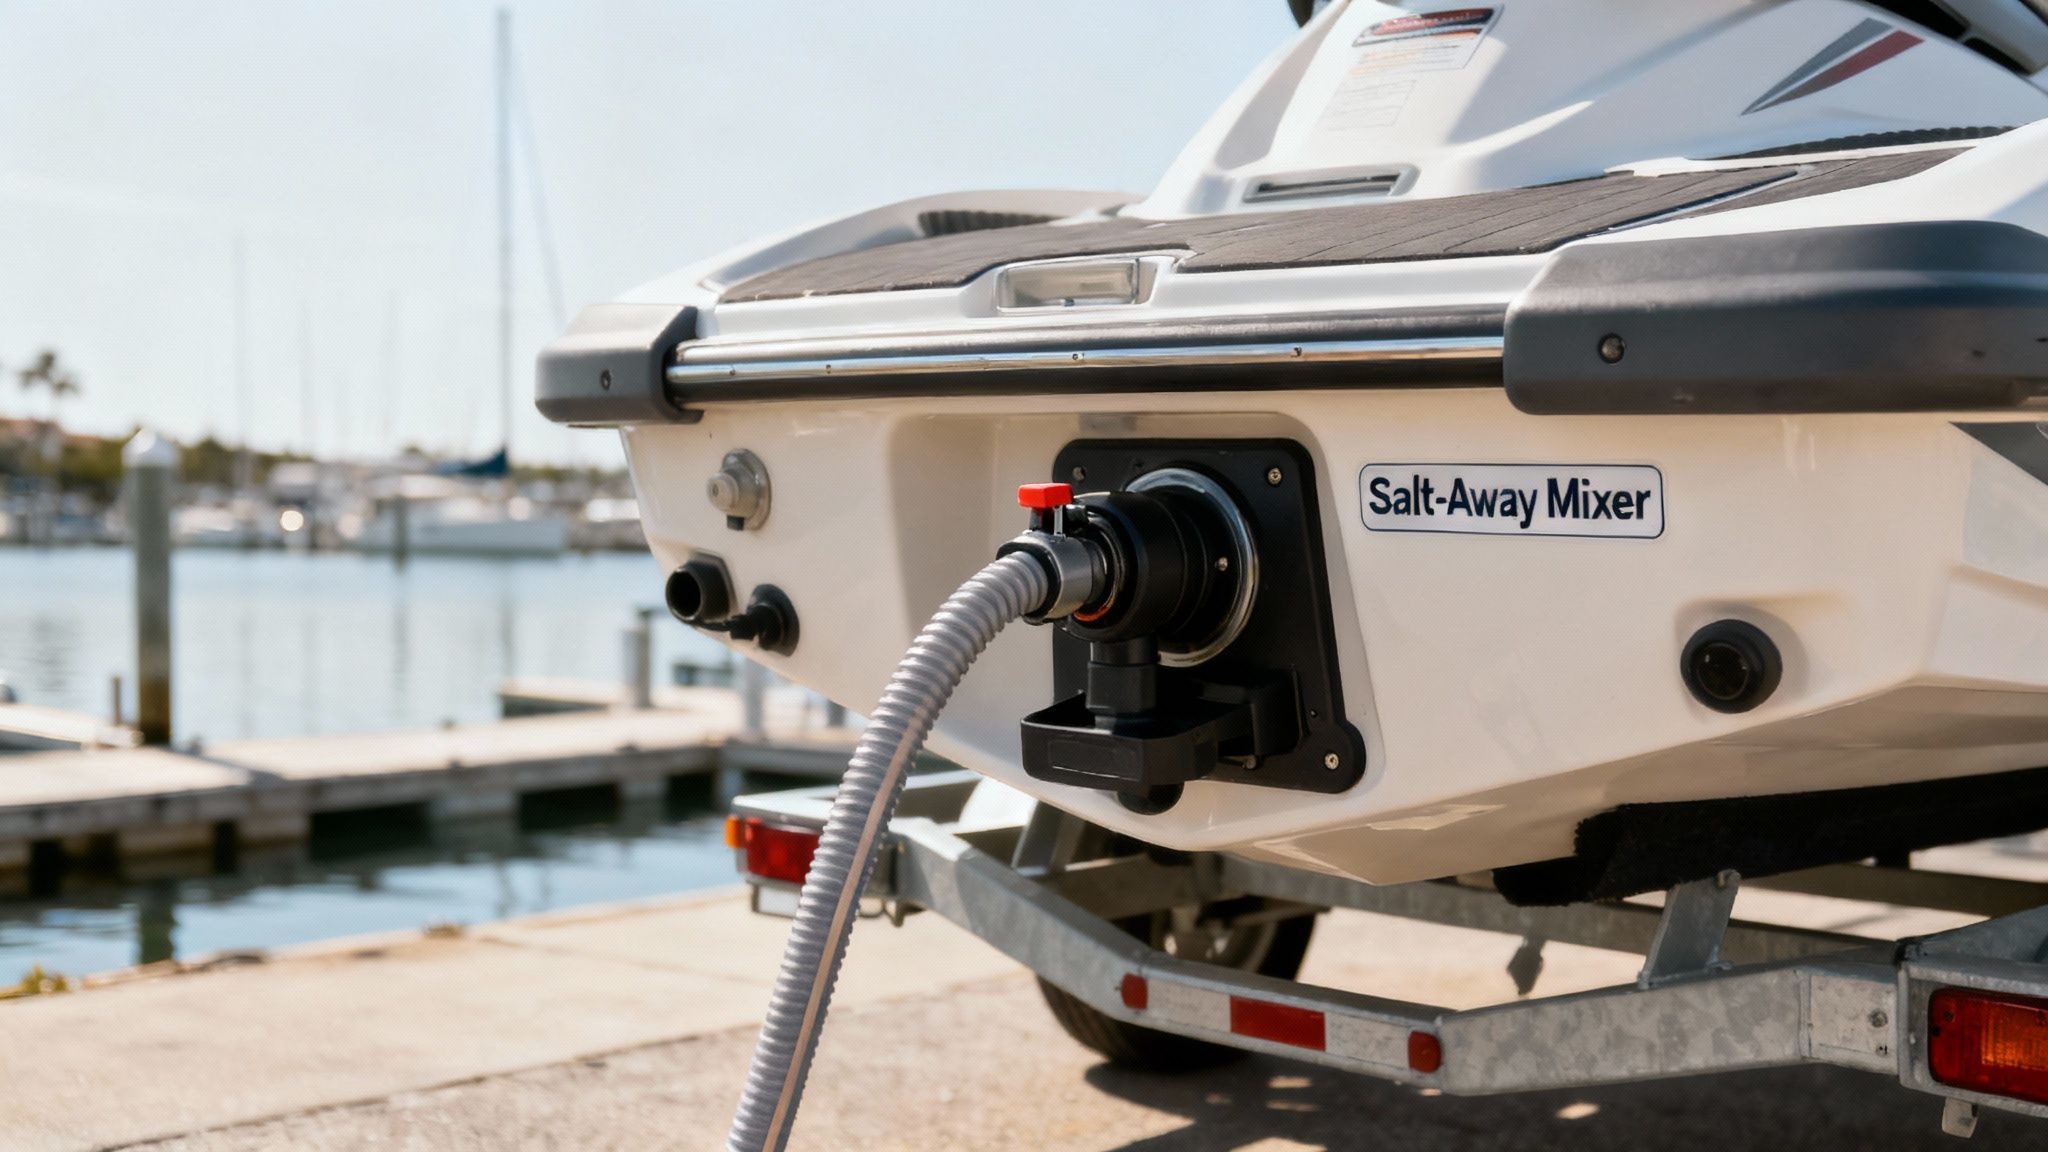
The Salt Shift canister system uses 50ml of concentrate in the canister reservoir. You attach your garden hose to the inlet, connect the outlet to the engine's flush port, and set the dial. For most outboards over 50HP, dial 3 works—it's roughly a 20:1 dilution ratio, which translates to about 1 part solution to 20 parts water flow. If you're using a smaller engine or a trolling motor, dial it down to 1 or 2 to avoid over-concentrating.
Run the engine at idle for the time recommended in your manual—usually 10-15 minutes for a full flush. You want the engine at operating temperature so the thermostat opens and the solution circulates through the entire cooling jacket. If the thermostat stays closed, you're only flushing the outer passages, not the block itself.
Without the canister:
Mix 20:1 in a bucket (e.g., 100ml Salt Shift to 2 liters of water). Pour it into a larger container or trash can, submerge the lower unit, and run the engine for 10 minutes. For larger engines that won't fit in a bucket, use a foam sprayer or pump sprayer to coat the exterior of the block and lower unit, let it sit for a few minutes, then flush with fresh water through muffs or the port.
I've also had success using a foaming gun attachment on a garden hose for external cleaning—fills all the crevices around the midsection and powerhead. The foam clings longer than a liquid spray, giving it time to work.
Step-by-Step: Pre-Storage Flush Using the Canister System

-
Fill the canister with exactly 50ml of Salt Shift concentrate. The canister has measurement marks inside.
-
Connect your garden hose to the canister inlet. Thread the canister outlet to the engine's flush port. On Yamaha 4-strokes, that's usually on the starboard side of the block, a brass or stainless fitting. Mercury Optimax and Verado engines have it near the midsection. If you don't have a port, use muffs instead, but you'll need to manually add the solution to a bucket for submersion.
-
Set the dial to 3 for most engines above 40HP. Lower HP engines or those with smaller cooling passages, set it to 2. The dial controls the dilution rate as water passes through the canister.
-
Turn on the water and confirm strong flow from the hose before starting the engine.
-
Start the engine. Let it idle. Watch the tell-tale stream—it should be steady and warm (not cold, which means the thermostat is stuck closed). You want the thermostat open so the flush reaches the entire block. That usually takes 5-10 minutes at idle. If your temp gauge is climbing too high or the tell-tale shuts off, kill the engine immediately—you've got a blockage or impeller failure.
-
Run for 10-15 minutes total, or per your manual's spec. Some older 2-strokes only need 5 minutes; big 4-strokes might call for 20.
-
Shut down the engine, then turn off the water. Always engine first, then water, to avoid backflow into the cylinders (rare but possible if you shut off water first and the engine keeps running with no pressure).
-
Follow with a 2-minute freshwater rinse using plain hose water to clear any residual solution. Not strictly necessary with a pH-neutral product, but it's cheap insurance.
Troubleshooting Common Flush Problems

Tell-tale stream is weak or intermittent at idle but fine at throttle:
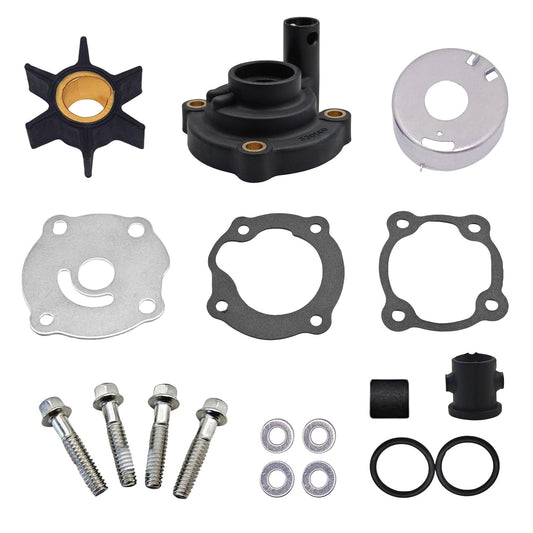
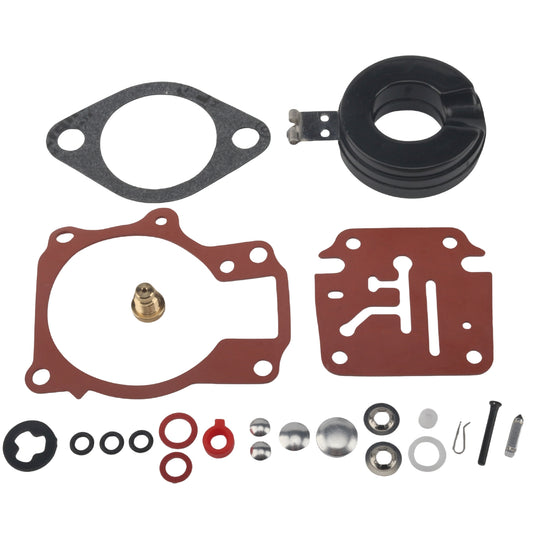
Classic impeller issue. The vanes are worn or some are missing. At higher RPM, the pump spins fast enough to move water even with damaged vanes, but at idle it can't generate pressure. Pull the lower unit and replace the impeller before storage—don't wait until spring. You can find impellers and replacement kits in our Water Pump Impeller Kit collection.
No tell-tale flow at all:
Either the impeller is completely shot, the tell-tale hole is clogged, or you've got a blockage in the cooling tube. Pull the tell-tale fitting and run a twist tie or small wire through it. If that's clear, the problem is upstream. Check the intake screens for debris, then pull the water pump housing.
Engine overheats during the flush:
Shut it down. Could be a stuck thermostat (won't open even when warm), a clogged passage, or insufficient water flow from the hose. Don't keep running it—you'll warp the head. Let it cool, then troubleshoot: feel the thermostat housing. If it's cold while the block is hot, the stat is stuck. If the whole block is evenly hot, you're not getting water circulation—check the impeller and intake. For thermostat maintenance tips, see this Thermostat Maintenance blog.
Water comes out the carburetor or spark plug holes:
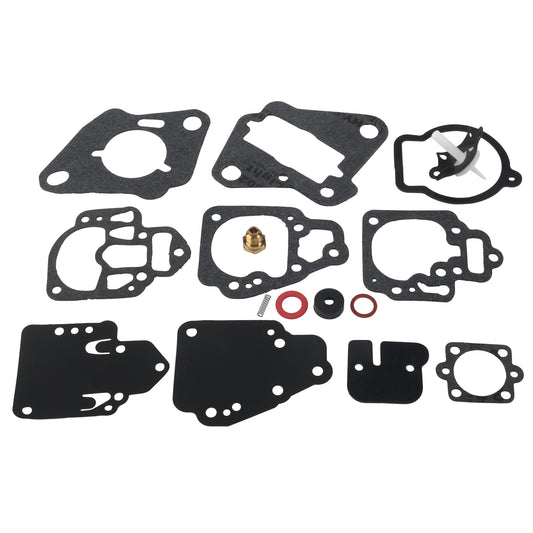
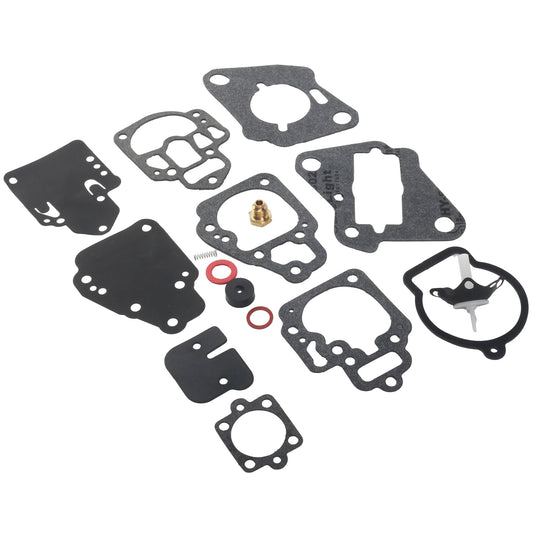
You've got water reversion. This happens if you over-flush with too much hose pressure or if you shut off the engine before the water. Water backs up through the exhaust into the cylinders. Not the end of the world, but you need to pull the plugs and crank the engine to blow the water out before it sits and rusts the cylinder walls. If you're experiencing carburetor problems after a flush, our Yamaha Outboard Carburetor Rebuild Tutorial might help.
Engine Types: What's Different
2-stroke outboards:
Simpler cooling systems, but they run hotter and the exhaust ports are part of the cooling jacket. Flush times are shorter (5-10 minutes max), but don't skip it. Old 2-strokes (pre-1995) often have soft rubber hoses and older gasket compounds—harsh chemicals will destroy them. Stick with pH-neutral solutions. I've seen too many cracked fuel pump diaphragms and brittle primer bulbs from guys using acidic flushes. For replacement fuel pump parts, check our Evinrude Fuel Pump collection.
4-stroke outboards:
More complex cooling, longer flush times. Many have thermostat-controlled flow, so you must get the engine to operating temp or you won't flush the block, just the outer jacket. If your 4-stroke has a freshwater cooling kit (closed-loop conversion), you only need to flush the raw water side—the heat exchanger and its supply lines.
PWC (Jet Ski) intercoolers:
If your ski is supercharged or turbocharged, it has a separate intercooler that uses raw water. These are tiny, high-surface-area cores that clog fast. Flush every single time you ride in salt, and use a chemical solution every 5-10 rides. I've pulled intercoolers that were 50% blocked after one season of lazy flushing. That kills your boost pressure and eventually cracks the core from thermal stress.
Sterndrive and inboard raw water systems:
These pull water through a thru-hull, pump it through a heat exchanger, and dump it out the exhaust. You're flushing the raw water pump (usually a belt-driven rubber impeller, same as an outboard's), the exchanger, and the exhaust mixing elbow. Connect your hose to the raw water inlet (often a barbed fitting near the pump) and run the engine. Some sterndrives have a dedicated flush valve—check your manual. Don't run the boat on the trailer without water supply for more than 5 seconds or you'll burn the impeller.
When NOT to Flush


If the engine is frozen or suspected frozen:
Don't run it. You'll crack the block. Thaw it first in a heated space.
If you've been running in silty or muddy water:
Flush immediately after the trip, not later. Silt hardens like concrete if it dries in the cooling passages. If you wait until fall, you might not be able to flush it out—you'll need to pull hoses and mechanically clean them.
If the impeller is damaged:
Fix it first. Running the engine with a bad impeller won't circulate the flush solution, and you risk overheating. For impellers and repair kits, shop our Water Pump Impeller and Repair Kit collections.
How Often to Flush: Real-World Schedule
After every saltwater trip:
Quick freshwater rinse, 2-3 minutes at idle. Just knock off the bulk salt.
Every 10 saltwater hours:
Full chemical flush, 10-15 minutes with a product like Salt Shift.
Before winter or long-term storage (3+ months):
Full chemical flush, then stabilize the fuel, fog the cylinders, and pull the battery. The flush is step one. For fuel stabilization products and tips, see our Fuel & Induction collection.
After any road-salt exposure (trailering in winter):
If you're hauling your boat on salted roads, hose down the trailer and lower unit after every trip. Do a chemical flush at the end of the season before storage.
Alternative Methods Without a Kit
Vinegar flush:
Mix 1 part white vinegar to 10 parts water in a bucket. Submerge the lower unit, run the engine for 5 minutes. Vinegar is acidic (pH ~2.5), so follow with a 5-minute freshwater rinse. Don't use this on engines with aluminum blocks or exposed anodes regularly—it'll eat them.
Bucket submersion with dish soap:
Old-school method. Fill a trash can with warm water and a few squirts of Dawn. Submerge the lower unit, run for 10 minutes. The soap breaks down oily grime but won't touch mineral scale. Cheap and safe for rubber parts, just not super effective on hard deposits.
Salt-Away or similar:
Mixer bottle attaches to a hose, dilutes automatically. Works similarly to the canister system. Salt-Away is well-regarded, though it's not pH-neutral (it's mildly alkaline). Still safer than acid-based products.
The Protective Barrier: How Long Does It Last?
Salt Shift (and a few other quality products) claim to leave a corrosion-inhibiting film on internal surfaces after flushing. In my experience, this lasts about 60-90 days in a stored engine, assuming you're in a dry environment. If you're storing in high humidity (coastal shed, no climate control), that barrier breaks down faster—moisture gets in and you're back to square one.
The film works by creating a hydrophobic layer that prevents moisture from contacting bare metal. It's not a permanent coating like an epoxy; it's more like a sacrificial wax. Once you start the engine again and run saltwater through it, the barrier washes away. That's fine—it did its job during storage.
If you're storing longer than 90 days, consider a mid-winter re-flush or at least crack the engine and spray some fogging oil in the cylinders and intake to supplement the barrier.
Cost and Availability
Salt Shift runs about $30-35 for a 1-liter bottle, which is enough for roughly 10-15 full flushes at 50ml per use (depending on engine size). The canister kit is another $25-40 as a one-time purchase. Not the cheapest option, but you're not replacing corroded thermostats or impeller housings every spring either.
For comparison, OEM flush kits from Yamaha or Mercury are $60-80 and often include one-time-use packets of solution. You're paying for the logo. Cheap generic flush solutions (the $10 bottle at the auto parts store) are usually just diluted detergent with no actual salt-dissolving chemistry—they'll foam up nice but won't touch calcium deposits.
The quality middle ground is products like Salt Shift, CRC Salt Terminator, or Salt-Away. They're made by smaller outfits or specialty marine companies, often produced in the same factories that make OEM solutions (just without the brand markup). We've sent Salt Shift kits to customers in Canada, Australia, and Southeast Asia—consistent feedback is that it works as advertised without the premium price.
They ship from a Gold Coast, Australia warehouse for international orders, or direct from US distributors for domestic. Free shipping over $50, and they offer a 30-day money-back guarantee, which is rare in the marine chemical space. Over 60,000 customers reported, though I haven't verified that number independently—it's their claim.
For more parts and accessories that complement maintenance, visit the Boat Accessories collection at JLM Marine.
Is It Safe for My Engine?
Yes, for virtually all modern outboards, inboards, and sterndrives. The pH-neutral, phosphate-free formula means it won't attack aluminum, stainless, rubber, or plastic components. I've used it on:
- Yamaha 4-strokes (F150, F200, F250)
- Mercury Optimax 2-strokes
- Suzuki DF90
- Older 2-stroke Johnsons (1988 40HP)
- Evinrude E-TEC G2
No issues with any of them. The older engines with neoprene fuel lines and cork gaskets handled it fine—those are the ones most sensitive to harsh chemicals.
One caution: If you have a very old engine (pre-1980s) with natural rubber components or shellac-based sealants, test the product on a small external part first. I haven't seen problems, but old rubber can be unpredictable.
Final Check: What You Need
- Garden hose with good pressure (40+ psi)
- Flush muffs, port adapter, or canister system
- Chemical flush solution (50ml per session for canister, or 100-200ml for bucket method)
- 10-20 minutes of run time
- Fresh water for post-flush rinse
After your flush, change the lower unit gear oil if you're storing long-term. Water intrusion shows up as milky oil—if you see that, you've got a seal leak and it needs fixing before next season. For gear oil and seals, browse our Lower Unit Parts collection for OEM quality components.
Run a tank of fuel with stabilizer through the engine after flushing so the carbs or injectors get treated fuel. Then disconnect the fuel line, run the engine until it dies to clear the system.
Daily tip: After every single saltwater run, even if it's just a 20-minute trip, give the engine a 2-minute freshwater rinse at idle. It takes no time and it'll double the life of your water pump impeller. Learn more on daily care in our blog Daily Engine Flush for Saltwater Boats: A Good Habit.
For all your marine parts needs and more expert articles, visit the JLM Marine main hub page.
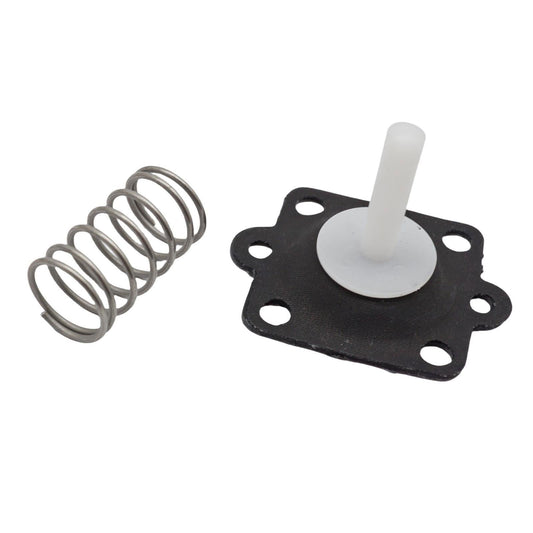
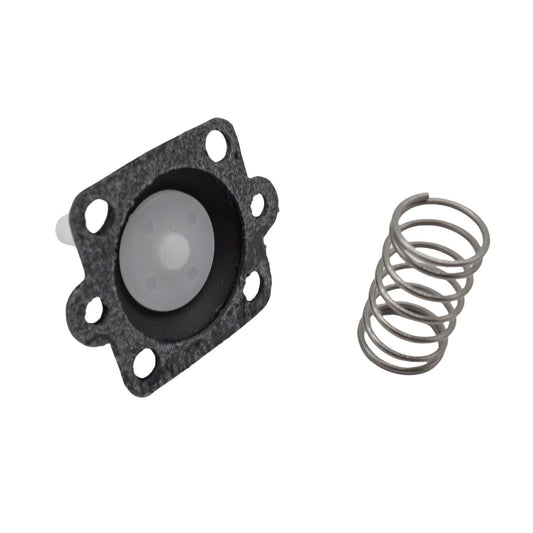
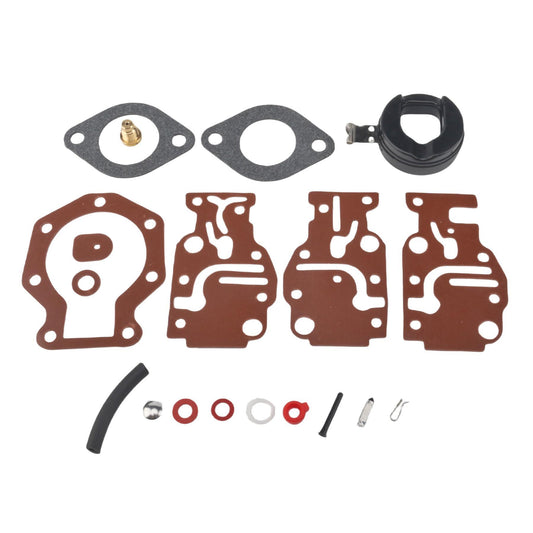
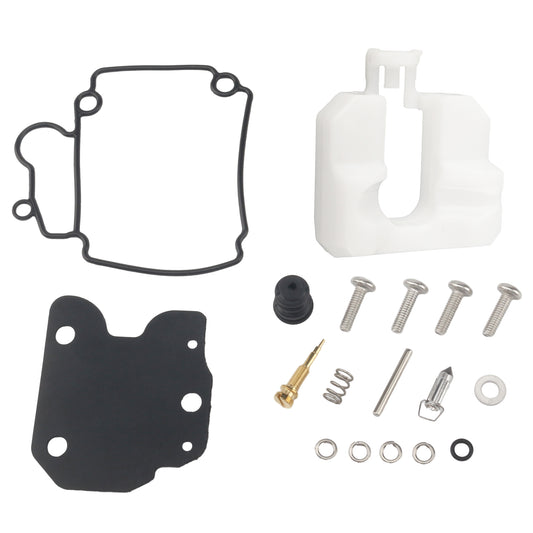
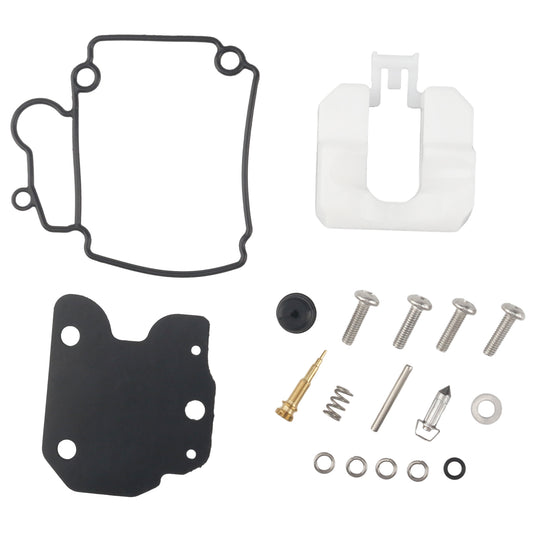
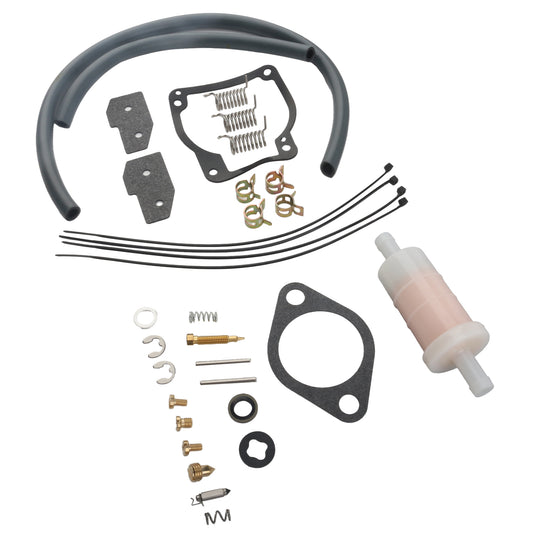
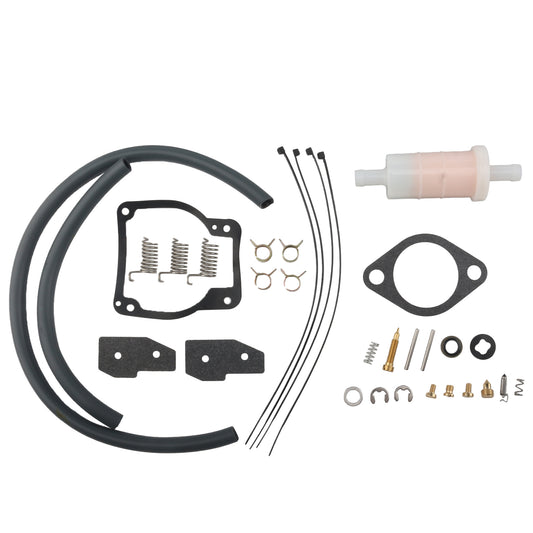
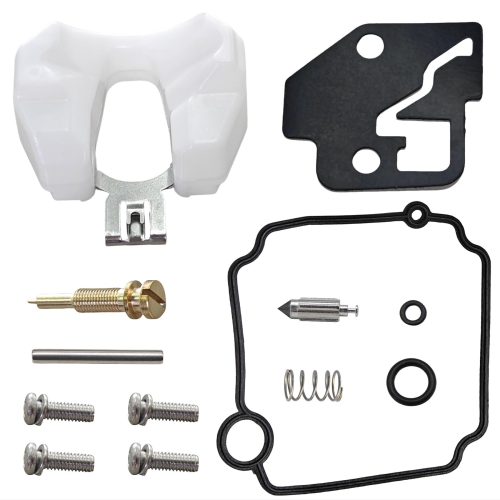
For Outboard Owners:
To assist you in maintaining and repairing your marine engines, we hope the following resources may be of use:
-
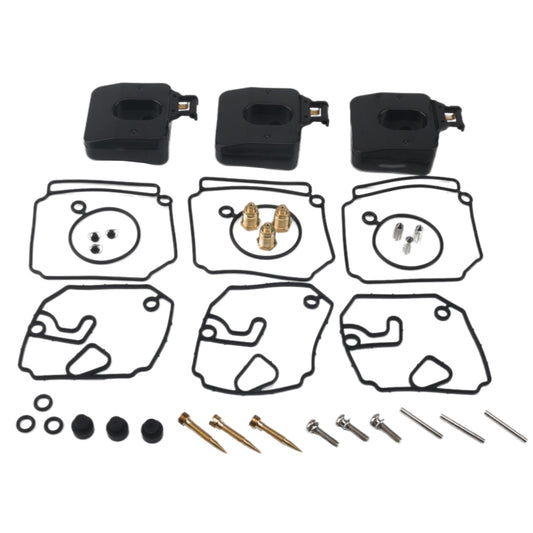
Carburetors from JLM Marine
-
Carburetor Rebuild Kits from JLM Marine
About JLM Marine
Founded in 2002, JLM Marine has established itself as a dedicated manufacturer of high-quality marine parts, based in China. Our commitment to excellence in manufacturing has earned us the trust of top marine brands globally.
As a direct supplier, we bypass intermediaries, which allows us to offer competitive prices without compromising on quality. This approach not only supports cost-efficiency but also ensures that our customers receive the best value directly from the source.
We are excited to expand our reach through retail channels, bringing our expertise and commitment to quality directly to boat owners and enthusiasts worldwide.
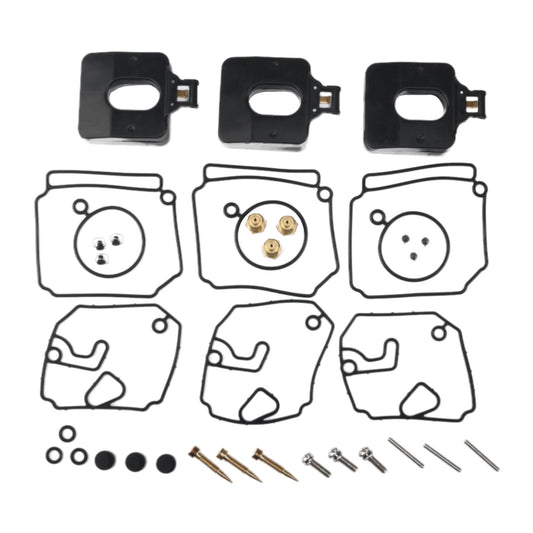
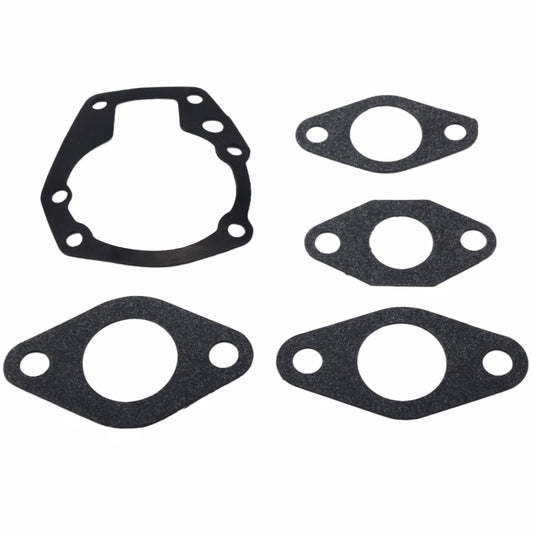
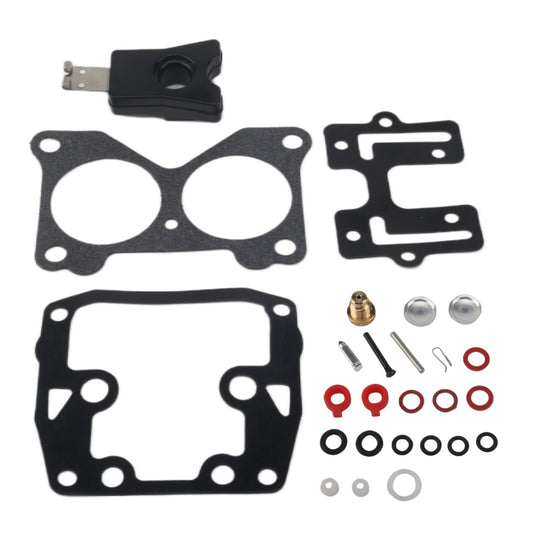
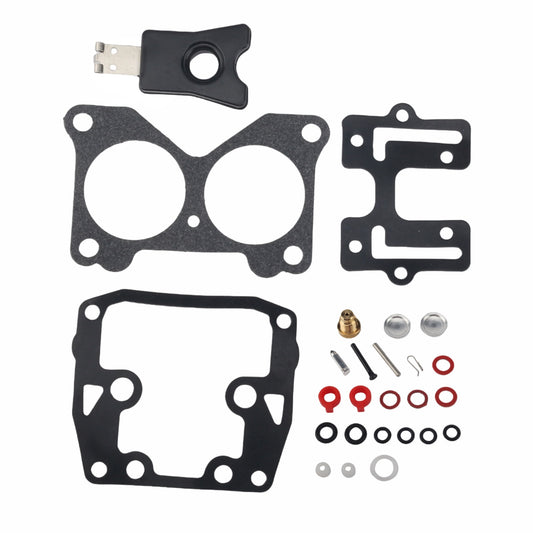
Carburetor Repair Kits on Sale
- $46.00
$55.00- $46.00
- Unit price
- per
- $18.13
$59.00- $18.13
- Unit price
- per
- $24.99
$29.00- $24.99
- Unit price
- per

- $19.50
$23.00- $19.50
- Unit price
- per
- $17.39
$22.50- $17.39
- Unit price
- per
- $21.19
$32.00- $21.19
- Unit price
- per


- $21.99
$24.00- $21.99
- Unit price
- per

- $18.99
$15.00- $18.99
- Unit price
- per
- $15.99
$13.00- $15.99
- Unit price
- per

- $16.99
$20.00- $16.99
- Unit price
- per

- $18.79
$15.00- $18.79
- Unit price
- per

- $21.99
$19.00- $21.99
- Unit price
- per

- $19.99
$23.00- $19.99
- Unit price
- per
- $20.72
$18.00- $20.72
- Unit price
- per

- $19.99
$23.00- $19.99
- Unit price
- per

- $20.89
$17.00- $20.89
- Unit price
- per

- $17.68
$16.00- $17.68
- Unit price
- per
- $17.58
$23.00- $17.58
- Unit price
- per
- $30.50
- $30.50
- Unit price
- per
- $25.50
$30.00- $25.50
- Unit price
- per