Outboard Carburetor Rebuild: Step-by-Step Instructions
Rebuilding an outboard carburetor can seem intimidating, but with the right tools, parts, and instructions, it's a manageable DIY project that can save you hundreds of dollars in service costs. This comprehensive guide will walk you through the entire process of rebuilding your outboard motor's carburetor, from disassembly to reassembly and adjustment.
Why Rebuild Your Outboard Carburetor?
Before diving into the rebuild process, it's important to understand when a carburetor rebuild is necessary:
- Poor engine performance (rough idle, hesitation, stalling)
- Hard starting or failure to start
- Excessive fuel consumption
- Visible fuel leaks from the carburetor
- Engine has been sitting unused for an extended period
- Regular maintenance (recommended every 2-3 years)
A properly rebuilt carburetor will restore your outboard's performance, improve fuel efficiency, and extend the life of your engine.
Tools and Materials Needed
Essential Tools:
- Screwdriver set (flathead and Phillips in various sizes)
- Socket set with extensions
- Needle-nose pliers
- Small container or parts organizer for keeping components sorted
- Digital camera or smartphone for taking reference photos
- Carburetor cleaner spray
- Compressed air (if available)
- Small wire brushes
- Fine wire for cleaning tiny passages (guitar string works well)
- Clean rags or shop towels
- Small plastic or brass picks (never use steel on aluminum parts)
- Torque wrench (if specified in your service manual)

Materials Required:
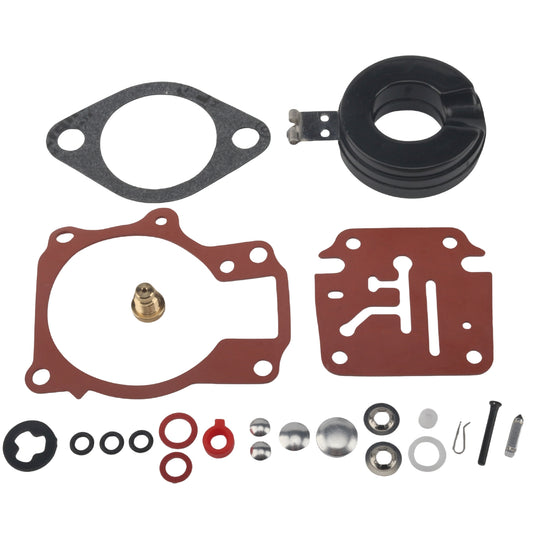
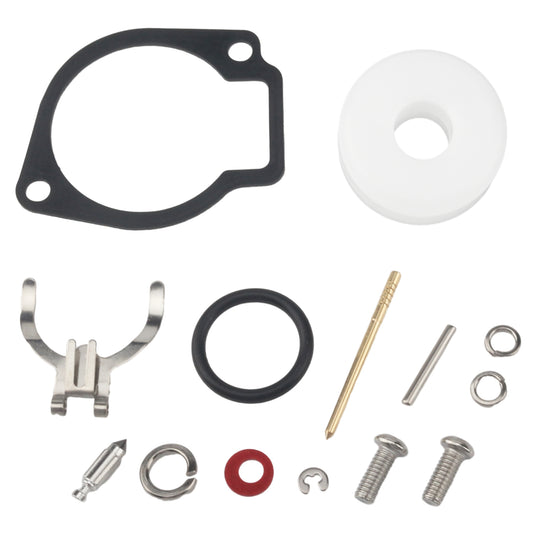
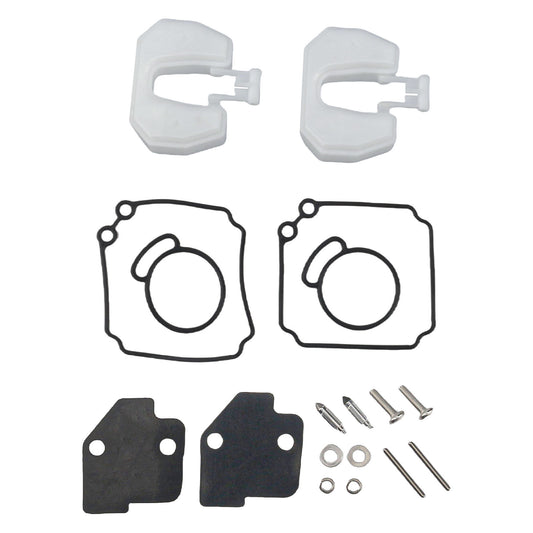
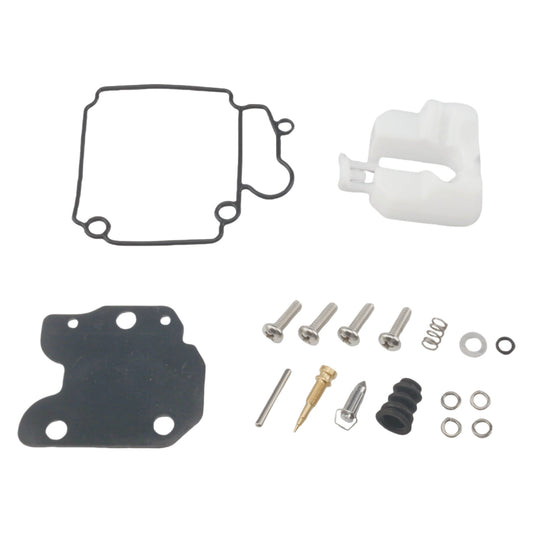
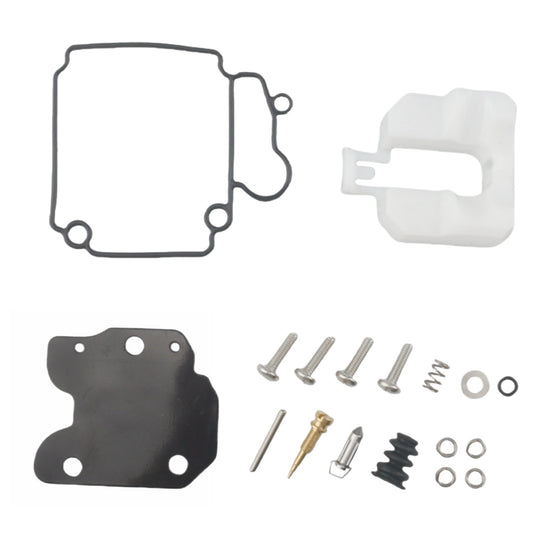
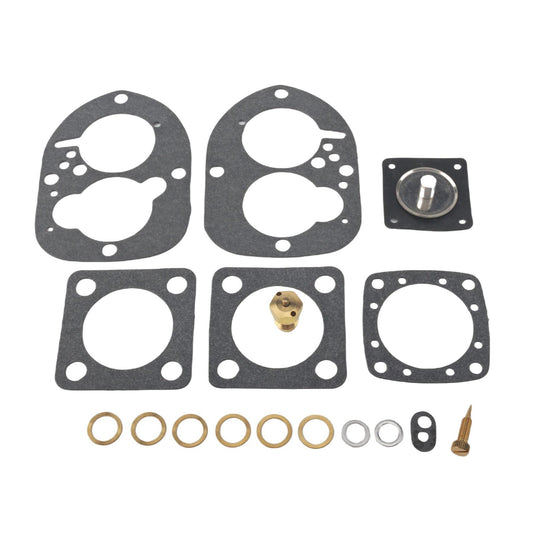
- Carburetor rebuild kit specific to your outboard model
- Carburetor cleaner solvent (for soaking metal parts)
- Safety glasses and chemical-resistant gloves
- Service manual for your specific outboard model
- Small plastic basin for soaking parts
- Masking tape and marker for labeling components
Selecting the Right Rebuild Kit
Choosing the correct rebuild kit is crucial for a successful carburetor restoration. Here's how to ensure you get the right one:
-
Identify your carburetor model: Look for identification numbers stamped on the carburetor body or on a metal tag attached to it.
-
Engine information: Note your outboard's make, model, year, and horsepower.
-
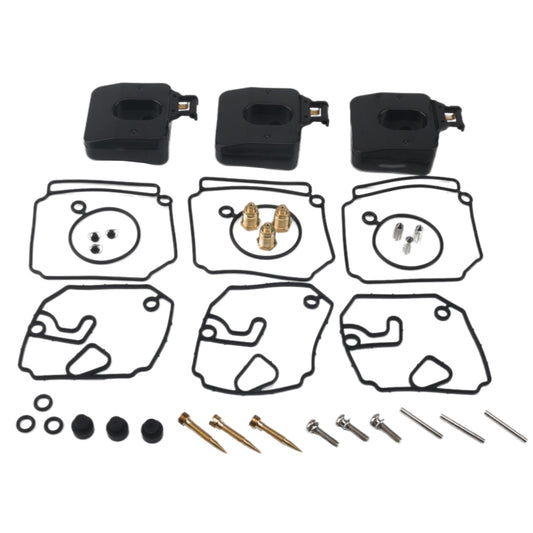
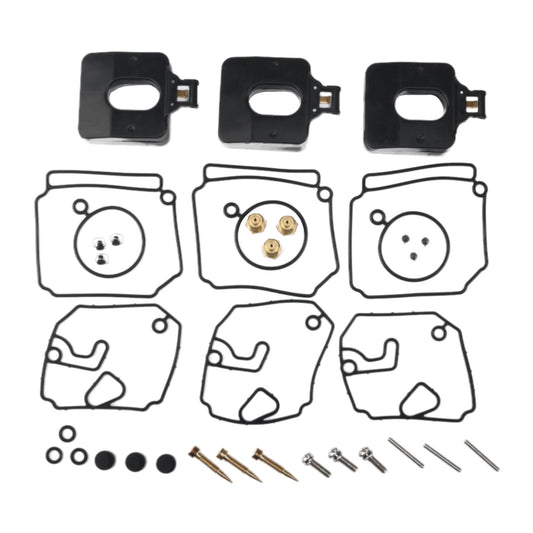
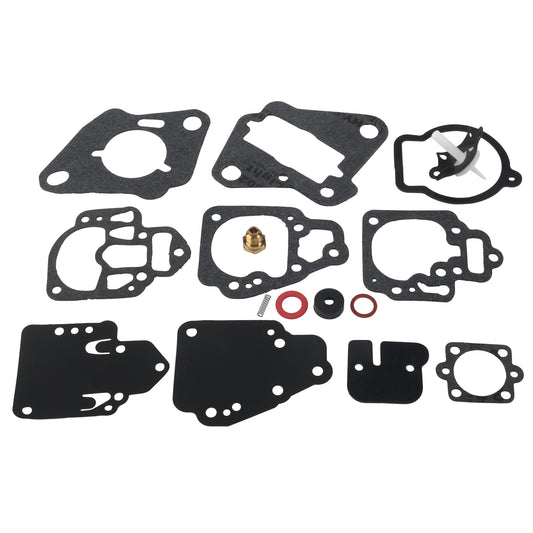
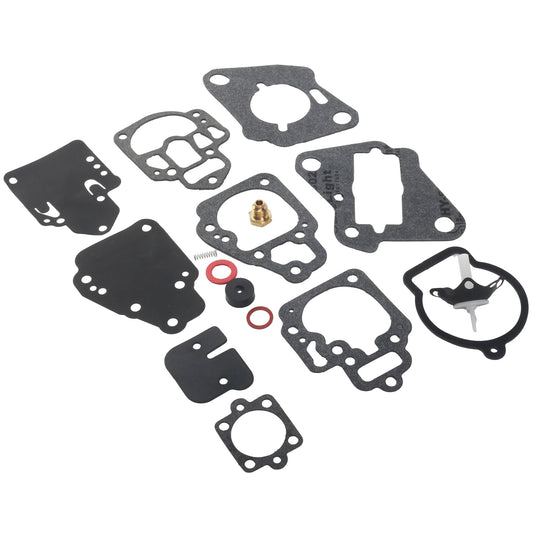
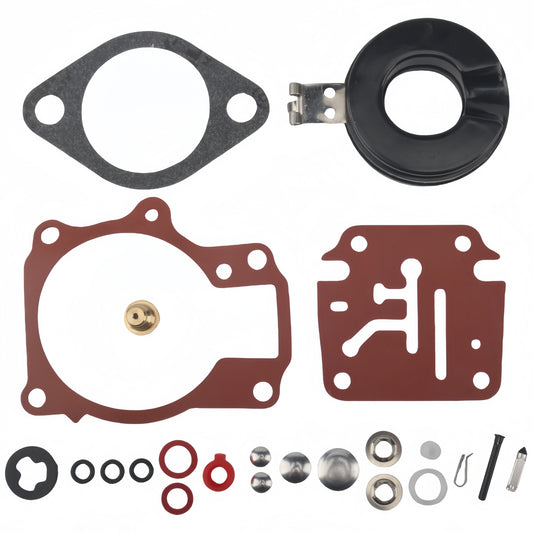
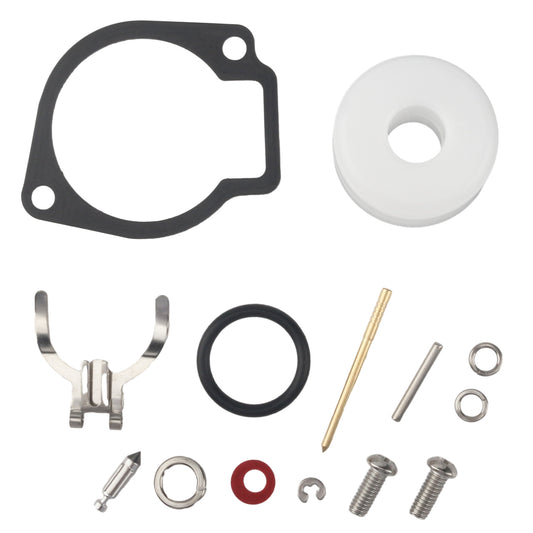
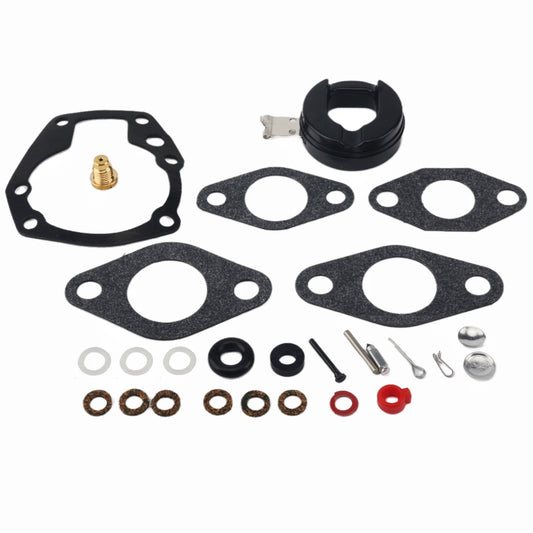
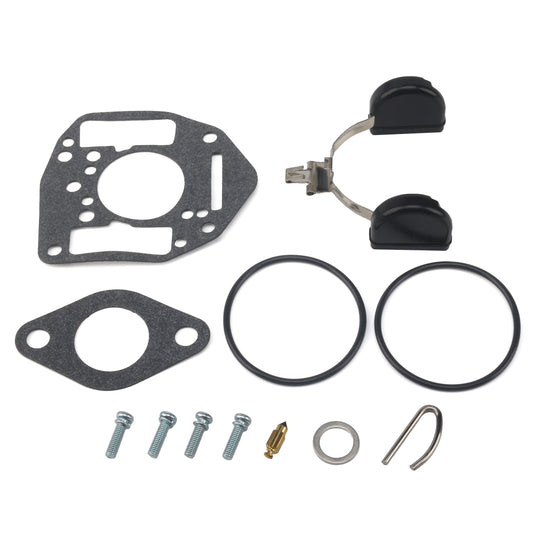
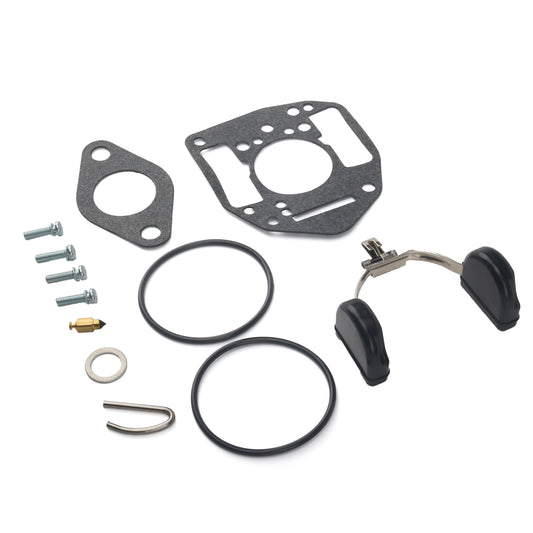
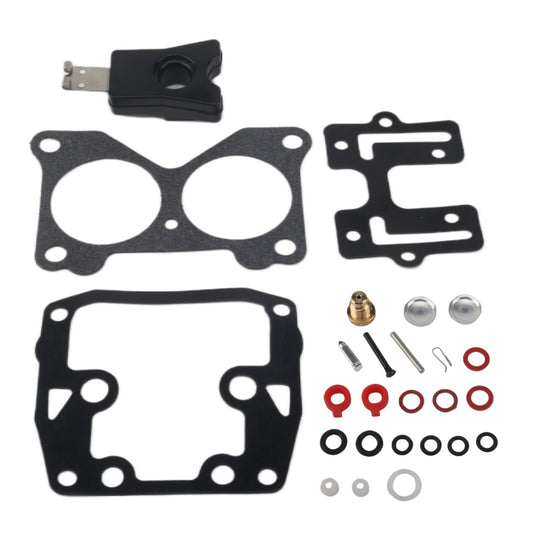
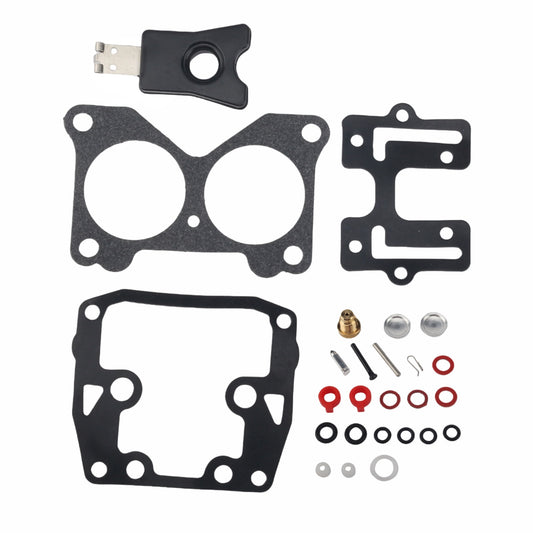
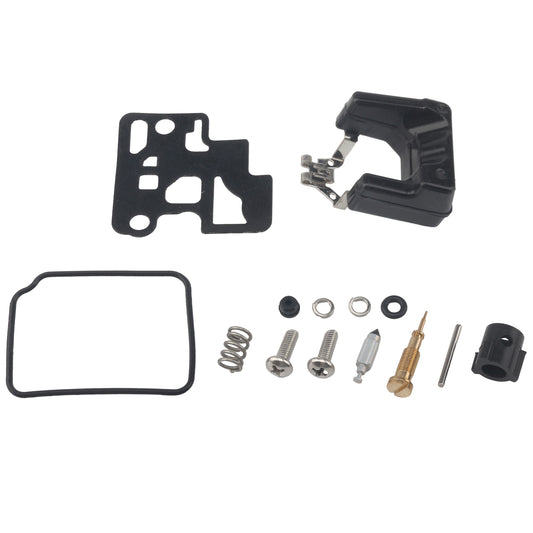
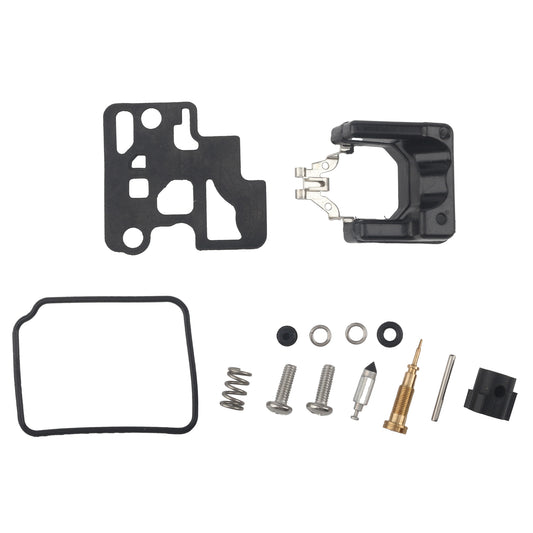
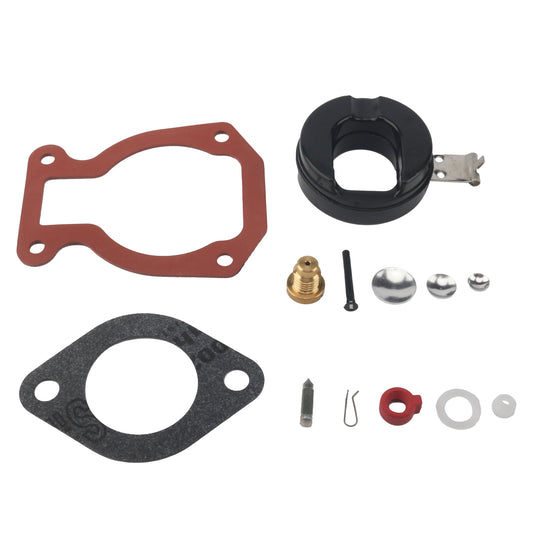
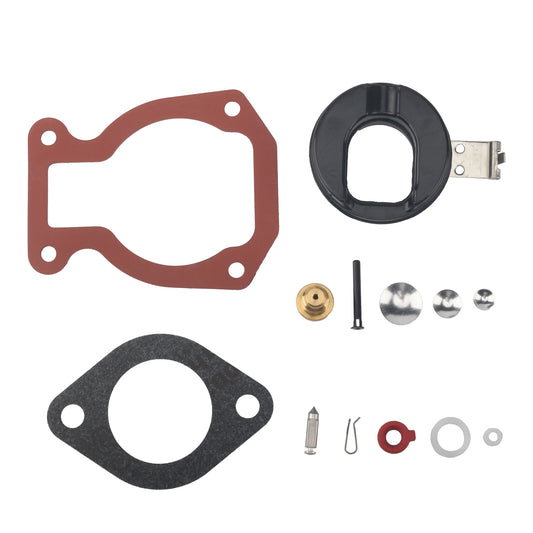
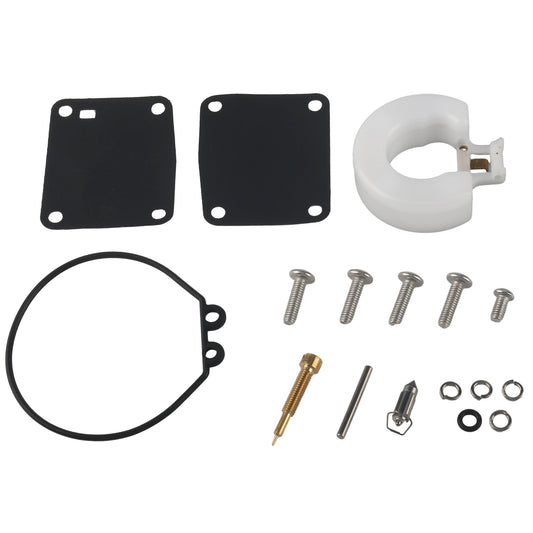
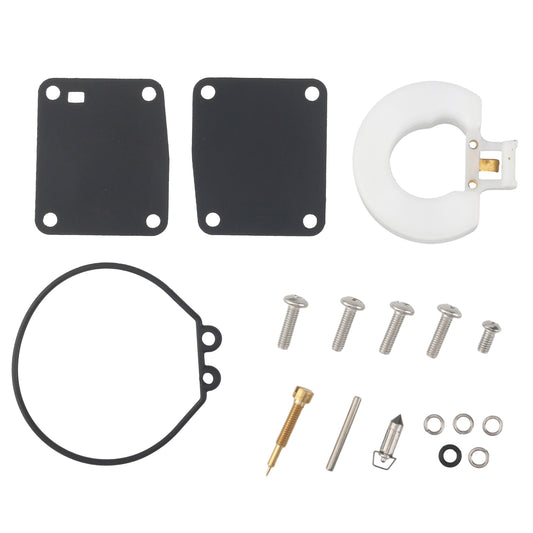
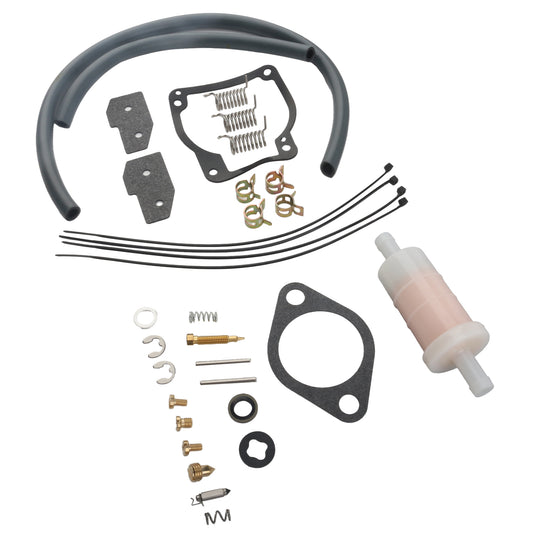
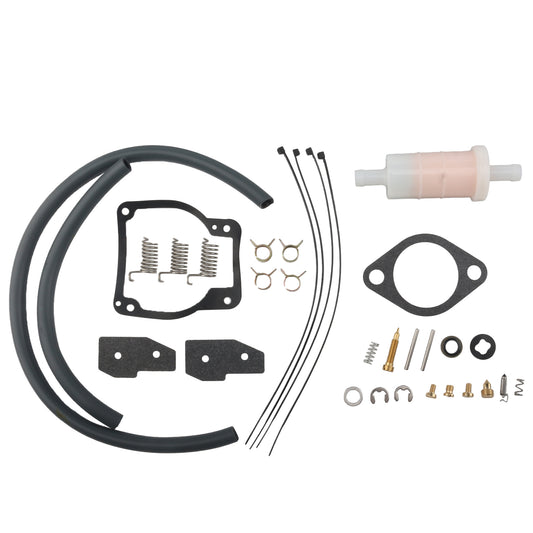
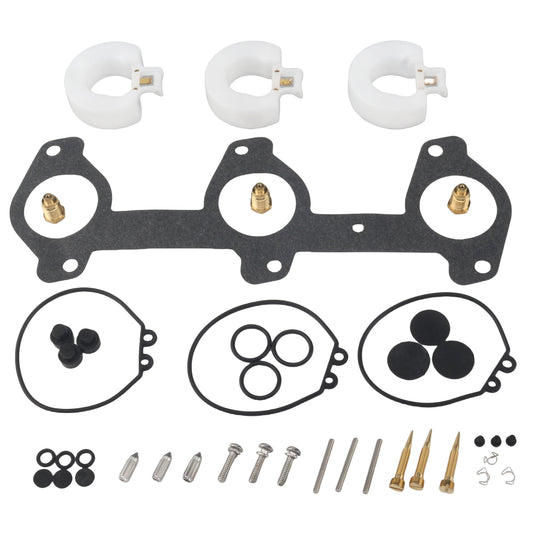
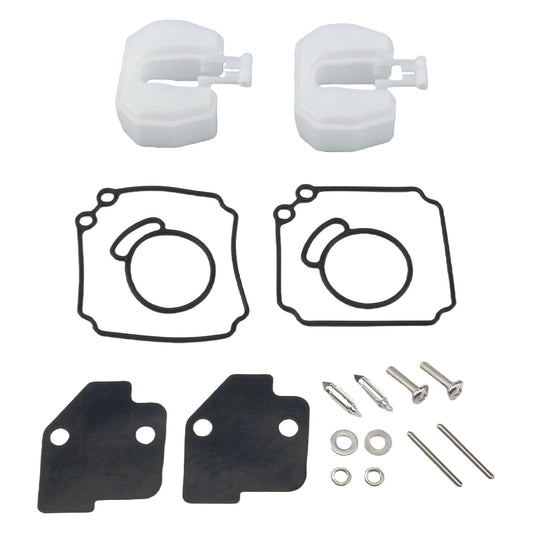
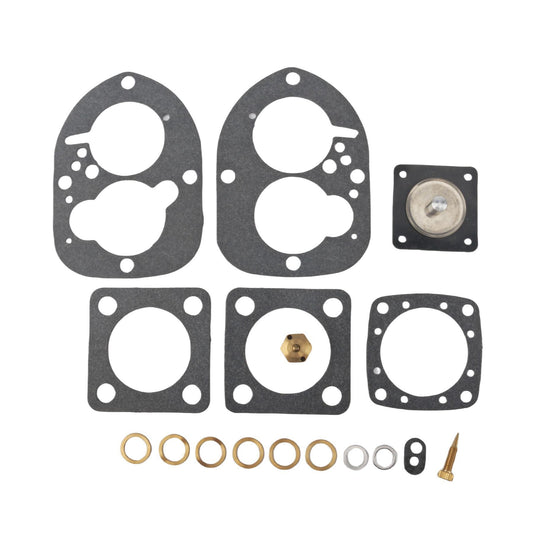
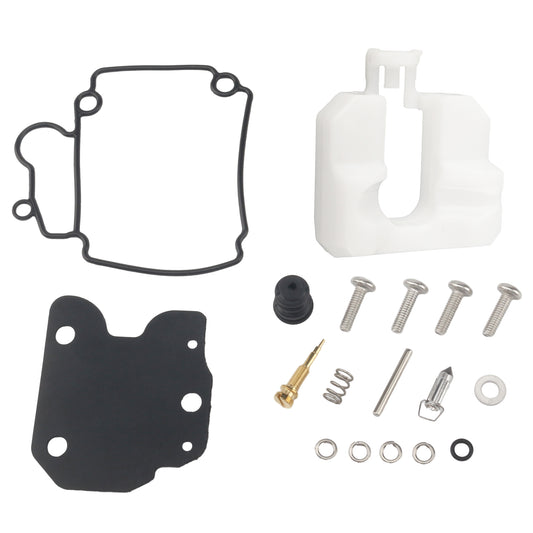
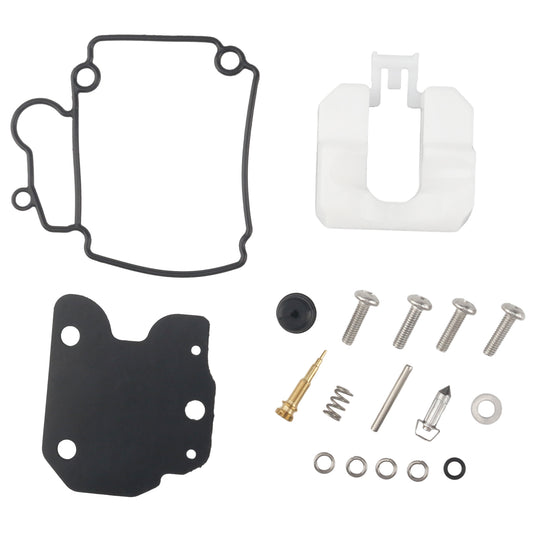
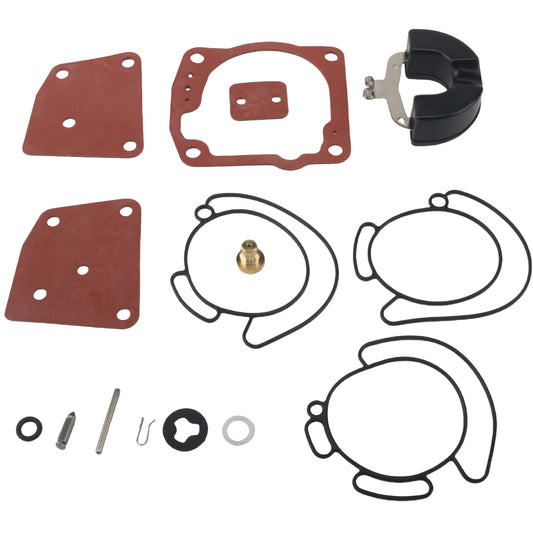
Kit contents: A complete rebuild kit should include:
- Float needle and seat
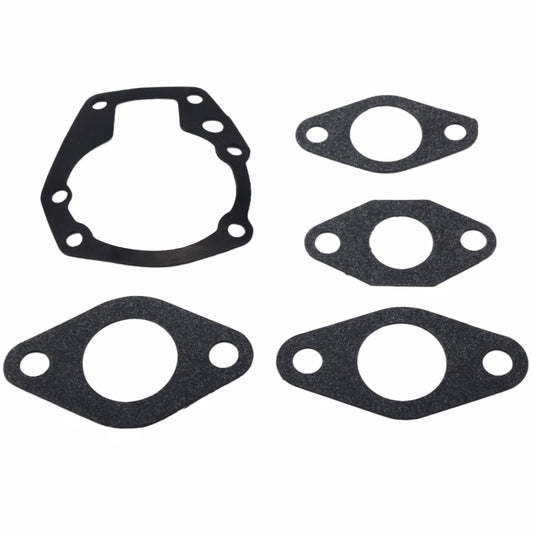
- All necessary gaskets
- Diaphragms (if applicable)
- O-rings
- Inlet needle valve
- Welch plugs (if needed)
- Adjustment screws (sometimes)

- Quality matters: Purchase kits from reputable sources like OEM manufacturers or trusted aftermarket suppliers.
Preparation Steps
Proper preparation will make the rebuild process smoother and help prevent mistakes:
-
Clean your work area: Ensure you have a clean, well-lit workspace with plenty of room.
-
Gather all tools and materials before starting.
-
Consult your service manual for specific instructions related to your outboard model.
-
Disconnect the battery to prevent accidental starting.
-
Take "before" photos of the carburetor from multiple angles, paying special attention to:
- Linkage connections
- Hose routing
- Component orientation
- Adjustment screw positions

Carburetor Removal Process
Follow these steps to safely remove the carburetor from your outboard:
-
Remove the engine cover/cowling to access the carburetor.
-
Disconnect the fuel line from the carburetor. Have a rag ready to catch any fuel spillage.
-
Label and disconnect all linkages (throttle, choke, etc.) connected to the carburetor. Take photos of each connection before removal.
-
Remove any air intake components that might obstruct carburetor removal.
-
Unbolt the carburetor from the intake manifold. Note the orientation and position of any spacers or gaskets.
-
Carefully lift out the carburetor, being mindful not to damage any surrounding components.

Disassembly Procedure
Work methodically and organize parts as you go:
-
Place the carburetor on a clean surface and take additional reference photos.
-
Remove the float bowl:
- Locate and remove the screws holding the float bowl to the carburetor body
- Carefully separate the bowl from the main body, noting the orientation of the gasket
-
Remove and inspect the float assembly:
- Take a photo of the float position
- Remove the float pin (often a small metal rod)
- Carefully lift out the float and attached needle valve
- Inspect the float for damage or fuel absorption (shake it to check for fuel inside)

-
Remove the needle valve seat:
- In most carburetors, this requires a special tool or small socket
- Note the orientation of any seals or O-rings
-
Remove idle and main jets:
- Use the appropriate screwdriver (usually flathead)
- Note the size and position of each jet
- Keep jets organized and labeled
-
Remove any remaining components:
- Idle mixture screws (note the number of turns to remove)
- Throttle plate (if necessary)
- Choke plate (if necessary)
- Accelerator pump components (if equipped)
-
Remove welch plugs (if included in your rebuild kit):
- Use a small punch to carefully pierce the center
- Pry gently from the center hole to remove
- Be careful not to damage the carburetor body
Cleaning Process
Thorough cleaning is critical for proper carburetor function:
-
Separate components by material:
- Metal parts can be soaked in carburetor cleaner
- Set aside rubber, plastic, and composite parts (do NOT soak these)
-
Soak metal components:
- Place all metal parts in a container with carburetor cleaner
- Follow the solvent manufacturer's recommended soak time (typically 30 minutes to 2 hours)
- NEVER soak rubber or plastic parts as they will be damaged
-
Clean non-metal parts:
- Wipe with a clean cloth
- Use carburetor spray cleaner sparingly if needed
-
Clean carburetor body passages:
- Use compressed air to blow out all passages
- Use fine wire to clear any stubborn blockages in jets and small passages
- Spray carburetor cleaner through all visible openings
- Pay special attention to idle and transition ports

-
Clean the float bowl and emulsion tubes:
- Ensure all varnish and deposits are removed
- Check for any corrosion or pitting
-
Final rinse and dry:
- Rinse all metal parts with clean carburetor cleaner
- Use compressed air to dry thoroughly
- Allow all parts to air dry completely before reassembly
Inspection and Parts Replacement
Before reassembly, carefully inspect all components:
-
Carburetor body:
- Check for cracks, warping, or stripped threads
- Inspect all passages for cleanliness
- Verify throttle and choke plates move freely
-
Float:
- Check for damage or fuel absorption
- Replace if there's any doubt about its condition
- Verify it moves freely on its pivot
-
Needle valve and seat:
- Always replace these items from your rebuild kit
- They are critical for proper fuel level control
-
Jets and passages:
- Ensure all jets are clean and undamaged
- Hold jets up to light to verify clear passages
- Replace any damaged jets
-
Gaskets and O-rings:
- Always use new gaskets and O-rings from your kit
- Never reuse old gaskets, even if they look good

Reassembly Process
Reassemble in the reverse order of disassembly:
-
Install new welch plugs (if removed):
- Place the new plug curved side up
- Use a flat punch slightly smaller than the plug
- Gently tap until the plug is seated flush
- Apply a tiny amount of sealant around the edge if recommended
-
Install the needle valve seat:
- Use the appropriate tool to ensure proper torque
- Include any new O-rings or seals from your kit
-
Install the float and needle valve:
- Attach the new needle valve to the float
- Insert the float pin through the carburetor body and float
- Verify the float moves freely
-
Adjust the float height:
- Hold the carburetor body upside down
- The float should be parallel to the gasket surface (or at the specified angle)
- Bend the float tab carefully if adjustment is needed
- Refer to your service manual for exact specifications
-
Install jets and mixture screws:
- Install main and idle jets, tightening to specifications
- Install mixture screws, turning them in gently until they seat
- Back out mixture screws to the pre-disassembly position (or factory specification)
-
Install the float bowl:
- Place a new gasket on the carburetor body
- Carefully position the float bowl
- Install and tighten screws evenly in a crisscross pattern
-
Install throttle and choke components (if removed):
- Ensure proper alignment
- Verify free movement throughout the range of motion
Carburetor Installation
Reinstall the carburetor to your outboard:
-
Clean the mounting surface on the intake manifold.
-
Install a new base gasket between the carburetor and intake manifold.
-
Carefully position the carburetor and secure mounting bolts.
-
Reconnect all linkages according to your reference photos.
-
Reattach the fuel line.
-
Reinstall air intake components.
-
Double-check all connections before proceeding.

Initial Adjustment and Testing
Before starting the engine, make these initial adjustments:
-
Set idle mixture screws to factory specifications (typically 1-1.5 turns out from lightly seated).
-
Adjust idle speed screw to factory specification.
-
Verify choke operation is smooth and complete.
-
Check throttle operation through the full range of motion.
First Start and Fine-Tuning
Now it's time to test your work:
-
Start the engine and allow it to reach operating temperature.
-
Adjust idle mixture for smoothest operation:
- Turn each screw in until the engine begins to run rough
- Back out slowly until the engine runs smoothly
- Fine-tune for highest possible RPM
- Readjust idle speed as needed
-
Test acceleration by opening the throttle quickly from idle.
-
Check for fuel leaks around the carburetor.
-
Make final adjustments as needed for optimal performance.
Synchronizing Multiple Carburetors
If your outboard has multiple carburetors, they must be synchronized:
-
Ensure all carburetors are clean and rebuilt.
-
Verify linkages are properly connected.
-
Use a synchronization tool (vacuum gauge or manometer) to balance airflow.
-
Adjust linkages so all throttle plates open equally.
-
Fine-tune idle mixture on each carburetor.
Troubleshooting Common Issues
If you encounter problems after rebuilding:
-
Engine won't start:
- Check for fuel flow to the carburetor
- Verify choke operation
- Ensure float level is correct
-
Rough idle:
- Readjust idle mixture screws
- Check for air leaks around gaskets
- Verify idle jets are clean
-
Poor acceleration:
- Check accelerator pump operation (if equipped)
- Verify main jets are clean
- Check for restrictions in fuel delivery
-
Fuel leaks:
- Check float level adjustment
- Verify needle valve seating properly
- Ensure all gaskets are properly installed
-
Inconsistent performance:
- Look for air leaks
- Check for partial blockages
- Verify proper float operation
Maintenance Tips After Rebuild
To keep your newly rebuilt carburetor performing well:
-
Use quality fuel and add stabilizer when the boat will sit unused.
-
Run the engine regularly, even during off-season.
-
Perform seasonal maintenance including fuel system inspection.
-
Keep detailed records of the rebuild and any subsequent adjustments.
-
Consider fuel additives that help prevent varnish formation.
Conclusion
Rebuilding an outboard carburetor is a rewarding project that can restore your engine's performance and save you money. By following this comprehensive guide, you've learned the step-by-step process from disassembly to final adjustment.
Remember that patience and attention to detail are key to a successful rebuild. Take your time, keep parts organized, and refer to your service manual for specifications specific to your outboard model.
With your newly rebuilt carburetor, you can look forward to improved starting, smoother operation, and better fuel efficiency from your outboard motor.
Have you rebuilt an outboard carburetor? Share your experiences and tips in the comments below!
For Outboard Owners:
To assist you in maintaining and repairing your marine engines, we hope the following resources may be of use:
-
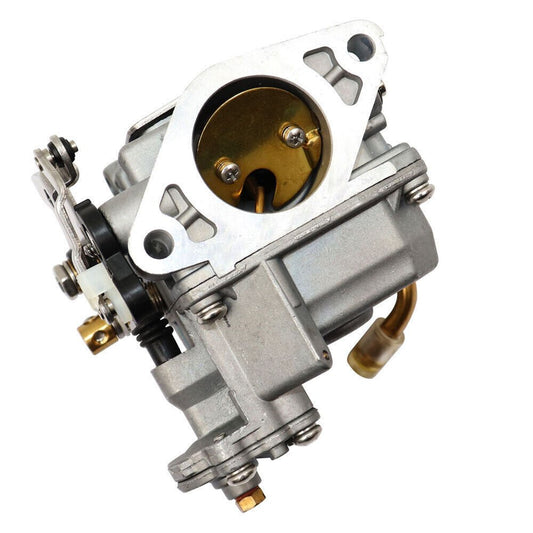
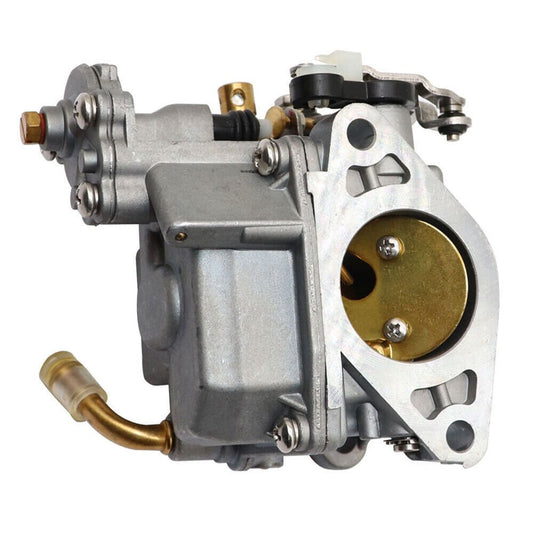
Carburetors from JLM Marine
-
Carburetor Rebuild Kits from JLM Marine
About JLM Marine
Founded in 2002, JLM Marine has established itself as a dedicated manufacturer of high-quality marine parts, based in China. Our commitment to excellence in manufacturing has earned us the trust of top marine brands globally.
As a direct supplier, we bypass intermediaries, which allows us to offer competitive prices without compromising on quality. This approach not only supports cost-efficiency but also ensures that our customers receive the best value directly from the source.
We are excited to expand our reach through retail channels, bringing our expertise and commitment to quality directly to boat owners and enthusiasts worldwide.







Leave a comment
Please note, comments need to be approved before they are published.