



Trailer-to-Water: Ensuring Your Outboard Is Ready at Launch
Pre-Season Trailer Prep
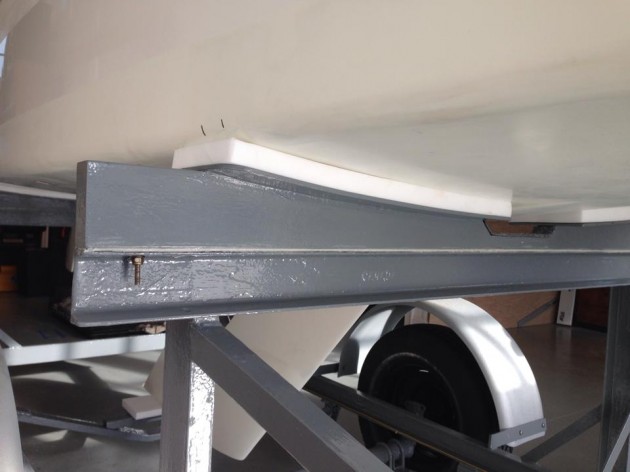
Your trailer sits for months between seasons. Rust eats at the frame, tires crack, bearings seize. BoatUS reported that 44% of their 2024 roadside assistance calls came from flat tires or missing spares, and another 21% from wheel bearing failures. That's 65% of breakdowns happening before the boat even touches water.
Tire Inspection and Bearing Check
Check your trailer tires for sidewall cracks, dry rot, and tread wear. Inflate to the pressure stamped on the sidewall. Now test the wheel bearings: grab the tire at 12 and 6 o'clock and push-pull hard. Any wobble or grinding noise means the bearing is shot. If the hub feels hot after a long drive, let it cool completely before backing down the ramp. Overheated bearings can suck water into the grease cavity when they hit cold water, accelerating failure.
Hitch, Lights, and Frame Integrity
Confirm your hitch coupler is latched and the safety chains are crossed and connected. Test your trailer lights—brake, turn, and running lights. Check inside the trailer tongue tubing and around the leaf spring hangers for hidden rust; these spots trap moisture and corrode from the inside out, weakening the frame without visible surface rust.
Pre-Departure Outboard Engine Inspection 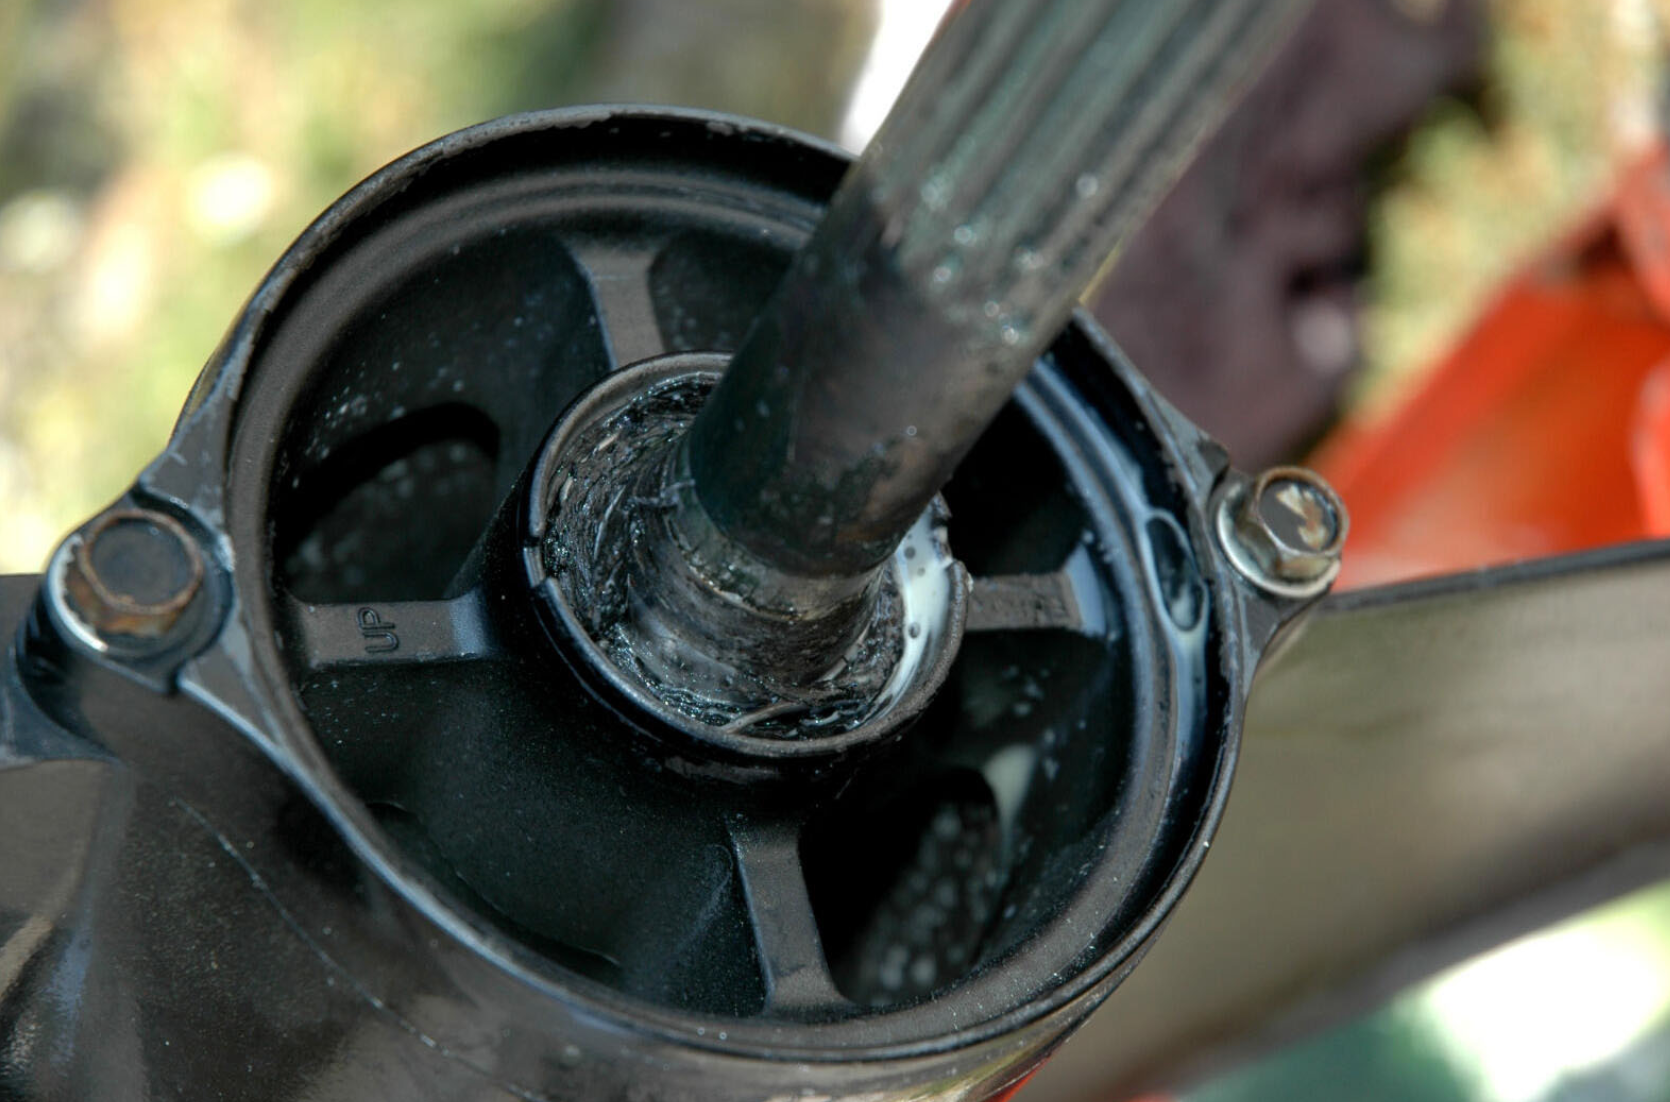
Battery and Electrical
Your battery needs at least 12.4 volts resting. If you see 12.6V immediately after shutting off a charger, that's surface charge. Turn on your trailer lights or bilge blower for 30 seconds, then recheck voltage. Anything below 12.0V even after charging means replace the battery before you launch. Clean the terminals with a wire brush and coat them with dielectric grease. For detailed off-season battery care, consult the Battery Care During the Off-Season: Keep It Charged guide.
Fuel System Integrity
Drain your fuel-water separator and replace the fuel filter if it's been a season. Old fuel smells like varnish—sharp and chemical, not like fresh gasoline. That's the sign of degradation even before you see gunk. A 10-micron fuel-water separator is critical if you run E10 ethanol fuel; ethanol absorbs moisture and phase-separates, leaving you with water in the bottom of your tank and a clogged carburetor. Inspect every inch of fuel line for cracks or hardening. Top off with stabilized fresh fuel. For more on maintaining your fuel system, check out the Spotting Outboard Fuel Leaks and Fixing Them Safely resource.
Oil and Lower Unit Gear Oil
Check engine oil level and condition. Pull the lower unit drain and vent screws and inspect the gear oil as it drains. If it's milky or has metallic flakes, you've got water intrusion—usually from a damaged prop shaft seal caused by fishing line wrapped behind the thrust washer. Fix that before you run hard or you'll cook the gears. Learn more about maintaining your lower unit in Maintaining Your Outboard’s Gearcase: Mercury vs. Yamaha.
Spark Plugs
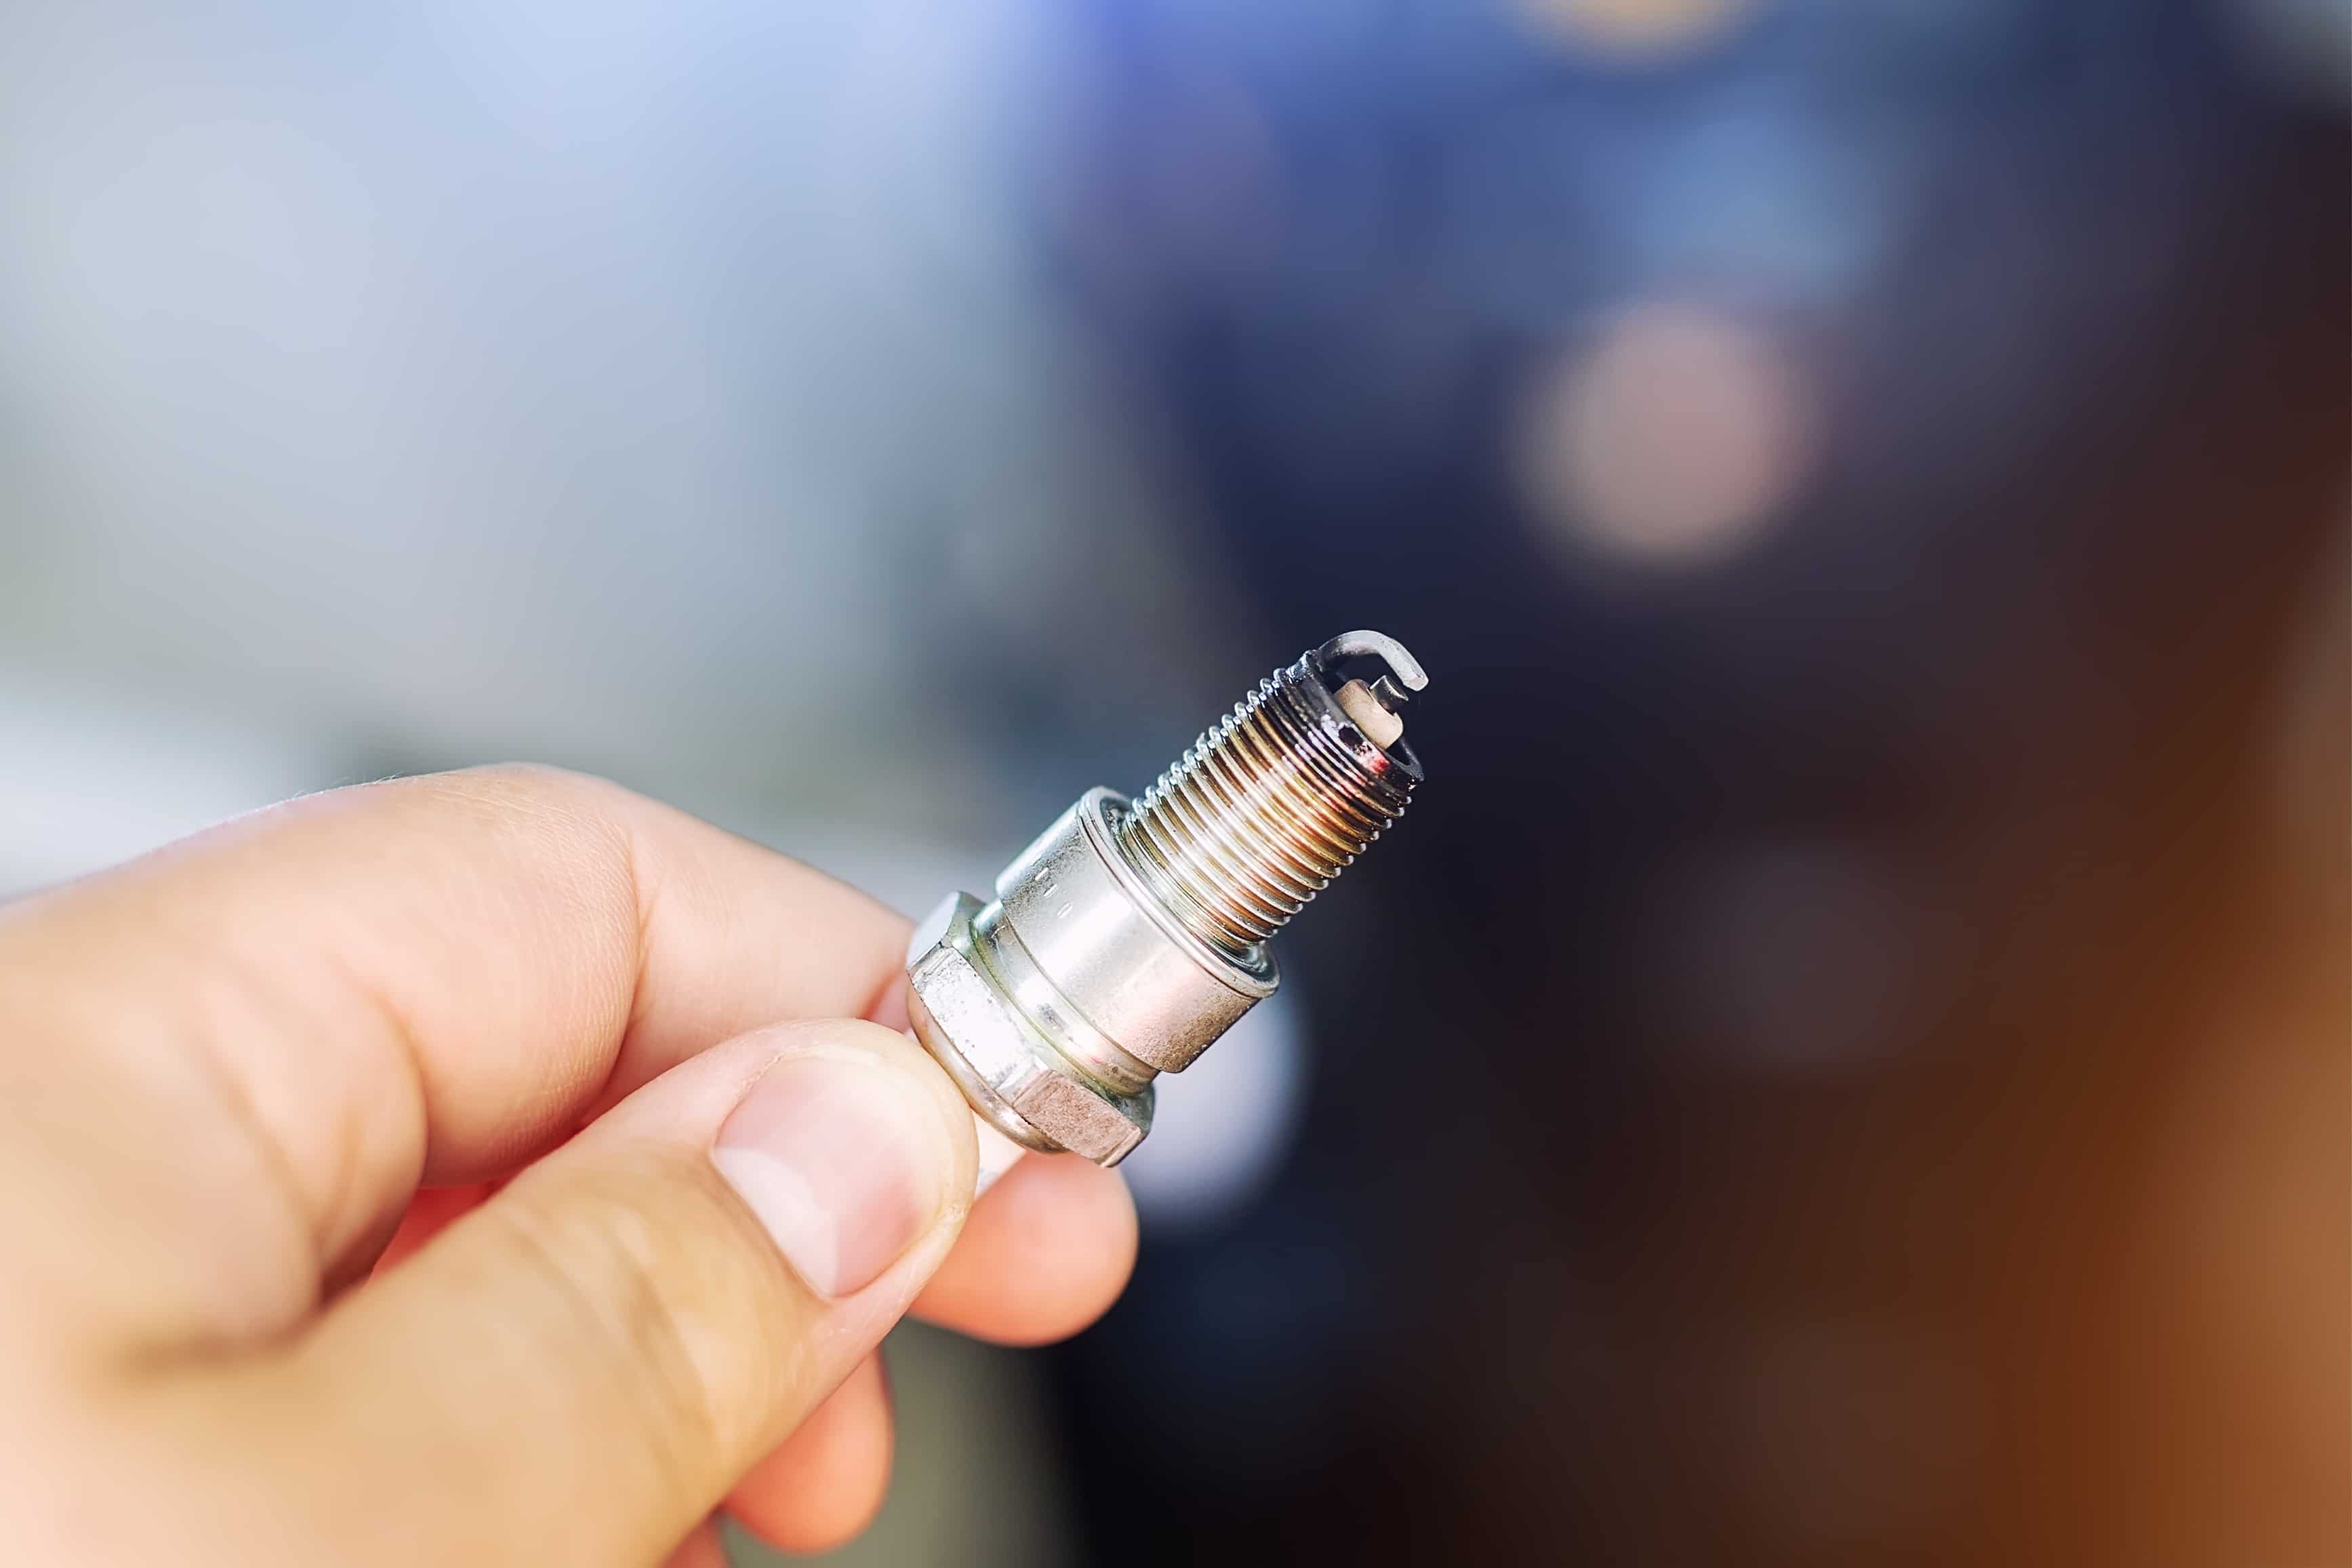
Pull your spark plugs and read them. Black soot means you're running rich—too much fuel, not enough air. White blistering on the ceramic insulator means you're running lean, which will burn a piston if you don't fix it. Pale tan or light gray is correct. Gap them to spec and keep spares in your onboard toolkit with a 13/16-inch spark plug socket. For insights on spark plugs, see High-Performance Spark Plugs: Do They Make a Difference?.
Cooling System and Impeller
The impeller is a wear item. If it hasn't been changed in two years or the engine sat all winter, pull the lower unit and inspect it. Worn or cracked vanes won't move enough water, and overheating is the result. A weak telltale stream—dribbling instead of a strong, steady stream—is your first warning. You can clear a clogged telltale with a piece of monofilament line if debris is blocking the outlet, but if the stream stays weak, shut down and check the impeller. Find a step-by-step guide on How to Replace a Mercury Outboard Water Pump Impeller useful here.
Flush your outboard with freshwater after every saltwater trip, even at the ramp right after pulling out. It clears salt and sand residue from the cooling passages before your next start.
Propeller and Sacrificial Anodes
Look for dings, bent blades, or any fishing line. Pull the prop off and check behind the thrust washer—that's where line hides and damages the prop shaft seal. Replace the cotter pin every time you remove the prop; they're cheap insurance. Learn tips about props in Sheared Propeller Pin? How to Replace It On the Water.
Inspect your zinc anodes on the lower unit and trim tabs. If they're more than 50% eroded, replace them. These sacrificial anodes corrode so your aluminum engine parts don't; it's basic galvanic protection.
Steering and Trim
Move the steering through full lock left and right. Any binding or stiff spots means inspect the cable and pivot points. Test your trim and tilt—smooth, responsive movement with no hesitation. For more on trim systems, see Hydraulic vs Manual Tilt: Troubleshooting Trim System Issues.
At-Ramp Preparation

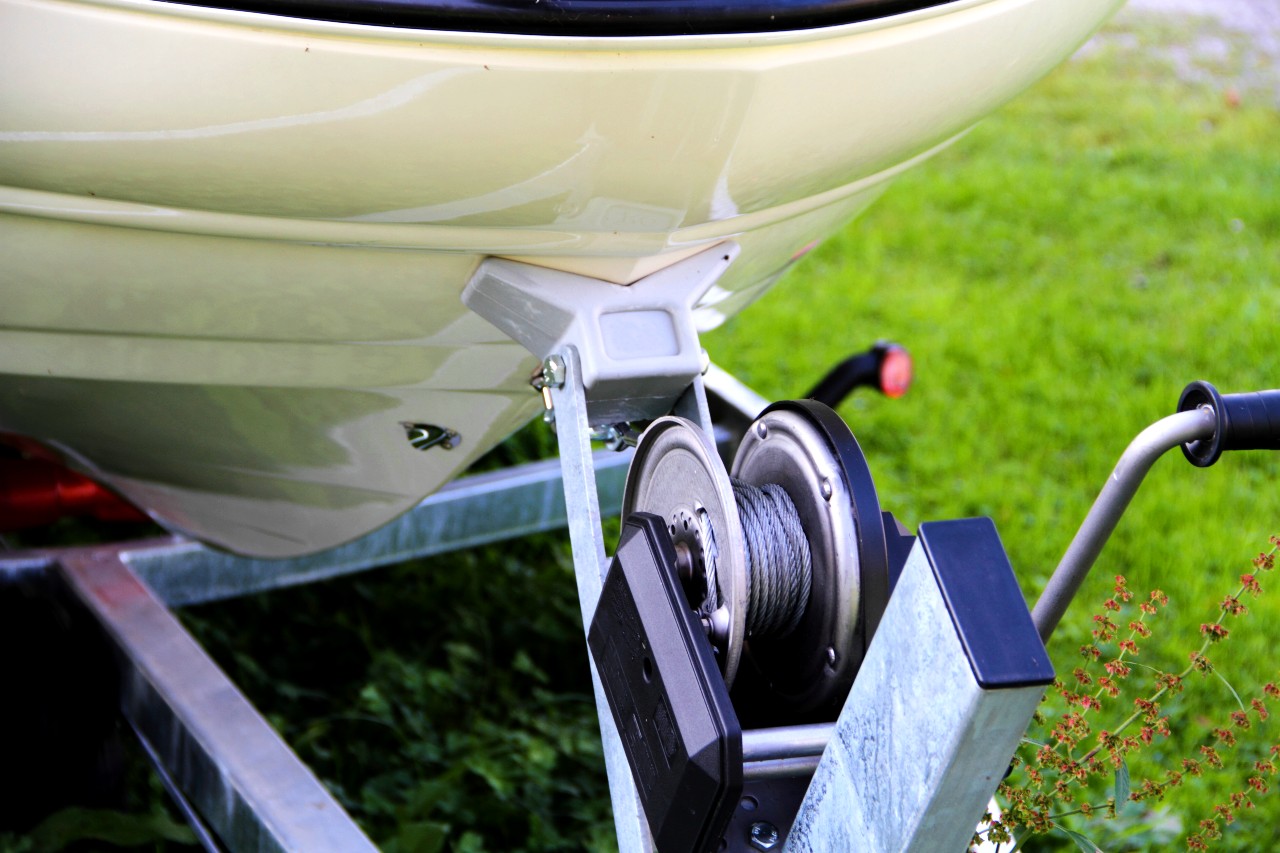
Position your trailer centered on the ramp using your mirrors. Back down slowly until the stern floats free. Unhook the safety chain, then release the winch line. Secure the boat loosely with a bow line before you pull the trailer completely out of the water.
Critical step: Tilt the outboard up and lock it with a trim lock or strap before you drive off. We've seen more than a few skeg-to-asphalt meetings from guys who forgot this. For more comprehensive ramp preparation tips, visit the Boat Trailer & Launch Prep: Don’t Forget the Outboard article.
Park your vehicle and trailer. Walk back to the dock. Double-check that the boat is tied securely with bow and stern lines.
Post-Launch Engine Start and Confirmation
Turn on the battery switch. If you have an inboard or sterndrive with a blower, run it. For outboards, just fire it up.
Listen for smooth idle. Immediately look for the telltale stream. It should be strong and steady, not spitting or dribbling. If there's no stream or it's weak, shut down immediately and check your raw water intake for debris or a clogged screen. For troubleshooting water intake, consult Unclogging a Blocked Outboard Cooling Water Intake.
Shift into forward, then reverse, then neutral. Each gear should engage cleanly with no grinding. Check your trim and tilt operation under load. If you have a temperature gauge, watch it; if not, trust the telltale.
Safety Gear Check
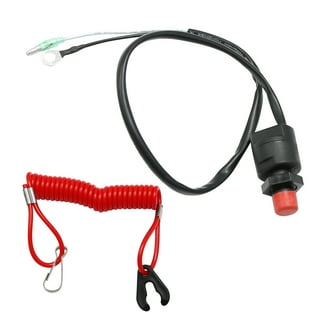
Attach your safety lanyard to the kill switch and test it by pulling the lanyard while the engine is running—it should shut off instantly. Confirm all required safety gear is aboard: life jackets, fire extinguisher, throwable flotation, sound signaling device, and registration.
According to Mercury technicians John Kosmack and Ed Krummert, many ramp failures come from flooded engines or a kill switch that's slightly off-placed. Simple checks prevent these. Dive deeper into kill switch understanding in Understanding the Kill Switch: Why Your Engine Won’t Start.
Go/No-Go Decision Criteria

If your battery is below 12.0V even after charging, buy a new one—do not launch. If lower unit oil is milky, drain it, find the leak, and repair the seal before running. If the telltale stream is absent or weak and you can't clear it, do not leave the dock. If spark plugs show white blistering (lean condition), shut down and diagnose the fuel system before you burn a piston.
Quick-Fix Onboard Toolkit

Keep these in your boat:
- 13/16-inch spark plug socket
- Spare spark plugs (gapped to spec)
- Propeller wrench and spare prop
- Needle-nose pliers
- Flathead and Phillips screwdrivers
- Electrical tape
- Monofilament line (for clearing telltale clogs)
- Lithium jump starter
- Spare cotter pins
- Crescent wrench
- Extra fuel primer bulb
- Spare trailer drain plug
Pre-Launch Checklist Summary
24 Hours Before:
- Charge battery to 12.4V minimum
- Drain fuel-water separator, replace filter
- Check lower unit oil for milky contamination
- Inspect fuel lines for cracks
- Pull and read spark plugs
- Test tire pressure and wheel bearings (12 and 6 o'clock shake test)
- Verify trailer lights, hitch, and safety chains
At the Ramp:
- Remove all transom straps
- Verify drain plug installed
- Back down until stern floats
- Unhook safety chain, release winch
- Tilt outboard up and lock before driving away
- Tie boat securely to dock
After Launch:
- Start engine, confirm strong telltale stream
- Test forward/reverse/neutral shifting
- Attach and test kill switch lanyard
- Check all required safety gear aboard
After every ride, flush your engine with fresh water for two minutes. It prevents salt and sand from hardening in the cooling passages and keeps your thermostat from seizing next season. For a full maintenance routine, browse the extensive Boat Accessories collection to keep your boat and outboard in peak condition.
Source
- U.S. Coast Guard 2023 Recreational Boating Statistics Report
- BoatUS 2024 Roadside Assistance Data
- BoatUS Boat Trailering Guide
- Spring Pre-Launch Checklist - Boating Compass
- Mercury Marine: Pre-Launch Inspection Tips
- JLM Marine: Spring Outboard Maintenance Guide
- How to Flush an Outboard Motor - Discover Boating
- Boat Launch Guide - Hallberg Marine
- Boat Launch Checklist - Better Boat
- JLM Marine
Hi—I’m Jim Walker
I grew up in a Florida boatyard, earning pocket money (and a few scars) by rebuilding outboard carbs before I could drive. That hands-on habit carried me through a Ph.D. in mechanical engineering, where I studied how salt water quietly murders metal.
I spent ten years designing cooling systems for high-horsepower outboards, then joined JLM Marine as CTO. We bench-test every new part in the lab, but I still bolt early prototypes onto my own 23-foot skiff for a weekend shake-down— nothing beats real wake and spray for finding weak spots.
Here on the blog I share the fixes and shortcuts I’ve learned so your engine—and your day on the water—run smooth.

Для владельцев лодок:
Мы надеемся, что следующие ресурсы окажутся полезными для вас в обслуживании и ремонте ваших судовых двигателей:
- Руководство по серийным номерам Mercury
- Руководства пользователя от Mercury
- Официальное руководство по номерам моделей в формате PDF от BRP
- Руководство по серийным номерам Johnson
-
Аксессуары для лодок от JLM Marine
О компании JLM Marine
Основанная в 2002 году, компания JLM Marine зарекомендовала себя как специализированный производитель высококачественных морских деталей, базирующийся в Китае. Наша приверженность совершенству в производстве заслужила нам доверие ведущих мировых морских брендов.
Как прямой поставщик, мы обходим посредников, что позволяет нам предлагать конкурентоспособные цены без ущерба качеству. Такой подход не только поддерживает экономическую эффективность, но и гарантирует, что наши клиенты получают наилучшую ценность напрямую от источника.
Мы рады расширить свое присутствие через розничные каналы, предлагая наш опыт и приверженность качеству непосредственно владельцам и любителям лодок по всему миру.
Распродажа лодочных аксессуаров
- $37.99
$45.99- $37.99
- Unit price
- per
- $34.99
- $34.99
- Unit price
- per
- $128.99
- $128.99
- Unit price
- per

- $25.30
$30.00- $25.30
- Unit price
- per


- $34.99
$41.99- $34.99
- Unit price
- per

- $32.50
$31.00- $32.50
- Unit price
- per

- $139.99
- $139.99
- Unit price
- per


- $45.00
- $45.00
- Unit price
- per

- $28.50
$29.00- $28.50
- Unit price
- per

- $159.99
- $159.99
- Unit price
- per


- $105.00
- $105.00
- Unit price
- per


- $34.99
$41.99- $34.99
- Unit price
- per


- From $68.00
- From $68.00
- Unit price
- per


- $34.99
$41.99- $34.99
- Unit price
- per

- $59.95
$71.00- $59.95
- Unit price
- per

- $59.99
$71.00- $59.99
- Unit price
- per


- $34.99
$41.99- $34.99
- Unit price
- per

- $65.50
$78.00- $65.50
- Unit price
- per

- $67.00
$65.00- $67.00
- Unit price
- per

- $19.99
- $19.99
- Unit price
- per