


Spring Maintenance: Getting Your Outboard Ready for Boating Season
- Check the Basics First
- Battery and Electrical
- Engine Oil and Filter
- Fuel System
- Lower Unit Gear Oil
- Water Pump Impeller
- Cooling System Inspection
- Spark Plugs
- Hoses and Clamps
- Steering and Controls
- Trim/Tilt System
- Prop and Hardware
- Zinc Anodes
- Test Run on the Hose
- Grease All Fittings
- Fuel and Ignition Tuning
- Cowling and Cosmetics
- Safety Equipment Check
- Common Problems We See Every Spring
- OEM vs Aftermarket Parts
- What You'll Need (Tools and Supplies)
- DIY vs Professional Service
- Pre-Launch Final Check
- Case Study: Charter Captain Brian Rice
- Real-World Failures from Skipped Maintenance
- Don't Skip the Basics
- Spring Prep by Usage Level
- Costs: DIY vs Professional
- By the Numbers
- Spring Checklist Summary
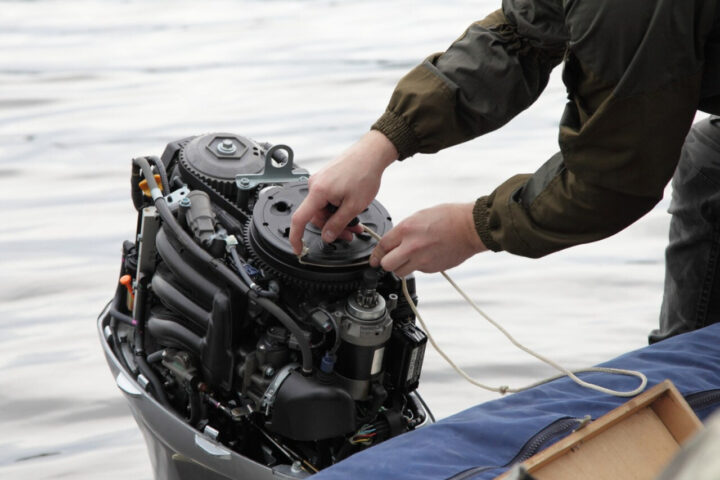
Pull the cover off. Winter's done. Time to get the motor ready.
Check the Basics First
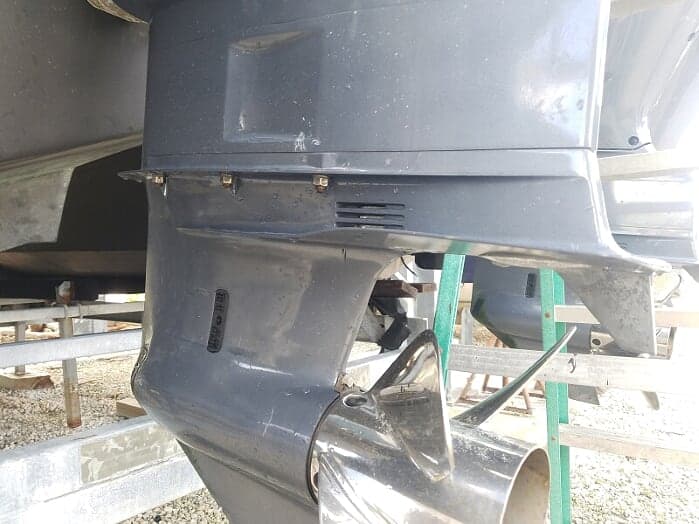
Start with a walk-around. Look at the lower unit for dings. Check the prop—pull it off and look for fishing line wrapped around the shaft. Line destroys seals, and you won't see it unless you remove the prop. Check the skeg for damage from last season's rock encounter you forgot about.
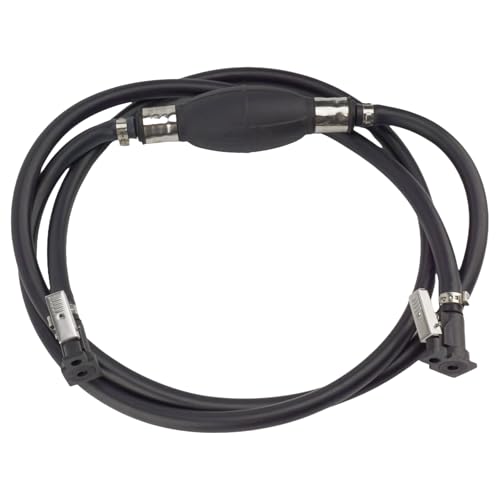
Pop the cowling. Look at wiring for corrosion, especially around connectors. Wiggle fuel lines—if they're hard or cracked, replace them. Ethanol fuel eats through cheap hoses, usually where the hose meets the barb. Don't wait for a fuel leak on the water.
Battery and Electrical
Load test the battery. A weak battery might crank the engine but won't hold voltage under load, which causes all kinds of gremlins with fuel injection and ignition systems. If it's more than three years old and shows less than 12.4 volts resting, replace it.
Clean the terminals with a wire brush. Coat them with dielectric grease, not regular grease. Check the kill switch lanyard—we've seen corroded clips fail mid-trip.
Engine Oil and Filter
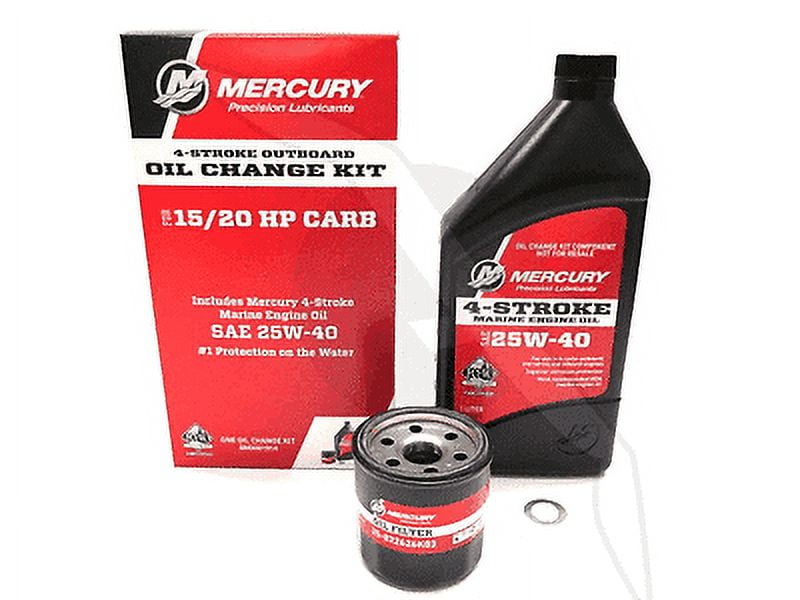
Change the oil before the first run, especially if you didn't do it in the fall. Old oil traps moisture and acids from combustion. If the oil looks milky on the dipstick, you've got water in the crankcase—probably a bad head gasket or cracked block. Don't start it; pull the plugs and turn it over by hand to check for hydro-lock.
Use the oil weight your manual specifies. For most four-strokes, that's 10W-30 or 25W-40 marine oil, not automotive oil—marine formulas handle higher RPM and water exposure better.
Replace the oil filter. The cheap $4 filters use cardboard gaskets that fail. Get a filter with a metal anti-drainback valve.
Fuel System
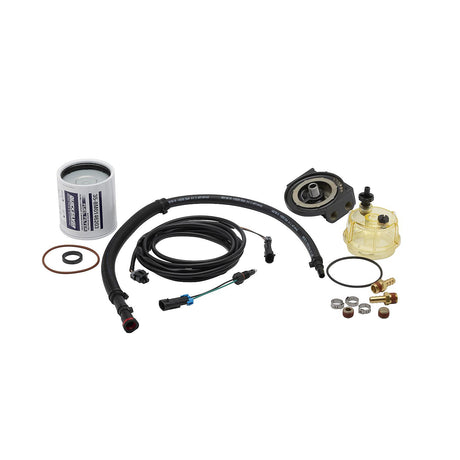
Drain the fuel-water separator. If there's more than a few drops of water, your tank's got a problem—check the vent and fill cap O-ring. Water in fuel causes lean misfires that feel like the engine's hunting at idle.
Replace the fuel filter. Old filters restrict flow, which starves the fuel pump. If your engine bogs under throttle but runs fine at idle, it's usually a clogged filter or a weak fuel pump. You can find quality fuel filters at JLM Marine that fit many outboard models.
If the fuel smells like varnish or looks dark orange, drain the tank. Stale gas won't atomize right, and it'll foul the injectors or carb jets. Top off with fresh fuel and add stabilizer even if you're running it soon—ethanol phase-separates in as little as three weeks in a vented tank.
Lower Unit Gear Oil

Pull both the drain and vent screws. If the oil comes out milky or gray, water's leaking past the seals. That happens when the prop takes a hit or when someone overtightens the drain plug and cracks the housing.
Pump in fresh gear lube from the bottom until it comes out the top vent hole. We use 80W-90 hypoid oil for most units, but check your manual—some Yamahas and Hondas spec a lighter oil for the clutch dog.
Inspect the drain plug magnet. Metal shavings are normal, but chunks or glitter means bearing or gear damage. If you see that, pull the lower unit and inspect the gears before you run it. For tips on maintaining the gearcase properly, see our guide on Maintaining Your Outboard’s Gearcase: Mercury vs. Yamaha.
Water Pump Impeller
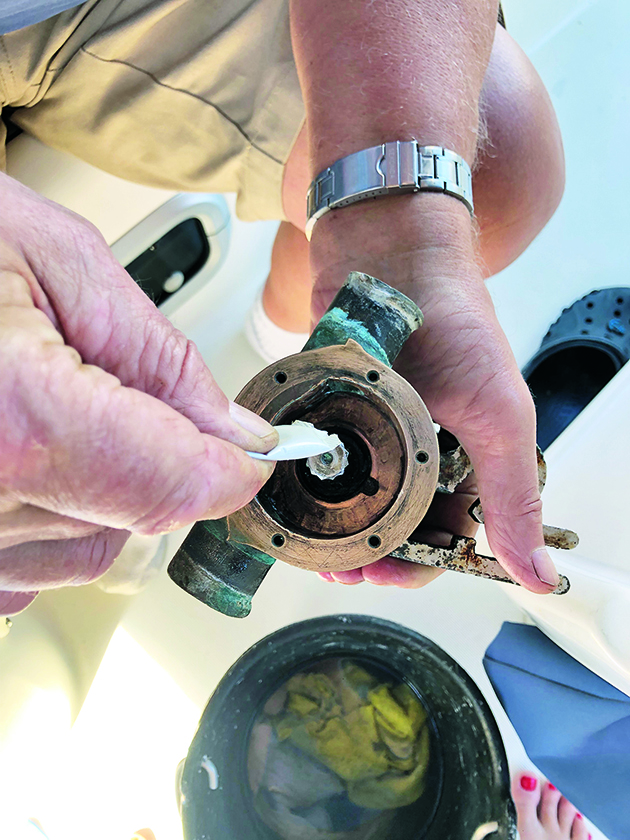
Replace the impeller every two years or 300 hours, whichever comes first. Impellers fail without warning—one missing vane and you're overheating.
When you pull the lower unit, check the impeller housing for scoring. If the housing's grooved, the new impeller won't seal. You'll need to replace the housing or swap the whole pump assembly.
Grease the impeller with glycerin or soapy water before installing it—don't use petroleum grease, it swells the rubber. Install the impeller with the vanes swept in the direction of rotation. If you install it backwards, it'll run for about ten minutes, then shred.
Detailed instructions on replacing your impeller can be found in our step-by-step guide: How to Replace a Mercury Outboard Water Pump Impeller.
Cooling System Inspection
Check the thermostat. Pull it out and drop it in a pot of water on the stove. Heat the water and watch the thermostat open around 140-160°F, depending on your engine. If it doesn't open or it's stuck open, replace it. A stuck-closed thermostat causes overheating at idle; stuck-open makes the engine run cold and burn extra fuel.
Inspect the poppet valve (if equipped). It regulates water flow and fails when it corrodes stuck. Yamaha and Suzuki engines are prone to this—if your engine overheats only at idle but cools at speed, check the poppet.
Pull the intake screens on the lower unit. Mud daubers and debris clog them over winter. We've pulled motors apart for "overheating" when the real problem was a wasp nest in the water intake. For more on thermostat servicing, check out Thermostat Maintenance: Keeping Your Outboard Running Cool.
Spark Plugs
Pull the plugs and read them. A healthy plug is tan or light brown on the ceramic insulator. Black and oily means it's running rich or burning oil. White or blistered means it's running lean—check for air leaks or a weak fuel pump.
Gap the plugs to spec, usually 0.028–0.032 inches for most outboards. A worn plug loses gap over time, which weakens the spark and causes misfires under load.
If the plugs are more than two seasons old, replace them. Iridium plugs last longer but cost more. Standard copper-core plugs are fine if you change them on schedule.
Hoses and Clamps
Check every hose: fuel, cooling, power trim, steering (if hydraulic). Squeeze them—if they feel spongy or rock-hard, replace them. Flex the hose near the clamps; cracks mean it's done.
Replace all single-wire clamps with dual-wire marine clamps. The cheap wire clamps lose tension and slip off under vibration.
Look at the water hose from the pump to the powerhead. If it's original and the engine's more than five years old, replace it. When this hose blows, the engine dumps all its coolant in about 30 seconds.
Steering and Controls
Grease the steering tube or hydraulic ram fittings. Stiff steering usually means dried grease or a corroded pivot. If it's hydraulic, check the fluid level in the helm reservoir and bleed any air.
Inspect the shift and throttle cables. If the cable feels notchy when you move the control, it's corroding inside the jacket. Replace it before it sticks wide open.
Lube the cable ends with marine grease, not WD-40. WD-40 washes grease out and attracts dirt.
Trim/Tilt System
Check the fluid level in the reservoir (if external). Low fluid means a leaking seal or ram. Top it off with the correct hydraulic fluid—most take ATF, but some Mercs and Yamahas use a specific trim fluid.
Cycle the trim up and down. If it's slow going up or jerks, the fluid's low or the pump's weak. If it drifts down under load, the check valve's stuck or the ram seals are shot.
Grease the tilt tube and pivot pins. Corrosion here locks up the tilt, which can crack the transom mount.
Prop and Hardware

Inspect the prop for bent blades, dings, or missing chunks. A damaged prop vibrates and destroys the lower unit bearings. If a blade's bent more than a few degrees, replace the prop or have it reconditioned.
Check the prop nut and cotter pin. If the pin's missing and the nut backs off, the prop walks off the shaft at speed. We've seen props fall off mid-run because someone forgot to re-pin the nut.
Grease the prop shaft with waterproof grease. If you skip this, the shaft corrodes to the hub and you'll need a puller or a torch to get it off next time.
Zinc Anodes
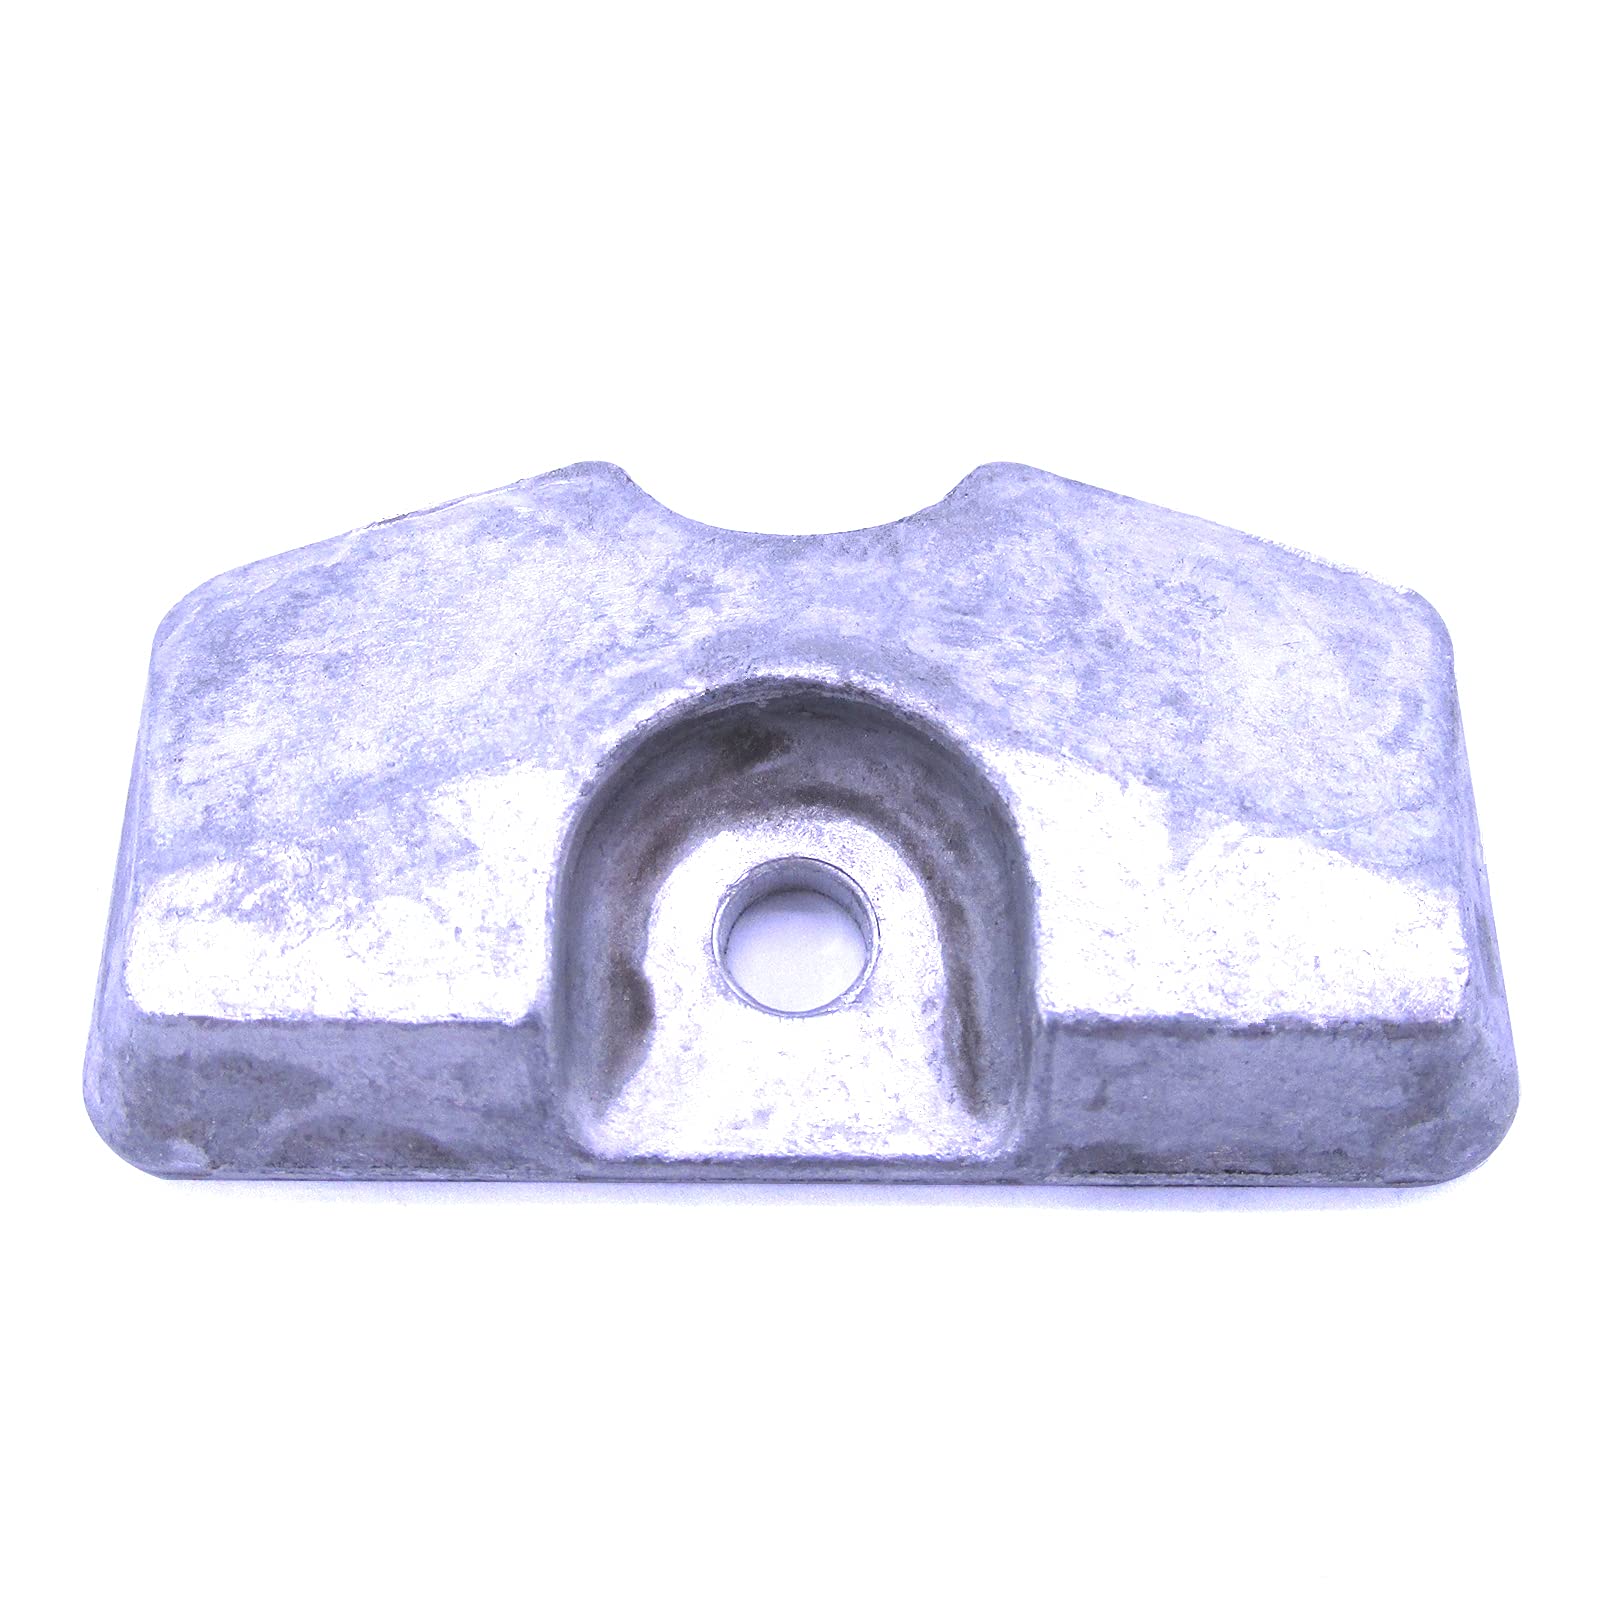
Inspect all anodes—on the lower unit, trim tab, and internal engine anodes (if accessible). If they're more than 50% eroded, replace them. Anodes protect expensive metal parts from galvanic corrosion. Once the anode's gone, corrosion eats the powerhead, lower unit housing, or trim rams.
Saltwater boats need fresh anodes every season. Freshwater boats can go two seasons, but check them.
Don't paint over anodes. Paint blocks the electrochemical reaction and makes them useless.
Test Run on the Hose

Hook up a set of flushing muffs or run the engine in a barrel. Never dry-fire an outboard—the impeller will melt in seconds.
Start the engine and check for a steady stream from the telltale (pee hole). No stream means the impeller's bad, the thermostat's stuck, or the cooling passages are clogged.
Let it run for 10–15 minutes. Watch the temperature gauge or feel the powerhead—it should get warm but not too hot to touch. If it overheats, shut it down and troubleshoot the cooling system.
Cycle the trim, shift into forward and reverse, and check for smooth operation. Listen for unusual noises—grinding in gear means a worn clutch dog, and you'll need to pull the lower unit for inspection.
Rev it a few times and make sure it revs clean without missing or stumbling. If it bogs or backfires, check the carb or injectors.
Grease All Fittings
Hit every grease fitting you can find: tilt tube, pivot pins, steering pivots, prop shaft (if the hub has a fitting). Most outboards have 4–8 fittings, but some bigger engines have more.
Use waterproof marine grease, not general-purpose grease. Pump until you see fresh grease coming out—old grease is usually dark brown or black; fresh is light tan or blue-green depending on brand.
If grease won't go in, the fitting's clogged or the zerk's damaged. Replace the zerk and try again. For recommendations on marine lubricants, see our article on Best Marine Greases and Lubes for Your Outboard.
Fuel and Ignition Tuning
If the engine's carbureted, check the idle mixture and sync the carbs (on multi-cylinder engines). Out-of-sync carbs make the engine shake and burn uneven. For help rebuilding carburetors, consult our Yamaha Outboard Carburetor Rebuild Tutorial.
On fuel-injected engines, let the ECU relearn idle after sitting all winter. Some engines need a few heat cycles to stabilize.
Check ignition timing with a timing light if your engine's old enough to have an adjustable timing system. Most modern outboards have electronic timing that's not adjustable, but verify it's within spec.
Cowling and Cosmetics

Wash the cowling with soapy water and a soft brush. Don't use harsh solvents—they'll dull the gelcoat or fade decals.
Wax the cowling with marine paste wax. It protects the finish and makes it easier to clean bugs and grime off later.
Check the cowling latches. Broken latches let the cowl fly off at speed, and a $50 cowl strap is cheaper than a $400 cowling replacement.
Safety Equipment Check
Life jackets—check for rips, broken buckles, or waterlogged foam. If the foam's crumbling, the jacket's done. Make sure you've got the right sizes and the right number for your passenger capacity.
Fire extinguisher—check the gauge. If it's in the red, recharge it or replace it. Mount it where you can grab it fast, not buried under a seat.
Flares—check expiration dates. Expired flares still work most of the time, but legally you need current ones. Keep them in a watertight bag.
Sound signal (horn or whistle)—test it. A dead horn is a $100 fine in most states.
If you've got a VHF radio, make sure it powers on and transmits. Program in your local distress channel (16) and weather channels.
Common Problems We See Every Spring

Engine won't crank: Dead battery, corroded terminals, or bad starter solenoid. Check voltage at the battery (12.4V+), then at the starter. If you've got voltage at the solenoid but the starter won't spin, tap the starter with a wrench while someone hits the key—if it cranks, the starter's bad.
Engine cranks but won't start: Check for spark and fuel. Pull a plug, ground it, and crank—if there's no spark, check the kill switch, ignition coil, and stator. If you've got spark but no fuel, check the fuel pump, filter, and lines.
Engine starts then dies: Usually stale fuel or a clogged idle jet. Drain the carb, clean the jets, and refill with fresh fuel. On EFI engines, check fuel pressure at the rail.
Engine overheats at idle, fine at speed: Clogged water intake screens, bad poppet valve, or weak water pump. Check intakes first—easiest fix.
Engine overheats at speed, fine at idle: Stuck-closed thermostat or clogged cooling passages. Replace the thermostat and flush the cooling system with a descaler (like Salt Away or vinegar solution).
Rough idle, smooth at throttle: Lean mixture, vacuum leak, or worn idle jet. Check carb linkage, look for cracked intake gaskets, and inspect the idle air bleed.
Prop vibration: Bent prop, damaged lower unit bearings, or a spun hub (rubber insert in the prop slips). Swap the prop first to rule it out.
OEM vs Aftermarket Parts

OEM parts are quality, no question. But you're paying 30–50% more for the same part with a logo on the box. For wear items like impellers, filters, and anodes, quality aftermarket saves money without compromising reliability.
Cheap aftermarket is a different story. A $10 water pump kit with a hard rubber impeller will fail in one season, and you'll tear the lower unit apart twice. It's not worth it.
We stock parts that meet or exceed OEM specs—same factories that make OEM often produce aftermarket under different labels. You get the same fitment and material quality without the dealership markup. For critical components like powerhead gaskets or electrical parts, we recommend OEM if you're unsure. For routine maintenance—impellers, filters, zinc anodes—quality aftermarket does the job. Browse our extensive range of Inboard & Outboard Motor Parts for quality replacements.
What You'll Need (Tools and Supplies)

For a full spring service, have these on hand:
- Socket set (metric and SAE, 8mm–19mm common)
- Screwdrivers (flat and Phillips, multiple sizes)
- Oil filter wrench
- Gear lube pump
- Grease gun with marine grease
- Spark plug socket and gap tool
- Feeler gauges (for plug gap)
- Torque wrench (for lower unit bolts, drain plugs)
- Flush muffs or barrel for test run
- Oil drain pan
- Funnel
- Wire brush (for battery terminals)
- Multimeter (for voltage checks)
- Razor blade or gasket scraper
- Shop rags and gloves
Supplies:
- Engine oil and filter (check manual for spec and capacity)
- Lower unit gear oil (80W-90 hypoid, ~20 oz per unit)
- Fuel filter
- Spark plugs (check manual for part number and gap)
- Water pump impeller kit (includes gaskets, O-rings, impeller)
- Zinc anodes (lower unit, trim tab, internal if replaceable)
- Marine grease (waterproof, NLGI #2)
- Dielectric grease (for electrical connections)
- Fuel stabilizer
- Cleaning supplies (soap, wax, soft brushes)
Time estimate: Plan on 3–4 hours for a basic service (oil, filter, lower unit, impeller, plugs, visual inspection). If you're doing a full tune-up including carb cleaning or thermostat replacement, add another 2–3 hours.
DIY vs Professional Service
Most of this is straightforward if you're comfortable with hand tools. Oil changes, lower unit service, spark plugs, and visual inspections are DIY-friendly.
If you hit something you're not comfortable with—like pulling the powerhead to replace a head gasket, diagnosing an electrical fault, or syncing carbs—get a professional. Mercury, Yamaha, Suzuki, and Honda all have certified techs with factory diagnostic tools. They'll spot issues you might miss, especially on newer EFI engines with electronic fault codes.
For older two-strokes or simpler four-strokes, the service manual walks you through almost everything. Download the manual for your specific model and year—it'll list torque specs, fluid capacities, and step-by-step procedures.
Pre-Launch Final Check


Right before you trailer it to the ramp:
- Verify all drain plugs are tight (lower unit, oil pan if external, any winterization drains)
- Check fuel vent is open
- Confirm battery is connected and charged
- Tie down the motor for trailering (tilt lock or strap)
- Double-check trailer lights, tire pressure, and hitch pin
- Load a basic tool kit, spare prop nut, extra fuses, and a plug socket on the boat
- Confirm you've got registration, safety gear, and a kill switch lanyard
Run the engine again on the hose for 5 minutes right before you leave. If anything's going to fail, better in the driveway than at the ramp.
Case Study: Charter Captain Brian Rice

Brian Rice, a charter captain from northern New Jersey, ran twin Yamaha F250s on his 31-foot Contender through 2,200+ hours of hard fishing use without major repairs. His secret: he followed Yamaha's service intervals religiously and did them more often than the manual specified because of the heavy use. Oil changes, impeller checks, and full inspections kept the engines running through inshore and offshore charters year after year without failures. That's not luck—that's maintenance. (Source)
Real-World Failures from Skipped Maintenance

Boat mechanic "The Boat Doc" sees the same failures every spring in his shop: seized pistons from rust, cracked blocks from trapped water, and dead batteries. Almost all of it traces back to skipped winterization or skipped spring prep. He uses biodegradable antifreeze flushed to -40°F to purge water, plus fogging and fuel treatment. Motors that get that treatment start clean in spring. Motors that don't come back with problems. (Source)
At Charles Mill Marina in Ohio, tech Harry Collins catches hidden corrosion, bad seals, and damaged props during spring inspections that owners missed. Visual checks under the hood reveal problems that don't show up until the motor's running at speed. If you're not confident doing the inspection yourself, a pro can catch things before they strand you. (Source)
Don't Skip the Basics
Lenny Rudow, BoatUS contributing editor, puts it this way: "The biggest maintenance mistake you can possibly make is not maintaining your outboard in the first place." (Source)
Ralph Stokley from Stokley's Marine says: "We're gonna hook it to the garden hose we're gonna start it up so we're gonna put it on the water and make sure that it runs because there's nothing worse to get into the lake for the first time for the season and your boat doesn't start." (Source)
Steve Nichols, outboard shop manager at Portland Yacht Services, recommends: "Flush the engine with fresh water, inspect the fuel lines, and replace any brittle or cracked hoses. Change the oil and gear lube, and inspect the impeller and cooling system. Old fuel? Drain it and refill with fresh gas for optimal performance." (Source)
Spring Prep by Usage Level
Your maintenance frequency depends on how hard you run the engine. Here's a rough guide:
| Usage | Hours/Year | Service Frequency |
|---|---|---|
| Light | <50 | Annual + seasonal (Source) |
| Moderate | 50-100 | Annual + mid-season (Source) |
| Heavy | 100-200 | Bi-annual + monthly (Source) |
If you're running the motor commercially or fishing tournaments, bump up the intervals. Oil changes every 50 hours instead of 100, impellers every season instead of every two years.
Costs: DIY vs Professional

Spring service runs $300–500 if you pay a shop, or $100–200 in parts if you do it yourself. That's way cheaper than an inboard, which can hit $1,000+ for the same service. (Source)
Skipping maintenance is expensive. Mercury reports that 80% of major engine failures come from neglect, and 40% of those are lubrication-related—stuff you prevent with basic oil changes and gear lube swaps. (Source)
A well-maintained outboard runs 1,500–4,000 hours depending on the engine and how you treat it. Neglect cuts that in half or worse.
By the Numbers
The US had 11.7 million registered recreational vessels in 2024, with over 10.8 million mechanically propelled—most using outboards. (Source) New powerboat sales hit 238,000 units, and total marine retail spending reached $55.6 billion, including maintenance and parts. (Source)
Outboard engine sales were 278,000 units worth $3.6 billion, with high-horsepower models (300+ hp) making up 40,000 units or 35% of the total value. (Source)
The US Coast Guard reported 4.8 fatalities per 100,000 vessels in 2024. A chunk of those trace back to equipment failure—stuff that maintenance prevents. (Source)
Spring Checklist Summary

Here's the fast list if you just need the headlines:
- Change engine oil and filter
- Replace fuel filter and drain water separator
- Change lower unit gear oil, check for water contamination
- Replace water pump impeller (every 2–3 years or 300 hours)
- Inspect and gap or replace spark plugs
- Check/replace zincs if over 50% eroded
- Inspect all hoses and clamps, replace any that are cracked or soft
- Grease all fittings (steering, tilt, pivot points, prop shaft)
- Test battery, clean terminals, recharge or replace if weak
- Check prop for damage, remove and inspect shaft for fishing line
- Inspect thermostat and cooling passages
- Flush fuel system, top off with fresh stabilized fuel
- Run engine on muffs, verify telltale flow and smooth operation
- Test trim/tilt, shift controls, and steering
- Check safety gear (life jackets, fire extinguisher, flares, horn)
- Inspect trailer (tires, lights, brakes, bearings, safety chains)
Practical tip: Flush your engine with fresh water after every ride. It takes two minutes. Hook up the muffs, run it for five minutes, and shut it down. That simple habit prevents salt and mineral buildup in the cooling system and keeps your thermostat from seizing.
For more information and to explore quality parts, visit the JLM Marine home page.