


Boat Trailer & Launch Prep: Don’t Forget the Outboard
- Pre-Launch Outboard Checks You Need to Do
- Trailer and Tow Vehicle Setup
- Loading Your Boat on the Trailer
- Backing Down the Ramp
- Launching the Boat
- Retrieving the Boat
- Post-Launch Outboard Care
- Common Launch Mistakes
- Steering and Docking
- Trailer Maintenance
- Outboard Service Intervals
- OEM vs. Aftermarket Parts
- Final Walk-Around
Pre-Launch Outboard Checks You Need to Do

Before you back down the ramp, check your outboard at home. Use flushing muffs a day or two before your trip. Fire it up in the driveway and let it run. You want to catch a dead battery or clogged fuel line now, not at the ramp with a line of trucks waiting behind you.
Pull the dipstick. Oil level correct? Good. Check your mounting bolts. Grab a socket and make sure they're tight. I've seen bolts pull through transoms because nobody checked them. Look at the gelcoat around the bolt heads—if it's cracking, you've got a problem that'll get worse fast.
Inspect the propeller for fishing line wrapped around the shaft or bent blades. Pop the cowling and look for wasp nests or mud dauber nests in the intake. You'd be surprised how often this happens if the boat sits for a few weeks. Check the telltale—that little stream of water that confirms your cooling system works. If it dribbles at idle but flows at throttle, your impeller might be marginal. Learn how to identify this with our detailed guide on Signs Your Outboard Impeller Needs Replacement.
According to BoatUS Magazine, using a pre-departure checklist minimizes problems that leave you calling for a tow. The U.S. Coast Guard documented 3,844 boating incidents in 2023, with machinery failure ranking in the top five contributing factors. A five-minute check at home beats a two-hour tow bill.
Trailer and Tow Vehicle Setup
Your trailer's GVWR must exceed your boat's total weight—hull, engine, fuel, gear, coolers, everything. Don't guess. Weigh it if you're unsure. Tongue weight should sit at 10-15% of the trailer's GVWR. Too light and the trailer will sway at highway speeds. Too heavy and your steering gets vague.
Hitch ball size matters. Common sizes are 1 7/8", 2", and 2 5/16". Match your coupler to your ball exactly. A 2" coupler on a 1 7/8" ball will bounce off on the highway.
Check your trailer tires before every trip. ST (Special Trailer) tires are rated differently than car tires. Inflate them to the max rating on the sidewall—often 60 psi or higher. According to Discover Boating, low pressure causes heat buildup and delamination at highway speeds. Replace tires older than six years based on the DOT code stamped on the sidewall, even if the tread looks fine.
Wheel bearings fail when water gets in. If you have bearing protectors (the spring-loaded caps on the hubs), add grease through the center fitting. You should see a slight bulge in the protector cap when it's full. Repack bearings with fresh grease every three to five seasons, or whenever you notice play in the wheel.
If you launch in saltwater, rinse your trailer brakes immediately after retrieval. Salt accelerates corrosion on brake pads and actuators. Have pads inspected every few seasons—combine it with bearing service at any auto shop.
Loading Your Boat on the Trailer
Before you leave home, load everything into the boat—coolers, rods, life jackets, dock lines. Don't do this at the ramp. Check that the drain plug is installed. I've watched boats sink at the dock because someone forgot this step.
Remove all tie-down straps from the transom. Store them in the same spot every time—I keep mine in a milk crate in the truck bed. Remove the transom saver or motor support bracket if you use one. If your outboard has a tilt lock, disengage it.
Trim your outboard so the lower unit is just above the trailer bunks. You don't want it dragging on the ramp, but you also don't want it fully raised—it needs to drop into the water as soon as the boat floats. For more on trimming techniques, check out our post on Trimming Your Outboard for Optimal Fuel Consumption.
Disconnect your trailer lights before backing into the water. Water shorting the bulbs will blow fuses in your truck. If you forget, you'll figure it out when your turn signals stop working.
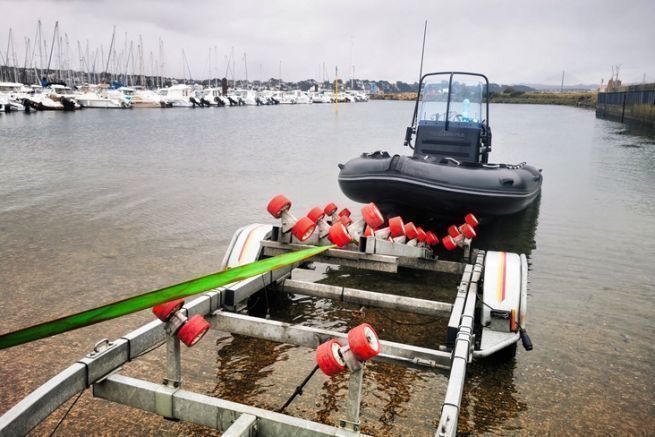
Backing Down the Ramp
![]()
Get your truck and trailer lined up with the center of the ramp from the widest angle possible. This gives you room to correct. When you turn the steering wheel right in reverse, the trailer goes left. It's counterintuitive until you do it a few times.
Go slow. If you overcorrect, pull forward and reset. Most ramps are slick—algae, moss, or just wet concrete. Even good tires will slip if the ramp is steep. Know where your parking brake is and use wheel chocks if the ramp is icy or extremely steep.
Back down until the stern of the boat just starts to float. The rear of the bunks should be submerged, but don't go so deep that your hubs are underwater longer than necessary. Put the truck in park, engage the parking brake.
Unhook the winch strap and safety chain. If you're solo, tie a dock line to the bow eye before you release the boat. If you have a crew, one person should hold the bow line, another the stern line.
Launching the Boat
You can walk the boat off the trailer or power it off. Walking it off works in calm water with help. Release the winch, push the boat back, and guide it with dock lines.
Powering off is more common. Start the engine while the boat is still on the trailer—lower unit submerged, cooling water flowing. Shift into reverse and give it a little throttle. The boat will slide off the bunks. Your crew should already have dock lines ready to steer it away from the trailer and toward the dock.
Once the boat is clear, pull the truck and trailer out of the water. Don't sit there blocking the ramp.
Retrieving the Boat
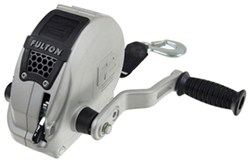
Power the boat onto the trailer slowly. Line up the bow with the winch post. Use reverse thrust to steer—don't just hammer the throttle and hope. You want the keel centered on the bunks.
Once the bow is close to the winch post, kill the engine and tilt it all the way up. Hook the winch strap to the bow eye and crank the boat forward until it's seated. The transom should be snug against the rear roller or bunk.
Attach the safety chain. This is your backup if the winch strap fails at 65 mph. Install your transom saver or motor support bracket. Don't rely on the tilt lock to hold the engine during transport—highway vibration will destroy your hydraulic lift system over time.
Reconnect your trailer lights. Pull forward out of the ramp area.
Post-Launch Outboard Care
Remove the drain plug as soon as you get home if you didn't already. Water in the bilge will freeze in winter or grow mildew in summer.
If you launched in saltwater, flush your outboard immediately with fresh water. Hook up the muffs, run the engine for five minutes. Salt will corrode your cooling passages, impeller housing, and exhaust passages. The U.S. outboard engine market sold 278,000 units in 2024 worth $3.6 billion, according to the NMMA. Replacing corroded components gets expensive fast. Avoid corrosion and costly repairs by regularly maintaining your water pump impeller and cooling system parts.
Rinse your trailer with fresh water, especially if you launched in saltwater. Hit the axles, springs, brake actuators, and frame. Salt will eat through your trailer faster than road use.
Check your tie-down straps and winch strap for fraying or UV damage. Replace them if they look worn. A failed strap at 70 mph will ruin your day.
Common Launch Mistakes 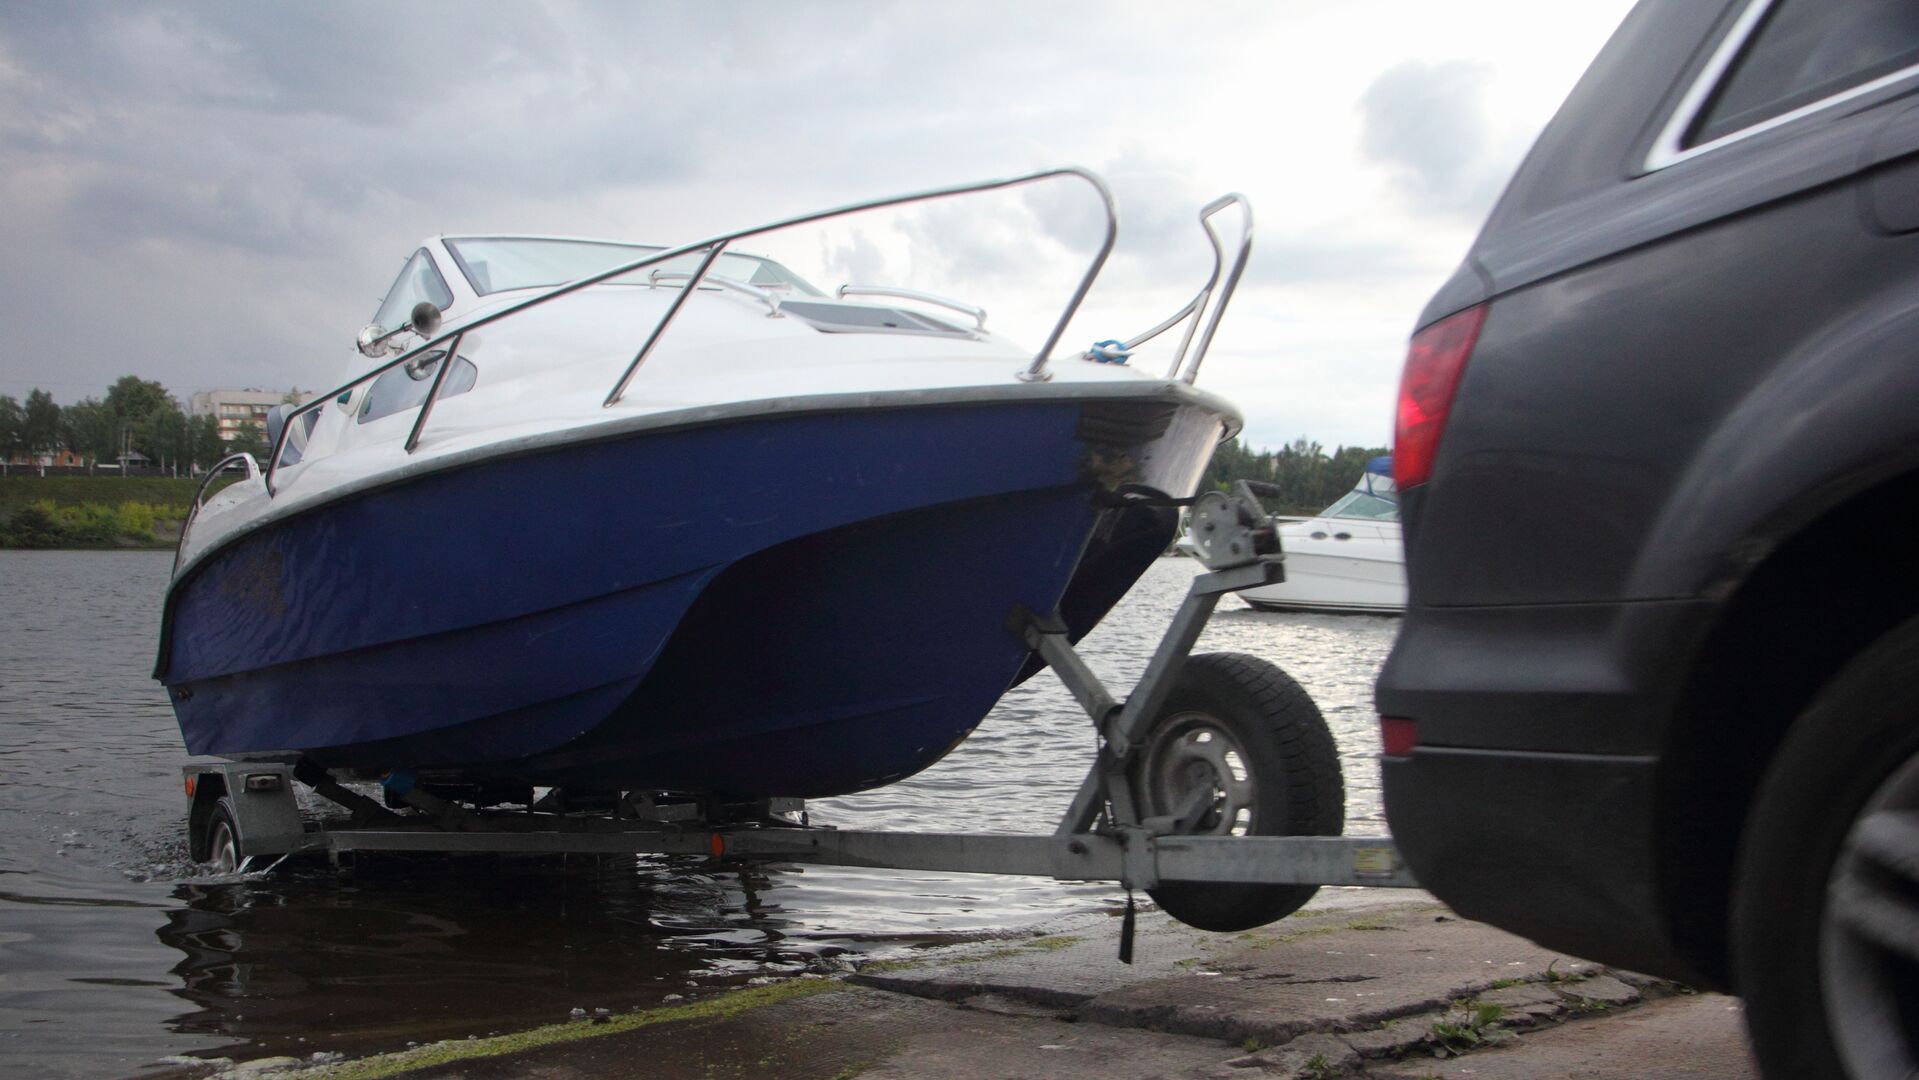
Don't disconnect tie-downs too early. I've seen boats fall backward onto trailers because someone pulled the straps before the boat was floating. The result is a cracked hull or damaged transom.
Forgetting the drain plug is a classic error. It happens to everyone once. The boat either won't float off the trailer or it sinks at the dock. Check it twice—once at home, once at the ramp.
Going too deep with the trailer floods your wheel bearings and brakes. Back down only until the boat floats. If your hubs are underwater for more than a few minutes, you're too deep.
Powering off too aggressively can spin the trailer tires or flood your truck's rear brakes. Ease into it. The boat will slide off with minimal throttle if the trailer is at the right depth.
Steering and Docking
Approach the dock at a shallow angle, slow speed. Use short throttle bursts to control your momentum. If wind is pushing you away from the dock, approach at a sharper angle. If wind is pushing you onto the dock, shallow out your angle.
A crew member at the bow with a dock line makes docking easier. They can grab a cleat or fend off gently. Don't rely on throttle alone to stop the boat—docks are expensive to fix.
For larger boats or twin-engine setups, joystick systems like the Dometic Optimus 360 offer precise control. You can slide sideways or spin in place. It's a big investment, but if you dock a 30-footer in tight slips regularly, it's worth considering.
Trailer Maintenance
Outboards account for more than 85% of the marine engine market in the U.S., according to industry data. That means most of you reading this are towing an outboard boat. Your trailer sees constant abuse—saltwater, UV exposure, road vibration, and ramp immersion.
Inspect your winch. The cable or strap should spool evenly. The gears should turn smoothly. If the winch is stiff, pull it apart and repack the gears with marine grease. I use white lithium grease on the winch and hitch ball.
Check your trailer frame for rust or cracks, especially near the welds and axle mounts. Small cracks turn into catastrophic failures. If you see a crack, have it welded before you tow again.
Keep a spare tire, jack, and lug wrench in your truck. Trailer tires fail more often than car tires because they sit for long periods and take side loads during sharp turns.
Outboard Service Intervals

Most manufacturers recommend service at 20 hours for initial break-in, then every 100 hours or 12 months, whichever comes first. If you only run 30 hours a season, you still need annual service. Oil, gear lube, and impellers deteriorate even when the engine sits.
At 100 hours, check or replace the fuel filter, water pump impeller, spark plugs, and anodes. Inspect the lower unit gear lube for water contamination—milky or gray lube means your seals are leaking. Get quality fuel filters and OEM or aftermarket impeller replacement kits from trusted suppliers to avoid common breakdowns.
Change your oil before winter storage, not after. Used oil contains contaminants and acids that promote corrosion. Fogging oil should be sprayed into the intake while the engine is running to coat the cylinders. Follow your manufacturer's procedure—two-strokes and four-strokes differ.
Store your outboard level, not tilted up. Tilting can allow water to pool in the wrong places. If you're storing long-term, disconnect the battery and use a maintainer to prevent sulfation.
OEM vs. Aftermarket Parts
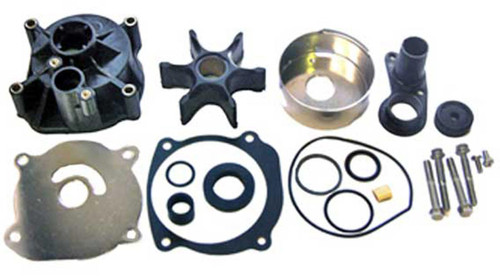
OEM parts are good quality, but you're paying for the logo. A $150 OEM water pump kit does the same job as a $60 quality aftermarket kit if the aftermarket part is made to spec.
Avoid cheap offshore kits. The impeller rubber is too hard, the gaskets don't seal, and you'll be tearing the lower unit apart again in six months. It's not worth the savings.
Quality aftermarket manufacturers sometimes use the same factories that produce OEM parts. They just run extra capacity for their own brand. JLM Marine kits are factory-spec quality without the dealership markup. They fit correctly and last.
If you're unsure, ask. We've been shipping parts worldwide for 20 years. A guy in Australia ordered a lower unit seal kit last month for this exact reason—couldn't justify OEM pricing, didn't trust the cheap alternatives. Browse our OEM-quality aftermarket parts collection for reliable options.
Final Walk-Around
Before you leave the ramp, do a final check. Winch strap tight? Safety chain connected? Outboard trimmed all the way up and secured with the transom saver?
I've seen lower units dragged down the highway because someone forgot to trim up or install the support bracket. The damage is catastrophic—broken gearcase, bent prop shaft, destroyed seals. You're looking at a $1,500 repair minimum.
Check your trailer lights one more time. Tap the brakes, hit the turn signals. If something's out, fix it before you merge onto the highway.
Pro tip: After every saltwater trip, hook up your muffs and flush the outboard with fresh water for five minutes. It takes less time than replacing a corroded thermostat or seized water pump. For step-by-step flushing and water pump replacement, see our Johnson/Evinrude Outboard Water Pump Replacement Guide.
For more comprehensive marine parts and expert advice, visit the JLM Marine homepage.
Hi—I’m Jim Walker
I grew up in a Florida boatyard, earning pocket money (and a few scars) by rebuilding outboard carbs before I could drive. That hands-on habit carried me through a Ph.D. in mechanical engineering, where I studied how salt water quietly murders metal.
I spent ten years designing cooling systems for high-horsepower outboards, then joined JLM Marine as CTO. We bench-test every new part in the lab, but I still bolt early prototypes onto my own 23-foot skiff for a weekend shake-down— nothing beats real wake and spray for finding weak spots.
Here on the blog I share the fixes and shortcuts I’ve learned so your engine—and your day on the water—run smooth.

For Boat Owners:
To assist you in maintaining and repairing your marine engines, we hope the following resources may be of use:
- Mercury Serial Number Guide
- Owner's Manuals from Mercury
- Official Model Number Reference Guide PDF from BRP
- Johnson Serial Number Guide
-
Boat Accessories from JLM Marine
About JLM Marine
Founded in 2002, JLM Marine has established itself as a dedicated manufacturer of high-quality marine parts, based in China. Our commitment to excellence in manufacturing has earned us the trust of top marine brands globally.
As a direct supplier, we bypass intermediaries, which allows us to offer competitive prices without compromising on quality. This approach not only supports cost-efficiency but also ensures that our customers receive the best value directly from the source.
We are excited to expand our reach through retail channels, bringing our expertise and commitment to quality directly to boat owners and enthusiasts worldwide.
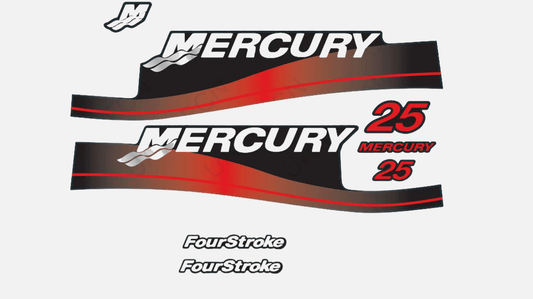
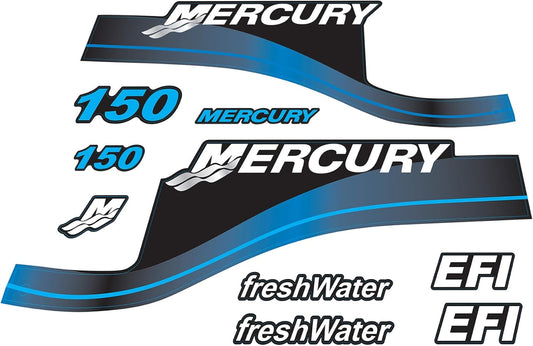
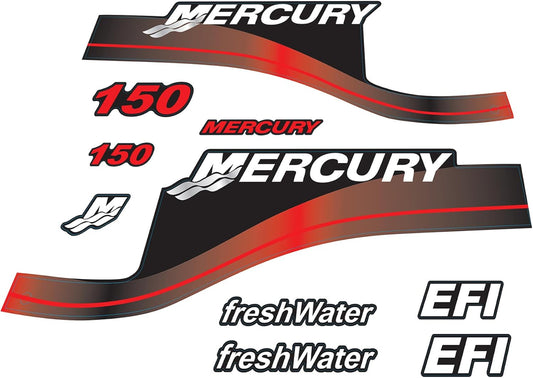
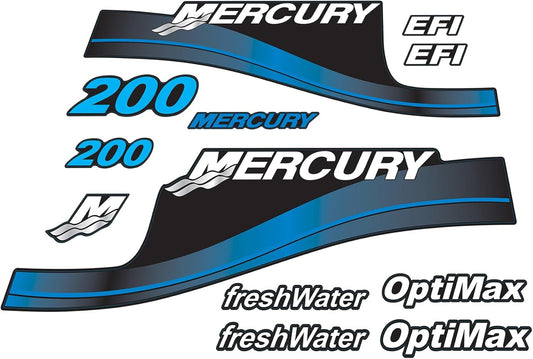
Boat Accessories on Sale
- $54.00
- $54.00
- Unit price
- per
- $38.50
- $38.50
- Unit price
- per
- From $39.13
$45.50- From $39.13
- Unit price
- per
- $53.50
- $53.50
- Unit price
- per
- From $54.00
- From $54.00
- Unit price
- per

- $34.50
- $34.50
- Unit price
- per
- $45.00
- $45.00
- Unit price
- per
- $23.50
- $23.50
- Unit price
- per
-
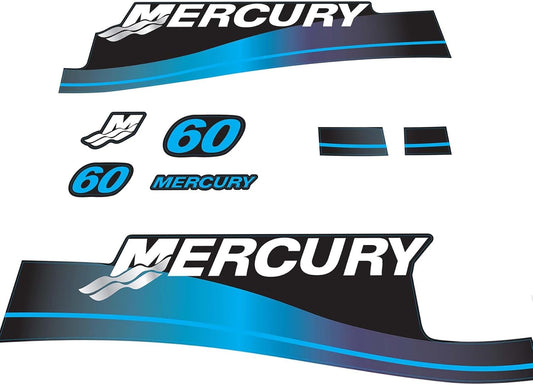
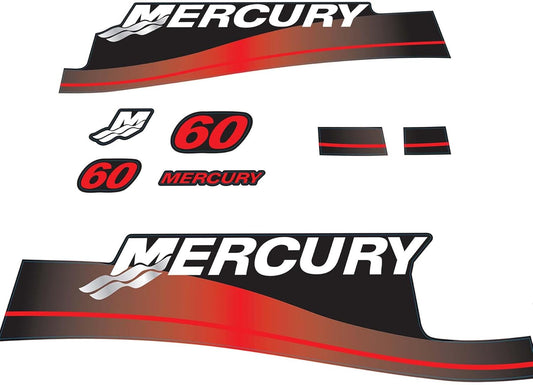
Red
-
Blue

- $34.50
- $34.50
- Unit price
- per
- $54.00
- $54.00
- Unit price
- per
- $54.00
- $54.00
- Unit price
- per
- $32.00
- $32.00
- Unit price
- per
- $40.00
- $40.00
- Unit price
- per
- $22.80
- $22.80
- Unit price
- per
-
Red
-
Blue

- $22.80
$27.00- $22.80
- Unit price
- per

- $31.50
- $31.50
- Unit price
- per
- $22.80
- $22.80
- Unit price
- per
-
Red
-
Blue
- $54.00
- $54.00
- Unit price
- per


- $59.00
- $59.00
- Unit price
- per

- $32.00
- $32.00
- Unit price
- per