


Calibrating Your Outboard After Winter Storage
Why Post-Winter Prep Matters

More outboards suffer damage from winter storage neglect than from active use. Service centers report 25-35% of their spring workload stems from improper winterization, causing delays of 4-8 weeks for repairs. If any water was left in the engine block, exhaust system, or lower unit, it can freeze, expand, and crack components. Corrosion attacks metal parts. Unstabilized fuel gums up carburetors and injectors.
This process catches all of that before it becomes a problem on the water. For a comprehensive guide on protecting your engine for winter, see our detailed Yamaha Outboard Winterization Guide.
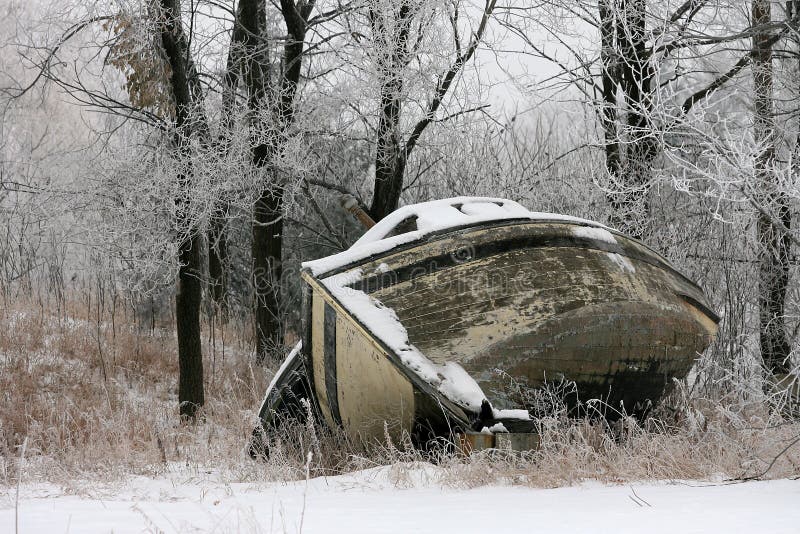
Winter Freeze Risks for Outboards

Water expands about 9% when it freezes. If trapped inside your engine block, cooling passages, or lower unit, it finds the weakest point to expand. This cracks engine blocks, splits gaskets, or damages seals. A hairline crack from freezing allows water into the oil system, leading to accelerated corrosion and internal damage.
California leads US states in freeze-damage claims despite mild winters, as boats stored without preparation get hit by sudden cold snaps.
Signs of Freeze Damage
The most obvious sign is lack of water from the tell-tale hole. If you don't get that stream, shut it down immediately. Running an engine without cooling causes overheating and severe damage.
Visually check for external cracks on the block, around cooling passages, or on the lower unit. Drain the gear lube. If it looks milky or emulsified, water has infiltrated the lower unit, potentially from freezing and damaged seals.
Step-by-Step De-winterization 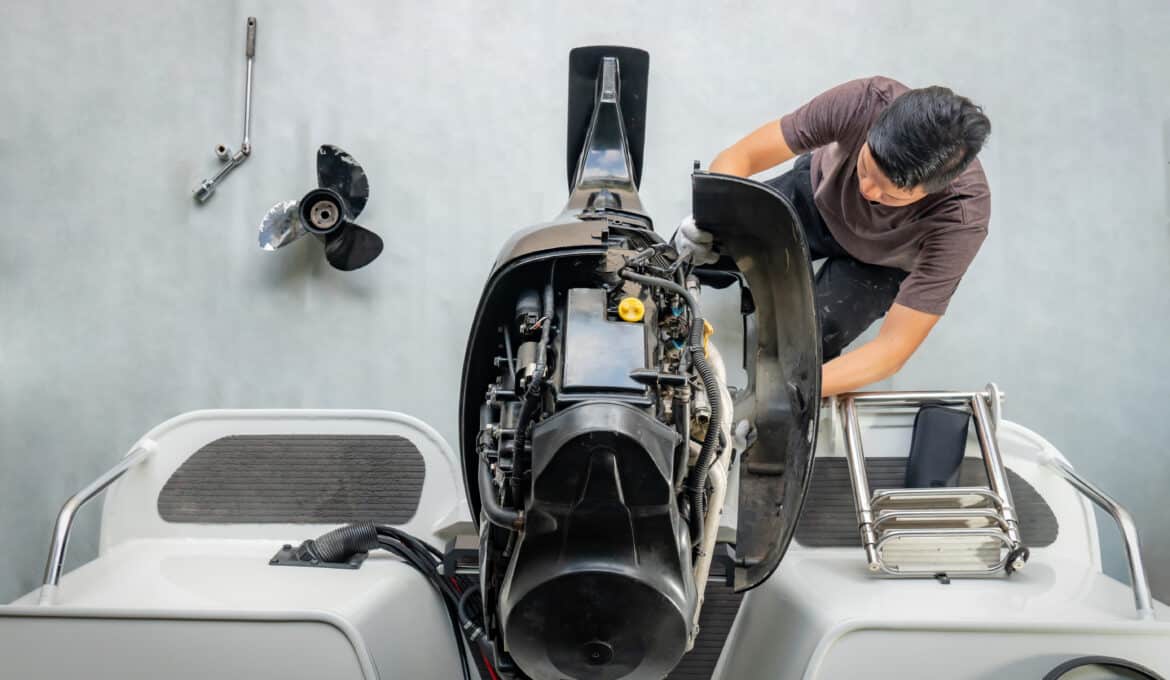
Visual Inspection First
Look over every accessible part of the motor for new cracks or damage. Verify all drain plugs are in place and secure. Check the propeller for dings and ensure it's tightly secured—use a torque wrench set to 55 ft-lbs for most prop nuts. Clear debris from water intakes and exhaust ports.
If you suspect cooling issues, our blog on Unclogging a Blocked Outboard Cooling Water Intake provides expert steps to diagnose and resolve common blockages.
Oil and Filter Change
If you didn't change oil and filter in the fall, do it now. You want clean, amber oil. Black, sludgy oil indicates water contamination—a red flag for gasket failure or seal issues from freezing.
Scott Klein, president of Wendt's Marine in Van Dyne, Wisconsin, notes: "When we are winterizing engines, we might see things that are wrong with them that our customers might not catch. It could be something minor, like a throttle or shift cable out of adjustment, but that can affect how the motor performs."
Use marine-grade oil recommended by your manufacturer. JLM Marine stocks factory-spec oils and filters that meet OEM standards without the dealership markup. Browse our quality Outboard Motor Parts collection for oils, filters, and more.
Gear Lube Check and Replacement
Pull the vent screw first (located on top of the lower unit), then remove the drain plug at the bottom. If water comes out, or if the lube looks milky, you have water intrusion.
To refill properly, insert the tube into the bottom drain hole and pump gear lube in from the bottom up. This prevents air pockets. When lube appears at the top vent hole, replace the vent screw first, then remove the pump and install the bottom drain plug. Doing this incorrectly destroys the lower unit.
For replacement parts, JLM Marine offers Gear Lubes and Seal Kits suited for multiple brands and models.
Battery Maintenance
Test voltage—should read 12.6V or higher when fully charged. Clean terminals with a wire brush. If voltage is low, charge or replace the battery before attempting startup.
If you want detailed off-season battery care advice, see our Battery Care During the Off-Season: Keep It Charged guide.
Flushing the Cooling System
Attach water muffs (sometimes called "rabbit ears") to the lower unit water intake screens. The muffs must form a tight seal over the intake grates for effective suction. Connect a garden hose and turn on water before starting the engine.
Run the engine for 10-15 minutes with fresh water flowing through the cooling system. This flushes out residual saltwater, silt, or debris. Watch the tell-tale stream—it should be strong and consistent. If it's weak or sputtering, you have a blockage.
Saltwater users need to be more aggressive with flushing than freshwater boaters due to salt's corrosive nature. For impeller replacement or water pump servicing, check our Water Pump Impeller collection for quality parts.
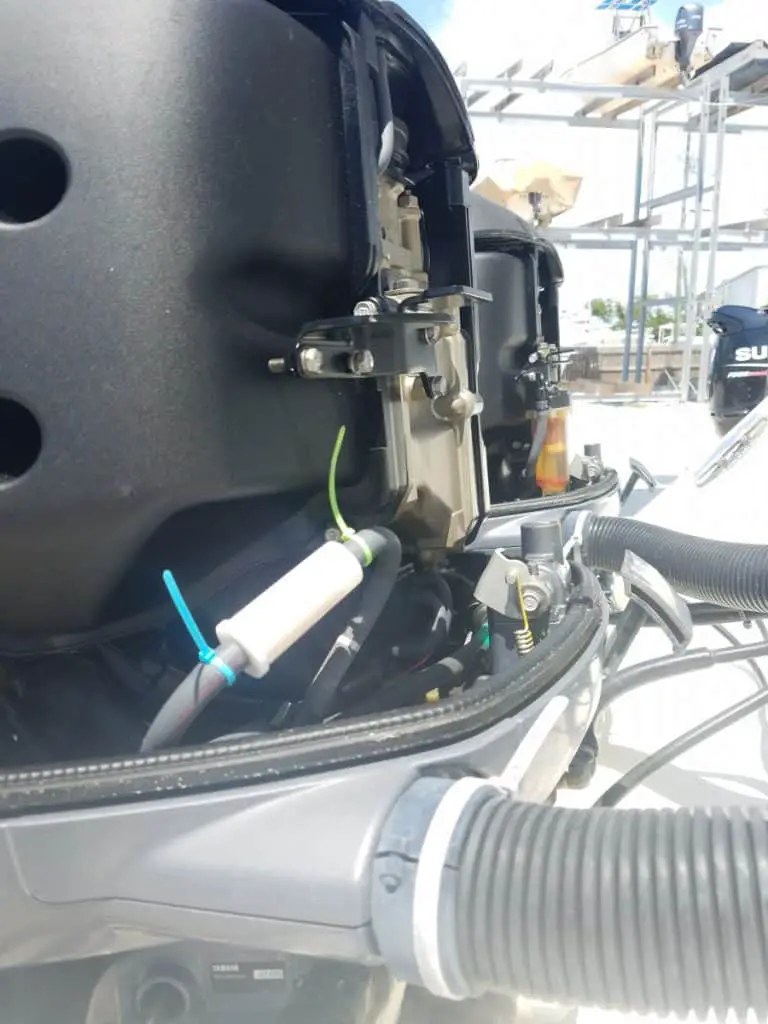
Fuel System Check
Prime the fuel line by squeezing the bulb until firm. Use fresh, stabilized fuel—ethanol-free is best. Old fuel causes surging idle or the engine dying when put in gear.
If you see these symptoms, your carburetors are gummed up. Don't buy cheap carb kits. The rubber is too hard, the fitment is off, and you'll be tearing the engine apart again next weekend. JLM kits are factory-spec quality without burning cash unnecessarily. Explore our Carburetor Repair Kit collection for OEM-quality kits compatible with major brands.
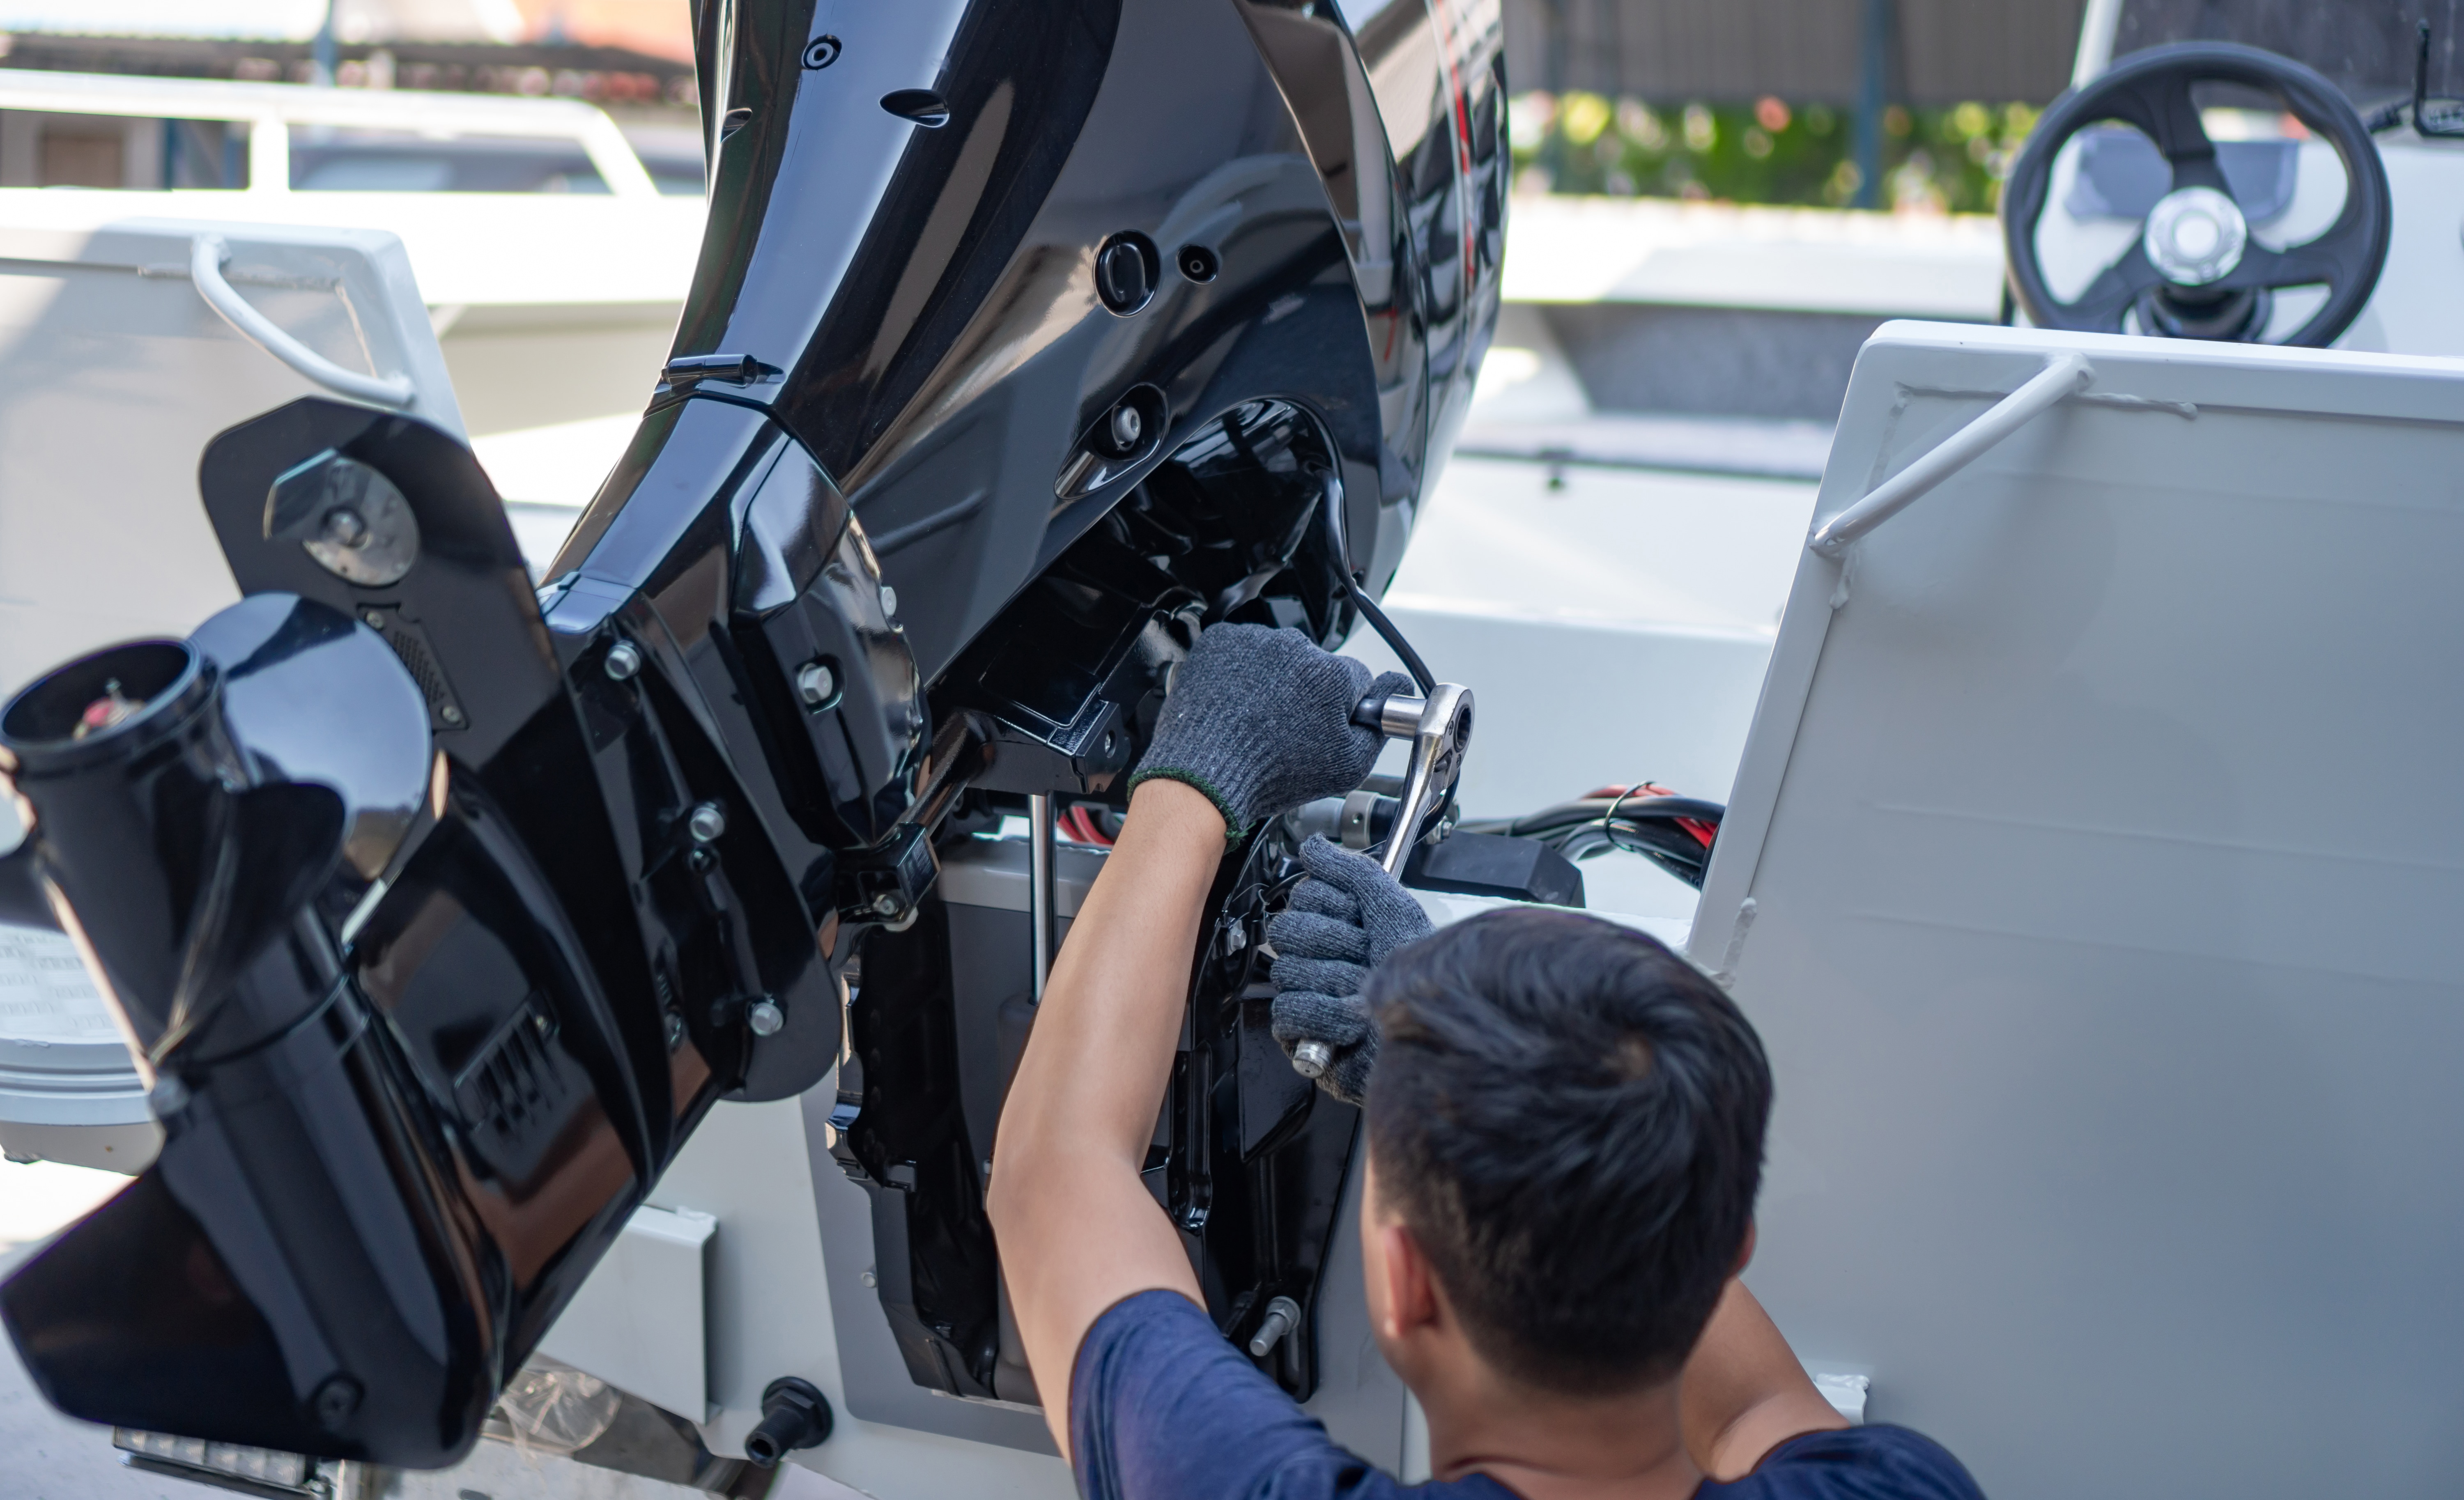
First Startup Procedure
Before starting, as Lake Watersports advises: "Pull the plugs, spray WD-40 in the heads, leave the plugs out and manually turn the motor by the flywheel or prop. If everything turns smoothly, then you can go ahead and move on to the next steps."
With water muffs attached and water running, prime fuel, start in neutral with choke. Run 5-10 minutes until smoke from fogging oil clears.
The tell-tale stream must be strong immediately. If no water flows, shut off instantly to avoid impeller damage. Hot water from the tell-tale is normal once the thermostat opens. Cold water throughout the run means the thermostat stuck closed. Intermittent flow indicates impeller failure. For thermostat maintenance and troubleshooting, see our blog on Thermostat Maintenance: Keeping Your Outboard Running Cool.
Shift through forward and reverse to test gears. Keep the hose away from the prop.
Spark Plug Inspection
After the engine cools, replace spark plugs if needed. Use OEM or equivalent quality plugs gapped to manufacturer specs. JLM Marine can help you find the exact plugs directly from the factory. Learn more about the impact of spark plugs in High-Performance Spark Plugs: Do They Make a Difference?
Kill Switch Test
Test the kill switch before you're in a situation where you desperately need it. After sitting all winter, connections can get corroded. Understanding the kill switch is critical; for more, see Understanding the Kill Switch: Why Your Engine Won’t Start.
Preventing Future Freeze Damage
If you're storing in-water through winter, monitor water temperature and ice formation. Use apps like NOAA Weather or Windy for local marine forecasts.
A good boat cover keeps snow and ice off the motor, reducing heat loss. Small marine-grade boat heaters inside the engine cowling add extra protection in borderline temperature situations. For boat accessories, including covers and heaters, browse our Boat Accessories collection.
OEM vs. Non-OEM Parts for Dewinterization
OEM parts are reliable, but you're paying a premium for the sticker on the box. Cheap aftermarket parts from random sellers are a gamble—wrong fitment, poor materials, headaches.
High-quality non-OEM parts from reputable suppliers offer factory-spec performance without dealership markup. Some factories that manufacture for OEM brands use excess capacity to produce non-OEM items of similarly high quality. JLM Marine ships these parts directly from the factory to your door worldwide. Learn which parts to trust in our guide OEM vs. Aftermarket Outboard Parts: What’s the Difference?
Troubleshooting Common Post-Storage Issues
Won't Start
Check battery voltage, fuel supply (fresh and stabilized?), and spark. For a step-by-step guide on no-start conditions, see Outboard Won’t Start? 10 Troubleshooting Steps.
Runs Rough After Starting
Fuel system is usually the culprit. Gummed-up carburetors or fuel injectors are frequent offenders after sitting with old fuel.
No Tell-tale Stream
Shut down immediately. Check for blockages in cooling passages, failed impeller, or stuck thermostat.
Milky Gear Lube
Water intrusion in the lower unit. Replace seals and refill properly from the bottom up.
2-Stroke vs. 4-Stroke Differences
This guide covers outboard motors generally. Oil change procedures differ: 2-strokes use oil mixed with fuel, while 4-strokes have separate engine oil. Check your manufacturer's manual for model-specific requirements.
Consult your Mercury, Yamaha, or other manufacturer service manual for throttle cable adjustments, idle settings, and timing specifications specific to your engine.
Pass/Fail Criterion
Engine should reach stable idle within 30 seconds of startup. If it doesn't, investigate fuel delivery, spark, or air intake issues before running longer.
Daily maintenance tip: Flush your engine with fresh water after every ride. Run it on muffs for 10 minutes. This prevents salt buildup and keeps the impeller from seizing.
For more resources, parts, and expert marine advice visit JLM Marine.