


Annual Inspection Checklist: What to Check Each Spring
- Lower Unit and Gearcase Inspection
- Cooling System Service
- Fuel System Maintenance
- Ignition and Electrical Checks
- Powerhead and Mechanical Components
- Lubrication Points and Fluids
- Fuel Tank and External Components
- Cowling and External Hardware
- Pre-Season Test Run
- Parts Quality and Sourcing
- Common Spring Issues by Brand
- Tools You'll Need

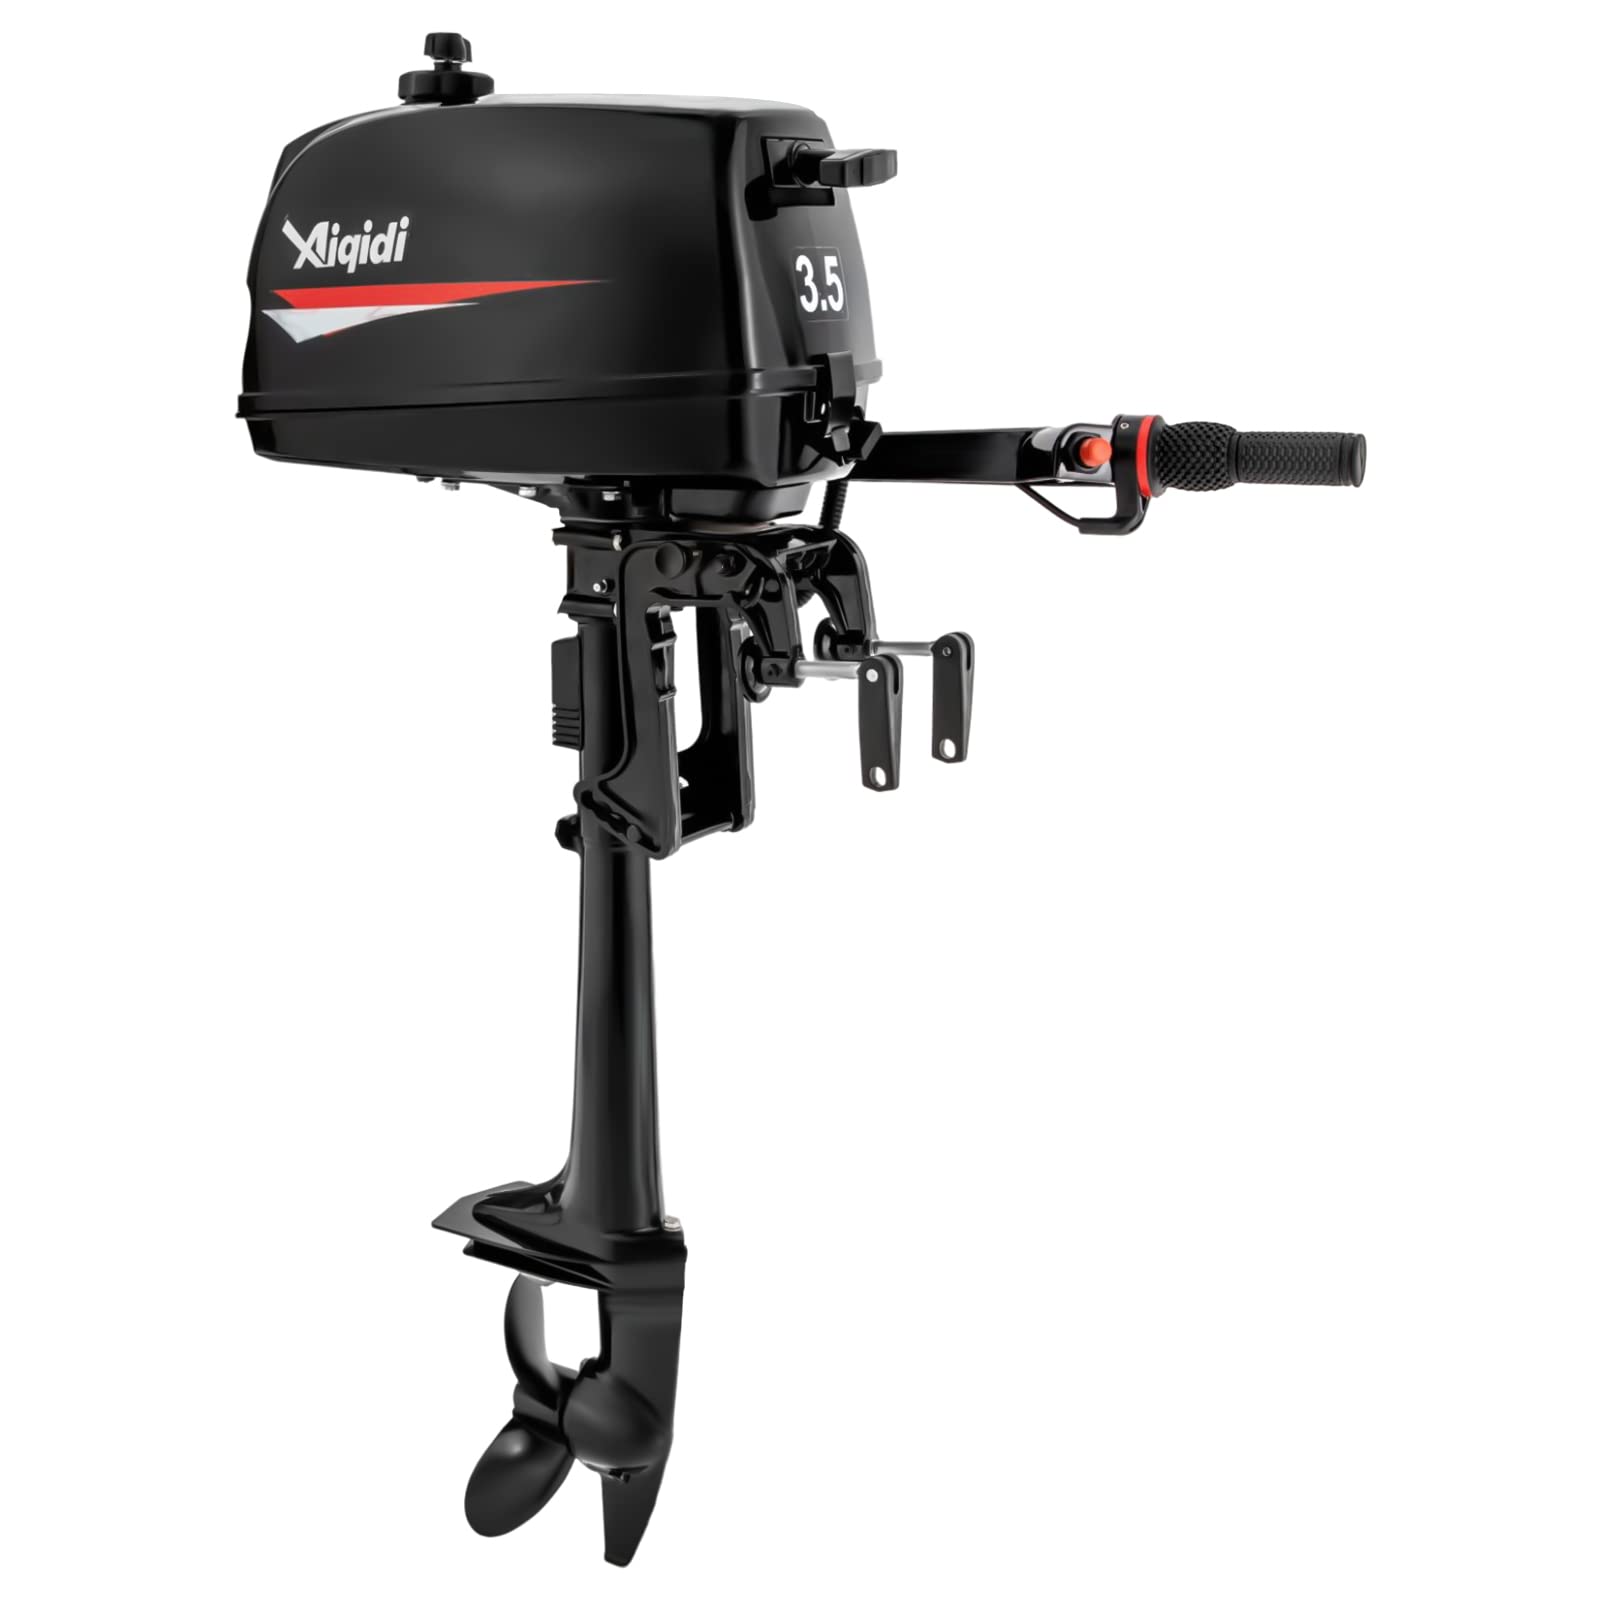
After twenty years wrenching on outboards, I can tell you spring is when most problems show up. You pull the cover off in March and find six months of sitting has done its damage. Here's what I check on every motor before the season starts, broken down by priority.
Lower Unit and Gearcase Inspection
Pull the drain plug first. If you get water mixed with the gear oil, you've got a bad seal somewhere. The oil should come out clean and thick, not milky or thin. Check the magnetic drain plug for metal shavings – a little fine dust is normal, but chunks or wire-like pieces mean gears are eating themselves.
Spin the prop by hand. It should turn smooth with slight resistance from the gears. If it's locked up or grinding, don't start the motor. Check the prop shaft for fishing line wrapped around the seal – that's the number one cause of lower unit leaks I see. Even a few wraps can cut through the seal over winter.
Inspect the prop for dings and bent blades. A damaged prop throws off the whole drivetrain and kills fuel economy. Also check the splines inside the hub. If they're rounded off, the prop will spin under load even if it looks fine sitting still. For guidance on prop issues, see our detailed Propeller Vibrations: Diagnosing Bent Shafts or Blades.
Replace the lower unit oil even if it looks clean. Old oil breaks down and loses its protection. I use the manufacturer's spec weight – usually 80W-90 gear oil for most outboards, but check your manual. The Yamaha 2.5HP takes about 90ml, the Mercury 9.9HP takes roughly 250ml. Overfilling is just as bad as underfilling. Learn more about keeping your lower unit healthy in our post on Maintaining Your Outboard’s Gearcase: Mercury vs. Yamaha.
Cooling System Service
The impeller is your first line of defense against overheating. Most manufacturers recommend replacement every 2-3 years, but if you run in sandy or silty water, do it annually. The vanes get brittle and crack, or they take a permanent bend from sitting dry all winter.
To check if it's still good, pull the lower unit and inspect the impeller housing. Look for missing vane tips, cracks at the base, or a permanent set in one direction. If the vanes don't spring back when you bend them, it's done. Consider our Signs Your Outboard Impeller Needs Replacement for detailed warning signals.
While you're in there, check the water pump housing for scoring. Deep grooves mean the impeller was running dry at some point. You'll need to replace the housing or it'll chew through the new impeller in a season. We offer highly recommended products in our Water Pump Kit collection and Water Pump Impeller Kit collection.
Replace the thermostat if the motor is more than five years old. A stuck-closed thermostat will overheat the motor even with a good impeller. A stuck-open one won't let the motor reach operating temperature, which causes poor fuel economy and carbon buildup. The thermostat is cheap insurance – usually $15-30 depending on the motor. For step-by-step thermostat replacement instructions, check out How to Replace the Thermostat on Your Yamaha F225, F250, or F300 4.2L V6 Outboard Motor.
Clean out the cooling water intake screens. On most motors, these are on the lower unit just above the anti-cavitation plate. Pull them out and flush with a hose. I've seen them completely blocked with leaves and mud after a winter in storage. If you experience cooling issues, our guide on Unclogging a Blocked Outboard Cooling Water Intake will help you resolve them quickly.
Fuel System Maintenance
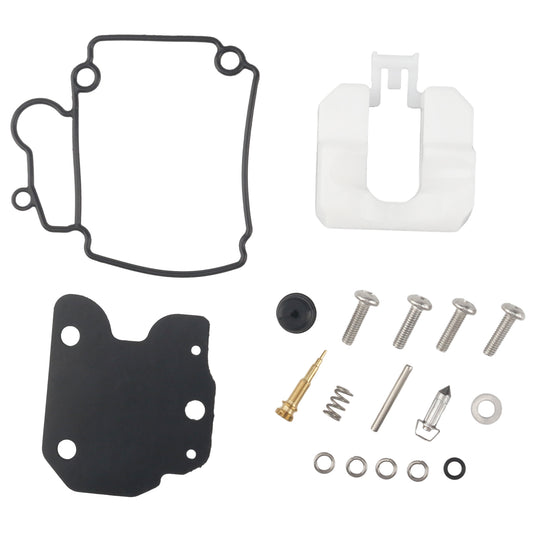
Old fuel is your enemy. If the gas has been sitting more than 90 days, drain the tank and carburetor. Ethanol fuel separates and turns to varnish, which clogs jets and passages. The main jet on a 6HP Tohatsu is 0.7mm – it doesn't take much crud to block it.
Pull the carburetor bowl and inspect for sediment. If you see brown sludge or flakes, you'll need to do a full rebuild. Check the float for fuel saturation by shaking it – if you hear liquid sloshing, it's waterlogged and needs replacement.
Inspect fuel lines for cracks, especially where they bend at connections. Ethanol eats older fuel lines from the inside out. Squeeze the primer bulb – it should get firm and hold pressure. If it stays soft, you've got a leak sucking air somewhere in the system.
Replace the inline fuel filter if you have one. They're usually clear plastic so you can see the element. A clogged filter starves the motor – it'll run fine at idle but die when you throttle up. For replacement parts, visit our Fuel Filter collection.
For carbureted motors, spray carburetor cleaner through the idle and main jets. Don't use compressed air to blow them out – you can damage the precision orifices. If the motor has been sitting, you'll probably need to pull the idle mixture screw and clean the passage behind it. To help with carburetor rebuilds, check out our Carburetor Repair Kit collection and Carburetor collection. We also provide specific Tohatsu Carburetor Repair Kits and Yamaha Carburetor Repair Kits.
Ignition and Electrical Checks
Pull the spark plugs and read them. A healthy plug has a light tan or gray electrode. Black and sooty means it's running rich. White or blistered means it's running lean, which will burn a hole in the piston if you don't fix it. Oil-fouled plugs indicate a worn top end on a 2-stroke or bad rings on a 4-stroke.
Check the plug gap with a feeler gauge. Most small outboards spec 0.6-0.8mm, but verify in your manual. A gap that's too wide causes misfires under load. Too narrow and you get a weak spark.
Inspect the plug wires for cracks or corrosion at the terminals. On older motors, these wires get brittle and arc to ground, causing a random misfire that's hell to diagnose. Replace them if they're questionable – they're cheap.
Test the kill switch and lanyard. A faulty kill switch can prevent starting or cause the motor to die randomly. Unplug the kill switch wire at the motor and try to start it. If it fires up, the switch is bad. This is a common problem on Yamaha and Suzuki models. For help diagnosing the kill switch, see Understanding the Kill Switch: Why Your Engine Won’t Start.
Check battery terminals for corrosion on electric-start models. Clean them with a wire brush and apply dielectric grease. A weak connection causes hard starting and can damage the starter solenoid. Load test the battery if it's more than three years old – most automotive parts stores do this free. Learn best practices in Battery Care During the Off-Season: Keep It Charged.
Powerhead and Mechanical Components 
Check the engine mounts for cracks or deterioration. Broken mounts cause excessive vibration and can crack the mounting bracket on the transom. On tiller-steer motors, this also makes steering sloppy and fatigue you faster.
Inspect the tilt/trim system if equipped. Cycle it up and down listening for smooth operation. Grinding or slow movement indicates low fluid or a failing pump motor. Check the fluid level in the reservoir – it should be clear hydraulic fluid, not milky or dark.
Grease all the fittings. Most motors have zerk fittings on the tilt tube, steering pivot, and throttle linkage. I use a marine-grade waterproof grease. The throttle linkage especially needs this – a sticky throttle is dangerous. For more on lubricants, see Best Marine Greases and Lubes for Your Outboard.
Check the shift linkage adjustment. With the motor in forward, the prop should engage smoothly without grinding. Same for reverse. If it grinds going into gear or pops out under load, the linkage needs adjustment. This varies by model, but there's usually an adjustment screw on the shift shaft.
Inspect the exhaust passages on 2-strokes. Carbon buildup in the exhaust can restrict flow and kill power. Some motors have inspection ports, others you need to pull the head. If you're losing top-end RPM or getting excessive smoke, this is often the cause.
Lubrication Points and Fluids

Change the engine oil on 4-stroke motors. Most small 4-strokes take 10W-30 or 10W-40. The Honda 2.3HP takes 0.35L, the Tohatsu 6HP takes about 0.6L. Don't overfill – it'll blow out the crankcase vent and make a mess.
Grease the propeller shaft. Pull the prop, clean the shaft with a wire brush, and apply a thick coat of waterproof grease. This prevents corrosion and makes the prop easier to remove next time. Also grease the inside of the prop hub.
Check the steering cable on tiller or remote-steer models. Work some marine grease into the cable where it enters the housing. A dry steering cable gets stiff and binds, which is exhausting on a long day.
Lubricate the throttle and shift cables. Most have a small fitting at the motor end where you can inject cable lube. If they're really dry, you can disconnect the cable and flush it with penetrating oil, then follow with cable lube.
Fuel Tank and External Components
Inspect the fuel tank for rust, dents, or leaks. On portable tanks, check the fuel cap vent – a clogged vent creates a vacuum that starves the motor. The motor will run for a few minutes, then die as the vacuum builds.
Replace the fuel cap O-ring if it's cracked or flat. A leaking cap lets fuel evaporate and allows water in during rain. Also check the connector fitting where the fuel line attaches to the tank.
Clean the tank pickup screen if accessible. Some portable tanks have a removable pickup tube. Sediment settles to the bottom over winter and gets sucked up when you first start running.
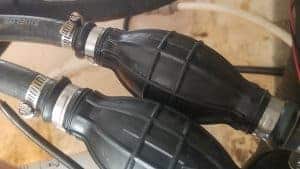
Check the primer bulb for cracks. A bad primer bulb won't pump fuel properly and causes hard starting. When you squeeze it, fuel should flow one direction only. If it squirts back, the check valves are shot.
Cowling and External Hardware
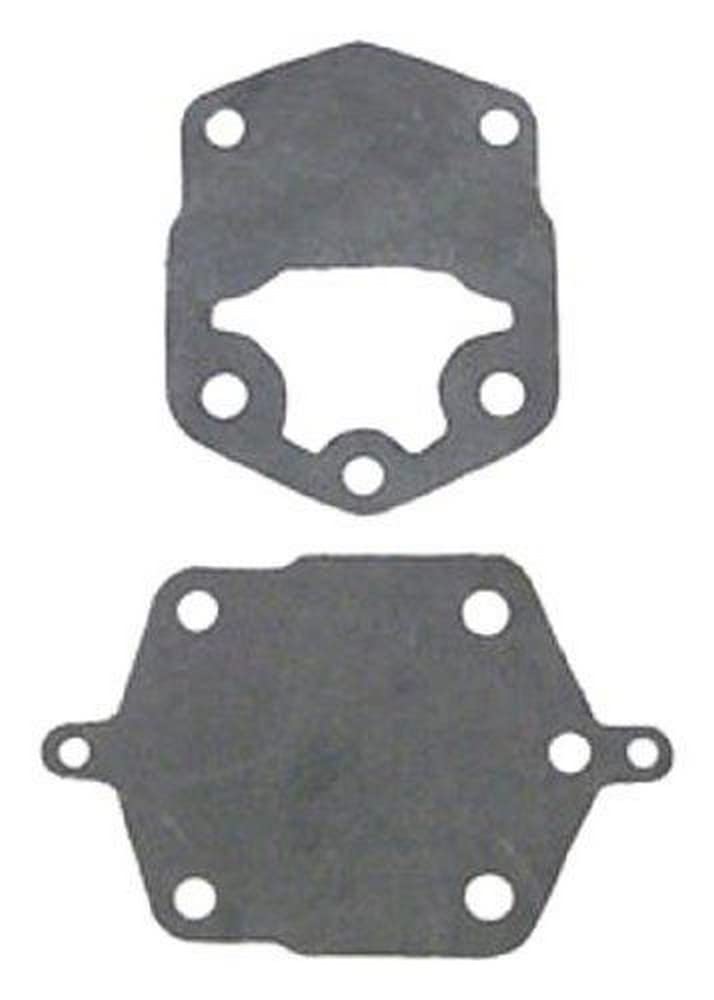
Pull the cowling and inspect the gasket. A deteriorated gasket lets water into the powerhead and causes corrosion. Water also messes with the ignition system. Replace the gasket if it's compressed flat or torn.
Check the cowling latches. Loose latches let the cowling vibrate or fly off at high speed. I've seen cowlings end up in the bottom of the lake from bad latches. Also make sure the rubber bumpers are present – they cushion the cowling and reduce noise.
Inspect the mounting bolts and clamps. Corrosion is common here, especially on motors used in saltwater. Replace any bolts that are rusted or stripped. The transom clamps should tighten firmly without excessive force – if the threads are worn, replace them.
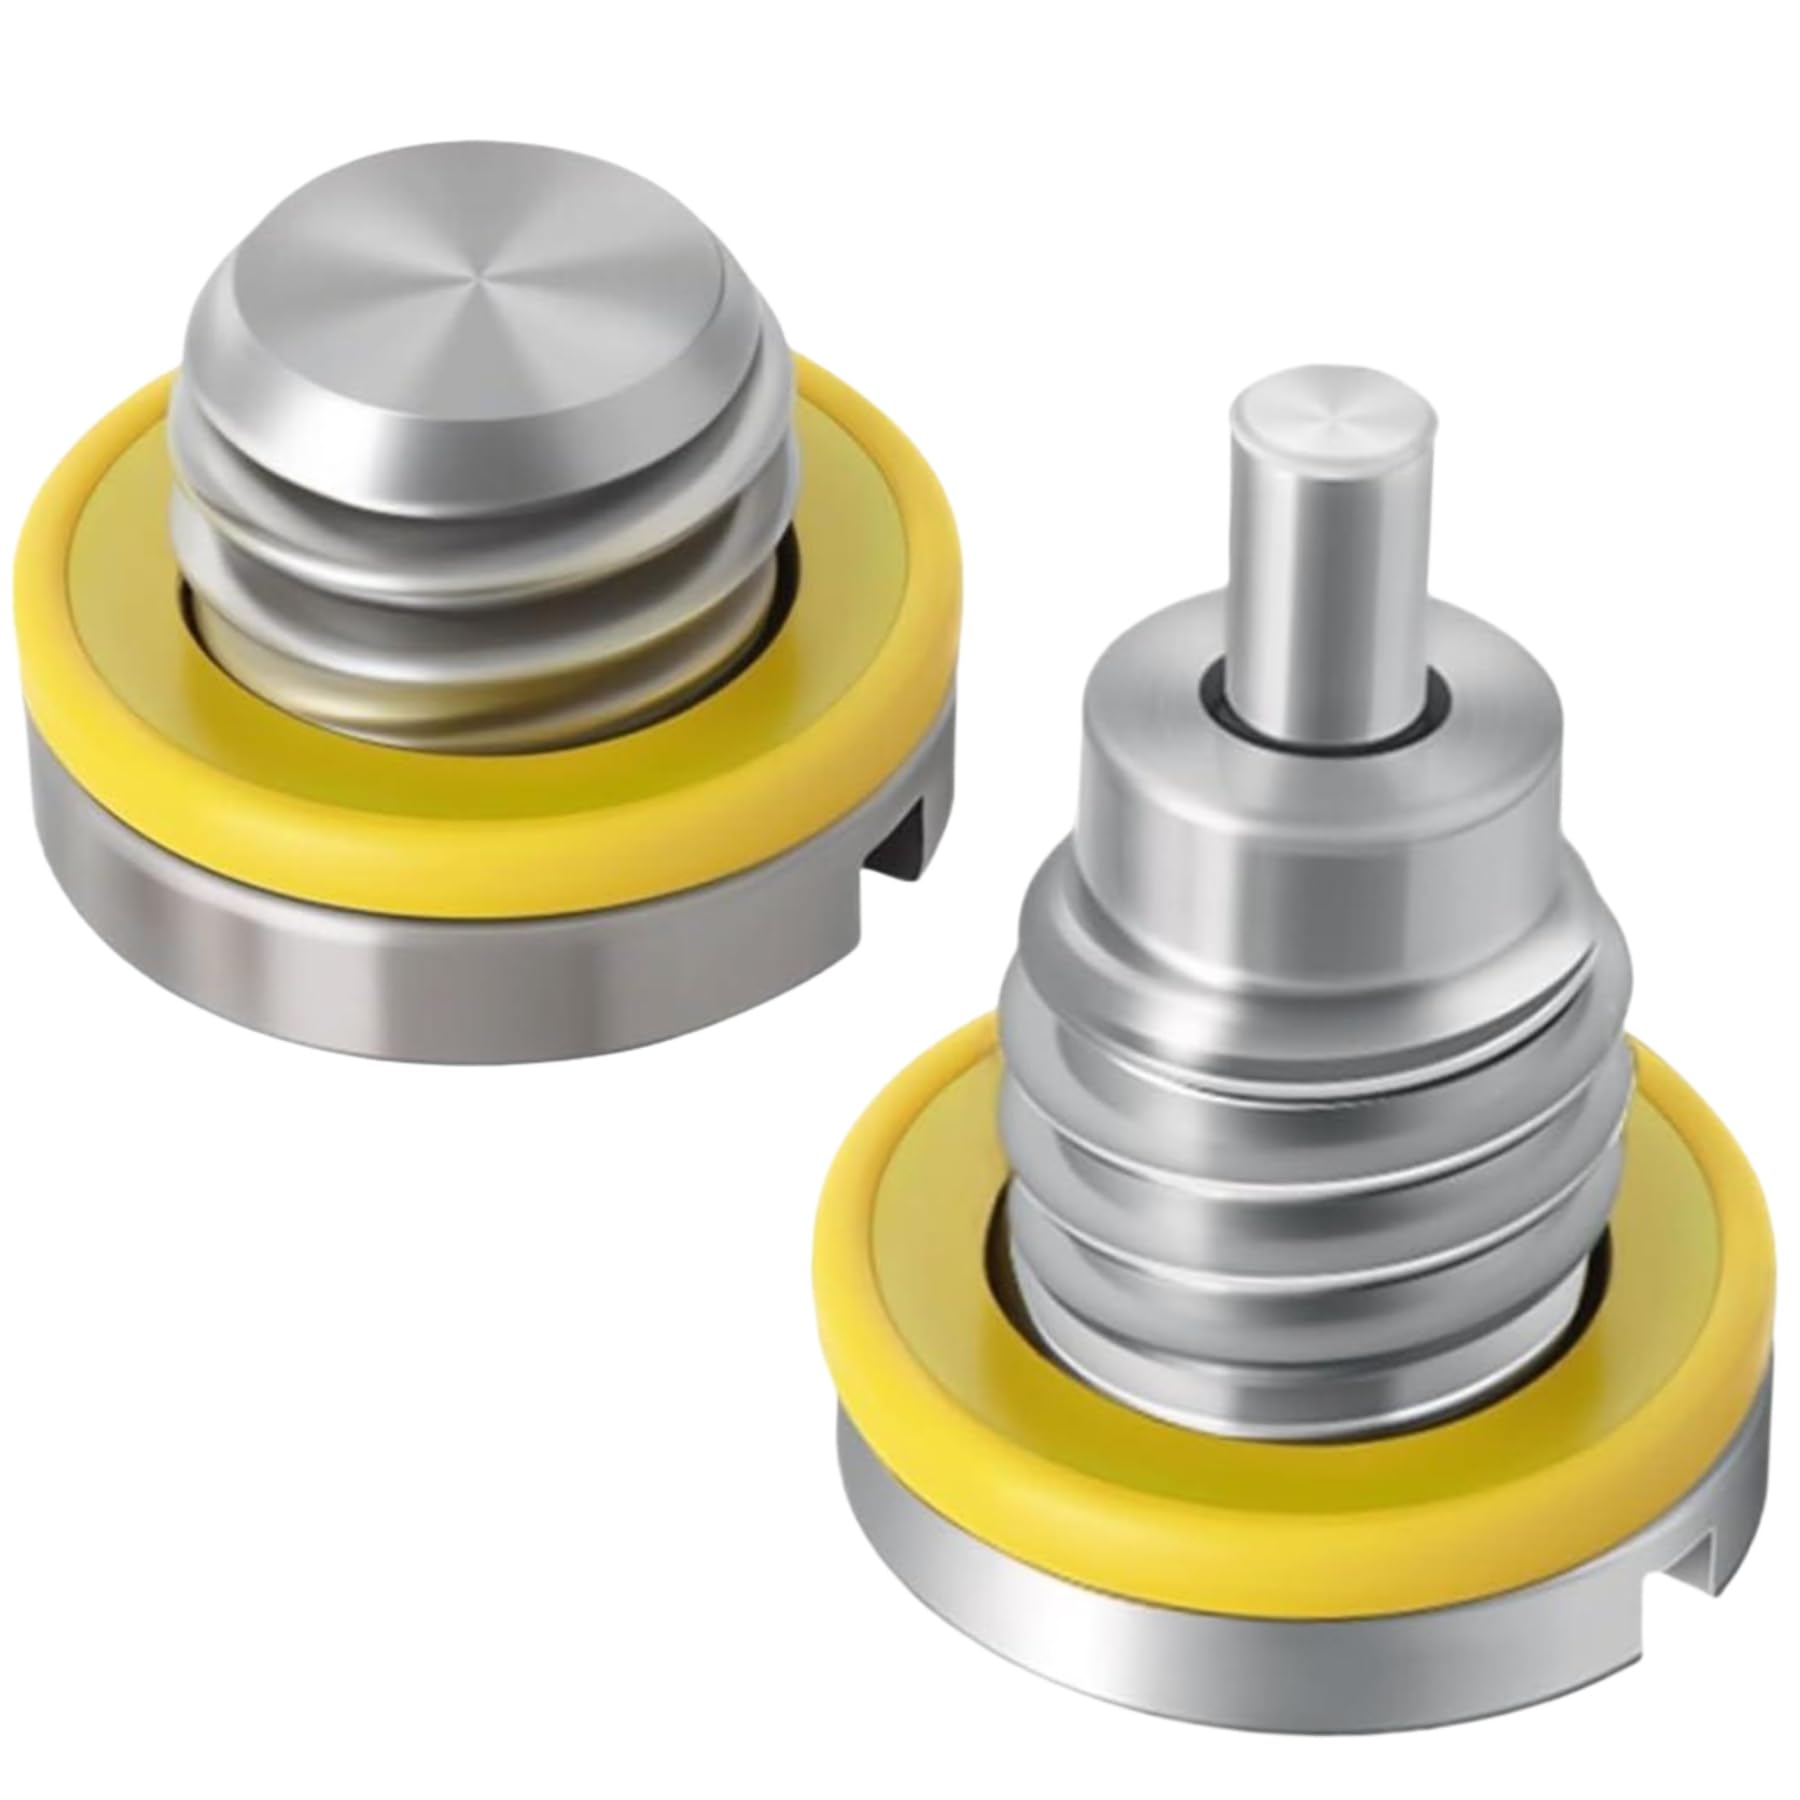
Check the anode (zinc or aluminum sacrificial anode). On most small outboards, there's one on the lower unit and sometimes one on the powerhead. If it's more than half eaten away, replace it. The anode protects the motor from galvanic corrosion – without it, the metal components corrode instead.
Flush with fresh water. Even if you run in freshwater, a spring flush clears out any sediment. Hook up muffs or use a flush port if your motor has one. Run the motor for 5-10 minutes at idle. Don't rev it on muffs – you can overheat it without the load.
Pre-Season Test Run
After everything's checked and serviced, run the motor in a test tank or on the boat. It should start within a few pulls (or cranks on electric start). Let it warm up to operating temperature – usually 5-10 minutes.
Check the telltale stream. Most outboards have a small stream that exits above the waterline to show the cooling system is working. It should be a steady stream, not just dribbling. A weak stream means a restriction in the cooling system.
Run the motor through the RPM range. It should accelerate smoothly without hesitation or bogging. If it bogs off idle, the idle circuit is clogged or the mixture is off. If it won't reach full RPM, check for a fouled prop, low compression, or fuel delivery problem.
Listen for unusual noises. Rattling from the lower unit means bad bearings or gears. A high-pitched squeal from the powerhead could be a bad bearing or piston slap. Popping from the exhaust indicates a lean mixture or intake leak.
Check for fuel leaks while it's running. Look at all the fuel line connections, the carburetor gaskets, and the fuel pump. A small leak becomes a big problem when you're miles from the dock.
Parts Quality and Sourcing
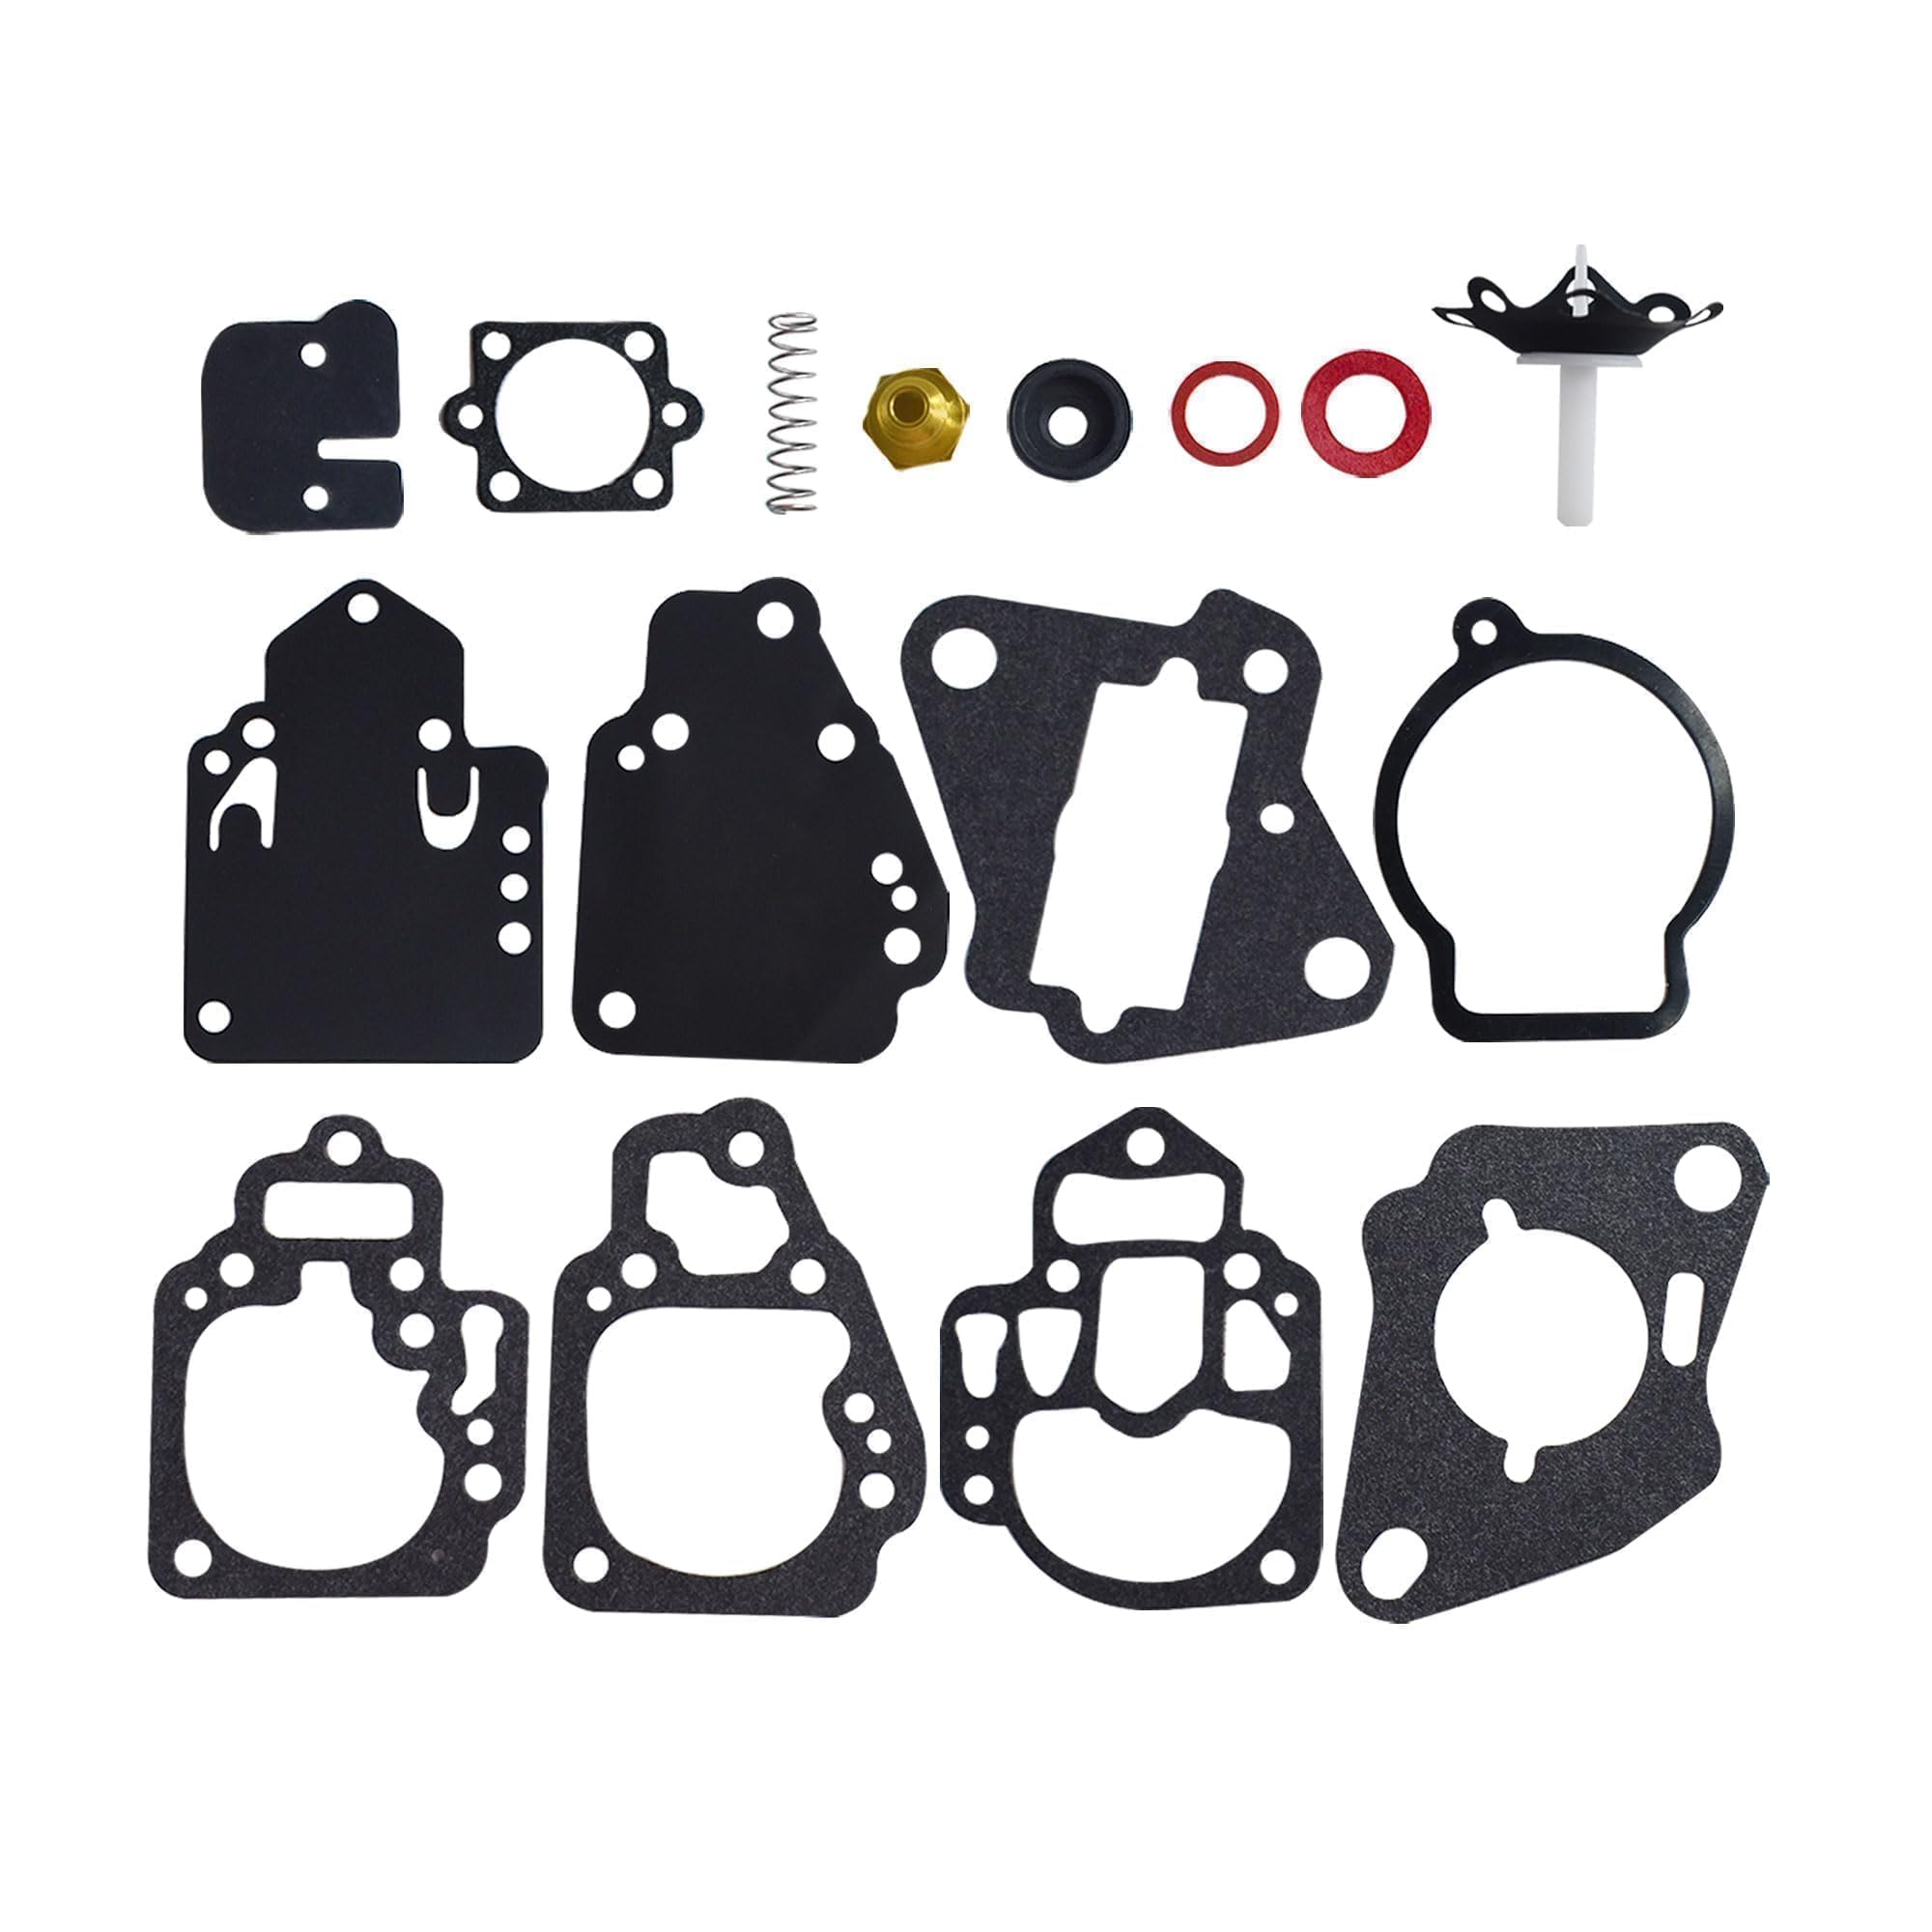
For rebuild kits and consumables, you don't need to pay dealer prices for OEM parts. OEM is reliable, but you're paying for the brand on the box. Cheap aftermarket kits from random sellers are worse – the rubber is hard, gaskets leak, and you'll be tearing it apart again next month.
We like the JLM kits. They're manufactured to factory spec without the dealership markup. The impellers fit correctly, the gaskets seal, and they last. We ship direct from the factory worldwide, so whether you're in Michigan or Australia, you get the same quality parts at your door. Check out our full range of Outboard Motor Parts. For other boat accessories, visit our Boat Accessories collection.
Common Spring Issues by Brand
Yamaha 2-stroke models: The fuel pump diaphragm gets stiff over winter. If the motor is hard to start or won't idle, pull the fuel pump cover and check the diaphragm for cracks or stiffness.
Mercury 4-strokes: The idle air control valve on fuel-injected models gets carbon buildup. If the idle is erratic or the motor stalls when you drop to neutral, clean the IAC valve with throttle body cleaner.
Tohatsu and Nissan: These are the same motor. The thermostats stick closed frequently. If you get a solid stream at idle but it overheats after a few minutes at speed, replace the thermostat.
Honda 4-strokes: The valve clearances tighten up over time. If you notice loss of power or hard starting on an older motor, check the valve clearances. Honda specs are tight – usually 0.15mm intake and 0.20mm exhaust.
Suzuki DF models: The fuel injector screens clog if the motor sat with old fuel. If it runs rough or misfires, pull the injectors and clean the screens with carburetor cleaner.
Tools You'll Need
Most of this work needs basic tools. A good socket set (metric for most motors), screwdrivers, pliers, and a feeler gauge will handle 90% of it. For the lower unit, you'll need a gear oil pump – the hand-pump type, not gravity fill.
A compression tester is worth having if you work on motors regularly. Low compression tells you the top end is worn before you waste time on carburetors and ignition. Most small 2-strokes should read 90-120 psi, 4-strokes 120-180 psi depending on the model.
Get a proper prop wrench or a block of wood to hold the prop while you loosen the nut. Don't use the shift lever to lock the shaft – you'll damage the shift mechanism.
For carburetor work, a can of carburetor cleaner and a set of small wire brushes (not steel wire – use brass or nylon) will get most jobs done. Don't poke jets with drill bits or wire – you'll change the size and mess up the fuel mixture.
After you've checked all this, run the motor regularly during the season. An outboard that sits for weeks at a time is asking for carburetor problems. Even 10 minutes of runtime every couple weeks keeps fuel flowing and prevents varnish buildup in the jets. You can find tips on spring cleaning fuel systems in Flushing Out Fogging Oil and Old Fuel in Spring.
For all your marine parts and accessories needs, visit the main hub at JLM Marine.