


Engine Stalls at Idle: Carburetor vs Fuel Supply Issues
- Diagnosing Carburetor Idle Circuit Problems
- Identifying Fuel Supply Failures
- Overlapping Symptoms: When Both Systems Cause Problems
- Carburetor Rebuild vs Fuel System Overhaul
- Tools and Steps for Accurate Diagnosis
- Marine vs Automotive Carburetor Differences
- Real-World Diagnosis Example: The Persistent Stall
- Seasonal and Storage-Related Failures
- Spark Plug Reading for Mixture Confirmation
- Advanced Carburetor Adjustments
- When to Upgrade to Fuel Injection
- Long-Term Maintenance to Prevent Idle Stalls
When your outboard dies at idle—sitting at the dock, waiting to tie up, or just idling in neutral—you've got a problem that needs fixing now. Over twenty years wrenching on engines, I've seen this scenario play out hundreds of times. Most guys immediately blame the carb, but fuel delivery issues cause just as many stalls. Here's how to figure out which one is killing your idle.
Diagnosing Carburetor Idle Circuit Problems

The carburetor's idle circuit is a separate fuel path from the main jet system. When the throttle plate is nearly closed, the engine pulls fuel through tiny idle ports and passages. If those passages get clogged with varnish or debris, you won't have enough fuel to keep the engine alive at low RPM.
Symptom check: If your engine starts fine, runs clean at 2000+ RPM, but stumbles and dies the second you pull back to neutral, suspect the idle circuit first.
Quick Carb Test Using Starter Fluid
Spray a short burst of carb cleaner or starter fluid into the air intake while the engine is trying to idle. If the RPM jumps up briefly, you've confirmed a lean condition—the carb isn't delivering enough fuel at idle. This test takes ten seconds and tells you whether to focus on the carb or look elsewhere.
Don't just keep spraying to keep it running. That confirms the diagnosis but doesn't fix anything, and you risk a backfire.
Idle Jet and Passage Blockages
Ethanol fuel leaves behind varnish. In a carb that's sat for months, that varnish hardens inside the tiny idle jets and galleries. The main jet might be clear enough for higher speeds, but those idle passages are smaller—they clog first.
Pull the carb. Remove the idle jets (usually brass, sometimes hidden under welch plugs). Hold them up to a light. If you can't see through the center hole cleanly, they're blocked. Soak them in carb cleaner overnight, then blast them with compressed air. Don't use wire to poke through jets—you'll change the calibration and make things worse.
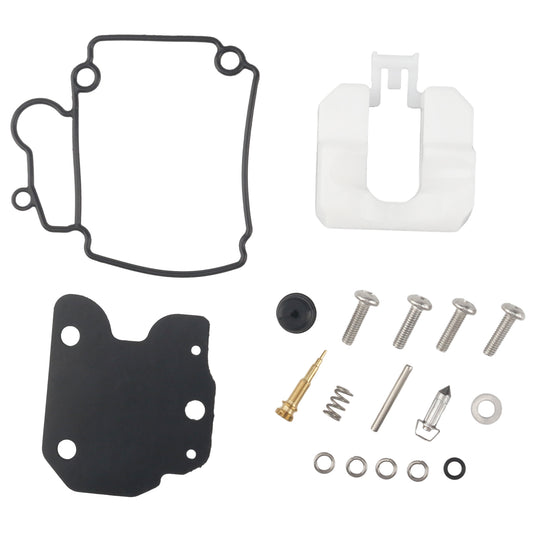
For essential parts and carburetor repair kits, consider sourcing from trusted suppliers like JLM Marine to ensure quality and proper fit.
Float Level and Needle Valve Issues
Float level controls how much fuel sits in the bowl. Too low, and the idle circuit starves. Too high, and you'll flood at idle, loading up the engine until it dies in a cloud of smoke.
Check the float height with the carb off and inverted. Your service manual will spec the exact measurement—usually 13-16mm depending on the model. Use a caliper, not a ruler. Adjust by carefully bending the tang that contacts the needle valve.
If the needle valve is worn or has debris stuck on the seat, fuel flow becomes erratic. Replace the needle and seat as a pair during any rebuild. A $12 part saves you from tearing the carb apart twice.
Idle Mixture Screw Adjustment
The idle mixture screw controls how much fuel bypasses the closed throttle plate. Most carbs have one or two of these screws on the intake side of the throttle bore.
Standard baseline: gently seat the screw (don't torque it—you'll damage the taper), then back it out 1.5 turns. Start the engine and let it warm up fully. Slowly turn the screw in until the RPM starts to drop and the engine sounds rough. Then back it out slowly until the engine smooths out and reaches the highest, steadiest RPM. That's your sweet spot.
If turning the screw has zero effect on idle quality, the idle circuit is blocked or you have a massive vacuum leak downstream.
Vacuum Leaks Mimicking Carb Failure
A vacuum leak anywhere between the carb and the cylinder will lean out your mixture at idle, causing stalls that look exactly like a carburetor problem.
Listen for it: With the engine idling rough (or trying to), spray carb cleaner around the carb base gasket, intake manifold gasket, and any vacuum hose connections. If the idle changes—either smooths out or revs up—you've found your leak. The cleaner is getting sucked in and temporarily sealing the gap.
Common leak points: cracked carb base gaskets (especially if someone over-torqued the nuts), worn throttle shaft bushings (check for side-to-side play in the throttle shaft), and ancient vacuum lines that have gone hard and cracked.
For replacement parts like quality gaskets, needle valves, and throttles, check out the boat accessories available.
Identifying Fuel Supply Failures

Fuel supply issues don't care if you have a carburetor or EFI. If fuel isn't reaching the carb bowl at the right volume and pressure, the engine will starve at idle when demand is low but steady.
Fuel Pump Weakness and Pressure Drop
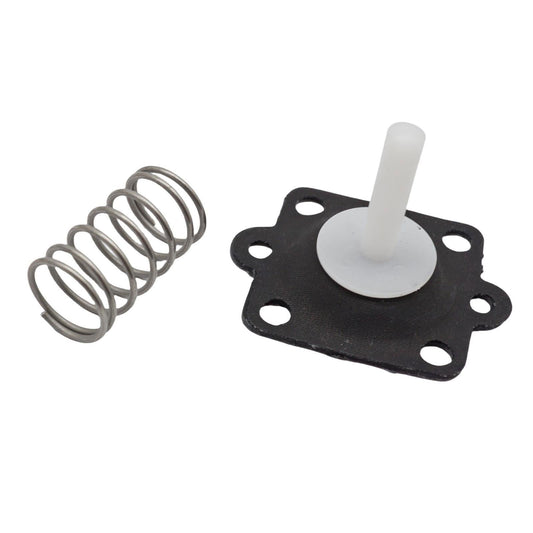
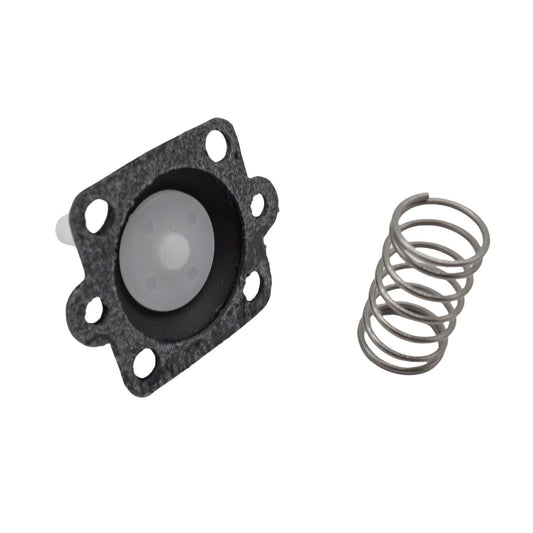
Most outboards use a pulse-driven diaphragm fuel pump. These pumps rely on crankcase pressure pulses to move fuel. When the diaphragm hardens or gets a pinhole, fuel delivery drops.
Test it: Disconnect the fuel line at the carb inlet. Crank the engine (or pump the primer bulb). You should see strong, pulsing spurts of fuel. If it's a weak dribble or just a mist, the pump is done.
On engines with electric fuel pumps, check pressure with a gauge. Spec is usually 3-5 PSI for carbureted systems. Below 3 PSI and you'll starve at idle. Above 6 PSI and you might overwhelm the needle valve, causing flooding.
Replace the pump diaphragm and check valve as a kit. Cheap parts—$15-30 depending on model—but they solve 90% of fuel delivery stalls.
For fuel pumps and fuel pump kits, quality OEM or aftermarket parts from JLM Marine are highly recommended to avoid premature failures.
Clogged Fuel Filters and Screens
Filters catch the junk before it reaches the carb. When they're packed with rust, algae, or sediment, fuel flow chokes off.
Check the inline filter first—if you can't see through it, replace it. Then pull the fuel pickup screen from the tank. We've pulled screens that looked like they were coated in brown fur. That's rust and decomposed fuel from sitting all winter.
A filter costs $8. A new screen is $5. If you're diagnosing stalling and you haven't changed these in the last season, do it now before you touch the carb.
Check out the fuel filter selection for marine-grade replacement filters.
Fuel Line Deterioration and Air Leaks
Old fuel lines crack internally. You won't see it from the outside, but the inner lining breaks down, and the hose starts sucking air instead of fuel. This is especially common on the suction side between the tank and pump.
Symptom: Engine runs fine for a few minutes, then stumbles and dies. Pumping the primer bulb brings it back to life temporarily. That's air getting into the line, creating vapor pockets that the pump can't move.
Replace fuel lines every 3-5 years as preventive maintenance. Use marine-grade hose, not automotive fuel line—it's built for ethanol and constant flexing.
Vapor Lock in Hot Conditions
Vapor lock happens when heat turns liquid fuel into vapor before it reaches the carb. The pump can't move vapor, so fuel delivery stops.
This is more common on engines with fuel lines routed near the exhaust or on hot days when the engine bay doesn't ventilate. The engine will start fine cold, run for 10-20 minutes, then die at idle and refuse to restart until it cools down.
Fix: Reroute fuel lines away from heat sources. Insulate lines with heat-resistant sleeves if rerouting isn't possible. Some guys add a small electric fan to move air around the fuel pump area—it works.
Contaminated or Stale Fuel in Tank
Water, algae, and sediment settle at the bottom of fuel tanks. When the fuel level drops low, the pickup sucks up that junk. It clogs filters and carb jets fast.
If you've been running the same tank all season and stalling starts suddenly after a long run, suspect the tank. Drop the fuel level, pull the pickup, and inspect what comes out. Brown or cloudy fuel means contamination.
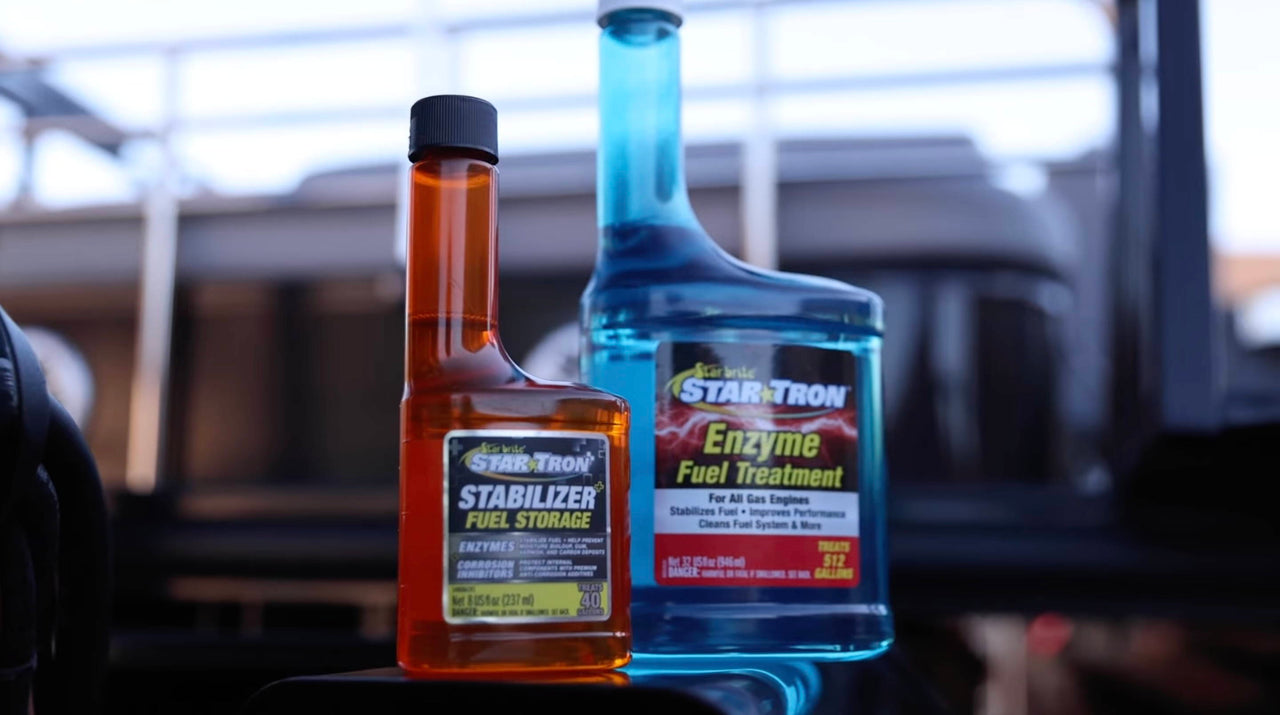
Clean the tank or replace the fuel. Add a quality fuel stabilizer if the engine will sit more than a month between uses. We've seen too many carbs destroyed by varnish from stale fuel that could've been prevented with a $10 bottle of stabilizer.
Overlapping Symptoms: When Both Systems Cause Problems
Sometimes the carb and fuel supply both contribute to stalling. A weak fuel pump might deliver just enough fuel for the engine to run at speed, but when you drop to idle, the reduced flow can't keep the carb bowl filled. The carb's idle circuit tries to pull fuel from an empty or low bowl, and the engine dies.
The Swapped-Carb Test
If you have access to a known-good carburetor from a similar engine, swap it. If the stalling follows the engine (stays with the same powerhead), the problem is upstream—fuel supply, ignition, or vacuum leaks. If the stalling follows the carb (moves to the other engine), rebuild or replace that carb.
We did this test on a 1987 Crusader 270 that kept stalling despite full carb rebuilds on both Quadrajets. Swapping carbs showed the issue stayed with the engine, leading us to find a failing ignition coil that only dropped out at low RPM under electrical load.
Combined Diagnostic Approach
Start upstream and work toward the carb:
- Check fuel in the tank – confirm it's fresh, clean, no water.
- Inspect fuel lines – look for cracks, kinks, or soft spots.
- Test fuel pump output – strong pulses, correct pressure.
- Replace fuel filter – if it's dirty, don't diagnose further until it's new.
- Check for vacuum leaks – spray test around all gaskets and hoses.
- Pull and inspect carb – clean idle circuit, set float level, check needle valve.
- Adjust idle mixture – fine-tune after everything else is confirmed good.
Skipping steps wastes time. We've seen guys rebuild a carb three times because they didn't replace a $6 fuel filter first.
Explore more troubleshooting techniques in our blog post on Outboard Bogging Down? Troubleshooting Low Power, RPM Fluctuations & Fuel Issues.
Carburetor Rebuild vs Fuel System Overhaul
When you've confirmed the root cause, decide whether to rebuild or replace components.
When Carb Cleaning Isn't Enough
If the carb body is cracked, the throttle shaft bushings are worn enough to cause side-to-side play, or the internal passages are corroded (common in marine environments), a rebuild won't fix it. Replace the carb.
Aftermarket carbs are hit-or-miss. Cheap clones ($40-80) often have poor castings, incorrect jetting, and gaskets that don't seal right. You'll spend more time fighting them than the cost difference versus a quality part.
OEM carbs are reliable but overpriced—you're paying for the brand stamp. A good middle ground is a remanufactured carb from a reputable supplier. JLM Marine carbs are factory-spec replacements without the dealer markup. They fit right, last, and don't burn unnecessary cash.
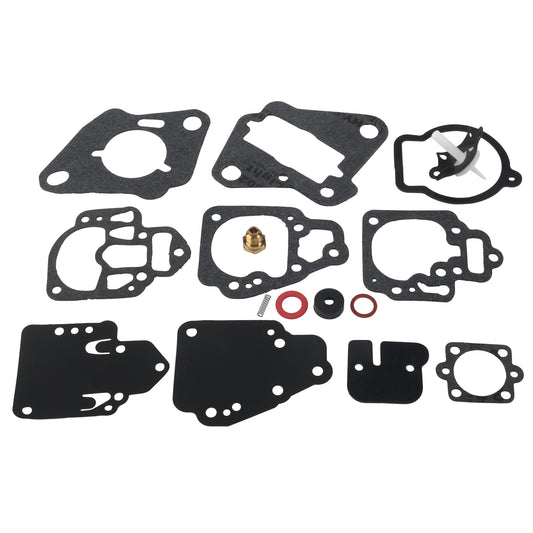
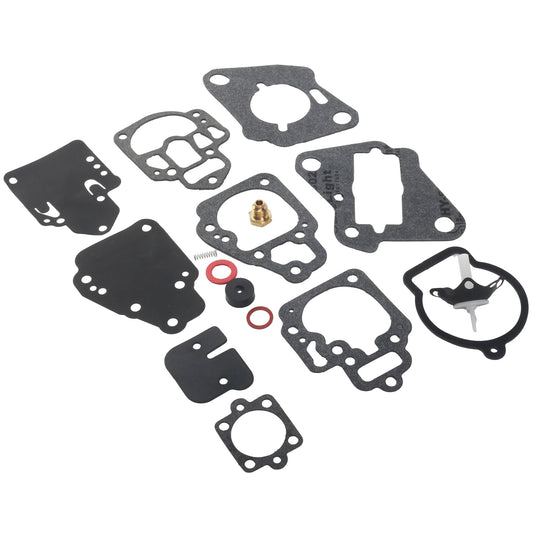
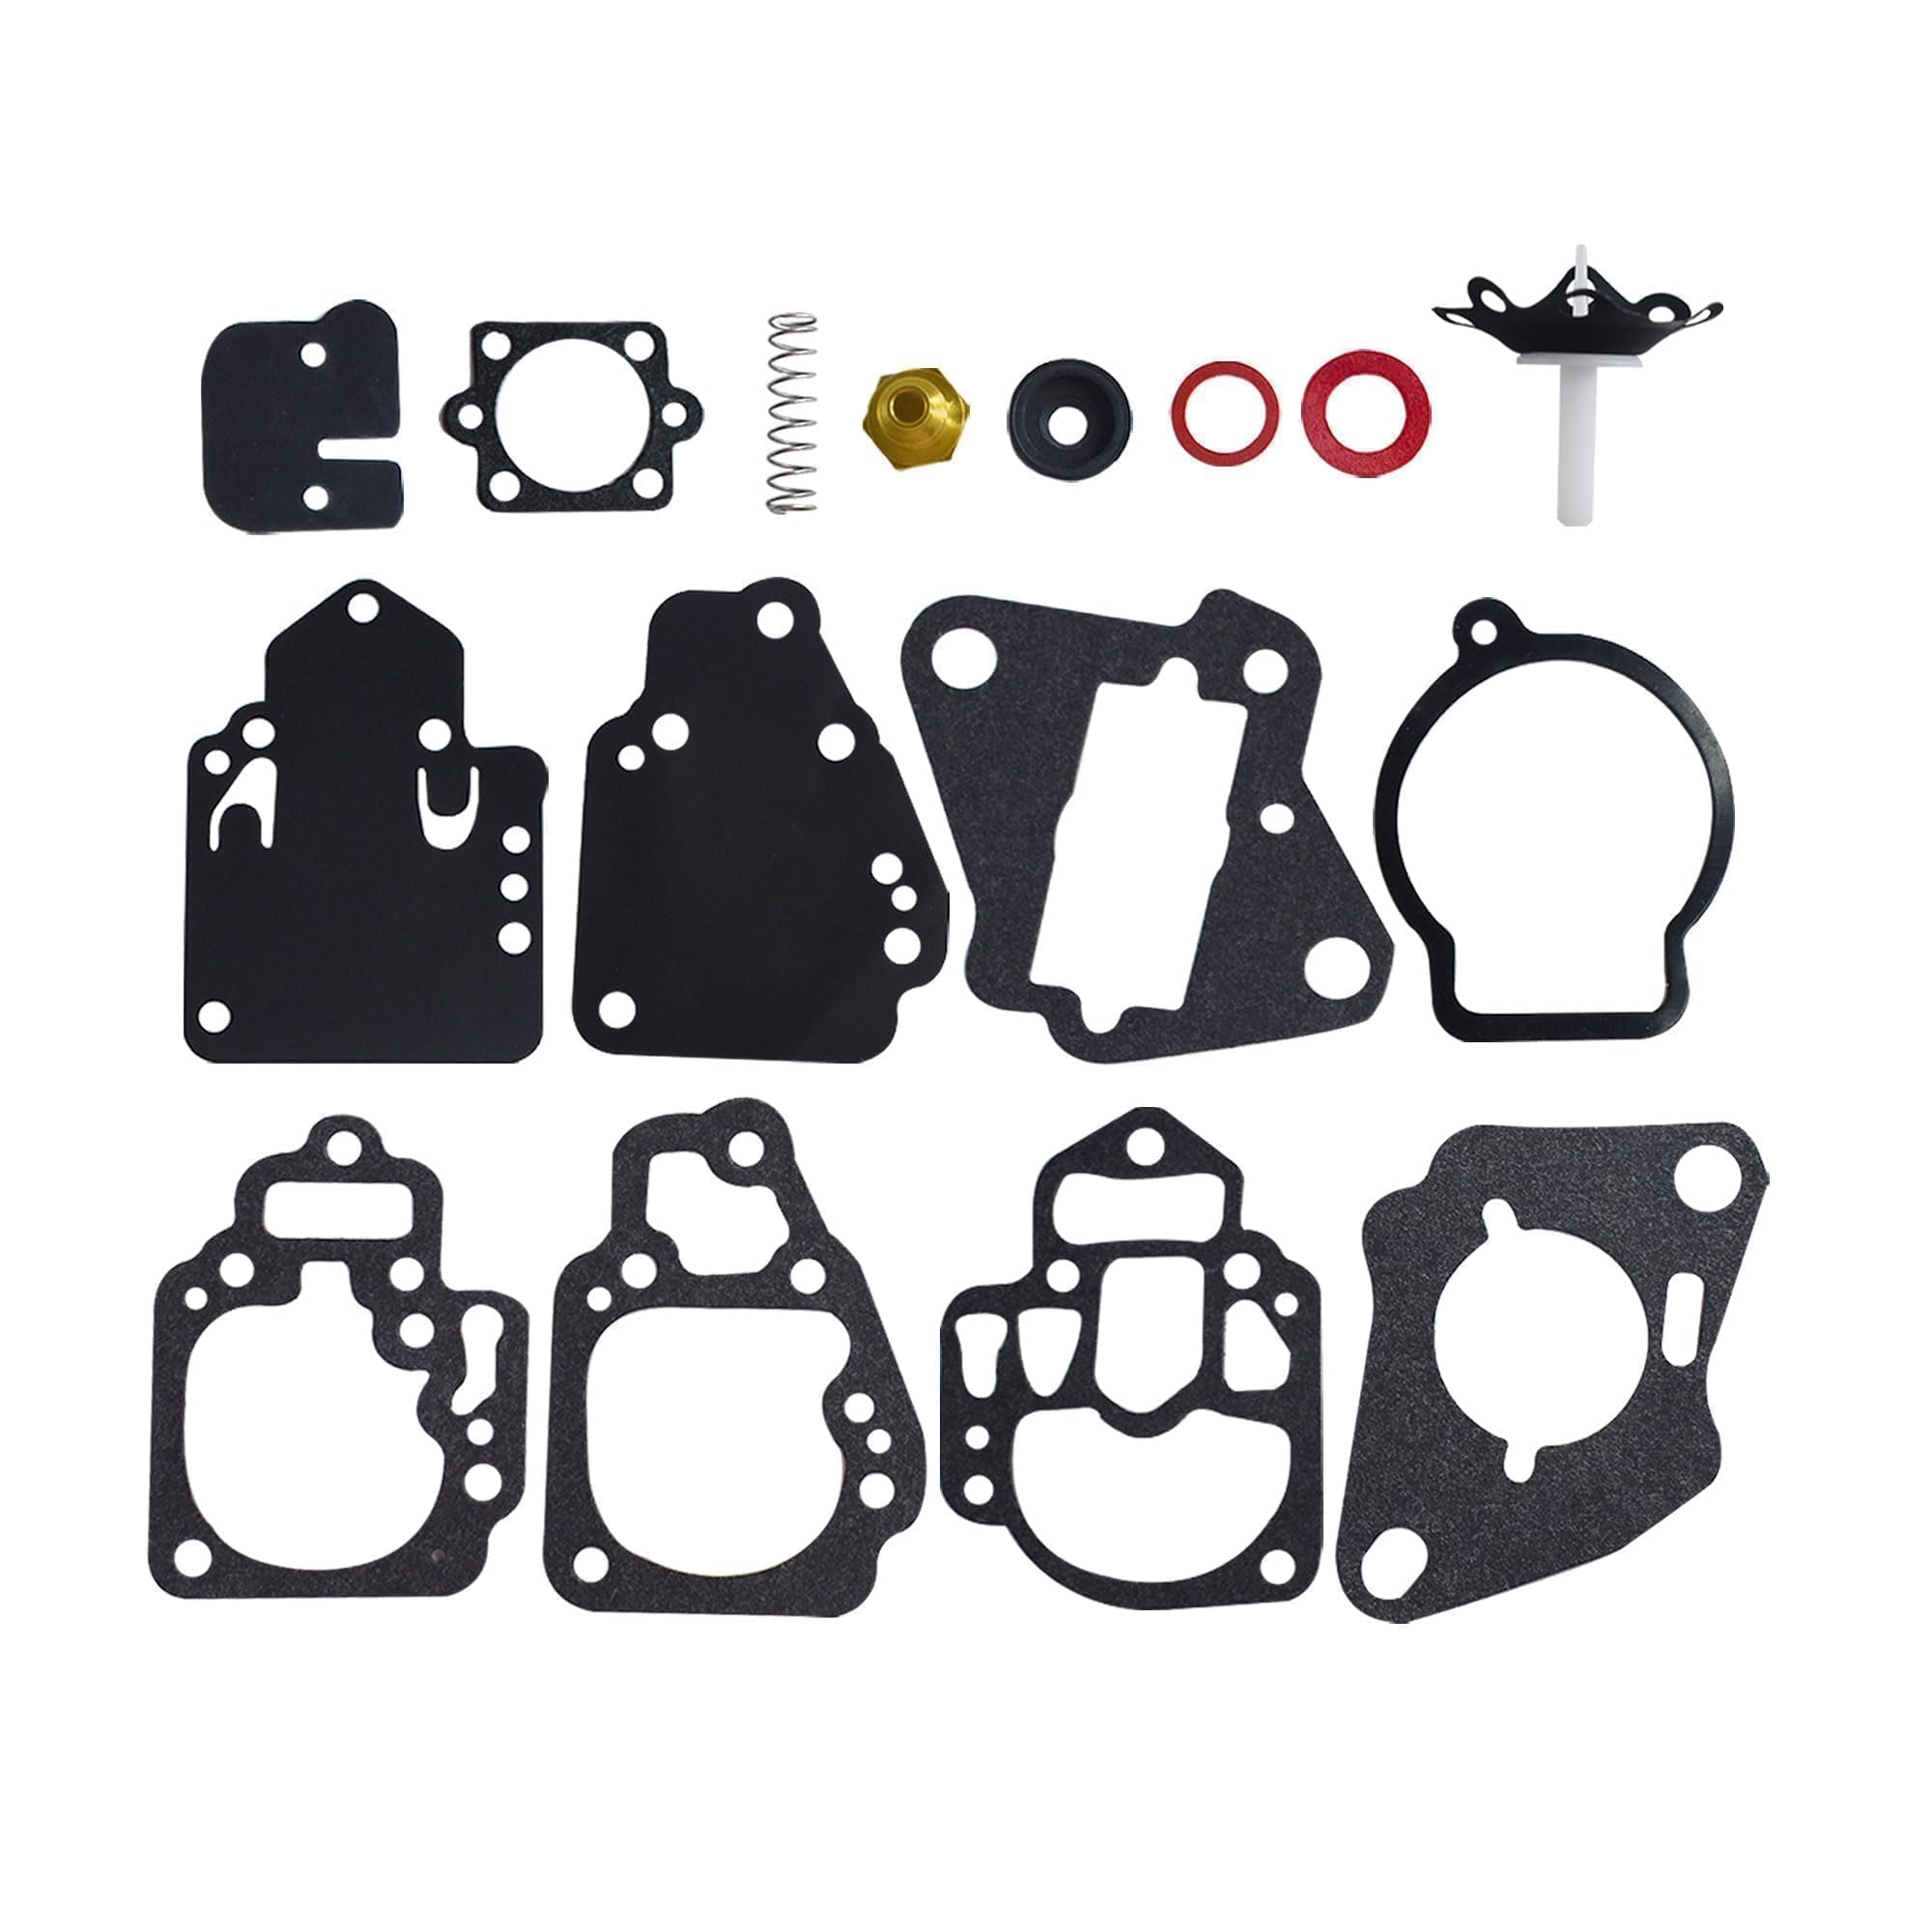
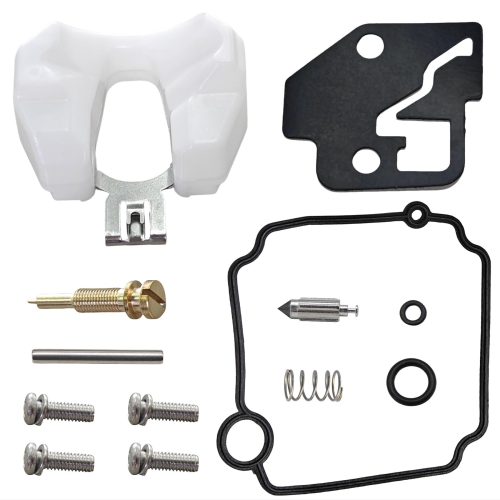
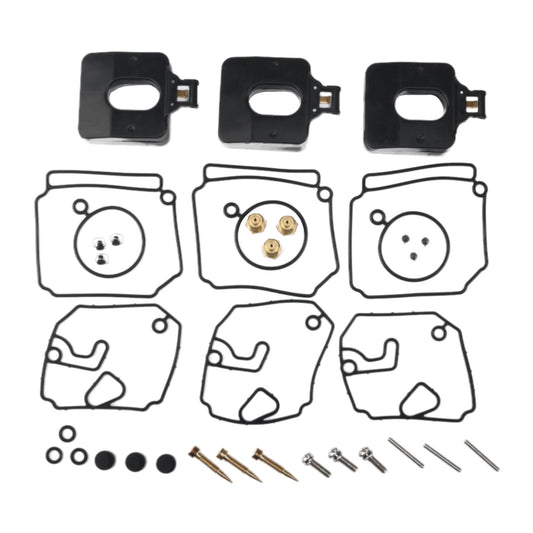
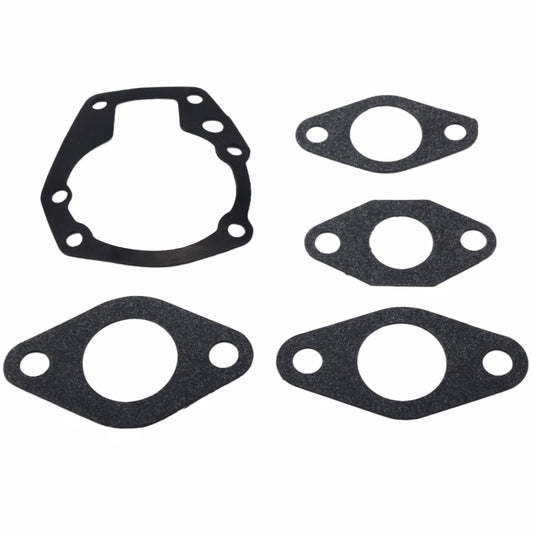
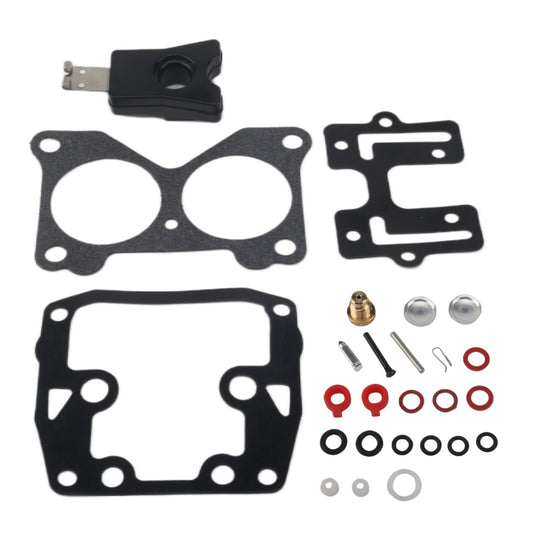
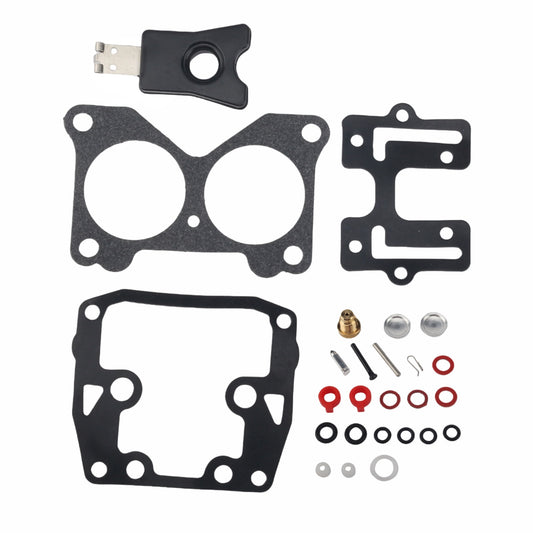
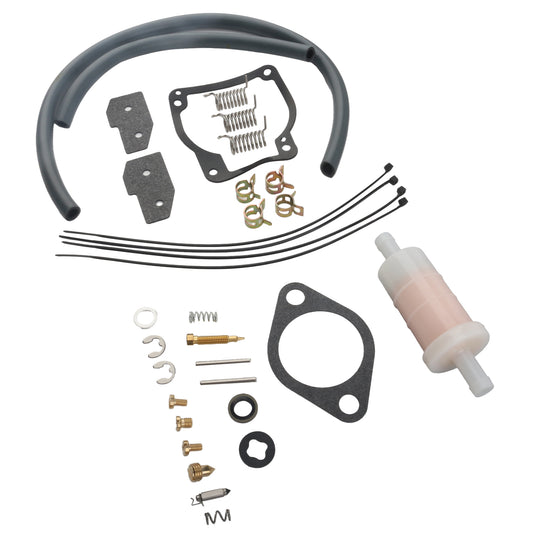
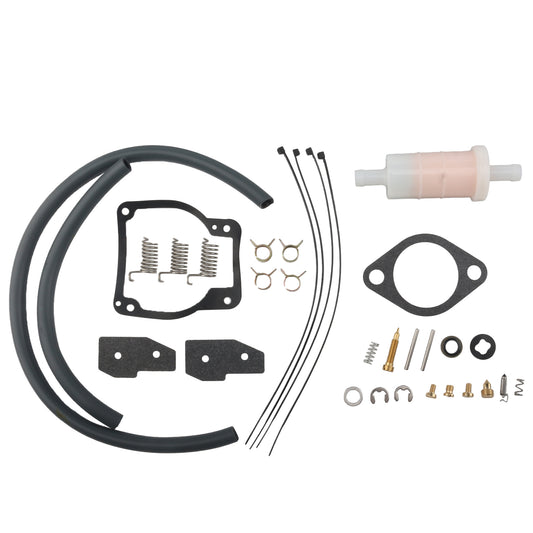
Rebuilding with Quality Kits
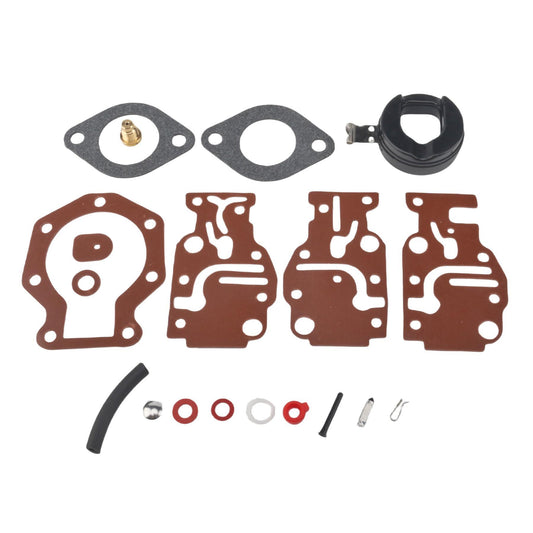
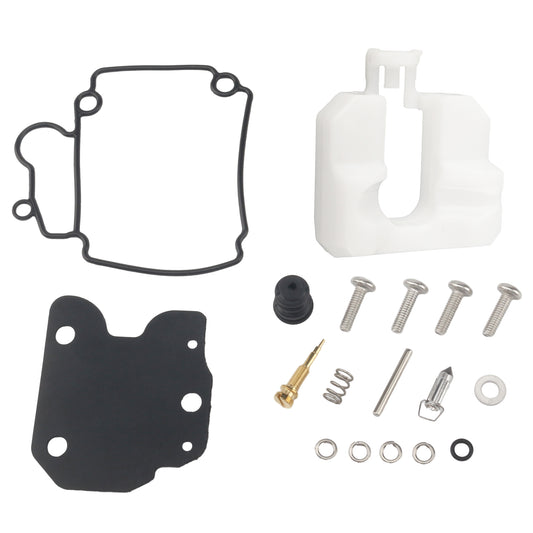
If the carb body is sound, a rebuild kit is the way to go. Not all kits are equal.
Avoid: Kits with paper gaskets that feel brittle or thin. Accelerator pump diaphragms that are stiff rather than flexible. Needle valves that don't include a new seat.
Look for: Kits with rubber-impregnated cork gaskets (they compress and seal better). Viton or similar synthetic diaphragms that resist ethanol. Brass jets that match OEM specs exactly.
Install every gasket and O-ring in the kit, even if the old ones look okay. A $25 kit is cheap insurance against doing the job twice.
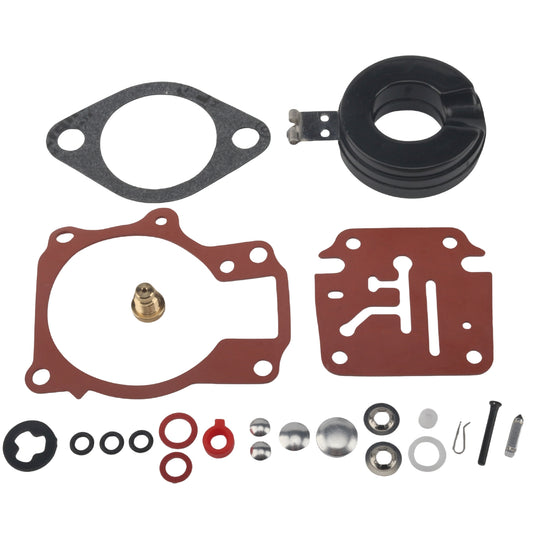
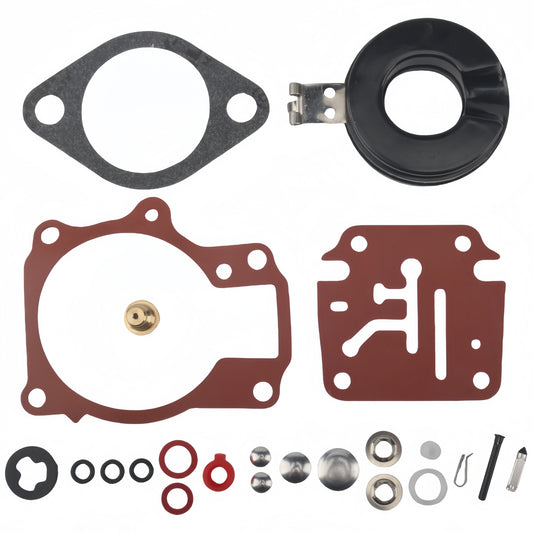
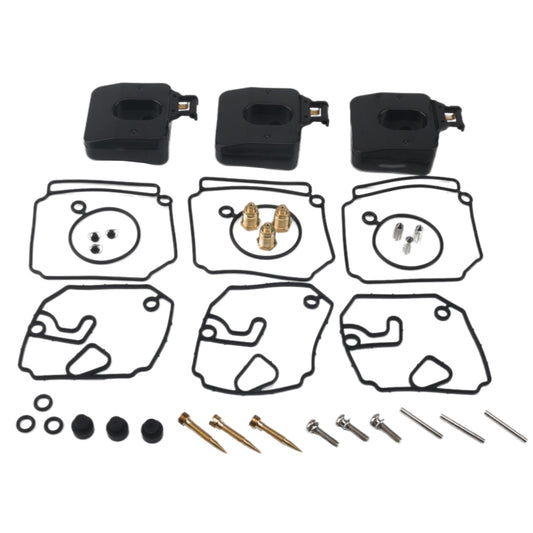
Find quality options from our carburetor repair kit collection.
Fuel Pump and Filter Replacement
Fuel pumps are wear items. Diaphragms harden, check valves stick, and pulse fittings crack. If your pump is over five years old or shows any sign of weak output, replace it.
Filters should be changed annually at minimum, more often if you run in dirty or saltwater environments. Inline filters are easy—10 minutes with a screwdriver. Tank pickup screens require dropping the tank or pulling the sending unit, but it's worth it if you've had repeated clogging issues.
Use OEM-spec parts or quality aftermarket. Fuel system components that fail leave you dead in the water—literally. This isn't the place to save $5.
Browse the fuel pump kit and fuel filter collections for parts that fit your model.
Tools and Steps for Accurate Diagnosis
You don't need a full shop to diagnose idle stalls, but a few specific tools make the job faster and more accurate.
Required Tools
- Fuel pressure gauge (0-15 PSI range for carbureted engines)
- Vacuum gauge (for checking manifold vacuum and finding leaks)
- Carburetor cleaner spray (for spray tests and cleaning)
- Clear inline fuel filter (temporary install to watch fuel flow visually)
- Compressed air (for blowing out jets and passages)
- Rebuild kit specific to your carb model (use the ID tag stamped on the carb body to order the right one)
- Calipers or float gauge (to set float height accurately)
- Small screwdrivers and picks (for adjusting mixture screws and removing welch plugs)
Step-by-Step Fuel Pressure Test
- Install the pressure gauge between the fuel pump outlet and the carb inlet using a T-fitting.
- Start the engine and let it warm up to operating temperature.
- At idle, the gauge should read 3-5 PSI (check your engine's service manual for exact spec).
- If pressure drops below 3 PSI at idle, the pump is weak or there's a blockage upstream.
- Rev the engine to 3000 RPM—pressure should stay steady or increase slightly. If it drops, the pump can't keep up with demand.
Vacuum Test for Mixture and Leaks
- Connect a vacuum gauge to a manifold vacuum port (not ported vacuum).
- Start the engine and let it idle.
- A healthy engine at idle should pull 17-21 inches of mercury (in. Hg) at sea level.
- Low, steady vacuum (10-15 in. Hg) suggests a vacuum leak or overly lean mixture.
- Fluctuating needle (swinging 3-5 in. Hg) points to a sticking valve or intermittent vacuum leak.
- Use this reading to confirm whether mixture or leak issues are present before tearing into the carb.
Visual Inspection with Clear Filter
Install a temporary clear inline fuel filter between the pump and carb. Run the engine and watch the filter.
- Strong, steady flow with no bubbles: Fuel supply is good; focus on the carb.
- Flow with bubbles or foam: Air is entering the fuel line; check for cracks or loose connections.
- Weak, dribbling flow: Pump is failing or there's a blockage upstream.
This visual check takes five minutes and eliminates guesswork.
Marine vs Automotive Carburetor Differences
Marine carburetors have specific design features that automotive carbs don't, driven by safety regulations and operating environment.
Spark Arrestor Requirements
Marine carbs on gasoline engines are required to have a flame arrestor (also called a backfire flame arrestor) on the air intake. This prevents flames from a backfire from escaping the engine and igniting fuel vapors in the bilge—a serious explosion risk.
If you're sourcing a replacement carb for a boat, confirm it includes the arrestor or has provisions to mount one. Using an automotive carb without this feature is a Coast Guard violation and a safety hazard.
Vent and Drain Differences
Automotive carbs vent to atmosphere. Marine carbs must vent in a way that prevents fuel spillage if the boat heels over or encounters rough water. Many use a vent line that runs higher than the carb and loops back down, creating a fuel trap.
Drain plugs on marine carbs are often designed with a catch can or hose attachment to prevent raw fuel from dripping into the bilge during service.
Corrosion Resistance
Saltwater environments are brutal. Marine carbs use more corrosion-resistant materials—hardened aluminum bodies, stainless fasteners, and coatings to resist salt spray. An automotive carb will corrode faster in a marine application, especially if the boat isn't flushed with fresh water regularly.
Real-World Diagnosis Example: The Persistent Stall
Had a customer with a mid-90s four-cylinder outboard that would start fine, run at any throttle setting above idle, but die within 30 seconds of returning to neutral. He'd already rebuilt the carb twice with cheap kits from a random online seller.
What We Found
- Fuel pressure test: Pump output was 4.5 PSI at idle—within spec.
- Clear filter test: Fuel flow looked good, no bubbles.
- Vacuum test: 12 in. Hg at idle—way too low. Pointed to a vacuum leak or lean condition.
- Spray test around carb base: Engine RPM jumped when we sprayed near the mounting flange. Leak confirmed.
Pulled the carb, inspected the base gasket. It was a paper gasket from the cheap kit, and it had compressed unevenly. The mounting surface on the intake manifold had a slight warp from previous over-tightening.
The Fix
Lapped the intake manifold flange flat with 400-grit sandpaper on a glass plate. Installed a quality rebuild kit with a proper composite gasket. Torqued the carb nuts to spec in a cross pattern—13 ft-lbs, not "tight as hell."
Engine idled smooth as glass. No more stalling.
Cost: $35 for a quality rebuild kit, one hour of labor. The customer had already spent $60 on two junk kits and wasted a weekend. You get what you pay for.
Seasonal and Storage-Related Failures

Most idle stalling issues we see in spring come from engines that sat all winter without proper prep.
Ethanol Fuel Degradation
Ethanol absorbs water. In a vented fuel system, moisture from humid air gets pulled into the tank. After a few months, you've got phase separation—ethanol and water sink to the bottom, gasoline floats on top.
When you start the engine in spring, the pickup pulls that ethanol-water mix. It won't burn right, fouls plugs, and leaves varnish in the carb.
Prevention: Run the engine dry before storage, or fill the tank completely and add stabilizer. A full tank has less air volume to promote condensation, and stabilizer keeps the fuel fresh for 12+ months.
Varnish in Idle Circuits
Fuel that sits in the carb bowl evaporates, leaving behind varnish and gum. This residue is sticky and hard—it coats idle jets, needle valves, and internal passages.
The main jet is larger and less affected. That's why an engine might run fine at high RPM but die at idle after sitting—varnish blocked the tiny idle circuit.
Fix: Pull the carb, disassemble completely, and soak all metal parts in carb cleaner for 24 hours. Blow out every passage with compressed air. Don't skip the welch plugs—remove them to access hidden galleries. Reassemble with a fresh rebuild kit.
Diaphragm and Gasket Hardening
Rubber and cork components dry out and lose flexibility during storage. A fuel pump diaphragm that was fine in the fall might be hard and cracked by spring. Same with carb gaskets and O-rings.
If the engine has sat for more than a year, replace all soft parts as preventive maintenance. It's cheaper than diagnosing failures one by one.
Spark Plug Reading for Mixture Confirmation
Spark plugs tell you what's happening inside the combustion chamber. After running the engine at idle and letting it warm up, pull the plugs and inspect the electrode and insulator.
Lean Mixture Indicators
- Blistered white or gray insulator: The mixture is too lean. The engine is running hot, and you risk piston damage. Check for vacuum leaks, clogged jets, or weak fuel delivery.
- Electrode looks clean but engine won't idle: Lean condition confirmed. Fuel isn't reaching the cylinder at low RPM.
Rich Mixture Indicators
- Wet, glossy black deposits: Raw fuel is loading up the plug. The mixture is too rich. Check float level, stuck choke, or leaking needle valve.
- Dry, matte black soot (carbon): Rich, but not flooding. Idle mixture screw might be out too far, or main jet is oversized.
Ideal Condition
- Light tan or gray insulator, no heavy deposits, electrode intact: Air-fuel mixture is correct. If the engine still stalls at idle, the problem isn't mixture—look at ignition or mechanical issues.
Plug reading is fast and free. Do it before you start throwing parts at the problem.
Advanced Carburetor Adjustments
Once basic cleaning and fuel supply are confirmed good, fine-tuning the carb can eliminate the last bit of roughness at idle.
Synchronizing Multiple Carbs
Engines with two or more carbs (common on V4 and V6 outboards) need all carbs balanced. If one carb flows more air or fuel than the others, the engine will run rough and may stall at idle.
Method: Use a vacuum gauge or manometer tool. Connect it to the intake manifold runner for each cylinder. At idle, all cylinders should pull the same vacuum (within 0.5 in. Hg). Adjust the individual idle speed screws on each carb until they're matched.
If one carb is way off, it might have internal issues—clogged jets or a stuck throttle plate.
Adjusting the Accelerator Pump
The accelerator pump squirts a shot of fuel when you crack the throttle. This prevents hesitation during the transition from idle to running. If the pump is weak or misadjusted, the engine will stumble when you give it throttle from idle—sometimes badly enough to stall.
Test: With the engine off, remove the air cleaner and look down the carb throat. Work the throttle lever by hand. You should see a strong, solid stream of fuel (not a mist or dribble) from the accelerator pump nozzle.
Adjustment: Most carbs have a linkage adjustment or cam that changes pump stroke length. Refer to your service manual for the procedure. If the stream is weak even with correct adjustment, replace the pump diaphragm and check valve.
High-Altitude Jetting Changes
Atmospheric pressure drops with altitude. Less air density means the engine needs less fuel to maintain the correct mixture. If you run an engine at 5,000+ feet elevation with sea-level jetting, it will run rich, foul plugs, and idle poorly.
Fix: Install smaller main jets (typically 2-4 sizes down for every 2,000 feet above sea level). Some carbs also have high-altitude needle settings or air bleeds. Check your service manual for altitude compensation specs.
We've tuned engines for guys who trailer their boats between the coast and mountain lakes—they keep two sets of jets and swap them seasonally.
When to Upgrade to Fuel Injection

Carburetors work, but they have limitations. If you're tired of fighting them, or if your engine is due for a major overhaul anyway, EFI is worth considering.
Benefits of EFI Conversion
- Consistent fuel delivery in all conditions: No more cold-start choke fiddling or altitude re-jetting.
- Better fuel economy: EFI meters fuel more precisely, often improving economy by 10-20%.
- Cleaner emissions: Meets modern EPA standards, which matters for some waterways and future regulations.
- Eliminates most idle issues: No idle jets to clog, no float to stick. Fuel pressure is regulated electronically.
Costs and Complexity
EFI isn't plug-and-play for older engines. You'll need:
- High-pressure fuel pump (40-60 PSI, vs. 3-5 PSI for carbs)
- Fuel pressure regulator and return line
- Electronic control unit (ECU) and wiring harness
- Throttle body or port injection manifold
- O2 sensors and supporting electronics
Total cost for a quality aftermarket EFI kit runs $1,500-$3,500 depending on the engine. Installation adds another $500-$1,000 in labor if you don't do it yourself.
For a classic engine where originality matters (collector boats, vintage racing), EFI kills resale value. For a working boat where reliability trumps nostalgia, it's a solid investment.
Carburetor Advantages That Remain
Carbs are simpler. You can rebuild one with hand tools in a couple hours. Parts are cheap. There's no computer to fail, no sensors to replace.
In remote areas or offshore, a carburetor is easier to troubleshoot and repair with basic supplies. EFI requires diagnostic tools and sometimes proprietary software.
If you understand how a carb works and maintain it properly, it will run for decades.
Explore our extensive inboard & outboard motor parts collection for both EFI and carburetor components.
Long-Term Maintenance to Prevent Idle Stalls
Most idle stalling issues are preventable with routine care.
Run a quality fuel stabilizer in every tank if the engine will sit more than two weeks between uses. Stabilizer prevents varnish formation and keeps ethanol from phase-separating. It costs $12 per bottle and treats 50+ gallons—cheap insurance against a $200 carb cleaning job.
For overall quality parts and expert guidance, always start at the JLM Marine homepage, your source for factory-direct marine parts and accessories.
Для владельцев подвесных моторов:
Мы надеемся, что следующие ресурсы окажутся полезными для вас в обслуживании и ремонте ваших судовых двигателей:
-
Карбюраторы от JLM Marine
-
Комплекты для восстановления карбюраторов от JLM Marine
- Комплект для ремонта карбюратора
- Комплект для ремонта карбюратора Yamaha
- Комплект для ремонта карбюратора Mercury
- Комплект для ремонта карбюратора Johnson
- Комплект для ремонта карбюратора Evinrude
- Комплект для ремонта карбюратора Suzuki
- Комплект для ремонта карбюратора Honda
- Комплект для ремонта карбюратора Volvo
- Комплект для ремонта карбюратора Tohatsu
О компании JLM Marine
Основанная в 2002 году, компания JLM Marine зарекомендовала себя как специализированный производитель высококачественных морских деталей, базирующийся в Китае. Наша приверженность совершенству в производстве заслужила нам доверие ведущих мировых морских брендов.
Как прямой поставщик, мы обходим посредников, что позволяет нам предлагать конкурентоспособные цены без ущерба качеству. Такой подход не только поддерживает экономическую эффективность, но и гарантирует, что наши клиенты получают наилучшую ценность напрямую от источника.
Мы рады расширить свое присутствие через розничные каналы, предлагая наш опыт и приверженность качеству непосредственно владельцам и любителям лодок по всему миру.
Комплекты для ремонта карбюратора в продаже
- $46.00
$55.00- $46.00
- Unit price
- per
- $18.13
$59.00- $18.13
- Unit price
- per
- $24.99
$29.00- $24.99
- Unit price
- per

- $19.50
$23.00- $19.50
- Unit price
- per
- $17.39
$22.50- $17.39
- Unit price
- per
- $21.19
$32.00- $21.19
- Unit price
- per


- $21.99
$24.00- $21.99
- Unit price
- per

- $18.99
$15.00- $18.99
- Unit price
- per
- $15.99
$13.00- $15.99
- Unit price
- per

- $16.99
$20.00- $16.99
- Unit price
- per

- $18.79
$15.00- $18.79
- Unit price
- per

- $21.99
$19.00- $21.99
- Unit price
- per

- $19.99
$23.00- $19.99
- Unit price
- per
- $20.72
$18.00- $20.72
- Unit price
- per

- $19.99
$23.00- $19.99
- Unit price
- per

- $20.89
$17.00- $20.89
- Unit price
- per

- $17.68
$16.00- $17.68
- Unit price
- per
- $17.58
$23.00- $17.58
- Unit price
- per
- $30.50
- $30.50
- Unit price
- per

- $25.50
$30.00- $25.50
- Unit price
- per