


Outboard Engine Pre-Run Inspection Guide
- Fuel System Check
- Engine Oil Level and Condition
- Gearcase Oil Inspection
- Cooling System and Water Flow
- Propeller and Lower Unit Inspection
- Battery and Electrical Connections
- Belts and Hoses (if applicable on larger outboards)
- Engine Controls and Shift Test
- Start and Idle Test
- Mounting Hardware and Transom Check
- Quick Pre-Run Checklist Summary
- Parts Quality Note

Check your outboard before every trip. Fuel system problems cause 30% of outboard failures, cooling issues another 25%, and electrical faults 20%. Most of these you can catch in ten minutes at the dock.
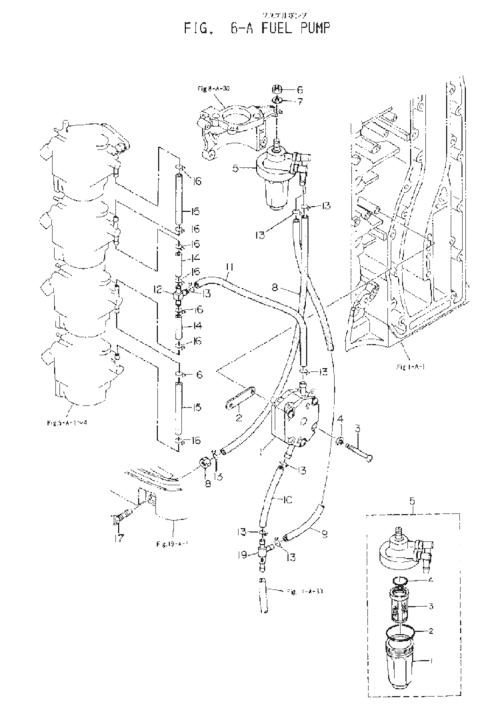
Fuel System Check
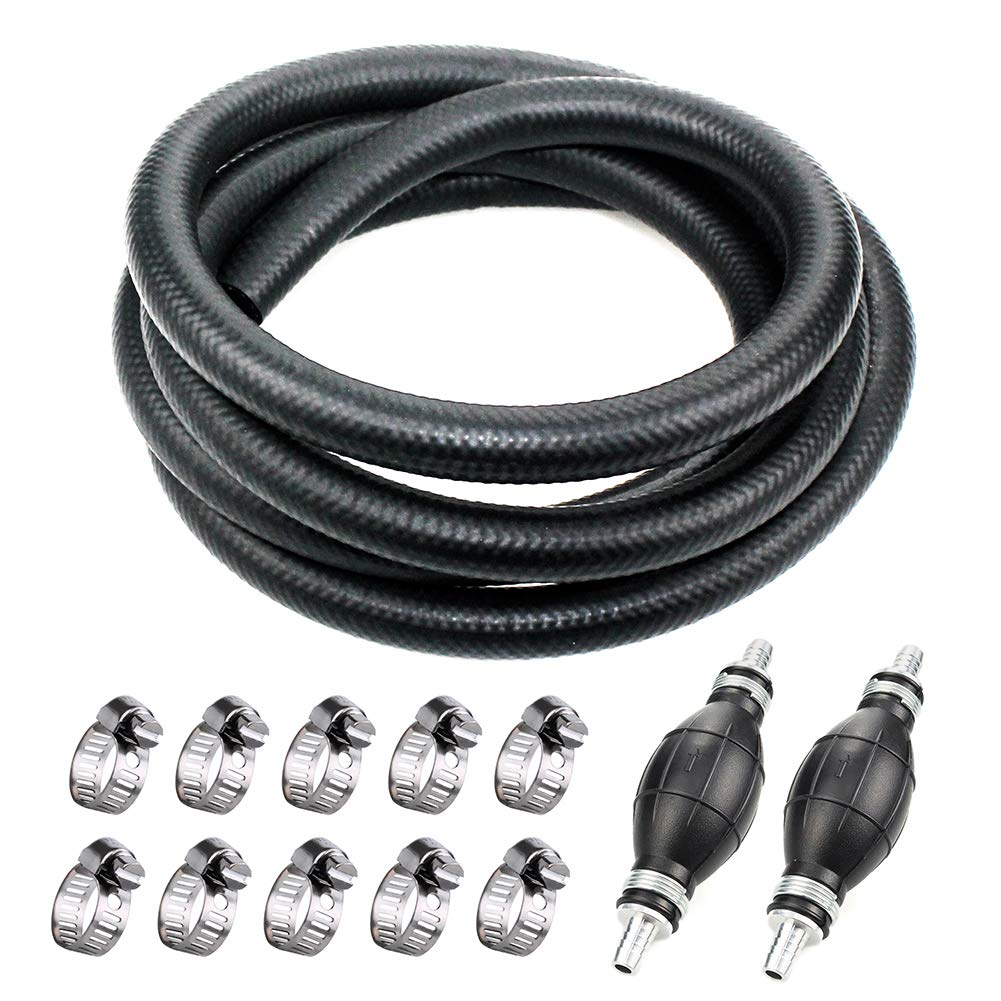
Squeeze the primer bulb. It should get firm and stay firm. If it stays soft or collapses after you let go, you've got an air leak somewhere in the line. Run your hand along every fuel line from the tank to the engine—look for cracks, especially where the line bends near fittings. Old fuel line gets stiff and cracks; new line should feel pliable.
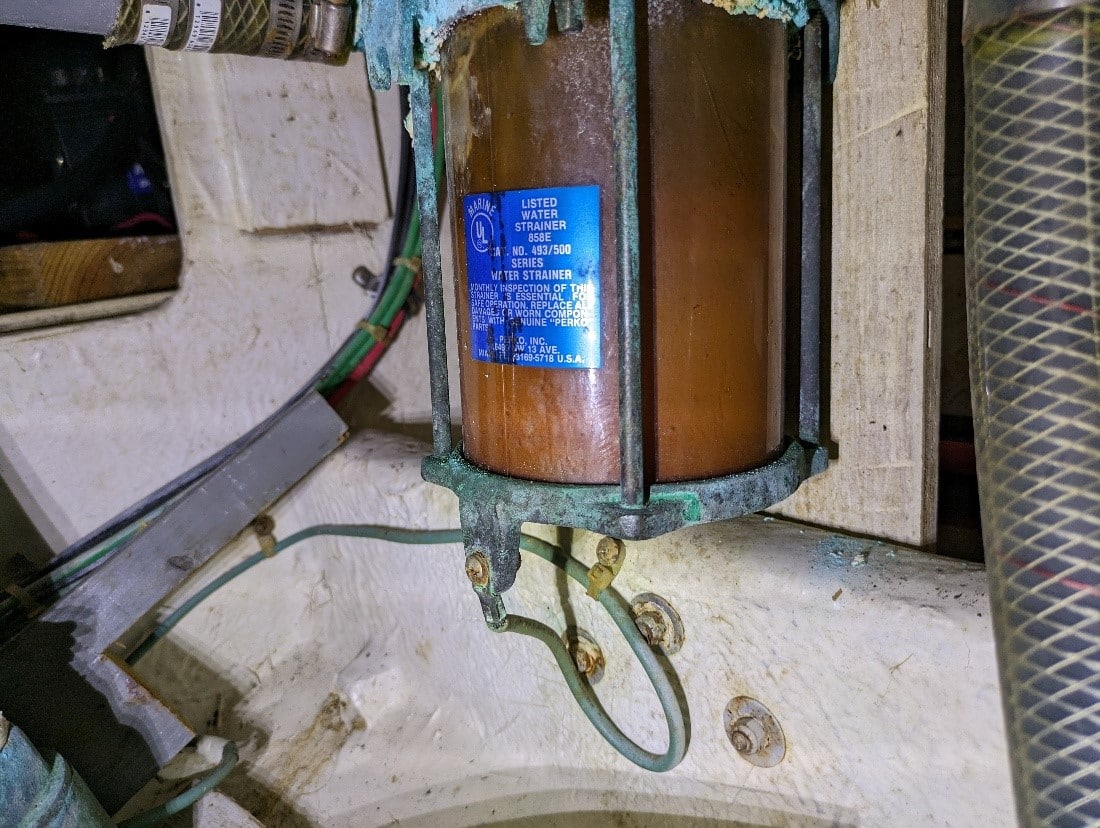
Check your fuel filter. If you see water droplets or dirt settling at the bottom, drain it. Water in fuel will stall you mid-lake, and debris can clog your carb jets or injectors. Make sure all connections at the tank, primer bulb, and engine are snug—not just hand-tight, actually snug. For quality replacement parts, consider browsing the Fuel Filter collection for OEM-quality components.
Engine Oil Level and Condition
Pull the dipstick on your 4-stroke. Oil should be amber to dark brown, not black, and definitely not milky. Milky oil means water got into the crankcase—could be a head gasket, could be a crack. Either way, don't start it until you figure out where the water came from.
Top off if you're low, but if you're burning through oil between trips, you've got a deeper problem. Check under the cowling for oil mist or puddles while you're at it.
Gearcase Oil Inspection
The lower unit takes a beating. Pull the upper vent screw on the gearcase and check the oil color. Clean amber or slightly dark is fine. Milky means the seals are shot and water's getting in. You'll trash the gears if you run it like that.
Look at the magnetic drain plug if you pulled it recently—fine metallic dust is normal wear, but if you see chunks or shavings, you've got gear teeth breaking down. That's a lower unit rebuild waiting to happen. For tips on this maintenance, see our detailed guide on Maintaining Your Outboard's Gearcase: Mercury vs. Yamaha.
Cooling System and Water Flow

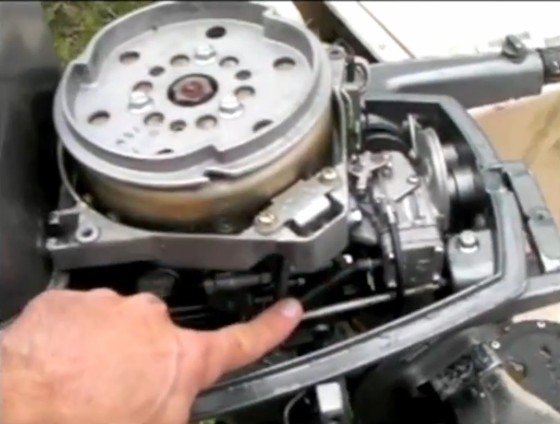
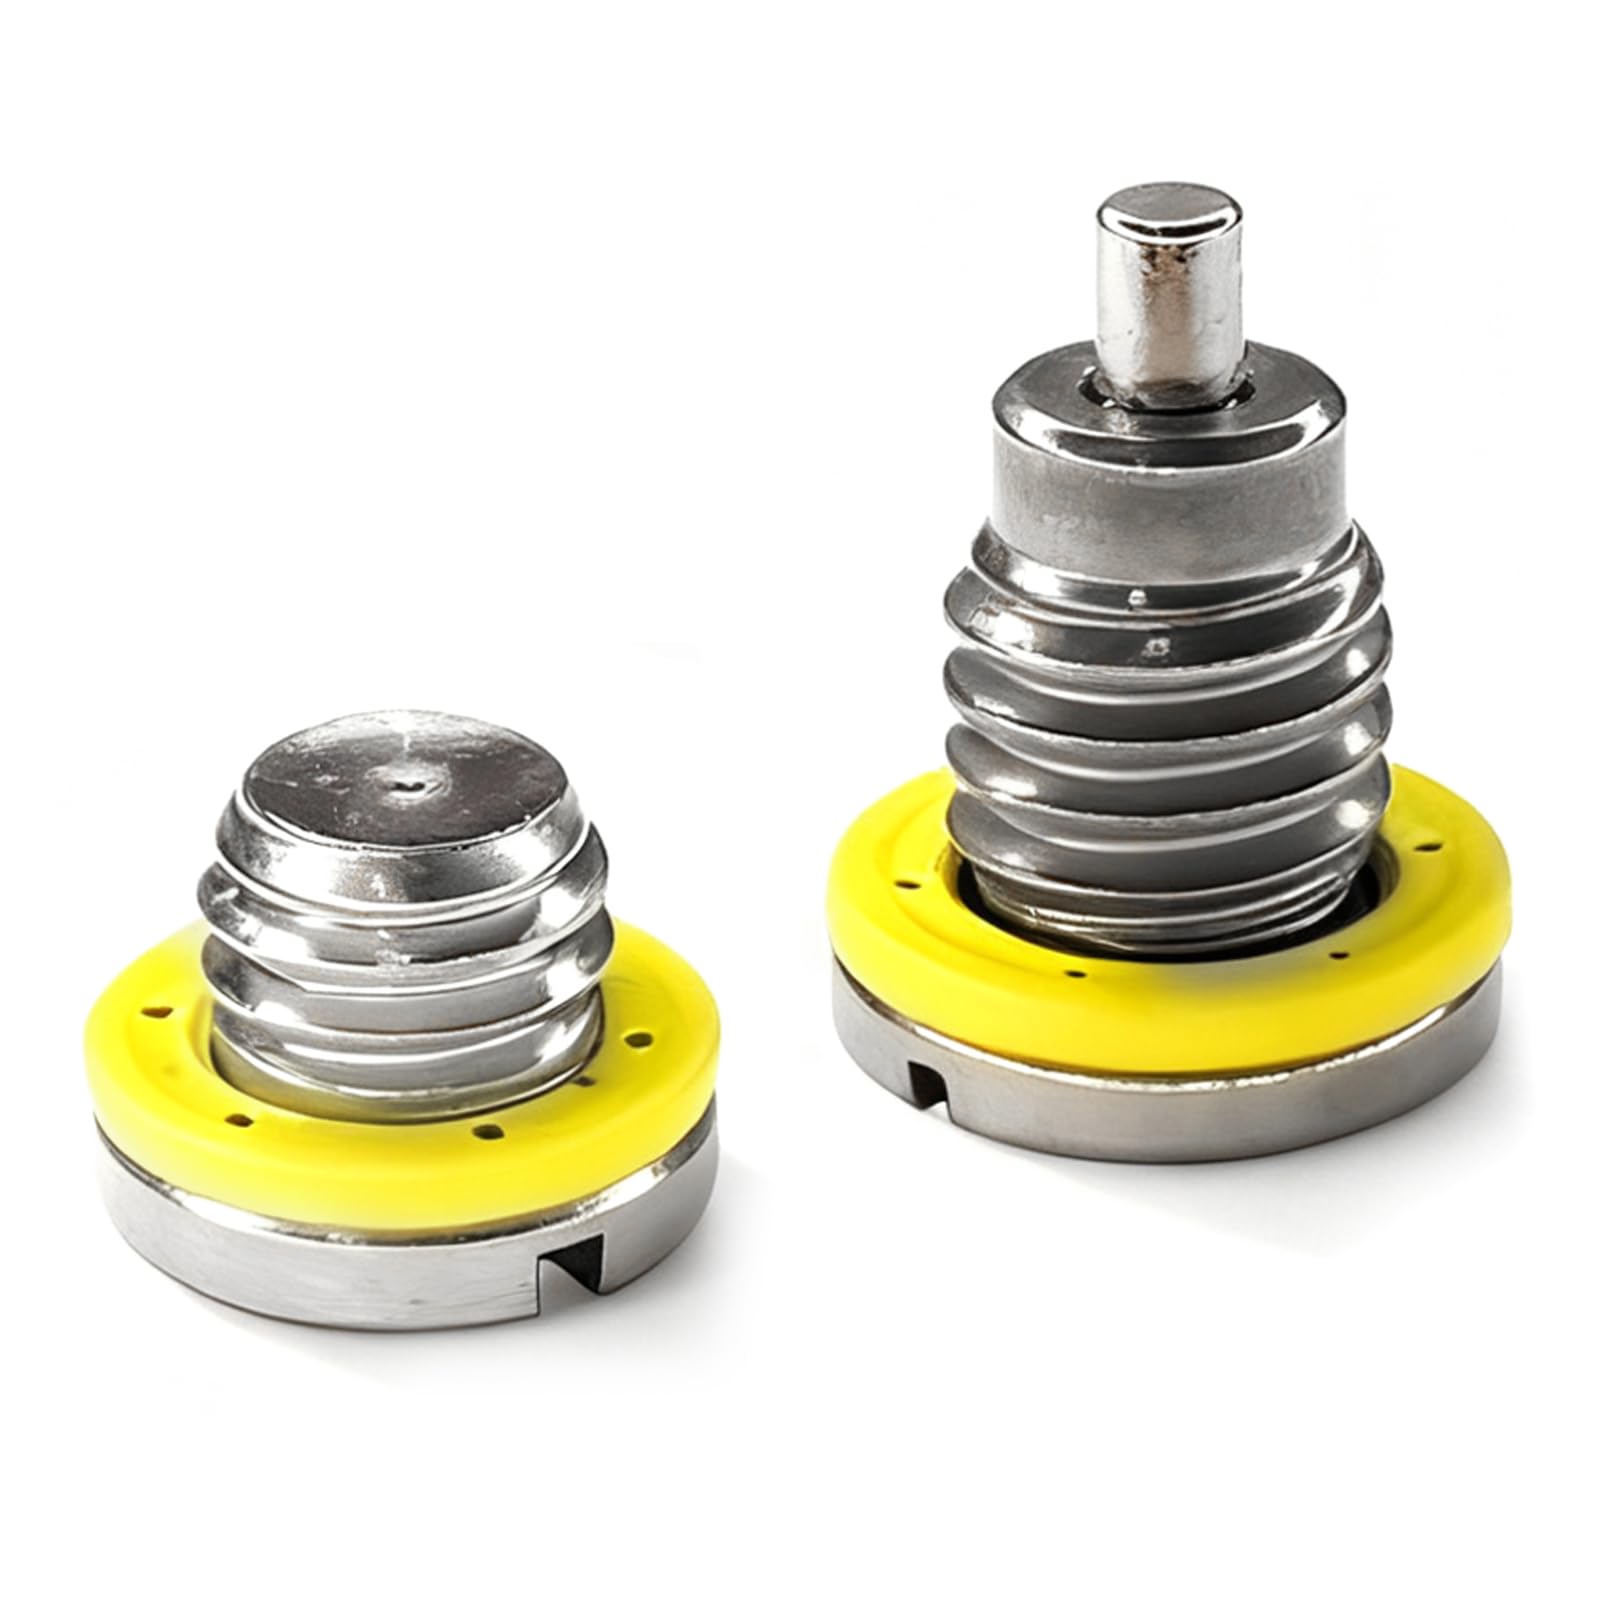
Clear the water intake screens. Seaweed, plastic bags, and mud wasp nests are the usual suspects. If your engine has flush muffs or you run it in a barrel for testing, start it briefly and watch the telltale stream (the little "pee stream" that comes out the side or back). It should be a solid, steady stream—not a dribble, not spitting.
If water spits at idle but smooths out when you throttle up, your impeller might be starting to lose vanes. If there's no stream at all, shut it down immediately. Your water pump impeller is done, or the telltale tube is clogged. Running dry even for 30 seconds can warp the head.
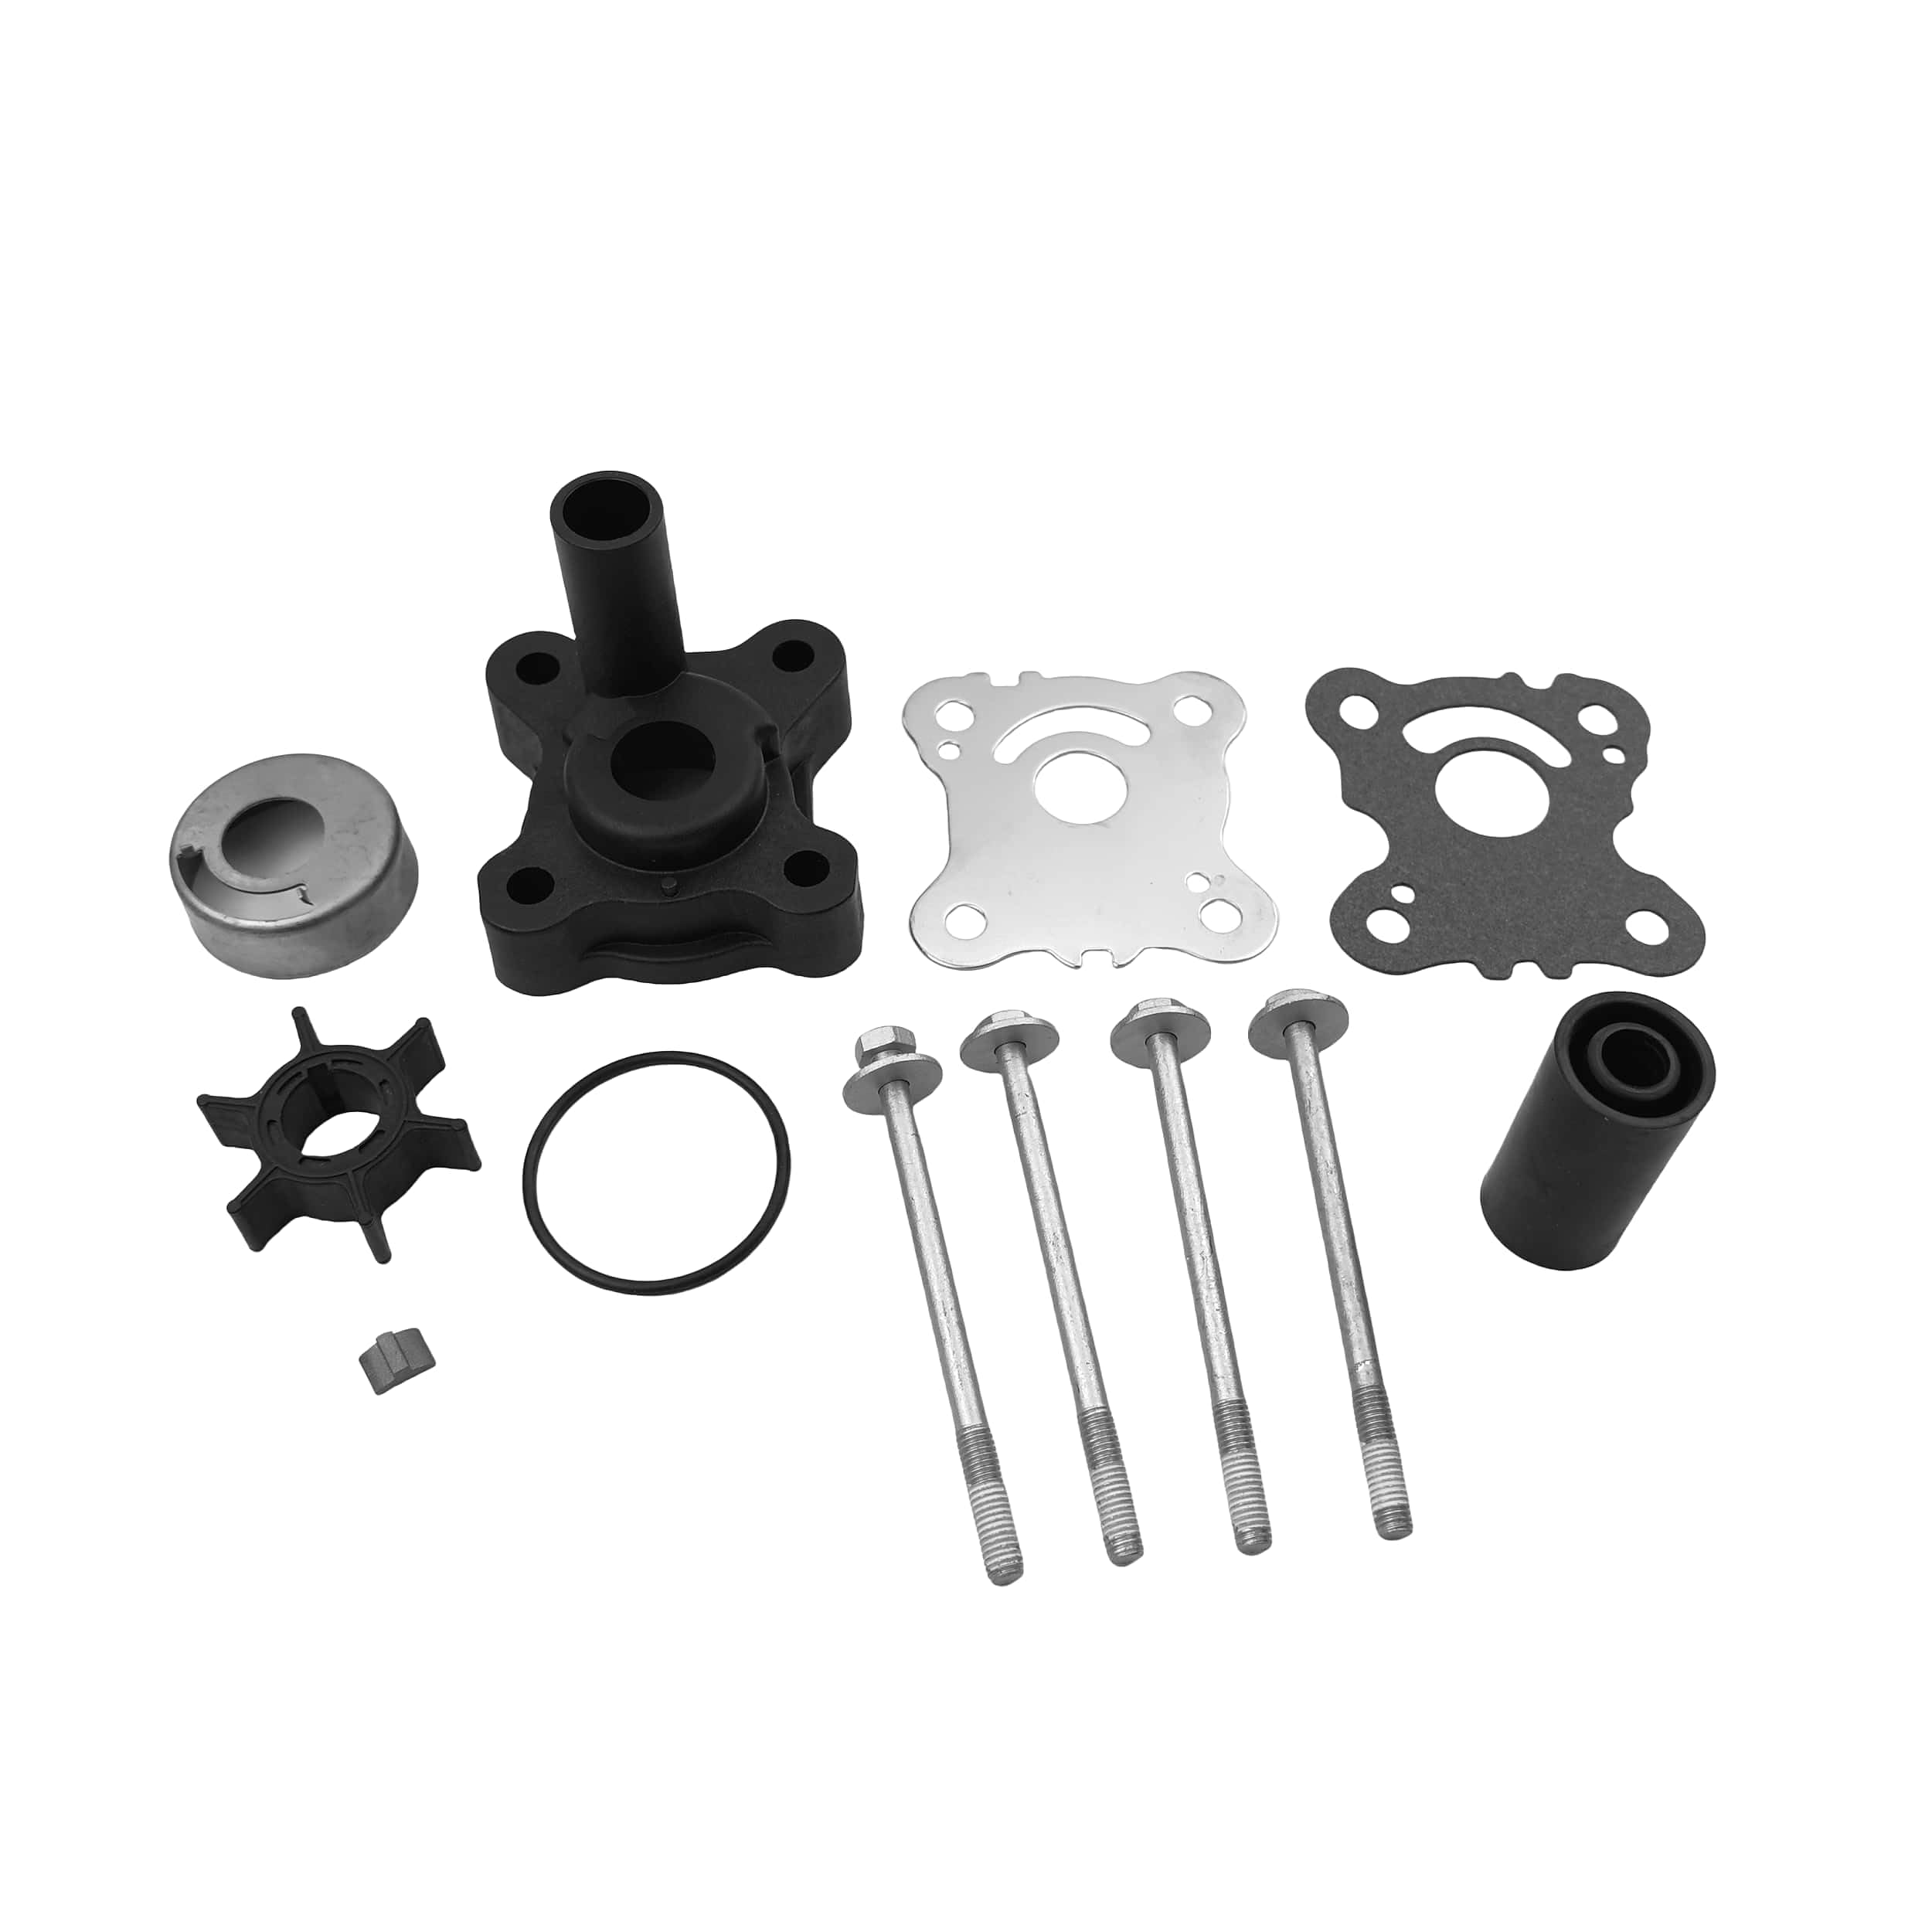
According to Captain Roy, an experienced professional captain, "An hour in the engine room before departure can save you ten hours on the phone with TowBoat US." The cooling system is where that hour pays off. For replacement parts like the impeller or full water pump kits, check out the Water Pump Impeller Kit collection and Cooling System collection to keep your engine running cool.
Propeller and Lower Unit Inspection
Tilt the engine up or flip the prop into view. Spin it by hand—it should turn smoothly without grinding or clunking. Check every blade for dings, bends, or chunks missing from the edges. A damaged prop vibrates, kills your performance, and can shake the lower unit seals loose over time.
Look for fishing line wrapped around the prop shaft ahead of the prop. Line works its way into the seals and destroys them. Pull it off now, not later. Check the skeg (the flat fin below the prop) for cracks or chunks broken off—a damaged skeg affects steering and can indicate a hard strike. For advice on identifying prop damage, see Inspecting Prop and Skeg After a Long Season.
Battery and Electrical Connections
Touch the battery terminals. They should be tight, not wiggly, and free of white or green crusty buildup. Corrosion adds resistance and kills voltage. If you've got a multimeter, check resting voltage—12.6V is fully charged for a 12V lead-acid battery. Below 12.4V and you're asking for a slow crank or no crank.
Test your kill switch. Clip the lanyard on, turn the key, then pull the lanyard—engine should die immediately. If it doesn't, fix that switch before you go. It's a safety item. For a deeper dive into kill switch issues, see Understanding the Kill Switch: Why Your Engine Won’t Start.
Belts and Hoses (if applicable on larger outboards)
Some bigger outboards have accessory belts for alternators or power steering pumps. Captain Chase, a professional captain with decades of experience, put it bluntly: "If I can see cracks with my naked eye, it gets replaced. Period. I've never seen a belt that was 'almost ready to fail' suddenly get better."
Squeeze the coolant hoses (if you have a closed cooling system). They should feel firm but give a little. Mushy or rock-hard hoses are both bad signs—mushy means the rubber's breaking down inside, hard means it's dry-rotted.
Engine Controls and Shift Test

Sitting in the driver's seat, move the throttle lever slowly from neutral to forward, then reverse. The cable should move smoothly without binding or sticking. If it catches or feels gritty, that cable is corroding inside the jacket and will fail soon.
Test the trim/tilt buttons at the helm and on the side of the engine. The motor should move up and down without hesitating or making grinding noises. If it's slow or jerky, check the hydraulic fluid level and look for leaks around the trim rams. For troubleshooting trim issues, the guide on Diagnosing Tilt and Trim Malfunctions on Outboards is a useful resource.
Start and Idle Test

Fire it up. It should catch within a few seconds, not crank forever. Listen to the idle—smooth and steady, not hunting (RPMs going up and down on their own) or missing on a cylinder.
As Captain Chase noted, "If your engine sounds different than last time you ran it, find out why before you leave the dock." You know what your engine sounds like. If something's off—a new rattle, a deeper tone, a skip—don't ignore it.
Shift into forward and reverse while it's idling (in the water or on muffs, never dry). The clunk into gear should be firm but not violent. If it slams hard or grinds, your shift linkage needs adjustment or you're looking at clutch dog wear inside the lower unit.
Mounting Hardware and Transom Check

Grab the engine cowling and try to rock the whole motor side-to-side on the transom. There should be zero movement. If the engine shifts or you hear a clunk, your mounting bolts are loose. Tighten them following your manual's torque spec—overtightening can crack the transom, undertightening will let the engine vibrate and crack the transom anyway.
While you're back there, look at the transom itself around the mounting bolts. Soft spots, flexing, or cracks in the gelcoat mean water got into the wood core. That's a hull repair, not an engine issue, but it'll sink your day just as fast.
Quick Pre-Run Checklist Summary
- Primer bulb firm
- Fuel lines intact, filter clean
- Engine oil full and clear (not milky)
- Gearcase oil amber (not milky)
- Water intakes clear
- Telltale stream strong and steady
- Prop undamaged, spins freely, no line wrapped
- Battery terminals tight and clean, 12.6V resting
- Kill switch functional
- Belts crack-free (if applicable)
- Throttle and shift cables smooth
- Engine starts quickly, idles steady
- Shifts into gear without grinding
- Mounting bolts tight, no transom flex
With 278,000 outboard units sold in the US in 2024 and machinery failure ranking in the top five causes of boating incidents reported by the US Coast Guard, these checks matter. The USCG reported a fatality rate of 4.8 deaths per 100,000 registered vessels that year, with open motorboats—most of them outboard-powered—among the vessel types most involved in accidents.
Pre-run inspections target the failures that show up in the stats: fuel problems, cooling breakdowns, electrical faults. Catch them at the dock, not three miles offshore. For comprehensive resources and parts to support all your outboard needs, visit the JLM Marine home page.
Parts Quality Note

When you do need to replace a part—impeller, fuel line, thermostat—don't cheap out on no-name junk. A $10 impeller kit from a random online seller will have rubber that's too hard, fitment that's off, and you'll be pulling the lower unit again next month.
OEM parts are reliable, sure, but you're paying extra for the logo on the box. Quality aftermarket from manufacturers like JLM Marine gives you factory-spec performance without the dealership markup. The parts fit right, last, and you're not burning cash unnecessarily. Some aftermarket factories even produce OEM components during excess capacity runs, so the quality can be identical. Browse the Outboard Motor Parts collection for quality options.
Pro tip: After every saltwater run, connect a hose with motor flusher muffs and run your engine for at least five minutes with fresh water. This clears salt, sand, and debris from the cooling passages and prevents the thermostat from seizing. It's the single maintenance habit that'll keep you off the phone with the tow service. For instructions on installing or using flush muffs, see our guides on water pump maintenance such as How to Replace a Mercury Outboard Water Pump Impeller.
Hi—I’m Jim Walker
I grew up in a Florida boatyard, earning pocket money (and a few scars) by rebuilding outboard carbs before I could drive. That hands-on habit carried me through a Ph.D. in mechanical engineering, where I studied how salt water quietly murders metal.
I spent ten years designing cooling systems for high-horsepower outboards, then joined JLM Marine as CTO. We bench-test every new part in the lab, but I still bolt early prototypes onto my own 23-foot skiff for a weekend shake-down— nothing beats real wake and spray for finding weak spots.
Here on the blog I share the fixes and shortcuts I’ve learned so your engine—and your day on the water—run smooth.

For Outboard Owners:
To assist you in maintaining and repairing your marine engines, we hope the following resources may be of use:
-
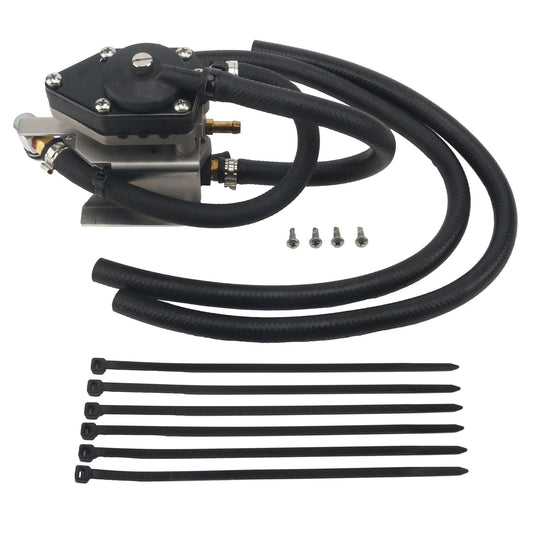
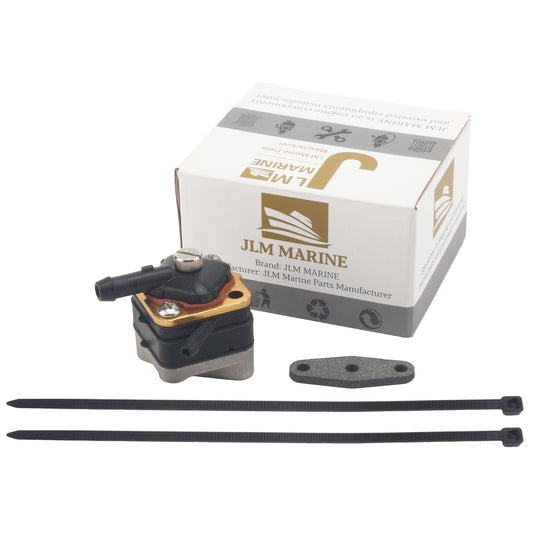
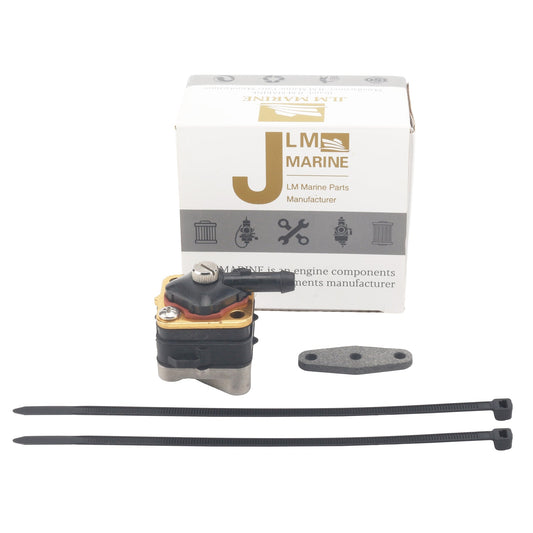
Fuel Pumps from JLM Marine
-
Fuel Pump Kits from JLM Marine
About JLM Marine
Founded in 2002, JLM Marine has established itself as a dedicated manufacturer of high-quality marine parts, based in China. Our commitment to excellence in manufacturing has earned us the trust of top marine brands globally.
As a direct supplier, we bypass intermediaries, which allows us to offer competitive prices without compromising on quality. This approach not only supports cost-efficiency but also ensures that our customers receive the best value directly from the source.
We are excited to expand our reach through retail channels, bringing our expertise and commitment to quality directly to boat owners and enthusiasts worldwide.
Fuel Pump on Sale
- $21.99
$19.00- $21.99
- Unit price
- per
- $16.00
$0.00- $16.00
- Unit price
- per
- $17.99
$21.00- $17.99
- Unit price
- per

- $73.50
$88.00- $73.50
- Unit price
- per
- $46.50
$60.00- $46.50
- Unit price
- per

- $45.99
$55.00- $45.99
- Unit price
- per

- $18.99
$15.00- $18.99
- Unit price
- per

- $28.99
$34.00- $28.99
- Unit price
- per

- $26.80
- $26.80
- Unit price
- per

- $23.59
$28.00- $23.59
- Unit price
- per
- $24.80
- $24.80
- Unit price
- per
- $28.90
- $28.90
- Unit price
- per

- $27.77
$22.00- $27.77
- Unit price
- per

- $138.00
- $138.00
- Unit price
- per

- $56.99
- $56.99
- Unit price
- per
- $24.80
$45.00- $24.80
- Unit price
- per

- $31.20
$37.00- $31.20
- Unit price
- per

- $129.95
$155.00- $129.95
- Unit price
- per

- $21.99
$19.00- $21.99
- Unit price
- per

- $129.95
$155.00- $129.95
- Unit price
- per