


Water in Fuel: How to Get Your Outboard Running Again
- Spotting Water Contamination in Your Outboard
- Getting Rid of Water—Step by Step
- Preventing Water From Getting In
- When to Call a Mechanic
- Safe Disposal of Contaminated Fuel
- 2-Stroke vs. 4-Stroke Differences

Spotting Water Contamination in Your Outboard
Water in your fuel tank isn't a minor annoyance—it's the leading fuel concern for boats and watercraft with outboard engines in the US. Modern fuel-injected outboards are particularly vulnerable because high-pressure fuel pumps rely on fuel for lubrication. When water gets past the pump, it can wreck injectors, seize pumps, and in extreme cases, destroy pistons. Water doesn't compress, so even small amounts cause mechanical damage.
Most guys assume water comes from bad fuel at the station, but that's only one entry point. Condensation is the bigger culprit—during hot, humid summer months, moisture from the air condenses on the inside walls of your fuel tank. Unlike cars that get refueled regularly, boats sit with the same fuel for weeks or months, giving condensation plenty of time to accumulate. The fuel cap O-ring is another weak point. When that rubber seal cracks or gets stiff (especially in saltwater), rain and washdown water sneak straight into your tank.
Ethanol-blended gasoline makes everything worse. Ethanol attracts water molecules, and when the concentration of water in your tank hits just ½ of 1%, the ethanol and water bond together and sink to the bottom—right where your fuel pickup sits. This creates phase separation: a gelatinous sludge that clogs filters, fouls plugs, and can't be burned. Depending on how much water your engine ingests, you'll get anything from running problems to catastrophic damage.
Common Symptoms to Watch For
Your engine will tell you when water's in the system. Here's what to look for:
Rough running and power loss: If your outboard sputters, hesitates under throttle, or idles rough when it used to run smooth, suspect water. The engine might cough and sputter a bit as it tries to burn contaminated fuel. You'll often notice a sharp drop in power, especially when trying to get on plane.
Stalling after switching tanks: This is the dead giveaway. Switch from a full tank to a nearly empty one, and if the engine dies or runs rough within a few minutes, the second tank is probably harboring water.
Wet or steam-cleaned spark plugs: Pull a plug after the engine acts up. If it looks steam-cleaned—clean white porcelain with no carbon buildup—water's been passing through the cylinder. Normal fouling shows black carbon or oil residue.
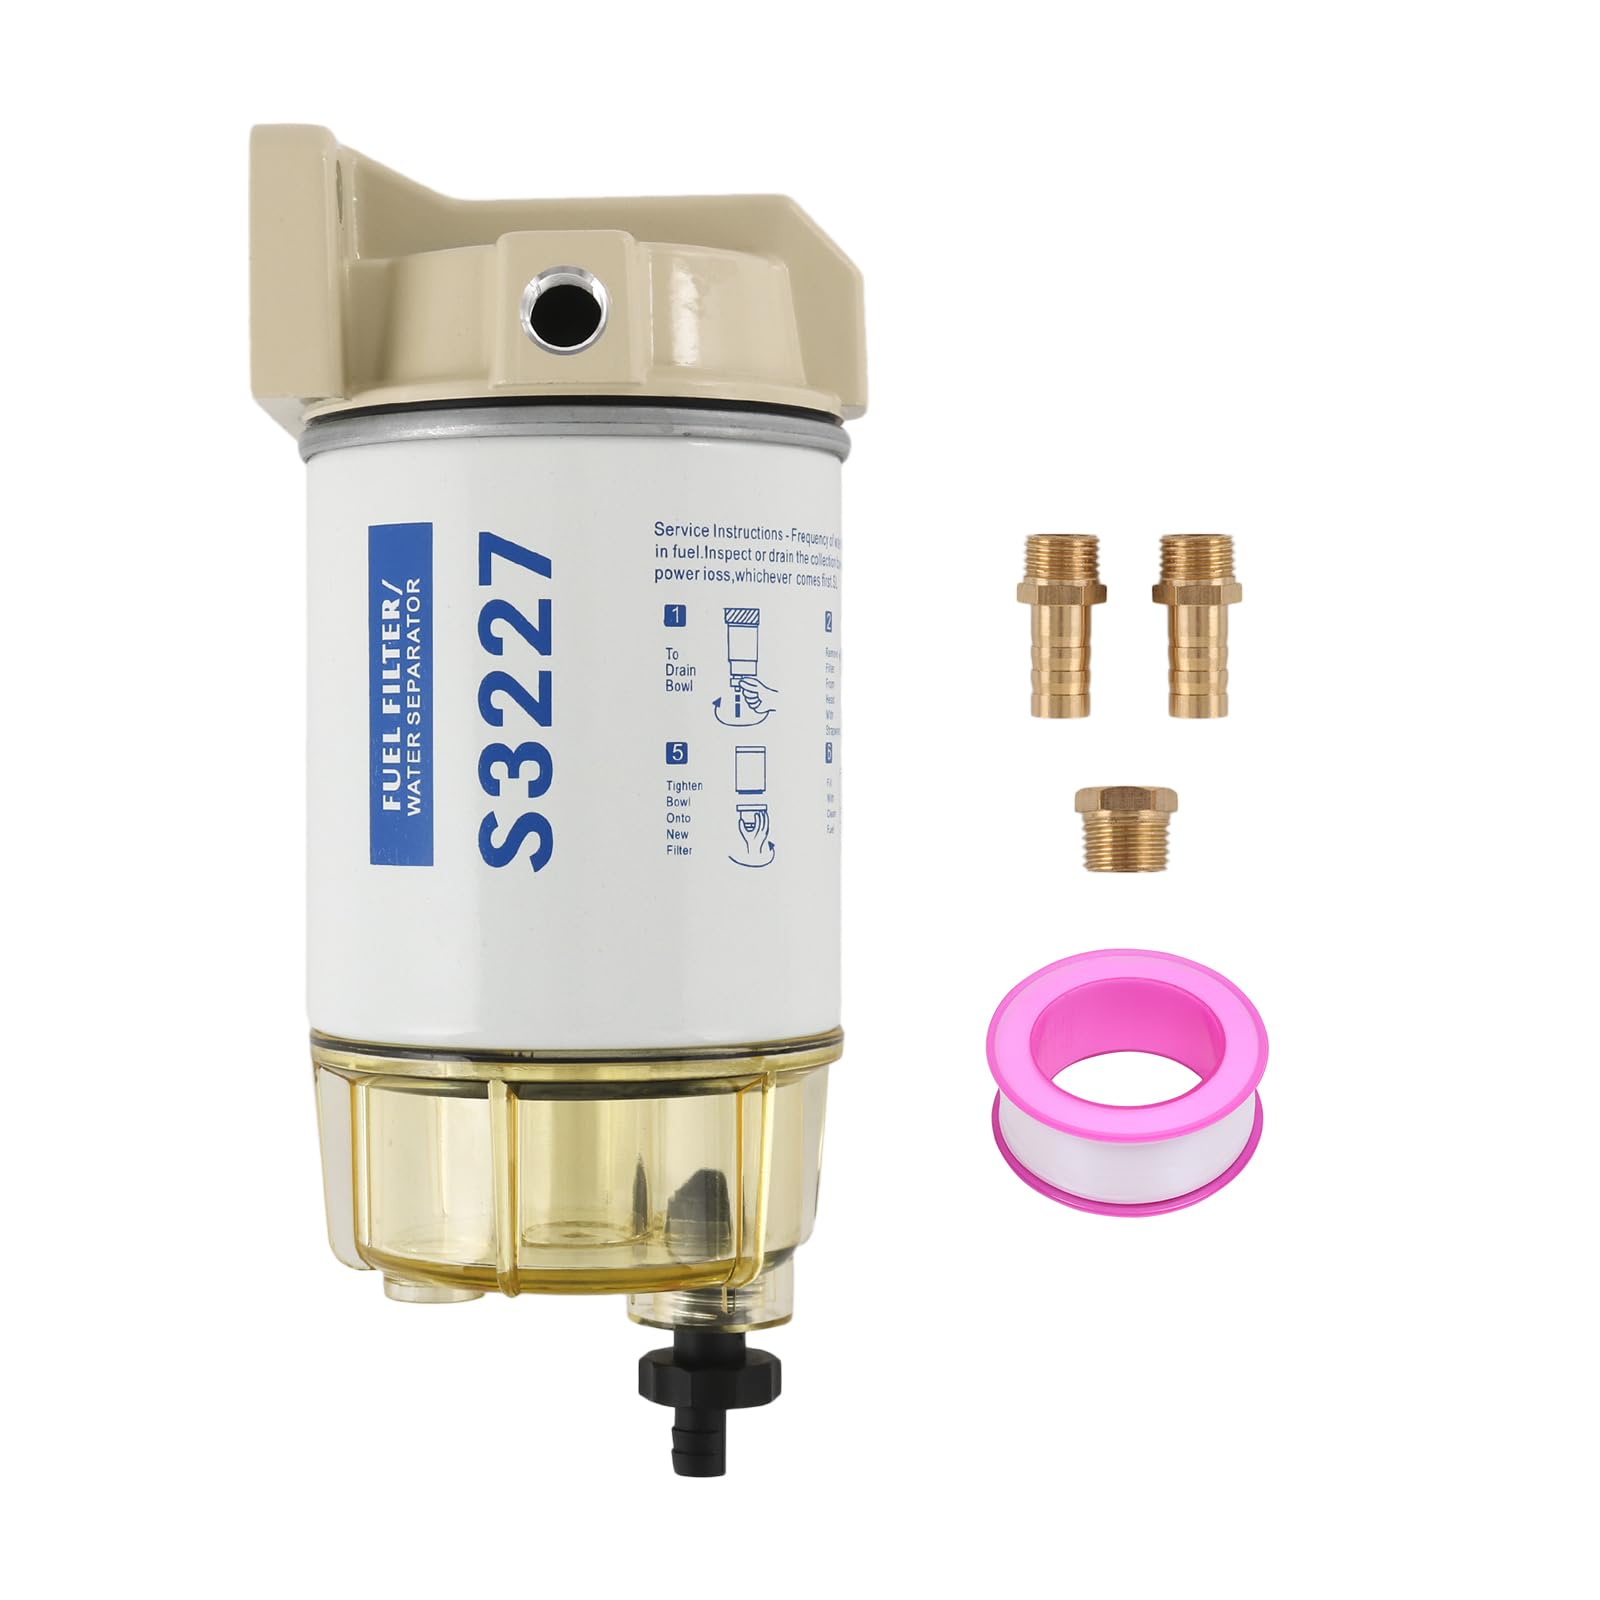
Visual check of the fuel-water separator: Most outboards have a clear bowl on the fuel filter housing. Look for a distinct layer of liquid at the bottom, separate from the fuel above it. Water is heavier than gasoline, so it settles out. You'll see a clear demarcation line, and the water layer is often cloudy or slightly discolored. If the bowl shows more than a few drops, you've got a problem.
Getting Rid of Water—Step by Step
Stop the engine immediately if you suspect water contamination. Running contaminated fuel through the system only spreads the damage.
Drain the Fuel-Water Separator First
Locate the fuel filter/water separator—usually mounted on the engine or along the fuel line. Most have a drain valve or screw at the bottom of the clear bowl.
Grab a 10mm wrench or socket (size varies by brand, but 10mm is common on Yamaha and Mercury units). Place a clear container—a glass jar works well—underneath the drain plug to catch what comes out. Loosen the drain valve counterclockwise. Water is heavier than fuel, so it exits first. Keep draining until you see only clean fuel flowing, then tighten the valve securely. Don't overtighten if the housing is plastic; you'll strip the threads.
Safety note: You're working with gasoline. Do this outdoors or in a well-ventilated area. No smoking, no sparks, no hot work nearby. Gasoline vapors ignite easily, and fuel-injected engines hold residual pressure even when shut down. If you're disconnecting fuel lines later, relieve pressure first by removing the fuel pump fuse and cranking the engine briefly.
Replace the Filter Element
Even after draining, water and sediment can cling to the filter media. Yamaha explicitly warns: "Do not simply remove the filter, dump the fuel, and reinstall it. Captured debris and water could enter the 'clean' side of the filter and be released into your fuel system." Replace the element. It's cheap insurance.
We like filters with more surface area and a sealed metal bottom—like the Yamaha 10-micron spin-on or the Parker Racor turbine series. The Racor is particularly effective; in real-world testing, boaters added 6 ounces of water to fuel, and the Racor separated all of it, delivering clean fuel to the engine with no damage. Some aftermarket Racor setups run for three full seasons without issues.
For quality parts to replace your filter, check out our Fuel Filter collection at JLM Marine.
Flush the Fuel Lines (If Water Got Past the Filter)
If you suspect water made it into the fuel rails or vapor separator tank, you'll need to flush the system. Disconnect the main fuel line from the engine at the filter or connection point. Connect a temporary portable tank filled with fresh, non-ethanol fuel. Prime the system—either cycle the key to activate the electric fuel pump, or use a manual primer bulb if your setup has one—and let clean fuel push through the rails and injectors. You're essentially bypassing the contaminated main tank to clear the downstream lines.
Watch the fuel coming out of the disconnected return line (if accessible) until it runs clear. This can take a few minutes of priming cycles. For severe contamination, some guys disconnect the fuel rail on one side and cycle the pump to force water out before reconnecting.
Use Isopropyl Alcohol for Trace Amounts
If you've drained the separator and replaced the filter but suspect trace water remains in the lines, isopropyl alcohol works. Sea Foam recommends a few 12-ounce bottles of isopropyl alcohol added to 10 gallons of fresh fuel to solubilize small amounts of water. Unlike ethanol, isopropyl won't cause corrosive harm. Sea Foam Marine PRO also helps; it's a demulsifier that suspends small water droplets so they can pass through and burn off.
David H. Osmolski from Charlotte Power Squadron—a guy who's been fixing boats since high school—points out that isopropanol absorbs moisture from the air, so after treating your fuel, run it through the engine on a long trip to burn it off, then refill with fresh fuel. Don't let treated fuel sit for weeks.
Pump Out the Main Tank (For Heavy Contamination)
If the separator bowl was half-full of water, your tank has more. You'll need to extract it. Here are the methods:
Manual siphon with a weighted hose: Remove the fuel sender unit from the top of the tank. Insert a length of clear hose weighted at the end (a small socket works) so it reaches the very bottom of the tank where water settles. Siphon the water and contaminated fuel into a container. You'll see the water layer in the hose as you draw it out.
Electric pump method: Disconnect the fuel line at the separator and use a small electric 12V fuel pump or a manual primer bulb to pump water from the tank into a glass container. Keep pumping until only clean fuel appears.
For fuel system pumps suitable for this purpose, browse the Fuel Pump collection at JLM Marine.
Professional tank cleaning: If the contamination is severe or you've got phase separation sludge, a marine shop can pump out and filter your fuel, returning the clean portion to the tank. This costs a couple hundred bucks but beats replacing injectors.
Test and Confirm
After draining, replacing filters, and flushing, reconnect everything and start the engine. Expect some white smoke initially as any remaining cleaner or trace water burns off. The engine should idle smoothly within a minute or two. Run it under load—on the water or on muffs with the hose—and watch for hesitation. If it still sputters, pull the fuel filter again. If you see water reappearing in the separator bowl, the tank still has contamination, and you'll need to pump it out.
If you've drained the separator three times and water keeps reappearing, stop. The tank needs a professional pump-out.
Tools You'll Need
- 10mm socket or wrench (check your filter's drain plug size)
- Clear glass jar or container
- Replacement fuel filter element (OEM or quality aftermarket like Racor) – See our Fuel Filter collection for options
- Isopropyl alcohol (12-16 oz bottles, available at auto parts stores)
- Clear vinyl hose and weight (for siphoning)
- Rags
- Portable fuel tank with fresh non-ethanol fuel (for flushing)
Preventing Water From Getting In
Keeping water out is easier than fixing the damage it causes.
Check the Water Trap Monthly
Pop the cowl and inspect the separator bowl every couple of outings, or at minimum once a month. If you've had heavy rain, check it sooner. This takes two minutes. If you see any water layer at the bottom of that clear bowl, drain it immediately. We've seen guys who ignored this for a season and found the bowl half-full—by then, water had already damaged the fuel pump.
Inspect and Replace the Fuel Cap O-Ring
The rubber seal on your fuel cap degrades over time, especially in saltwater. Every time you refuel, glance at the O-ring. If it's cracked, stiff, or compressed flat, replace it. This is a $5 part that prevents hundreds of dollars in repairs. A compromised O-ring means every rainstorm or washdown sends water straight into your tank.
For trailered boats, this is even more critical because temperature swings between the water and the trailer accelerate condensation.
Fill the Tank Before Storage
Ethanol-blended fuel left in a partially full tank for weeks invites condensation. The air space above the fuel allows moisture to condense on the tank walls and drip down. Fill the tank completely before extended storage—this minimizes the air gap and reduces condensation. Then add a fuel stabilizer.
We use Sea Foam Marine PRO or Star Brite stabilizer for storage. These prevent phase separation and absorb trace moisture. According to Yamaha, ethanol's hygroscopic nature means it actively attracts water, so stabilizers that counteract this are essential during wet seasons or long layups.
Use Non-Ethanol Fuel When Possible
E0 (ethanol-free) gas eliminates the phase separation problem entirely. It's harder to find, but worth hunting down for boats. Check apps or websites that track ethanol-free stations. For trailered boats that fill up at gas stations, this is your best defense.
If you're stuck with E10, treat it with stabilizer and don't let it sit for more than a few weeks. Boats stored at slips or marinas can usually get E0 at the fuel dock, though it costs more per gallon.
Install a High-Quality Primary Filter
A good water-separating filter is your first line of defense. Yamaha's 10-micron spin-on has more filter surface, a sealed metal bottom, and a large water reservoir compared to cheap aftermarket units. Parker Racor turbine series filters are also top-tier—they've been proven in commercial applications to remove 100% of water in real-world tests.
Don't cheap out on a $10 filter from a random online seller. The rubber gaskets don't seal properly, the media clogs fast, and you'll be pulling the filter again next month. JLM Marine offers factory-spec filters at better prices than OEM without sacrificing quality—the same factories that make OEM parts often produce these using excess capacity, so the fitment and materials match the original. You can find quality options in our Fuel Filter collection.
Refuel Smart
Avoid filling up at questionable fuel docks. If a marina's pumps look neglected, or if locals warn you about water in the fuel, go somewhere else. Slow-pumping fuel (low flow rate) often indicates clogged filters on the station's tanks—a sign of poor maintenance and possible water contamination.
Fill your tank right before you head out, not the night before or a week early. Fresh fuel has less time to absorb moisture from the air before you burn it. For guys who boat frequently, this also means you're cycling through fuel fast enough that condensation doesn't build up.
Ask your local marine mechanic which stations are reliable. They know which docks have had contamination issues and which ones stay on top of their tank maintenance.
Adjust Maintenance for Conditions
If you're boating in humid, rainy weather, check the separator more often—weekly instead of monthly. If you've switched from frequent weekend trips to storing the boat for a month, treat the fuel before the layup. The maintenance schedule isn't rigid; adapt it to how much you're using the boat and what the weather's doing.
Trailered boats face bigger temperature swings than slip boats, which accelerates condensation. Marina boats in humid climates (like the Gulf Coast or Southeast US) have the same issue. Both groups should check separators more frequently during summer.
When to Call a Mechanic
If you've drained the separator, replaced filters, flushed the lines, and the engine still won't run right, stop. You're past the DIY stage.
A professional marine tech has specialized tools to diagnose fuel system damage. They'll start by draining the entire tank to remove all water and sediment. Then they'll inspect and likely replace fuel lines, the fuel pump, and possibly the injectors if water damaged them. In severe cases—especially if saltwater got in—they might pull the lower unit to check for corrosion in places you can't see.
What to Expect in Repair Costs
A full fuel system clean-out and component replacement runs anywhere from a few hundred dollars (just draining and flushing) to well over $1,500 if injectors or the high-pressure pump are damaged. Injectors alone can cost $100-$300 each, and a fuel-injected outboard has multiple injectors. Fuel pumps run $200-$500 depending on the engine.
If you caught the problem early and only need a tank pump-out and filter replacement, expect $200-$400. If you ignored the symptoms and kept running the engine, expect the higher end of that range—or more.
Questions to Ask Your Mechanic
When you call a shop, vet their reliability by asking:
- "What specific brand of fuel filter do you install, and why?"
- "Do you pressure-test fuel lines after a contamination event, or just replace them?"
- "What's your process for checking if water damaged the injectors?"
A good mechanic will explain their process clearly. If they dodge the questions or just say "we'll figure it out when we see it," find someone else.
Safe Disposal of Contaminated Fuel

The water and fuel mixture you drained from the separator and tank is hazardous waste. Don't dump it on the ground, in a storm drain, or overboard. Most marinas have a used-fuel disposal tank, or you can take it to a municipal hazardous waste facility. Some auto parts stores accept small quantities of contaminated fuel. Check your local regulations—improper disposal can result in fines.
2-Stroke vs. 4-Stroke Differences
Water contamination affects both engine types, but symptoms differ slightly. 2-stroke engines, especially older carbureted models, sometimes show white smoke from the exhaust as water burns off, mixed with the normal oil smoke. They're a bit more forgiving because the oil-fuel mix provides some lubrication even when water's present.
4-stroke fuel-injected engines, on the other hand, rely entirely on fuel for pump lubrication. Water kills the high-pressure pump faster in a 4-stroke. If you've got a 4-stroke and you see water in the separator, replace the filter immediately and flush the lines—don't try to "run it through" like you might with an old 2-stroke.
For further reading on troubleshooting fuel and ignition problems that can resemble water contamination symptoms, see our blog on Outboard Bogging Down? Troubleshooting Low Power, RPM Fluctuations & Fuel Issues.
Sources:
- Bell Performance - Water in Fuel
- Yamaha Outboards - Fuel System Maintenance
- Sea Foam - Water in Fuel FAQ
- The Ensign - Isopropyl Alcohol for Water Contamination
- YouTube - Racor Water Separator Test
- YouTube - Water in Outboard Symptoms
After every ride, flush your engine with fresh water, especially if you've been in saltwater. This reduces corrosion on fuel system components and keeps everything working smoothly.
For premium boat parts and fuel system components, shop with JLM Marine, your trusted source for marine parts direct from the factory with worldwide shipping.
About JLM Marine
Founded in 2002, JLM Marine has established itself as a dedicated manufacturer of high-quality marine parts, based in China. Our commitment to excellence in manufacturing has earned us the trust of top marine brands globally.
As a direct supplier, we bypass intermediaries, which allows us to offer competitive prices without compromising on quality. This approach not only supports cost-efficiency but also ensures that our customers receive the best value directly from the source.
We are excited to expand our reach through retail channels, bringing our expertise and commitment to quality directly to boat owners and enthusiasts worldwide.
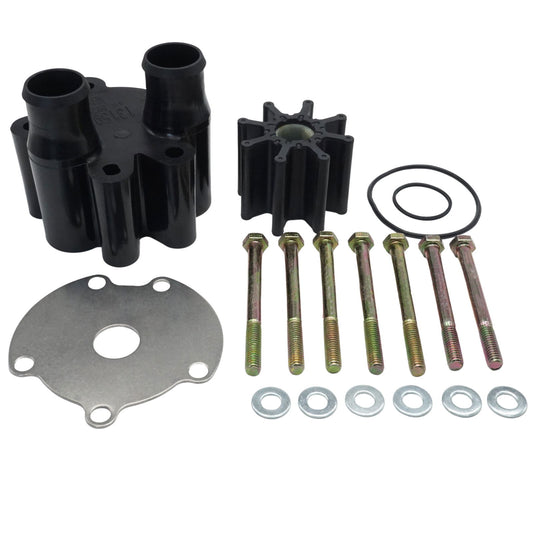
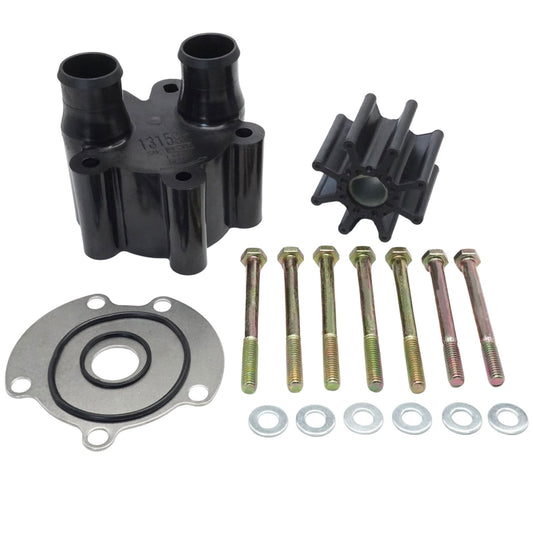
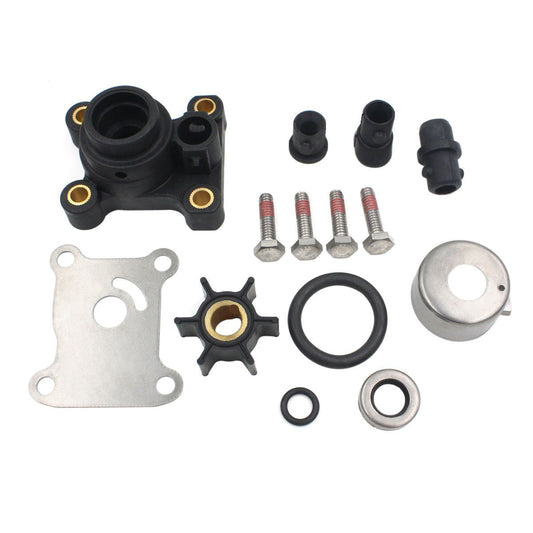
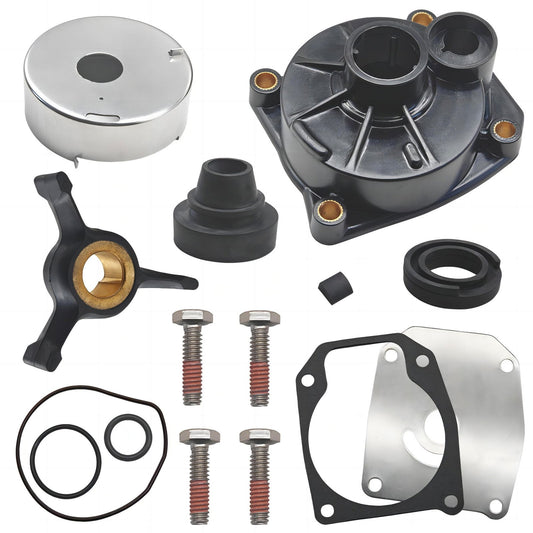
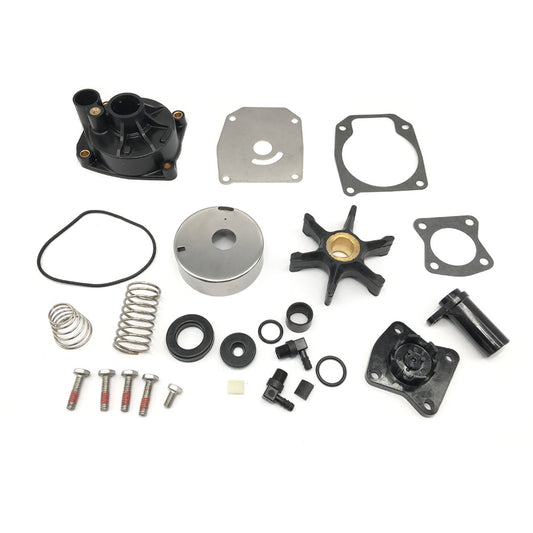
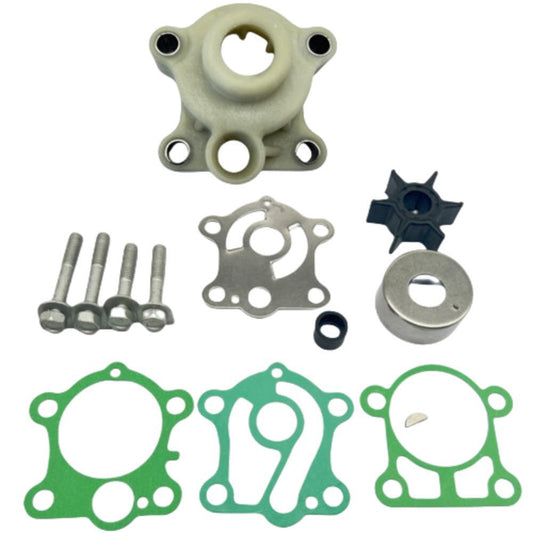
Water Pump Repair Kits on Sale
- $29.75
$35.00- $29.75
- Unit price
- per
- $16.99
$27.00- $16.99
- Unit price
- per
- $19.99
$23.00- $19.99
- Unit price
- per

- $85.99
$103.00- $85.99
- Unit price
- per

- $35.00
$42.00- $35.00
- Unit price
- per

- $27.99
$33.00- $27.99
- Unit price
- per

- $55.00
$66.00- $55.00
- Unit price
- per
- $39.89
$45.00- $39.89
- Unit price
- per
- $26.90
- $26.90
- Unit price
- per
- $55.50
- $55.50
- Unit price
- per

- $29.99
$35.00- $29.99
- Unit price
- per
- $50.99
$59.00- $50.99
- Unit price
- per

- $49.99
$59.00- $49.99
- Unit price
- per
- $39.98
$45.00- $39.98
- Unit price
- per

- $45.99
$55.00- $45.99
- Unit price
- per

- $43.00
- $43.00
- Unit price
- per

- $27.99
$33.00- $27.99
- Unit price
- per

- $25.56
$30.00- $25.56
- Unit price
- per

- $19.50
$23.00- $19.50
- Unit price
- per

- $36.00
- $36.00
- Unit price
- per