


Dual Outboard Fuel System: Seamlessly Integrate Your Kicker Motor
- How Dual Fuel Systems Work
- Required Parts and Specifications
- Mounting the Kicker Motor
- Plumbing the Fuel System
- Avoiding Common Integration Mistakes
- Addressing Fuel System Physics
- Prop Selection for Kicker Trolling
- Steering Integration: Tie-Bar vs. Independent Tiller
- Installing on Aluminum vs. Fiberglass Hulls
- Electrical Connections for EFI and Electric Start
- Pre-Start Fuel System Priming
- Break-In for New EFI Kicker Motors
- Stress Testing the Integrated System
- Maintenance Schedule for Dual Fuel Systems
- Why the Mercury ProKicker 9.9 EFI is Worth Considering
- When to Hire a Professional
- Finding Parts and Support
How Dual Fuel Systems Work
Both your main outboard and kicker draw from the same tank. The routing is simple: fuel line from the tank feeds into a water-separating filter with dual outlet ports, then splits to each engine via separate primer bulbs and shutoff valves. This eliminates the hassle of managing two tanks and constantly checking fuel levels on a separate kicker supply.
The dual-port filter is the heart of the setup. Look for units rated for at least 60 GPH to handle your main engine's demand. The filter pulls from one inlet and splits to two outlets—one line to the main, one to the kicker. Each line needs its own primer bulb to prevent air from the idle engine getting sucked into the running motor's fuel supply.
Shutoff valves on each line are critical. When you're running only the main engine, close the kicker's valve. This prevents vapor lock, fuel contamination, and makes maintenance straightforward—you can work on one engine's fuel system without affecting the other. For guidance on plumbing fuel systems, see relevant troubleshooting tips.
Required Parts and Specifications
Fuel Filter: Marine-grade water separator with dual inlet/outlet ports, 60+ GPH flow rating, 10-micron filtration for EFI protection.
Fuel Lines: 3/8-inch diameter for the main engine, 5/16-inch for the kicker. Use USCG Type A1 rated hose—anything less will degrade with ethanol fuel. Avoid cheap bulk hose; the inner liner cracks and sends debris straight into your carburetor or injectors. You can find high-quality options in our fuel filter collection.
Primer Bulbs: One per engine, marine-grade with arrow markings pointing toward the engine. The internal check valve only works one direction—install it backward and you'll be troubleshooting phantom fuel starvation issues for hours.
Shutoff Valves: Inline ball valves, one per fuel line, mounted close to the primer bulbs for easy access.
Hose Clamps: All stainless steel if you run in saltwater. Double-clamp every connection—single clamps vibrate loose. Use the screw-type, not spring clamps.
Sealant: 3M 4200 for transom bolt bedding on aluminum hulls. For fiberglass, 3M 5200 if you never plan to remove the kicker; otherwise stick with 4200.
Tools: 9/16-inch and 1/2-inch combination wrenches for mounting bolts, drill with appropriate bits (pilot holes prevent cracking), Phillips and flathead screwdrivers, hose cutter or sharp utility knife for clean fuel line cuts.
For parts like primer bulbs, clamps, and hoses, browse our boat accessories to source marine-grade components that meet these specifications.
Mounting the Kicker Motor
![]()
Measure your transom height before buying. Kickers come in 15-inch or 20-inch shaft lengths. Mount the anti-cavitation plate level with the bottom of the hull or slightly below—too high and you'll lose thrust and get cavitation, too low and you create unnecessary drag.
Most anglers mount on the starboard side. This keeps the tiller handle clear when the main engine swings hard over during docking. It also balances better if your main is on centerline or slightly offset.
For aluminum boats, bolt directly to the transom if it's reinforced for outboards. Use 3/8-inch stainless bolts with large washers and locknuts. Apply a thin bead of 4200 sealant to the bolt holes before threading. This prevents water intrusion and corrosion around the fasteners. Torque to manufacturer spec—overtightening cracks aluminum, undertightening allows movement and wallows out the holes.
Fiberglass boats often require a kicker bracket to distribute load. The bracket bolts through the transom with backing plates inside. Same sealant procedure, but verify the transom core isn't rotted before drilling. If the core is wet or soft, repair it first or the bracket will pull through.
Ensure the kicker clears your depth transducer, trim tabs, and any hull-mounted electronics. We've seen installations where the kicker prop slices the transducer cable during a tight turn. Mock up the installation and rotate the motor through its full range before drilling permanent holes. For more on mounting and setup, see our engine mount height and angle tweaking guide.
Plumbing the Fuel System

Run the main fuel line from the tank to the filter inlet. Connect the filter's two outlets to separate primer bulbs. From each primer bulb, run a line to a shutoff valve, then to the respective engine's fuel connector.
Install the primer bulbs with arrows pointing toward the engines. The check valve inside only allows flow in one direction. If you mount it backward, squeezing the bulb collapses it but doesn't prime the line—common mistake that wastes an hour of troubleshooting.
Secure all fuel lines away from hot surfaces, sharp edges, and moving parts. Use plastic cable ties or cushioned clamps every 18 inches. Fuel line that rubs against the hull or bracket will chafe through, and you'll have a leak or, worse, a fire hazard.
Double-clamp every barb fitting. The first clamp is your primary, the second is insurance. Vibration loosens single clamps over time, especially on older engines without rubber motor mounts. We've seen hoses pop off mid-run because someone trusted one clamp—don't be that guy.
When running separate lines to each engine, keep them as short as practical to minimize fuel sitting in the lines between uses. Long fuel lines mean more old gas sitting stagnant when the kicker isn't running, which gums up carburetors. For issues related to carburetors, reference our carburetor collection for repair parts and advice.
Avoiding Common Integration Mistakes

Air leaks kill performance. A loose clamp on the kicker's fuel line doesn't just starve the kicker—it can pull air into the main engine's fuel supply if you're drawing from a common filter. Symptoms: the main engine runs fine at throttle but stumbles at idle, or it cuts out randomly. Check every connection with soapy water while squeezing the primer bulb; bubbles reveal leaks.
Fuel demand valves and anti-siphon valves on modern EPA-compliant portable tanks can restrict flow when adding a second draw. If both engines are running and you notice fuel starvation (engine bogs, primer bulb stays soft), the tank valve might not flow enough for both. Solution: vent the tank properly or upgrade to a permanent tank with higher-flow pickup. For understanding fuel systems and fuel flow issues, see our guide on fuel starvation at high speed.
Ethanol fuel degrades older fuel lines. If your boat is more than ten years old, inspect the existing fuel line. Squeeze it—if it's hard or cracked, replace it with ethanol-compatible hose before integrating the kicker. Old hose sheds particles that clog your new filter and injectors.
Primer bulb orientation matters. The bulb's check valve prevents backflow, but only if installed correctly. Arrow points to the engine, always. Flip it and you'll prime the tank instead of the engine—physically possible, completely useless.
Addressing Fuel System Physics
Vapor lock happens when fuel boils in the line, usually from heat near the engine or low fuel pressure. Shared fuel systems double the risk because you have twice the line length and connections. Minimize this by routing fuel lines away from exhaust and keeping runs short. Shutoff valves also help—close the unused engine's line to maintain prime in the active one.
Anti-siphon valves prevent fuel from draining back to the tank when the engine sits. If you add a kicker to a system with an anti-siphon valve in the main line, ensure it's upstream of the Y-split or filter outlets. Otherwise, the valve only protects one engine and the kicker's line drains, requiring re-priming every start.
Prop Selection for Kicker Trolling

Standard props spin fast and move less water per revolution—fine for cruising, wrong for trolling. High-thrust props have more blade area and lower pitch, usually 8 or 9 inches versus 10 or 11 for standard props. This generates more push at low RPM, giving you finer speed control between 1.5 and 3 knots.
For a 9.9 HP kicker, a 9-inch high-thrust prop is ideal for walleye or salmon trolling. You'll turn 800-1,200 RPM and hold 2 knots steady without the engine hunting or bogging. Standard props can't maintain those low speeds smoothly—they either stall or race, making precise bait presentation impossible. See our propeller pitch comparison for more insight on matching props to your needs.
Steering Integration: Tie-Bar vs. Independent Tiller
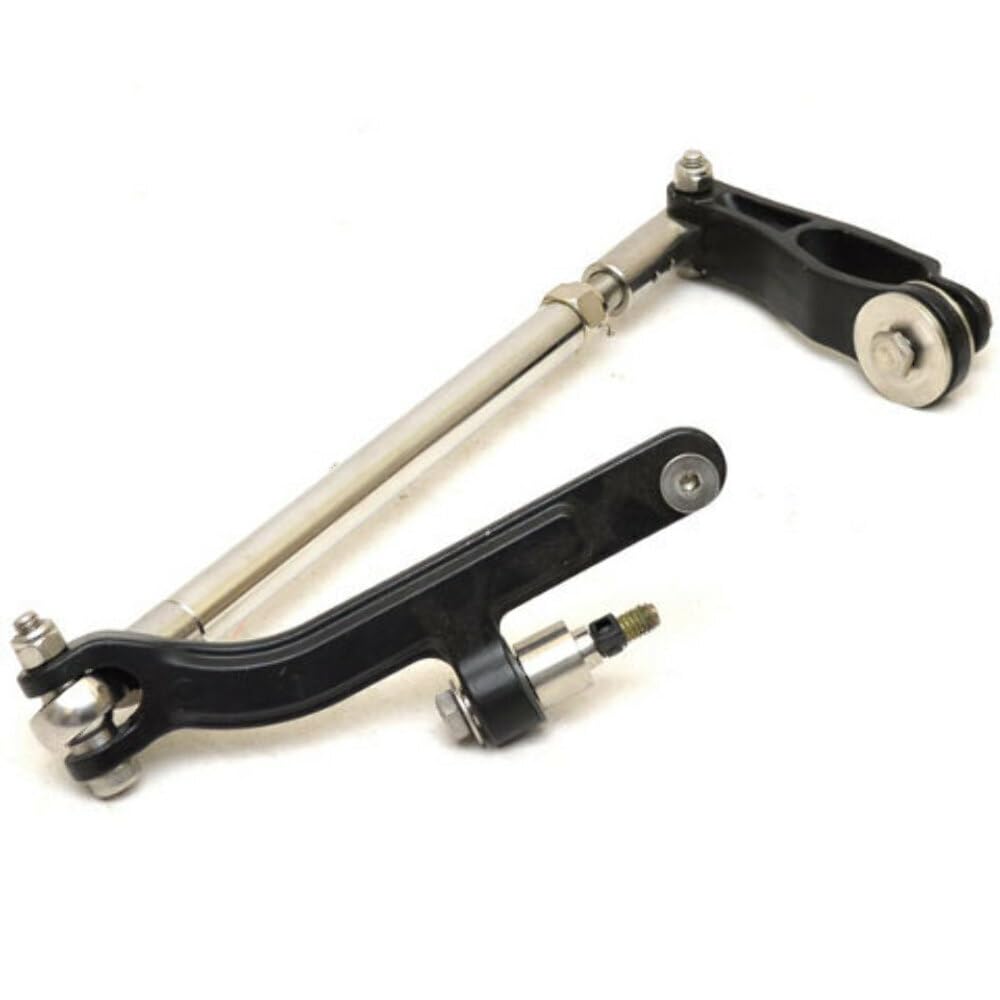
Tie-bar systems link the kicker's tiller to the main engine's steering. Turn the wheel, both motors turn together. This works for running the kicker as primary propulsion when the main is off, but you lose independent control. It's clean and simple for boats where the kicker only serves as backup or slow-speed propulsion.
Independent tiller gives you full control. Steer the main with the wheel, adjust the kicker's angle with the tiller for fine course corrections or to counteract wind. This is better for precision trolling—you can angle the kicker slightly to hold a specific drift or track without touching the main wheel. Downside: you're steering two things at once, which takes practice.
Most fishing setups use independent tiller because trolling demands constant micro-adjustments. Tie-bars are popular on cruising boats where the kicker is purely emergency backup. For steering system options, see tiller handle vs. remote steering.
Installing on Aluminum vs. Fiberglass Hulls

Aluminum transoms are usually thicker and reinforced. Drill pilot holes slightly smaller than your bolt diameter to prevent cracking—1/4-inch pilot for a 5/16-inch bolt. Aluminum is soft; overtightening crushes it, so use large fender washers to spread the load. No need for backing plates unless the transom is thin or damaged.
Fiberglass transoms require through-bolting with backing plates. Drill through the outer skin, core, and inner skin. If you hit wet, spongy core, stop—repair the rot first or the mount will fail. Use oversize backing plates (at least 3x3 inches per bolt) on the inside to distribute stress across a wider area. Seal the holes with epoxy or 5200 before bolting to prevent water from entering the core.
Electrical Connections for EFI and Electric Start
Run 10-gauge marine tinned wire from the kicker's battery leads to your boat's starting battery. Use crimp-on ring terminals with heat-shrink tubing, not twist-on connectors—they corrode and fail. Follow ABYC E-11 standards: red to positive, black/yellow to negative, and fuse the positive line within 7 inches of the battery terminal with a 30-amp fuse for a 9.9 HP motor.
If your boat has a battery isolator switch, connect the kicker to the starting battery, not the house bank. The kicker's alternator is small (usually 6 amps) and won't overwhelm the starting battery, but you want it isolated from accessories that could drain it. Label the wiring clearly so future you (or the next owner) doesn't have to trace everything with a multimeter.
For EFI kickers like the Mercury ProKicker 9.9 EFI, power to the fuel pump and ECU is critical. Loose connections cause the engine to crank but not fire, or to run rough. Double-check all ground connections—corroded grounds are the #1 cause of weird electrical gremlins. For more on electrical issues, consult our common Mercury outboard problems guide.
Pre-Start Fuel System Priming
Before the first start, prime both fuel lines. Squeeze the main engine's primer bulb until firm, then squeeze the kicker's until firm. This fills the lines, filter, and carburetor bowls (or EFI rail) with fuel, purging air. If the bulb stays soft after 10-15 squeezes, you have a leak or a stuck check valve—find it before starting the engine.
Open both shutoff valves. With the engines off, check every hose clamp and fitting for seepage. No drips, no gas smell. If you smell fuel, track it down. Gasoline evaporates fast, so even a small leak at a fitting can go unnoticed until it sprays under pressure.
Check the filter bowl for water or debris. New fuel systems sometimes have manufacturing oils or dirt in the lines. If you see contamination, drain and clean the filter before running.
Break-In for New EFI Kicker Motors
Mercury recommends varying RPM for the first 10 hours on a new ProKicker 9.9 EFI. Start at idle for 5 minutes, then increase to 2,000 RPM for 10 minutes, back to idle for 5, then up to 3,000 RPM for 10. Repeat this cycle. Avoid sustained wide-open throttle for the first 2 hours.
This process seats the piston rings and valve seats. Constant RPM—even low RPM—prevents proper seating and can lead to oil consumption or compression loss later. The EFI system adjusts fuel mixture automatically, so you don't need to worry about running too lean during break-in like you would on an old carburetor.
Change the gearcase oil after the first 20 hours, even if the manual says 100. Initial run-in produces metal particles from gear mesh. Draining early removes these before they cause wear. Use genuine Mercury Premium or High Performance gear lube—it's expensive, but gearcase replacement is more expensive. For maintenance details, see our maintaining your outboard’s gearcase guide.
Stress Testing the Integrated System


Once both engines are plumbed and primed, run a dual-draw test. Start the main engine and run it at 3,500 RPM with the kicker off but its shutoff valve open. Watch the kicker's primer bulb—if it collapses or stays soft, the main engine is pulling fuel from the kicker's line due to a leak or failed check valve in the kicker's primer. Fix this before running both simultaneously.
Next, start the kicker with the main off. Run it at 2,000 RPM and watch the main's primer bulb. Same check. If both hold firm independently, then run both engines together for 10 minutes at moderate RPM. Monitor fuel flow—the main's bulb should stay firm, the kicker's should stay firm. Soft bulbs mean insufficient flow from the tank or filter, or a restriction somewhere.
Maintenance Schedule for Dual Fuel Systems
Every 50 hours or annually:
- Replace the water-separating filter element. Even if it looks clean, the media degrades and loses efficiency.
- Inspect all hose clamps. Retighten any that feel loose. Replace clamps showing rust or corrosion.
- Check primer bulbs for cracks or hardening. Sunlight and fuel degrade rubber; replace bulbs every 2-3 years.
Every 100 hours:
- Drain and inspect the fuel filter bowl. Look for water, rust, or sediment. If you find contamination, inspect the tank.
- Check fuel lines for chafing, cracks, or soft spots. Ethanol attacks older hose—replace any line that's hard or sticky.
- Verify shutoff valves operate smoothly. Spray with corrosion inhibitor if they stick.
Seasonally:
- Add fuel stabilizer if storing for more than 30 days. Ethanol fuel degrades and gums carburetors in as little as 60 days.
- Run both engines for 10 minutes to circulate stabilized fuel through the system. For more about fuel additives, see our fuel additives showdown.
Why the Mercury ProKicker 9.9 EFI is Worth Considering

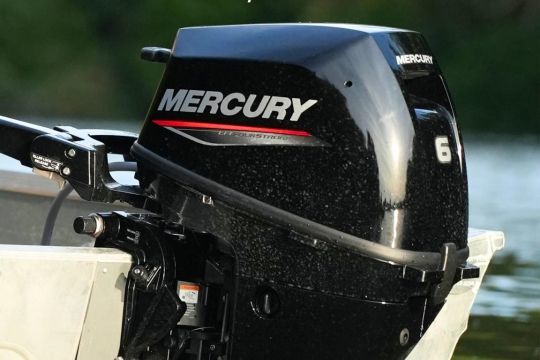
EFI eliminates carburetor tuning and cold-start choke issues. The ProKicker 9.9 EFI starts instantly in any weather, idles smoothly at 650 RPM, and maintains precise trolling speeds without hunting. The fuel injection system adjusts for altitude and temperature automatically, so you get consistent performance whether you're on Lake Michigan or a mountain reservoir.
It's quieter than comparable carbureted kickers because combustion is more controlled. Sound levels matter when fish are skittish or you're trolling near other boats. The alternator outputs 6 amps, enough to trickle-charge your starting battery during long trolling sessions.
Fuel efficiency is excellent—roughly 0.7 GPH at 1,500 RPM versus a large main outboard burning 2.5+ GPH at idle. Over a season, the savings add up, especially for anglers who troll for hours daily.
For detailed technical info and parts, visit the JLM Marine hub for access to genuine Mercury parts and support.
When to Hire a Professiona 
If you're uncomfortable drilling through the transom, plumbing fuel lines, or making electrical connections, hire a certified Mercury Marine technician. Transom mount errors can crack the hull or cause the motor to tear loose underway. Fuel system mistakes risk fire. Electrical errors can fry the ECU, which costs more than the installation.
A professional installation typically takes 4-6 hours and includes proper torque specs, thread sealant application, and fuel system testing. They'll also verify your boat's weight capacity and ensure the kicker's thrust doesn't exceed hull ratings.
Finding Parts and Support
For filters, hoses, clamps, and fittings, source marine-grade components. OEM Mercury parts are reliable but overpriced for basic items like hose clamps and fuel line. Reputable aftermarket suppliers provide the same spec parts at lower cost. JLM Marine offers factory-quality fuel system components shipped direct—you get the correct USCG-rated hose and stainless fittings without dealership markup.
Avoid random online sellers with no marine focus. That $8 fuel line might be automotive-grade, which isn't ethanol-resistant and will degrade in months. Same with cheap clamps—zinc-plated steel rusts through in saltwater in one season.
For technical support, Mercury's website has downloadable service manuals and installation guides for the ProKicker series. These include torque specs, wiring diagrams, and fuel system schematics. If you hit a snag, authorized Mercury dealers have techs who've done hundreds of these installs and can walk you through troubleshooting.
After every use, flush the kicker with fresh water for 5 minutes using muffs over the lower unit intake, especially in saltwater—this prevents salt buildup in the cooling passages and keeps your water pump impeller from seizing. See our water pump impeller collection for replacement parts.
For everything from parts sourcing to expert guides, explore the full JLM Marine website for your marine engine needs.