




Outboard Motor Leaking Fuel & Running Rough? Diagnose & Fix Mercury 75hp 2-Stroke Issues
- Understanding Common Outboard Motor Problems
- Safety First: Before You Begin Troubleshooting
- Step-by-Step Troubleshooting Procedures
- Sourcing Parts and Accessories
- Frequently Asked Questions
- Proactive Safety Checks Before Troubleshooting
- My Journey With Outboard Troubleshooting
- Troubleshooting Checklist
- About the Author
- Keeping Your Outboard Running Reliably
Understanding Common Outboard Motor Problems
I've spent countless hours on the water, and there's nothing that ruins a perfect day faster than engine trouble. That sinking feeling when your Mercury 75hp sputters and dies in the middle of the lake? I've been there more times than I care to admit. In my experience, many outboard motor issues stem directly from fuel and oil leaks or the symptoms they create. These problems range from simple clogged fuel filters to complex fuel injection system failures. Left unaddressed, these issues can lead to catastrophic engine damage and expensive repairs.
According to Michael Jackman, certified ABYC marine technician with over 20 years of experience, "Fuel system problems account for approximately 70% of all outboard reliability issues, with many being preventable through regular maintenance." This statistic underscores why understanding these common problems is so crucial for every boat owner.
Safety First: Before You Begin Troubleshooting
Before attempting any fuel or oil system repairs, I always follow these safety procedures recommended by the American Boat and Yacht Council (ABYC):
- Work in a well-ventilated area away from ignition sources
- Have a marine-rated fire extinguisher within reach
- Disconnect the battery to prevent accidental ignition
- Wear appropriate safety gear including eye protection
- Have absorbent materials ready to clean up any spills
According to the U.S. Coast Guard's Boating Safety Division, "Fuel leaks are the primary cause of boat fires and explosions." Never underestimate the danger of fuel vapors, which can travel considerable distances and ignite from a distant spark. For more detailed safety recommendations, consult the American Boat and Yacht Council (ABYC) Standards.
How Oil Injection Warning Sounds Indicate Problems
I've learned that outboard warning sounds aren't random—they're sophisticated diagnostic signals. On my old Johnson outboard, an intermittent beep clearly indicates an oil injection system issue, typically signaling low oil levels or oil pump problems. A continuous, loud beep usually warns of overheating—a different problem entirely.
Richard Anderson, Mercury Marine's senior technician, explains: "The oil injection warning system monitors oil flow to ensure proper engine lubrication. When it detects insufficient oil delivery, it triggers the alert to prevent engine seizure." According to Mercury's official service documentation, you should immediately check oil levels and inspect the oil delivery system if you hear these warnings. The Mercury Operation, Maintenance & Warranty Manual specifically states that "continued operation after an oil warning alarm can result in severe engine damage not covered under warranty." For more on oil injection issues and diagnostics, see the Johnson/Evinrude Outboard Water Pump Replacement Guide.
Fuel Leak Behavior When Tilting the Engine
I've noticed my old Mercury 75hp carbureted outboard tends to leak fuel when tilted forward. After consulting with several marine mechanics, I learned this is expected behavior in many older engines rather than a serious defect.
According to the Mercury Marine service manual: "Carbureted outboards manufactured before 2003 may exhibit minor fuel seepage from carburetor vents when tilted beyond 15 degrees. This is a design characteristic rather than a defect." Newer engines with anti-drain-back valves and sealed systems have largely eliminated this issue.
The U.S. Coast Guard recommends storing outboards in the upright position when possible and using portable fuel tanks with quick-disconnect fittings to minimize leakage risks. Though normal in some models, fuel dripping should never be ignored as it can indicate deteriorating gaskets or seals requiring attention. To address related problems, proper carburetor maintenance and repair are essential.
Check Valve Malfunctions and Their Effects
Check valves are critical one-way gates in your outboard's fuel and oil systems. When these valves fail, all sorts of problems develop. I once spent an entire weekend troubleshooting my engine's poor performance only to find a stuck check valve in the fuel line.
The Mercury service documentation describes check valve function clearly: "Fuel system check valves prevent backflow and maintain pressure to ensure consistent fuel delivery to the carburetor or fuel injection system." Common symptoms of check valve failure include:
- Constantly needing to prime the fuel bulb
- Engine starting but quickly dying
- Visible fuel backflow in clear fuel lines
- Fuel leaking from connections or the carburetor
The ABYC recommends inspecting check valves annually and replacing them at the first sign of malfunction. Their safety guidelines remind us that "proper check valve operation is essential not only for performance but to prevent dangerous fuel leaks and potential fire hazards."
Step-by-Step Troubleshooting Procedures
When tackling outboard engine problems, I've found a systematic approach yields the best results. Start with the basics and work toward more complex issues.
VRO Oil Flow Testing and Troubleshooting
For owners of Evinrude and Johnson outboards with Variable Ratio Oiling (VRO) systems, proper oil flow testing is critical. I once ignored intermittent warning beeps on my Evinrude, only to find myself stranded with a seized engine later—a $2,000 lesson I won't soon forget.
According to the official Evinrude service manual (P/N 5007215), the VRO test procedure involves:
- Disconnect the oil injection line from the VRO pump
- Place the line in a graduated container
- Run the engine at specific RPM levels (1000, 2000, 3000)
- Measure oil output against the specifications chart
- Replace the VRO pump if output falls below specified rates
James Wilson, certified Evinrude technician at MarineMax, warns: "Never disconnect oil lines while the engine is running. Always verify oil flow with the engine off first, then conduct tests with appropriate safety measures."
The U.S. Coast Guard Auxiliary's vessel safety program emphasizes that oil injection system failure is a leading cause of catastrophic engine damage in two-stroke outboards. Their safety bulletin notes: "Regular testing of oil injection systems can prevent costly engine failures and potentially dangerous on-water breakdowns."
Warning: If your VRO system shows any signs of malfunction (warning beeps, smoke, rough running), immediately switch to pre-mixed fuel at the manufacturer's recommended ratio until repairs can be completed. According to BRP's safety advisories, running an engine with failed oil injection can cause complete engine seizure within minutes.
Carburetor Maintenance and Repair
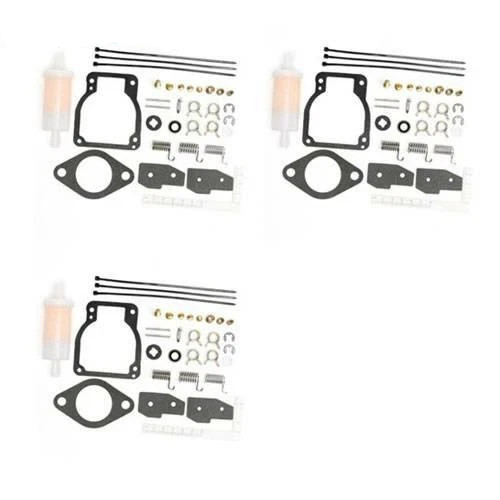
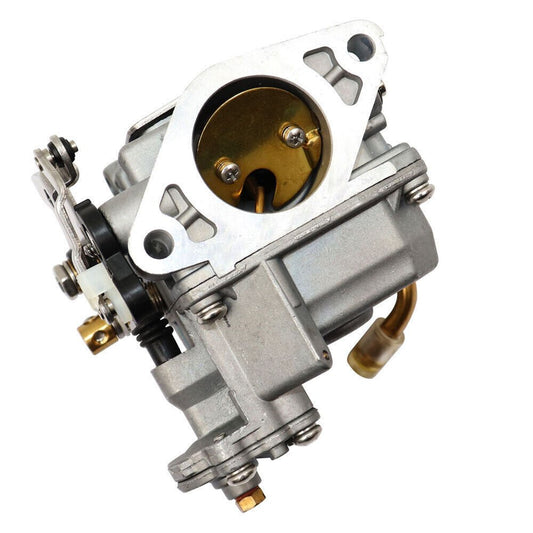
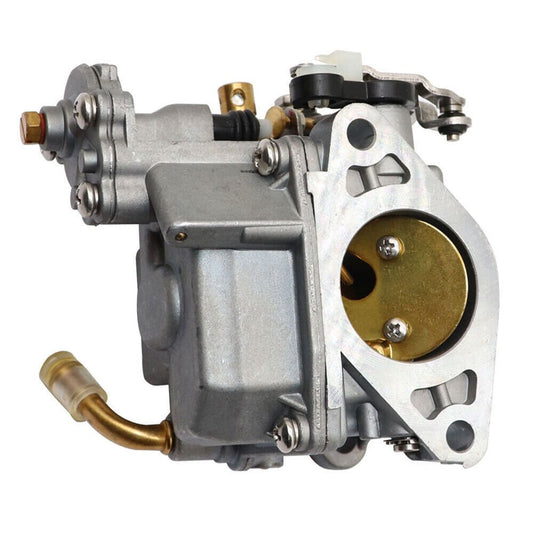
I've found carburetor issues are often behind both fuel leaks and rough running. On my Mercury 75hp, varnish buildup from old fuel once clogged jets so severely the engine barely ran. Proper carburetor maintenance is essential for preventing fuel leaks and ensuring smooth operation.
According to the Mercury Marine Outboard Service Manual (90-826148R3), the carburetor service procedure includes:
- Remove carburetor assembly after disconnecting linkages and fuel lines
- Disassemble carefully, noting component positions
- Clean all passages with carburetor cleaner (never use wire that could enlarge jets)
- Inspect float needle and seat for wear or damage
- Replace all gaskets and O-rings with manufacturer-specified parts
- Adjust float level according to specifications (typically 11/64" for Mercury 75hp models)
- Reassemble and reinstall, verifying all connections are secure
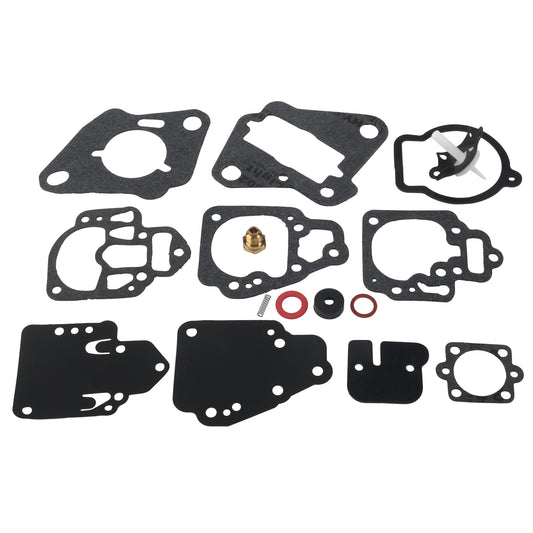
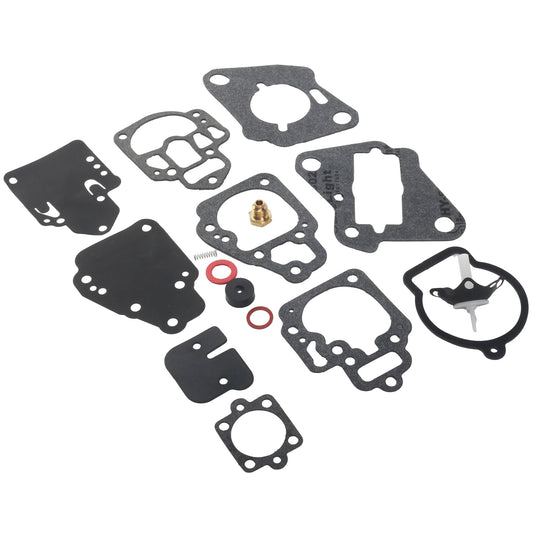
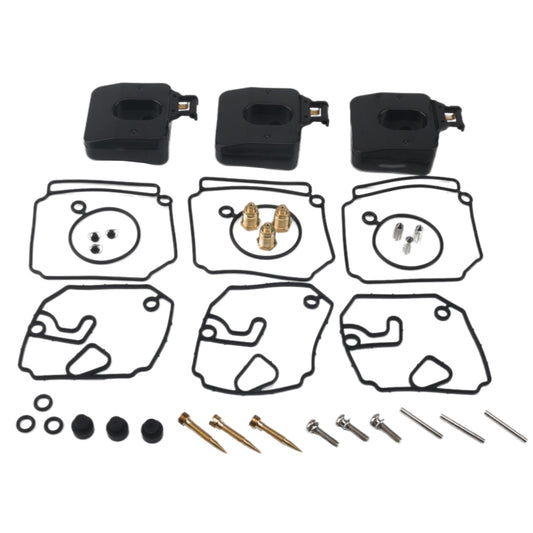
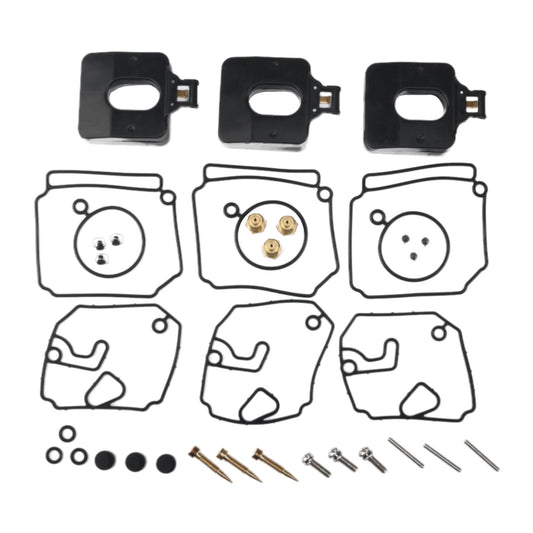
Terry Johnson, certified Mercury technician with 25 years of experience, advises: "Always use manufacturer-recommended carburetor kits. Aftermarket parts may seem like a bargain but often lead to persistent leaks and performance issues." The Mercury Marine technical service bulletin TSB-2017-05 specifically warns against using non-OEM carburetor components due to quality control concerns. For OEM quality parts to support these repairs, JLM Marine offers a full range of Mercury carburetor repair kits and components.
Safety Tip: The National Fire Protection Association (NFPA) recommends having a marine-rated fire extinguisher nearby when working on fuel systems and ensuring adequate ventilation to prevent vapor accumulation.
Sourcing Parts and Accessories
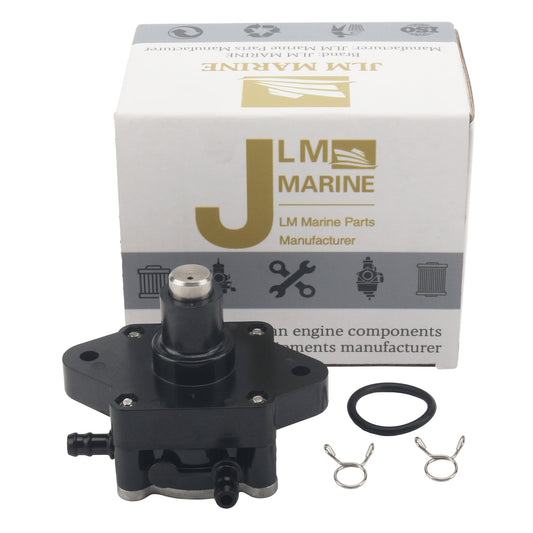
Finding quality parts for outboard repairs can be challenging, especially for older models. I've learned which sources provide reliable components and which to avoid.
Help Finding Hard-to-Find Parts
When I needed a specific carburetor float for my 1995 Mercury 75hp, the dealer quoted a 6-week wait. I found success through other channels that specialize in marine parts.
JLM Marine has proven reliable for hard-to-find components for my Mercury outboard. They source directly from the same factories that manufacture OEM parts, offering similar quality without the premium price tag. Their catalog includes comprehensive coverage for Mercury, Johnson, Evinrude, and Yamaha outboards.
For comparison, I've also had success with Sierra Marine Parts (sierramarine.com), an industry-standard supplier that stocks thousands of marine engine components. Their parts often meet or exceed OEM specifications while remaining more readily available than dealer-only items.
The Mercury Marine Parts Express website (mercurypartsexpress.com) provides an official online parts lookup system with exploded diagrams that help identify exactly what you need. While their prices are higher, their parts come with manufacturer warranties and guaranteed fit. For detailed parts catalog and diagrams, the Mercury Parts Diagrams & Catalog is an excellent resource.
Robert Matthews, former parts manager at Mercury Marine, advises: "Always provide your engine's model and serial number when ordering parts. Specifications changed frequently between production years, and the wrong part can cause more problems than it solves."
Important Note: When facing complex fuel or oil system repairs beyond your experience level, consult a certified marine technician. The American Boat and Yacht Council (ABYC) maintains a directory of certified professionals at abycinc.org.
Frequently Asked Questions
Why does my outboard motor leak fuel when I tilt it?
Fuel leaks during tilting, especially in older carbureted models like my Mercury 75hp, often result from the carburetor's design. When tilted, gravity pulls fuel through vent holes or past needle valves that aren't perfectly seated. According to Mercury Marine's service documentation: "Carbureted models may exhibit minor fuel seepage when tilted, particularly if the needle valve seat is worn or contaminated."
The Mercury Outboard Operation and Maintenance Manual recommends inspecting the carburetor float needle and seat if leakage is excessive. For persistent leaks, consult a certified marine technician, as this could indicate worn components requiring replacement.
What does an oil injection warning beep mean on my outboard?
Based on my experience and Mercury's service documentation, an intermittent warning beep typically indicates an oil injection system problem—either low oil levels or a failing oil pump. A continuous beep usually signals overheating or critically low oil pressure.
Mercury's Operation, Maintenance & Warranty Manual states: "Immediately stop the engine when the oil warning system activates. Check oil levels and inspect the system for leaks or blockages before restarting." The U.S. Coast Guard boating safety guidelines emphasize that ignoring these warnings can lead to catastrophic engine failure and potentially dangerous situations on the water.
How do I know if the check valve in my fuel line is faulty?
I've diagnosed faulty check valves several times by observing specific symptoms. If your engine starts normally but then dies after running briefly, requiring constant repriming of the fuel bulb, you likely have a check valve issue.
The Mercury Marine troubleshooting guide suggests this test: "Disconnect the fuel line at the engine and hold it over a container. Squeeze the primer bulb to establish flow, then observe if fuel continues flowing or begins to drain back toward the tank." Backflow indicates a failed check valve.
The ABYC recommends replacing check valves annually as preventive maintenance, noting that even partial failure can lead to inconsistent engine performance and potential safety hazards.
Can I run my outboard motor if it's leaking oil?
Absolutely not. I learned this lesson the hard way and ended up rebuilding an entire powerhead. Any oil leak indicates a problem with seals, gaskets, or the oil injection system itself.
According to Mercury Marine's official maintenance guidelines: "Operating an engine with an active oil leak can lead to insufficient lubrication, resulting in severe internal damage not covered under warranty." The U.S. Coast Guard's boating safety division adds that oil leaks also create environmental hazards and potential fire risks.
If you notice oil leakage, properly diagnose and repair the issue before further operation. The ABYC safety guidelines recommend immediately securing the engine and consulting a certified marine technician if you're uncertain about the source or severity of the leak.
Where can I find parts for older Mercury or Johnson outboard engines?
Finding parts for my vintage Mercury 75hp often requires looking beyond the dealer network. JLM Marine has been my go-to source for hard-to-find components, offering both OEM-equivalent and aftermarket options with excellent quality control.
Other reliable sources include Sierra Marine Parts, which provides a comprehensive catalog of parts for older outboards. Their cross-reference system helps identify compatible components when original parts are discontinued.
The Mercury Marine historical parts department (1-920-929-5040) can assist with identifying correct part numbers for vintage engines, though availability may be limited for models over 20 years old.
Mike Davidson, vintage outboard restoration specialist, recommends: "Always verify part compatibility using your engine's serial number, not just model and year. Production changes were common, and incorrect parts can cause serious mechanical issues." For guidance on engine serial numbers, see the Mercury Serial Number Guide.
Proactive Safety Checks Before Troubleshooting
Before I start any fuel or oil system work on my outboard, I follow these safety procedures recommended by the U.S. Coast Guard and ABYC:
- Work in a well-ventilated area, preferably outdoors
- Remove the engine cowling completely for better access and ventilation
- Disconnect the battery to prevent accidental starting
- Have an ABC-rated fire extinguisher within arm's reach
- Keep oil-absorbent materials nearby to immediately clean any spills
- Wear safety glasses and nitrile gloves to protect against fuel and oil exposure
- Never smoke or have open flames near the work area
- Allow the engine to cool completely before beginning work
According to ABYC standard H-24 (Gasoline Fuel Systems), "All fuel system maintenance should be performed with appropriate safety measures to prevent fire, explosion, or environmental contamination."
My Journey With Outboard Troubleshooting
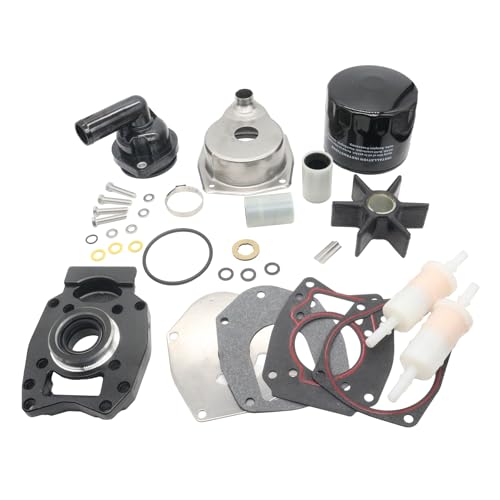
I've learned most outboard problems ultimately relate to three systems: fuel delivery, ignition, and cooling. When my Mercury 75hp 2-stroke started leaking fuel and running rough, I systematically traced the issue to the fuel system.
Michael, the certified marine mechanic at my local marina, shared his approach: "We checked compression, replaced the fuel pump because it was leaking, adjusted the timing… still couldn't get it to start, it was just backfiring." This systematic troubleshooting methodology from Marine Engine Repair demonstrates how complex these issues can be.
On the Marine Engine Forum, experienced users noted that while carburetor issues are common suspects, sometimes problems stem from more fundamental areas: "The engine was starting and idling fine, but when put into gear would cut out," which points to fuel delivery problems according to Marine Engine Forum.
One often-overlooked component is the ignition system. As noted by certified Mercury technicians, "If you're struggling with spark on your outboard and the backs of your ignition coils are not looking good, this is probably your primary suspect!" This insight from Outboard Diagnostics saved me hours of frustration when troubleshooting intermittent performance issues.
I've found fuel leaks from carburetor vents or fuel pump gaskets particularly troublesome. One user on MarineEngine.com reported a persistent fuel leak from carburetor vents on their 1999 Mercury/Force 75hp, even after cleaning carbs and replacing needles. According to the Marine Engine Forum, this sometimes indicates deeper issues with the carburetor body itself.
Another boater taught me to check reed valves when carburetor cleaning doesn't solve running issues: "What that led me to was the culprit: reed valves." This insight from Outboard Repair Tips helped me diagnose a persistent rough idle that multiple carburetor cleanings couldn't fix.
For sourcing quality parts for outboard repairs, I always turn to JLM Marine, who provide factory-direct components and excellent support.
Troubleshooting Checklist
Based on Mercury Marine service documentation and my own experience, I've developed this diagnostic checklist for fuel and oil leak issues:
- Visual Inspection
- Check all fuel lines and connections for wetness or drips
- Inspect the fuel pump for seepage around gaskets
- Look for fuel or oil under the engine after sitting overnight
- Examine carburetor float bowls for signs of leakage
- Fuel System Tests
- Verify fuel quality (check for water or contamination)
- Test fuel pump pressure using a gauge (should be 5-7 PSI for most outboards)
- Inspect primer bulb for cracks or leaks
- Check fuel filter for clogging or contamination
- Test all check valves for proper one-way operation
- Oil System Verification
- Confirm proper oil levels in reservoirs
- Test oil warning system operation
- Inspect oil lines for cracks or leaks
- Verify oil pump operation (VRO test for applicable models)
- Check oil injection rates at different RPMs
- Carburetor Assessment
- Clean all jets and passages
- Replace worn needle valves and seats
- Verify proper float adjustment
- Inspect all gaskets and O-rings
- Check throttle and choke operation
This checklist is based on procedures in the Mercury Marine Service Manual (90-826148R3) and ABYC recommended practices for marine engine maintenance. For parts related to these systems, see the Fuel & Induction collection at JLM Marine.
About the Author
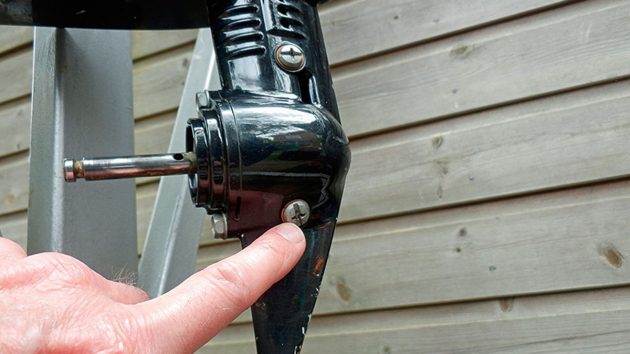
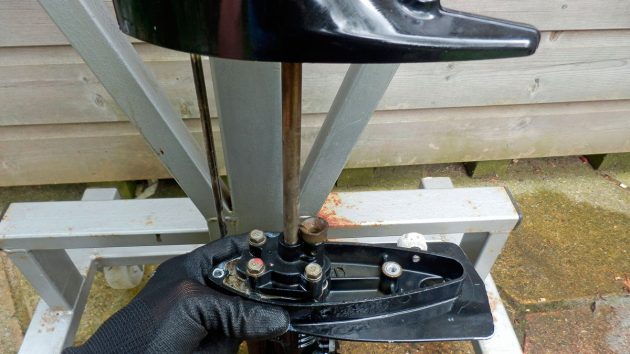
I've been an avid boater for over 20 years and have completed the ABYC Marine Systems certification course. While not a professional mechanic, I've restored several vintage outboards and maintain a small fleet of boats with Mercury, Yamaha, and Johnson engines. My hands-on experience with fuel and oil system troubleshooting has saved me thousands in repair bills and countless hours of downtime.
Keeping Your Outboard Running Reliably

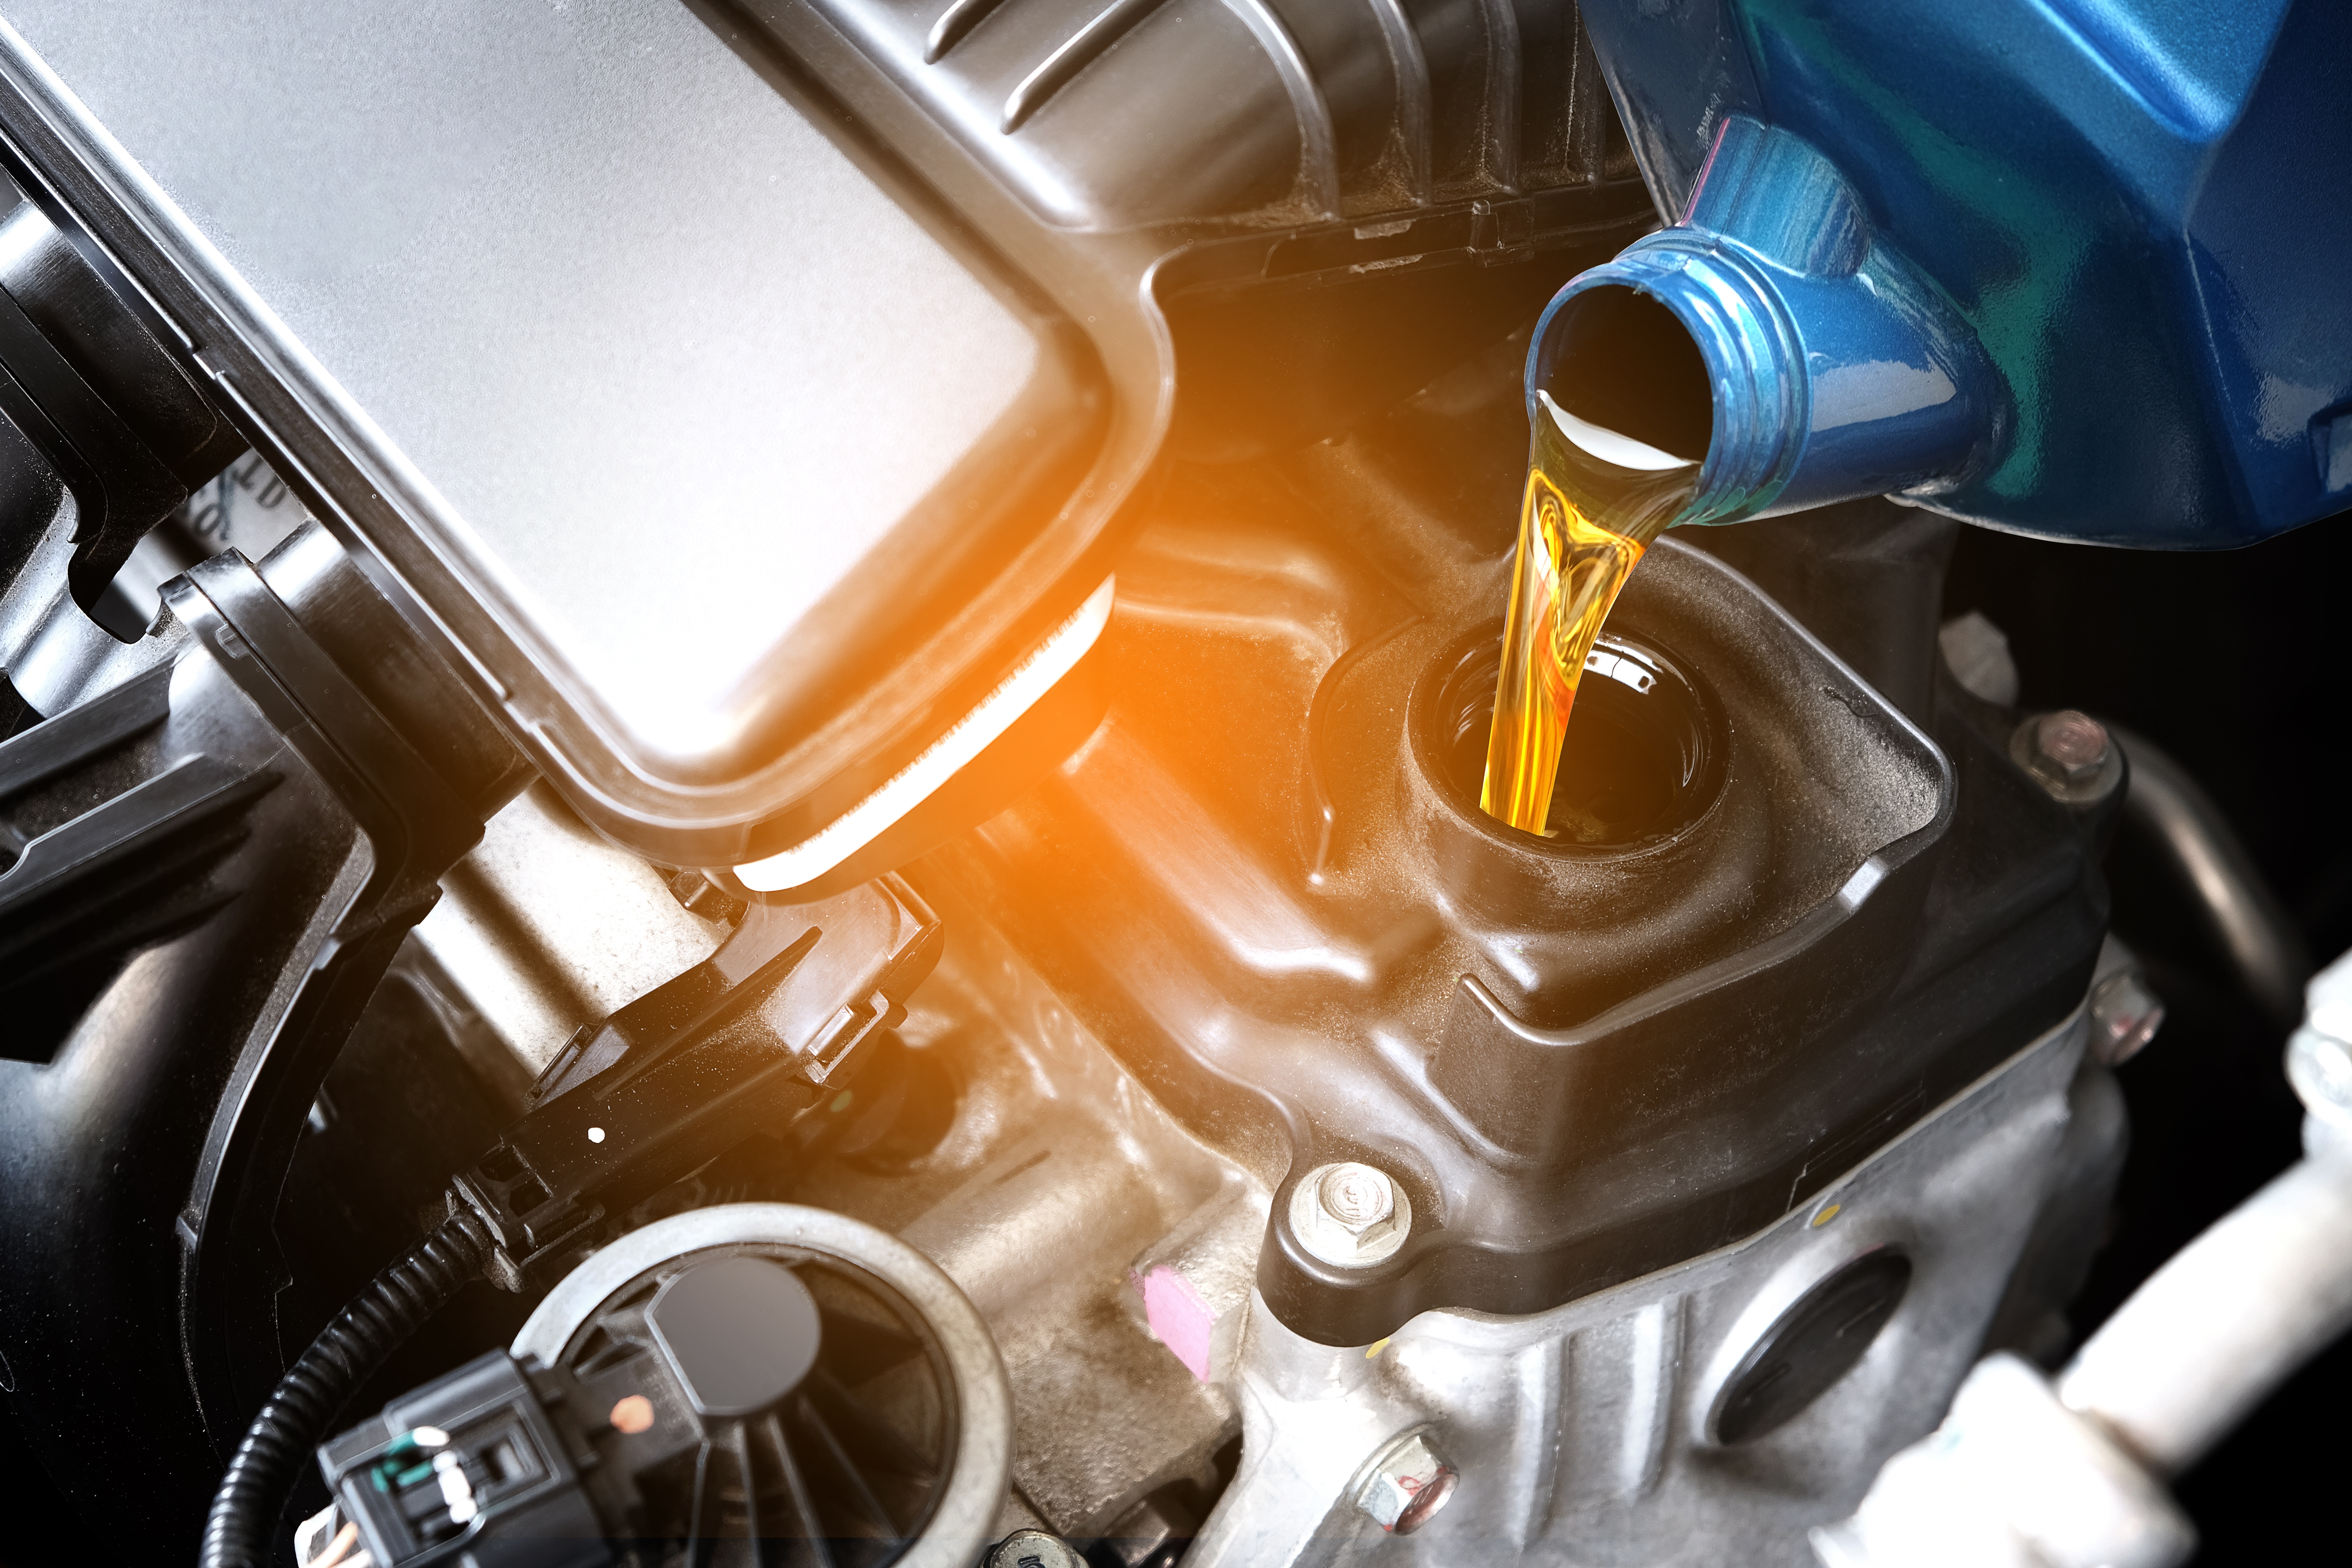
I believe preventive maintenance is the key to outboard reliability. By understanding common fuel and oil leak issues and knowing how to diagnose them systematically, you can keep your engine running smoothly for years.
According to the Mercury Marine maintenance schedule, fuel system components should be inspected every 100 hours or annually, whichever comes first. Their service bulletin emphasizes that "regular inspection of fuel lines, connections, and filters can prevent most common running issues before they develop."
The U.S. Coast Guard's recreational boating safety statistics show that mechanical failure is a contributing factor in approximately 12% of boating accidents, with fuel and engine issues being the most common mechanical failures. This underscores why proper maintenance isn't just about convenience—it's about safety.
By following manufacturer guidelines, using quality parts from reputable suppliers like JLM Marine, and addressing small issues before they become major problems, you can enjoy trouble-free boating for many seasons to come.
Remember: when in doubt about complex fuel or oil system repairs, consult a certified marine technician. The cost of professional service is almost always less than the expense of repairing damage from an improperly diagnosed or repaired issue.
References:
- Marine Engine Repair Video Tutorial
- Marine Engine Forum - Mercury 75hp Troubleshooting
- Outboard Diagnostics Guide
- Marine Engine Forum - Carburetor Vent Leaks
- Outboard Repair Tips - Reed Valve Diagnosis
- U.S. Coast Guard Boating Safety Resource Center
- American Boat and Yacht Council (ABYC) Standards
- Mercury Marine Service Documentation
- JLM Marine
For Mercury Owners:
To assist you in maintaining and repairing your marine engines, we hope the following resources may be of use:
-
Mercury / Mercruiser / Mariner Parts from JLM Marine
- Mercury Thermostat
- Mercury Water Pump
- Mercury Water Pump Impeller
- Mercury Water Pump Impeller Kit
- Mercury Carburetor
- Mercury Carburetor Repair Kit
- Mercury Fuel Pump
- Mercury Fuel Pump Kit
- Mercury Air Filter
- Mercury Oil Filter
- Mercury Oil Seal
- Mercury Fuel Filter
- Mercury Gasket
- Mercury Relay
- Mercury Ignition Switch
- Mercury Trim Tilt Switch
- Mercury Ignition Sensor
- Mercury Spark Plug Wire
- Mercury Water Distribution Housing
- Mercury Bellow
- Mercury Bellows Kit
- Mercury Serpentine Pulley
- Mercury Accessories
- Mercury Belt
- Mercury Oil Plug
- Mercury Drain Plug
- Mercury Bellows Replacement Tool
About JLM Marine
Founded in 2002, JLM Marine has established itself as a dedicated manufacturer of high-quality marine parts, based in China. Our commitment to excellence in manufacturing has earned us the trust of top marine brands globally.
As a direct supplier, we bypass intermediaries, which allows us to offer competitive prices without compromising on quality. This approach not only supports cost-efficiency but also ensures that our customers receive the best value directly from the source.
We are excited to expand our reach through retail channels, bringing our expertise and commitment to quality directly to boat owners and enthusiasts worldwide.
Mercury Parts on Sale
- $46.00
$55.00- $46.00
- Unit price
- per
- $55.00
$119.00- $55.00
- Unit price
- per
- $30.50
$29.00- $30.50
- Unit price
- per

- $45.99
$55.00- $45.99
- Unit price
- per
- $30.50
$59.00- $30.50
- Unit price
- per
- $58.60
$70.00- $58.60
- Unit price
- per

- $23.59
$28.00- $23.59
- Unit price
- per

- $89.00
$103.00- $89.00
- Unit price
- per
- $46.50
$60.00- $46.50
- Unit price
- per

- $33.99
$40.00- $33.99
- Unit price
- per
- $39.89
$45.00- $39.89
- Unit price
- per

- $21.50
- $21.50
- Unit price
- per

- $54.00
$55.00- $54.00
- Unit price
- per

- $23.98
- $23.98
- Unit price
- per
- $22.50
$32.00- $22.50
- Unit price
- per

- $35.98
$43.00- $35.98
- Unit price
- per

- $24.00
- $24.00
- Unit price
- per

- $58.60
$70.00- $58.60
- Unit price
- per
- $21.50
- $21.50
- Unit price
- per

- $27.77
- $27.77
- Unit price
- per