


No Spark After Points Adjustment? Troubleshooting 1970s 2-Stroke Outboard Ignition
- Points vs. CDI Systems: Know What You Have
- Re-checking Your Points Adjustment
- Stop Switch and Wiring Problems
- Condenser Failure
- Dual-Cylinder Point Systems
- Ignition Coil and Ground Issues
- Flywheel Magnet and Key Inspection
- Air Gap Between Driver Coil and Flywheel
- Resistance Testing and Multimeter Use
- Tools You'll Need
- Wiring Color Codes and Common Shorts
- The Screw Strip Problem
- Parts Quality: OEM vs. Aftermarket
- Other Mechanical Issues That Mimic Ignition Failure
- Compression and Engine Seizure
- Troubleshooting Logic Flow
- Fuel System Quick Check
- Service Manuals and Specifications
- Safety Precautions
- FAQ
You just adjusted the points on your 1970s 2-stroke and now you've got no spark. I've been wrenching on outboards for twenty years, and this is one of the most common calls I get. The fix is usually straightforward once you know where to look.
Points vs. CDI Systems: Know What You Have
First thing—make sure you actually have a points ignition. Most 1970s outboards like Johnson, Evinrude, and Mercury models from that era used points and condensers. If your motor has a stator, trigger, and CDI box, you don't have points. This guide is for the older magneto systems with physical contact points that open and close to fire the spark.
Re-checking Your Points Adjustment
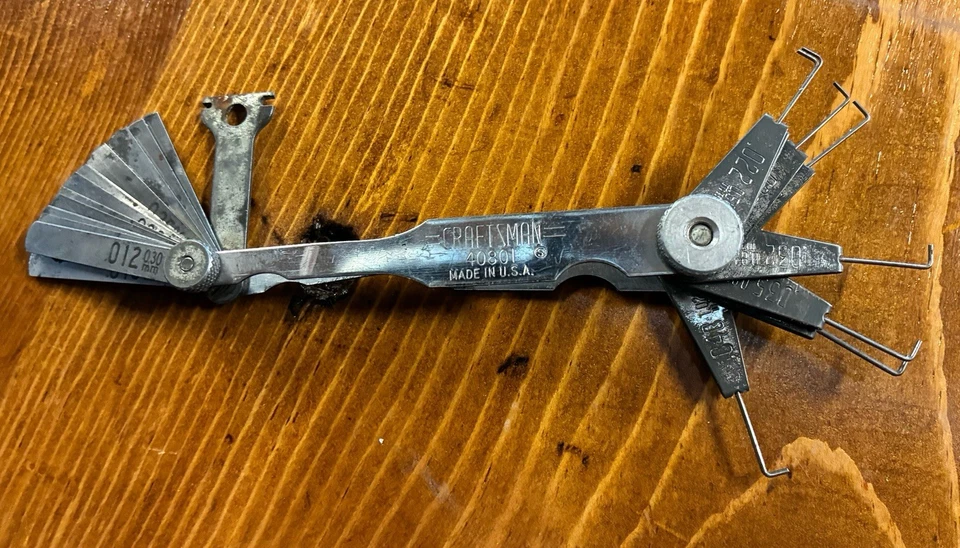
Verifying the Gap
Pull the flywheel back off. Rotate the crankshaft until the rubbing block sits on the highest point of the cam lobe. Use a feeler gauge—0.020" is standard for most 1970s motors, though some run 0.015" to 0.018". Check your service manual. If the gap varies as you rotate the engine, your mag plate is loose or the cam is worn.
The Antique Outboard Motor Club forums document cases where a loose mag plate causes the points gap to fluctuate during rotation, resulting in weak or no spark. Tighten the mag plate mounting screws and re-check.
Pitted Points vs. Misaligned Points
Pull the points out and inspect the contact surfaces under good light. New points can pit within minutes if the condenser is bad. T-Mikes Vintage Outboards documented a case where brand-new points were pitted right out of the package, causing no spark on one cylinder until replaced.
If you see black burn marks or small craters, the condenser is likely failed. If the points just look dirty or oil-soaked, clean them with a business card. Fold the card, close the points on it, and pull it through to remove oil residue. Don't use sandpaper—it leaves grit that causes more pitting.
Static Timing Check
With the points gapped correctly, rotate the flywheel clockwise to the timing mark. The points should just start to open at this position. If they don't, loosen the mag plate and rotate it until they do. This is your static timing. If the timing is way off, you'll get weak spark or none at all, even with a perfect gap.
Stop Switch and Wiring Problems

The stop switch shorts both sets of points to kill the engine. If the switch is faulty or the stop wires are chafed and grounding against the mag plate, you lose spark completely. Outboard Spares recommends disconnecting the two stop switch leads from the ignition harness first thing when diagnosing no-spark issues.
Disconnect those wires and test for spark. If it comes back, the problem is in the kill circuit—either the switch itself, corroded connectors, or rubbed-through insulation. On 1970s motors, look for crumbling black/yellow wires. The insulation gets brittle after fifty years and shorts to ground.
Condenser Failure
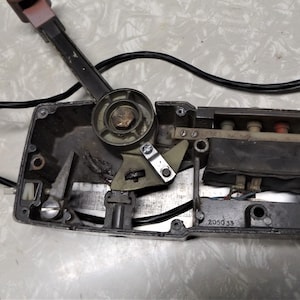
Condensers fail more often than points. A bad condenser causes heavy arcing across the points while cranking—you'll see blue sparks jumping between the contacts. The condenser is a sandwich of conductor-insulator-conductor layers, and even a pinhole in the internal insulation kills it. Standard multimeters can't reliably test this; you need a magneto analyzer or just swap in a known-good condenser.
Condensers for 1970s motors are getting harder to source. Quality varies wildly in aftermarket options. We've seen cheap replacements fail within hours. JLM Marine condensers are built to original factory specs and don't have the early failure issues you get with bottom-tier parts. For sourcing reliable parts, check out JLM Marine's boat accessories collection which includes high-quality ignition components for vintage motors.
Dual-Cylinder Point Systems
If you have a twin-cylinder motor with two separate sets of points, both sets must work. The primary signal path runs through both sets. If one set of points is oil-soaked or won't close properly, you can lose spark on the opposite cylinder because the circuit can't complete back through the failed points to the driver coil.
Pull both sets, clean them, regap them, and check that they're closing fully. Use a multimeter: points open should read about 1.0Ω, points closed should read 0.0–0.1Ω.
Ignition Coil and Ground Issues
If the points are clean, gapped, and the condenser tests good, check the ignition coil. Use a multimeter to test primary resistance (typically 0.4–1.2Ω) and secondary resistance (usually 3,000–10,000Ω, but check your manual). A coil with infinite resistance is open; one with near-zero resistance is shorted.
Ground connections corrode on older motors. The coil ground wire often bolts to the powerhead or mag plate. Pull it off, wire-brush both surfaces, and reinstall with dielectric grease. A poor ground will kill spark instantly.
Flywheel Magnet and Key Inspection
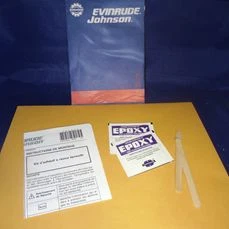
While the flywheel is off, inspect the magnets. They should be firmly epoxied in place. If one is cracked or loose, the magnetic field weakens and spark voltage drops. We've had flywheels come in with magnets completely missing—someone hit a submerged log and never checked.
Check the flywheel key. This is a soft metal piece that aligns the flywheel to the crankshaft. If you hit debris hard, the key shears off and the flywheel spins independently of the crank, throwing timing completely off. You'll usually hear a loud "clunk" when this happens. The engine might try to start but backfire through the carburetor. Replace the key and verify timing.
Air Gap Between Driver Coil and Flywheel
The driver coil (or charge coil) sits underneath the flywheel and must be positioned at the correct air gap from the flywheel magnets—typically 0.010" to 0.015". If the gap is too wide, primary output voltage drops and spark weakens or disappears. Use a non-magnetic feeler gauge or a business card as a spacer when you reinstall the coil. Tighten the mounting screws and pull the card out before torquing the flywheel nut.
Resistance Testing and Multimeter Use
When points are open, you should measure roughly 1.0Ω across them. Closed, they should read 0.0–0.1Ω. If you're getting higher readings, the contacts are dirty or corroded. For coil testing, compare your readings to the service manual for your specific model. Don't guess.
A standard multimeter won't catch a weak stator or failing trigger under load. For that, you need a DVA (Direct Voltage Adapter) meter, which reads peak voltage while cranking. If the stator output is below spec (often 150-200V peak), the ignition won't fire reliably.
Tools You'll Need


You can't do this job without the right tools. Here's what you need:
- Flywheel puller specific to your motor (universal pullers will crack the flywheel)
- Feeler gauge set (brass or non-magnetic)
- Multimeter with resistance and continuity functions
- Timing light (for dynamic timing checks)
- Emery cloth or points file (not sandpaper)
- Torque wrench (flywheel nut specs are critical)
If you try to pull the flywheel with a gear puller or by prying, you'll crack it. These aren't cheap to replace, especially for vintage motors.
Wiring Color Codes and Common Shorts
Most 1970s OMC (Johnson/Evinrude) motors use a black/yellow wire for the kill circuit. Mercury often uses black/white. These wires run from the ignition switch down to the mag plate. After fifty years, the insulation cracks and the wire shorts to ground. You'll see bare copper where the wire rubs against the mag plate or powerhead.
Strip back the damaged section, solder in a new piece of marine-grade wire, and heat-shrink it. Don't just tape it—tape doesn't last in a marine environment.
The Screw Strip Problem
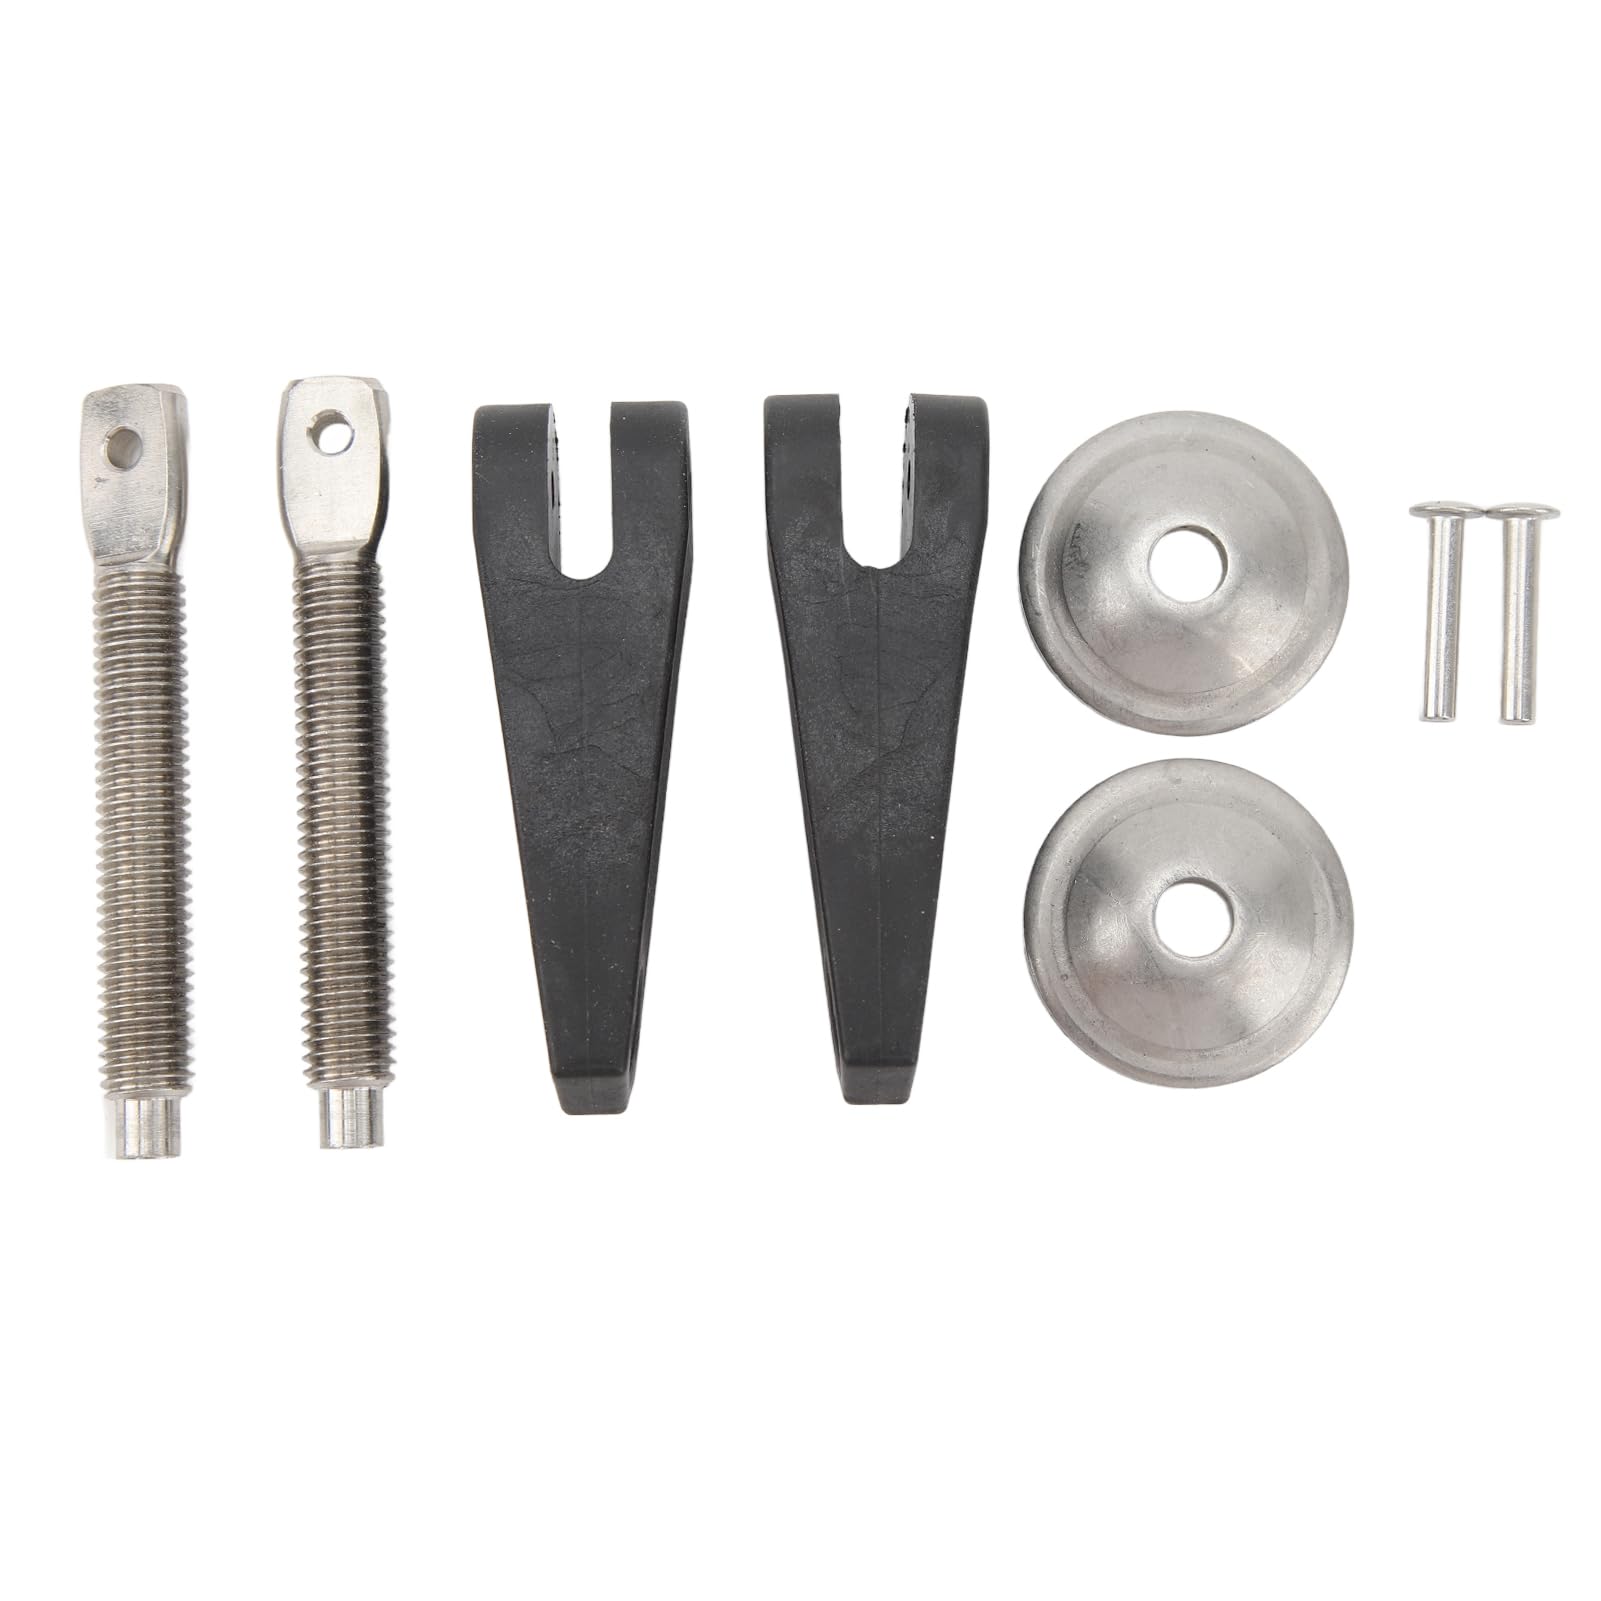
If the set screw for the points strips out, the gap won't hold. This is common on motors that have been adjusted repeatedly over decades. The aluminum mag plate wears out and the threads are toast. You can drill and tap for the next size up screw, or use a Helicoil insert. Don't try to force an oversized screw in without retapping—it'll strip worse and you'll be buying a new mag plate.
Parts Quality: OEM vs. Aftermarket

OEM points and condensers are reliable but expensive. You're paying a premium for the logo on the box. Cheap aftermarket parts from random sellers are a gamble—we've installed $8 condenser kits that failed before we even got the cowl back on.
High-quality aftermarket parts, like those from JLM Marine, are manufactured in the same factories that produce OEM components but sold without the dealer markup. You get factory-spec fitment and reliability without burning cash on branding. For a 1970s motor, this matters—you want parts that last, not parts you'll be pulling out next season. Check reliable options in the JLM Marine outboard motor parts collection.
Other Mechanical Issues That Mimic Ignition Failure


Neutral Safety Switch
On electric-start models, the neutral safety switch prevents starting in gear. If it's misadjusted or failed, the starter solenoid won't engage, and you'll think you have an ignition problem. Bypass it temporarily (disconnect the wires and jump them) to test. If the engine starts, replace or adjust the switch.
Throttle Linkage and Shifter
A worn throttle gear or shifter linkage that isn't fully in neutral can prevent the engine from starting on some models. The safety interlock assumes you're in gear and kills the ignition. Check that the shifter is fully centered in the neutral detent.
Flywheel Key Shearing
I mentioned this earlier, but it's worth repeating because it's so common. When you hit a submerged log or stump, the sudden impact shears the soft aluminum or brass flywheel key. The flywheel slips on the crankshaft, and timing goes haywire. The engine will turn over but won't fire, or it'll backfire violently. You'll often hear a loud metallic bang right before it happens.
Inspect the key every time you pull the flywheel. If it's flattened, cracked, or missing, replace it. Don't try to reuse a damaged key—it'll shear again immediately.
Compression and Engine Seizure

If you have zero spark and you've ruled out everything else, check compression. Pull the plugs and thread in a compression tester. Crank the engine and note the PSI on each cylinder. Compare to spec (usually 90-120 PSI for older 2-strokes).
Zero compression on all cylinders means the engine is seized—usually from running out of oil in the fuel mix or overheating. This is a catastrophic failure. No amount of ignition work will fix it.
Low compression on one cylinder indicates worn rings, a scored cylinder, or a blown head gasket. The engine might run on the good cylinder but poorly. For more about compression and head gasket issues, refer to Replacing a Blown Head Gasket on an Overheated Outboard.
Troubleshooting Logic Flow
Work through this sequence:
- Disconnect the kill switch wires. Test for spark. If spark returns, the problem is in the stop circuit.
- Check points gap and cleanliness. Regap to spec on the cam's high point. Clean or replace if pitted.
- Test the condenser. Swap it if you see heavy arcing across the points.
- Inspect coil resistance. Primary and secondary must be within spec.
- Verify flywheel key and magnets. Replace key if sheared; check magnets for cracks.
- Check coil-to-flywheel air gap. Adjust to 0.010"–0.015".
- Test stator output voltage with a DVA meter (if you have one). Low voltage means stator failure.
Fuel System Quick Check

If you've restored spark but the engine still won't start, the problem is probably fuel. Check that the primer bulb firms up when squeezed. If it stays soft, you have an air leak in the fuel line or a bad bulb. Make sure the bulb's arrow points toward the engine.
Pull the carburetor and clean it. A gummy idle jet or clogged main jet will prevent fuel delivery even with perfect spark. Use carb cleaner and compressed air on every passage. For carburetor parts and repair kits, browse the JLM Marine carburetor repair kit collection for quality OEM-fit components.
Service Manuals and Specifications
Every adjustment I've mentioned—points gap, coil resistance, air gap, timing—varies by model. Don't guess. Get the factory service manual for your specific motor. Seloc and Clymer manuals are decent, but the OEM manual is best. It has exact specs and wiring diagrams.
For example, a 1973 Johnson 20HP might spec 0.020" points gap and 32° BTDC timing, while a 1976 Mercury 9.8HP might use 0.018" and 28° BTDC. Using the wrong numbers kills performance or prevents starting.
For accurate maintenance information and parts, always consider resources and parts available through the JLM Marine hub.
Safety Precautions
Ignition coils generate tens of thousands of volts. Don't touch the coil tower or spark plug wire while cranking the engine—you'll get a painful shock. Use insulated tools and keep your hands clear.
Always attach the kill switch lanyard when testing on the water. If the engine starts unexpectedly and you're not connected, the boat can run away from you.
When reinstalling the flywheel, torque the nut to spec. An under-torqued flywheel nut will allow the flywheel to walk off the taper, shearing the key and potentially destroying the crankshaft threads. Over-torquing can crack the flywheel. Use a torque wrench.
FAQ
How do I know if my ignition coil is bad on my outboard motor?
Test primary resistance (typically 0.4–1.2Ω) and secondary resistance (3,000–10,000Ω, but check your manual) with a multimeter. If you get infinite resistance (open circuit) or near-zero resistance (short), the coil is bad. Visually inspect for cracks or carbon tracking on the coil body. The real test is output: connect the coil to a known-good CDI and trigger (or your points system) and check for spark. Good input voltage but no spark output means a failed coil.
What causes an outboard motor to have no spark?
On points-based systems after adjustment, common causes are incorrect points gap, pitted or dirty points, failed condenser, shorted stop switch wires, poor grounds, or incorrect timing. Less common are failed ignition coils, weak flywheel magnets, sheared flywheel keys, or corroded wiring harnesses. A weak battery on electric-start models might not crank fast enough to generate spark. Always disconnect the kill switch wires first when troubleshooting.
Can using the wrong spark plug damage my boat's ignition system?
Yes. A plug with the wrong heat range fouls quickly and requires higher voltage to fire, stressing the coil and CDI. A plug with an internal resistor not specified for your system can interfere with ignition timing, causing misfires or weak spark. An incorrect gap (too wide or too narrow) forces the coil to work harder, shortening its life. Always use the exact plug type and gap listed in your service manual.
How often should I replace my outboard motor water pump impeller?
Every 100-200 hours or every 3-5 years, whichever comes first. Rubber impellers degrade over time even if not used heavily. A failed impeller causes overheating, which can damage the powerhead, warp cylinders, and lead to seizure. Check the impeller any time you have the lower unit off. For replacement parts, visit the JLM Marine water pump impeller collection.
Why does my outboard lose power when cold?
Usually a carburetor issue. If the idle mixture is too lean or the choke isn't closing fully, the engine runs poorly until it warms up and the fuel vaporizes more easily. Clogged idle jets are notorious for this. Ignition timing can also be a factor—advanced or retarded timing causes poor cold running but smooths out at operating temperature. Clean the carburetor and verify timing.
How do I check for fuel leaks in my outboard motor?
Visually inspect all fuel lines, fittings, primer bulb, and fuel pump for wetness or fuel smell. Squeeze the primer bulb—if it doesn't firm up or goes soft quickly, there's an air leak in the fuel pickup line or a bad bulb. Check the fuel tank vent line for blockage. For internal leaks, inspect the fuel pump diaphragm for cracks or tears. A smoke machine can detect vacuum leaks on the carburetor intake side.
Check your points and condenser every season before the first start. Most no-spark problems after winter storage trace back to corroded contacts or a failed condenser that sat all winter.
For additional tips and quality parts, browse the complete JLM Marine hub.