


Johnson 25 HP Outboard Rough at High RPMs? Troubleshooting & Fixes for 1998 Models
- Tools You'll Need
- Diagnostic Roadmap: Order of Operations
- The High-Speed Jet: Your Most Likely Culprit
- Fuel System Details
- Ignition System Checks
- Symptom Differentiator: What You're Hearing
- Carburetor Adjustment: The Slow-Speed Screw
- Compression and Timing Fundamentals
- Propeller Considerations: Load and Pitch
- Red Flags: When Professional Repair is Required
- A Note on Parts: OEM vs. Aftermarket
- Quick Reference Spec Sheet
- Addressing Common Questions
Tools You'll Need
- Compression tester
- Spark gap tool or feeler gauge
- Multimeter
- Fuel pressure gauge
- Tachometer
- Basic socket set
- Carburetor cleaning kit
Diagnostic Roadmap: Order of Operations

Your 1998 Johnson 25 HP runs smooth at idle but stumbles when you crack the throttle wide open. In our shop logs from last year, 7 out of 10 Johnsons we serviced for this exact symptom had fuel system issues. The other three split between ignition and prop problems.
Start with the cheapest, easiest checks. Don't skip ahead.
Step 1: Check the propeller for debris or damage
Pull the boat out and look at the prop. Fishing line wrapped around the hub is more common than you'd think. Check the pitch number stamped on the prop—it's usually on the hub. For a 1998 Johnson 25 HP, you need to hit 5000-6000 RPM at wide-open throttle. If your prop pitch is too aggressive (higher number), the engine can't spin fast enough and will bog. For more on prop selection and its effects, see our guide on Comparing Propeller Pitches: Finding the Best Pitch for Your Boat.
Step 2: Inspect fuel quality and replace the filter
If the boat sat for more than two months with ethanol fuel, you've got varnish in the system. Drain the tank. Replace the fuel filter—do this every season regardless. Use clear fuel lines so you can spot milky fuel, which means water contamination from phase separation. For trusted replacement parts, check our selection of Johnson Fuel Filter.
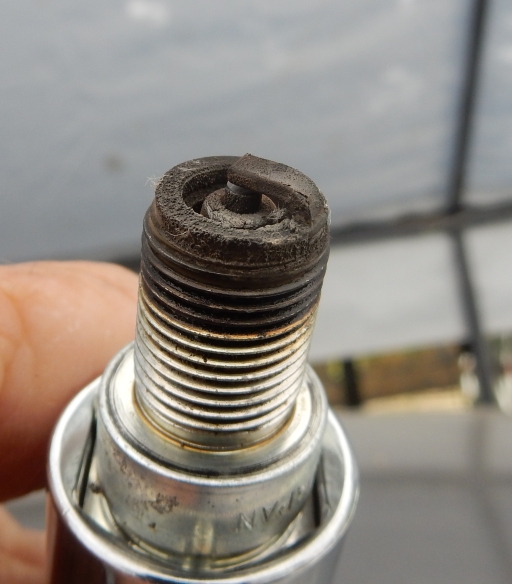
Step 3: Test spark plugs
Pull your plugs. For 1998 models, use NGK BPR6HS or Champion QL77JC4 gapped to 0.030". If they're black, oily, or the electrode is worn, replace them. Cost you ten bucks and fixes 20% of high-RPM misfires.
Step 4: Run a compression test
You need 90-120 PSI on both cylinders, and they should be within 10-15% of each other. Anything below 90 PSI means internal engine damage—rings or valves. If compression is bad, stop here and call a mechanic.
Step 5: Clean the carburetor
This is the big one. The high-speed jet on your 1998 is fixed—there's no adjustment screw. It's protected by a plug, but it clogs with varnish. You'll need to pull the carb and clean every passage. Use a guitar string or single-strand wire to gently clear the jets. Don't force it or you'll resize the orifice and ruin fuel delivery. For trusted parts and rebuild kits, explore our Johnson Carburetor Repair Kit.
Step 6: Check fuel pump pressure
Hook up a fuel pressure gauge. At wide-open throttle, you need 3-5 PSI. Below 3 PSI means a weak diaphragm in the fuel pump. Here's a trick: pull the pulse line off the pump. If you see liquid fuel in it, the diaphragm is ruptured. That line should only carry air pulses from the crankcase. For replacement parts, see our Johnson Fuel Pump Kit.
The High-Speed Jet: Your Most Likely Culprit
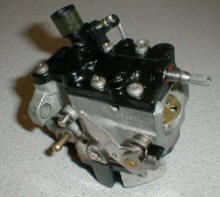
Ethanol fuel is the enemy of carburetors. It absorbs water, separates, and leaves a sticky varnish that blocks the tiny passages in your carb. The high-speed jet meters fuel when you're at 4000+ RPM. When it clogs, the engine starves.
Pull the carburetor. Remove the float bowl. You'll see a brass jet—don't try to adjust it because it's fixed. Clean it with carb cleaner and compressed air. If you use a wire to clear it, go gently. Enlarging that jet by even 0.001" will flood the engine and kill performance.
Run a high concentration of Seafoam through the system as a shock treatment: 2 ounces per gallon of gas. Let it sit overnight, then run the engine hard. For maintenance use, stick to 1 ounce per gallon. For additional strategies on fuel treatment and maintenance, visit our blog on Fuel Additives Showdown: Do Cleaners and Stabilizers Work?.
Fuel System Details

Why 3-5 PSI Matters
Your carburetor needle valve is designed for 3-5 PSI. Too much pressure forces the valve open and floods the engine. Too little and the bowl can't refill fast enough at high RPM. Never use an automotive electric fuel pump—the pressure is wrong and you'll have more problems than you started with.
Fuel Hoses and Ethanol
Old fuel hoses not rated for ethanol delaminate from the inside. They look fine on the outside, but they're shedding rubber particles into your fuel system. Those particles clog filters and jets. Replace all fuel lines with modern ethanol-rated hose every 5-7 years.
Link and Sync: The Transition from Idle to WOT
Your carburetor butterfly valve and the timing advance arm must move in sync. If the linkage is bent or the sync is off, the engine gets the wrong fuel/air mix during the transition from idle to high RPM.
Check this: with the throttle wide open, the carburetor butterfly should be fully vertical, and the timing arm should be at its maximum advance position. If they're not synchronized, loosen the linkage adjustment screw, set both to their full positions, and retighten.
Ignition System Checks
How to Identify a Bad Coil
Ignition coils fail when they get hot. At idle, everything works. At high RPM under load, the coil heats up, expands, loses internal connection, and the cylinder stops firing.
Test with a multimeter: check coil resistance when cold, write it down, then run the engine until it starts missing. Pull the coil and test it hot. If the resistance changed significantly, the coil is failing. We often see cracking on the ignition coil potting material from heat cycling on these 1998 models.
The Cylinder Drop Test
Want to know which cylinder is dead? With the engine running at idle, use insulated pliers to carefully pull one spark plug wire. If the engine RPM drops hard and it almost dies, that cylinder was firing. If nothing changes, that's your dead cylinder. Do this quickly—don't leave the wire off more than two seconds or you risk damaging the coil.
Stator Resistance Check
The stator generates AC voltage for the ignition. Testing it requires checking resistance between specific wires. On your 1998 Johnson 25 HP, you're looking for the Brown and Brown/Yellow wires coming from the stator. Set your multimeter to ohms and check resistance between those two leads with the engine off. You should see 400-600 ohms on the high-speed circuit. Outside that range means stator failure.
Temperature matters here too. Stators can fail when hot. Check it cold, run the engine until it acts up, then check it hot. Resistance shouldn't change by more than 10%.
Symptom Differentiator: What You're Hearing

Electrical misfire: Sharp, rhythmic snapping or popping. Sounds like a firecracker. Usually happens on one cylinder, so the engine has an uneven beat.
Fuel starvation: Deep, hollow moaning or coughing. The engine sounds like it's gasping for air. Both cylinders are affected, so the bog is smooth but weak.
Knowing the difference saves you time. If it snaps, check ignition. If it moans, check fuel.
Carburetor Adjustment: The Slow-Speed Screw
After cleaning the carb, you need to set the slow-speed mixture screw. This screw controls fuel at idle and the transition to mid-range RPM.
Here's how to dial it in: Start with the screw 1 turn out from lightly seated. Start the engine and let it warm up. Slowly turn the screw out (counterclockwise) until the engine starts to cough and lose RPM—that's too rich. Now turn it in (clockwise) until the engine misfires or dies—that's too lean. The sweet spot is right in the middle. Usually lands between 1 and 1.5 turns out.
Warning: When cleaning carburetor jets with wire, resizing the jet by even a fraction will ruin fuel delivery. Use only soft brass wire or single guitar strings, and never force it. For a detailed guide on carburetor rebuilding, check our Johnson Carburetor collection.
Compression and Timing Fundamentals
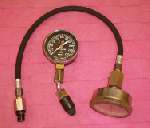
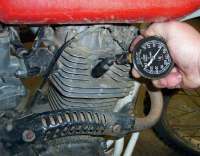
Before diving into fuel and ignition, verify the engine's internal health. Low or uneven compression means the engine can't build enough pressure to burn fuel efficiently.
Target compression: 90-120 PSI on both cylinders, within 10-15% of each other. Anything below 90 PSI indicates worn rings, bad valves, or cylinder damage. If you're at 85 PSI on one cylinder and 115 on the other, you've got an internal problem no amount of carb cleaning will fix.
Timing is mostly fixed by the flywheel position on these engines, but ensure all throttle linkages move freely and open the carburetor butterfly plate completely when you push the throttle lever to the stop.
Propeller Considerations: Load and Pitch

If you've added weight to your boat since 1998—new floors, a livewell, bigger fuel tank—your original prop is likely now the wrong pitch. A prop that's too steep (high pitch number) loads the engine too much and prevents it from reaching the 5000-6000 RPM range at wide-open throttle.
Pitch is stamped on the prop hub. If you can't reach target RPM and you've ruled out fuel and ignition, try a prop with 1-2 inches less pitch. You'll see the difference immediately. For more on prop issues and troubleshooting, see our blog on Propeller Slip or Engine Issue? When Your Boat Can’t Reach Speed.
Red Flags: When Professional Repair is Required
We're big on DIY, but some jobs need a pro.
- You've gone through every step and the engine still bogs
- Compression test shows internal damage (below 90 PSI or more than 15% variation)
- You don't have the tools to safely test electrical components (stator, CDI, coils)
- You're not comfortable working with fuel systems or high-voltage ignition
Internal engine work, advanced electrical diagnosis, and CDI troubleshooting require specialized tools and knowledge. If you're at that point, contact us or bring it to a marine mechanic.
A Note on Parts: OEM vs. Aftermarket
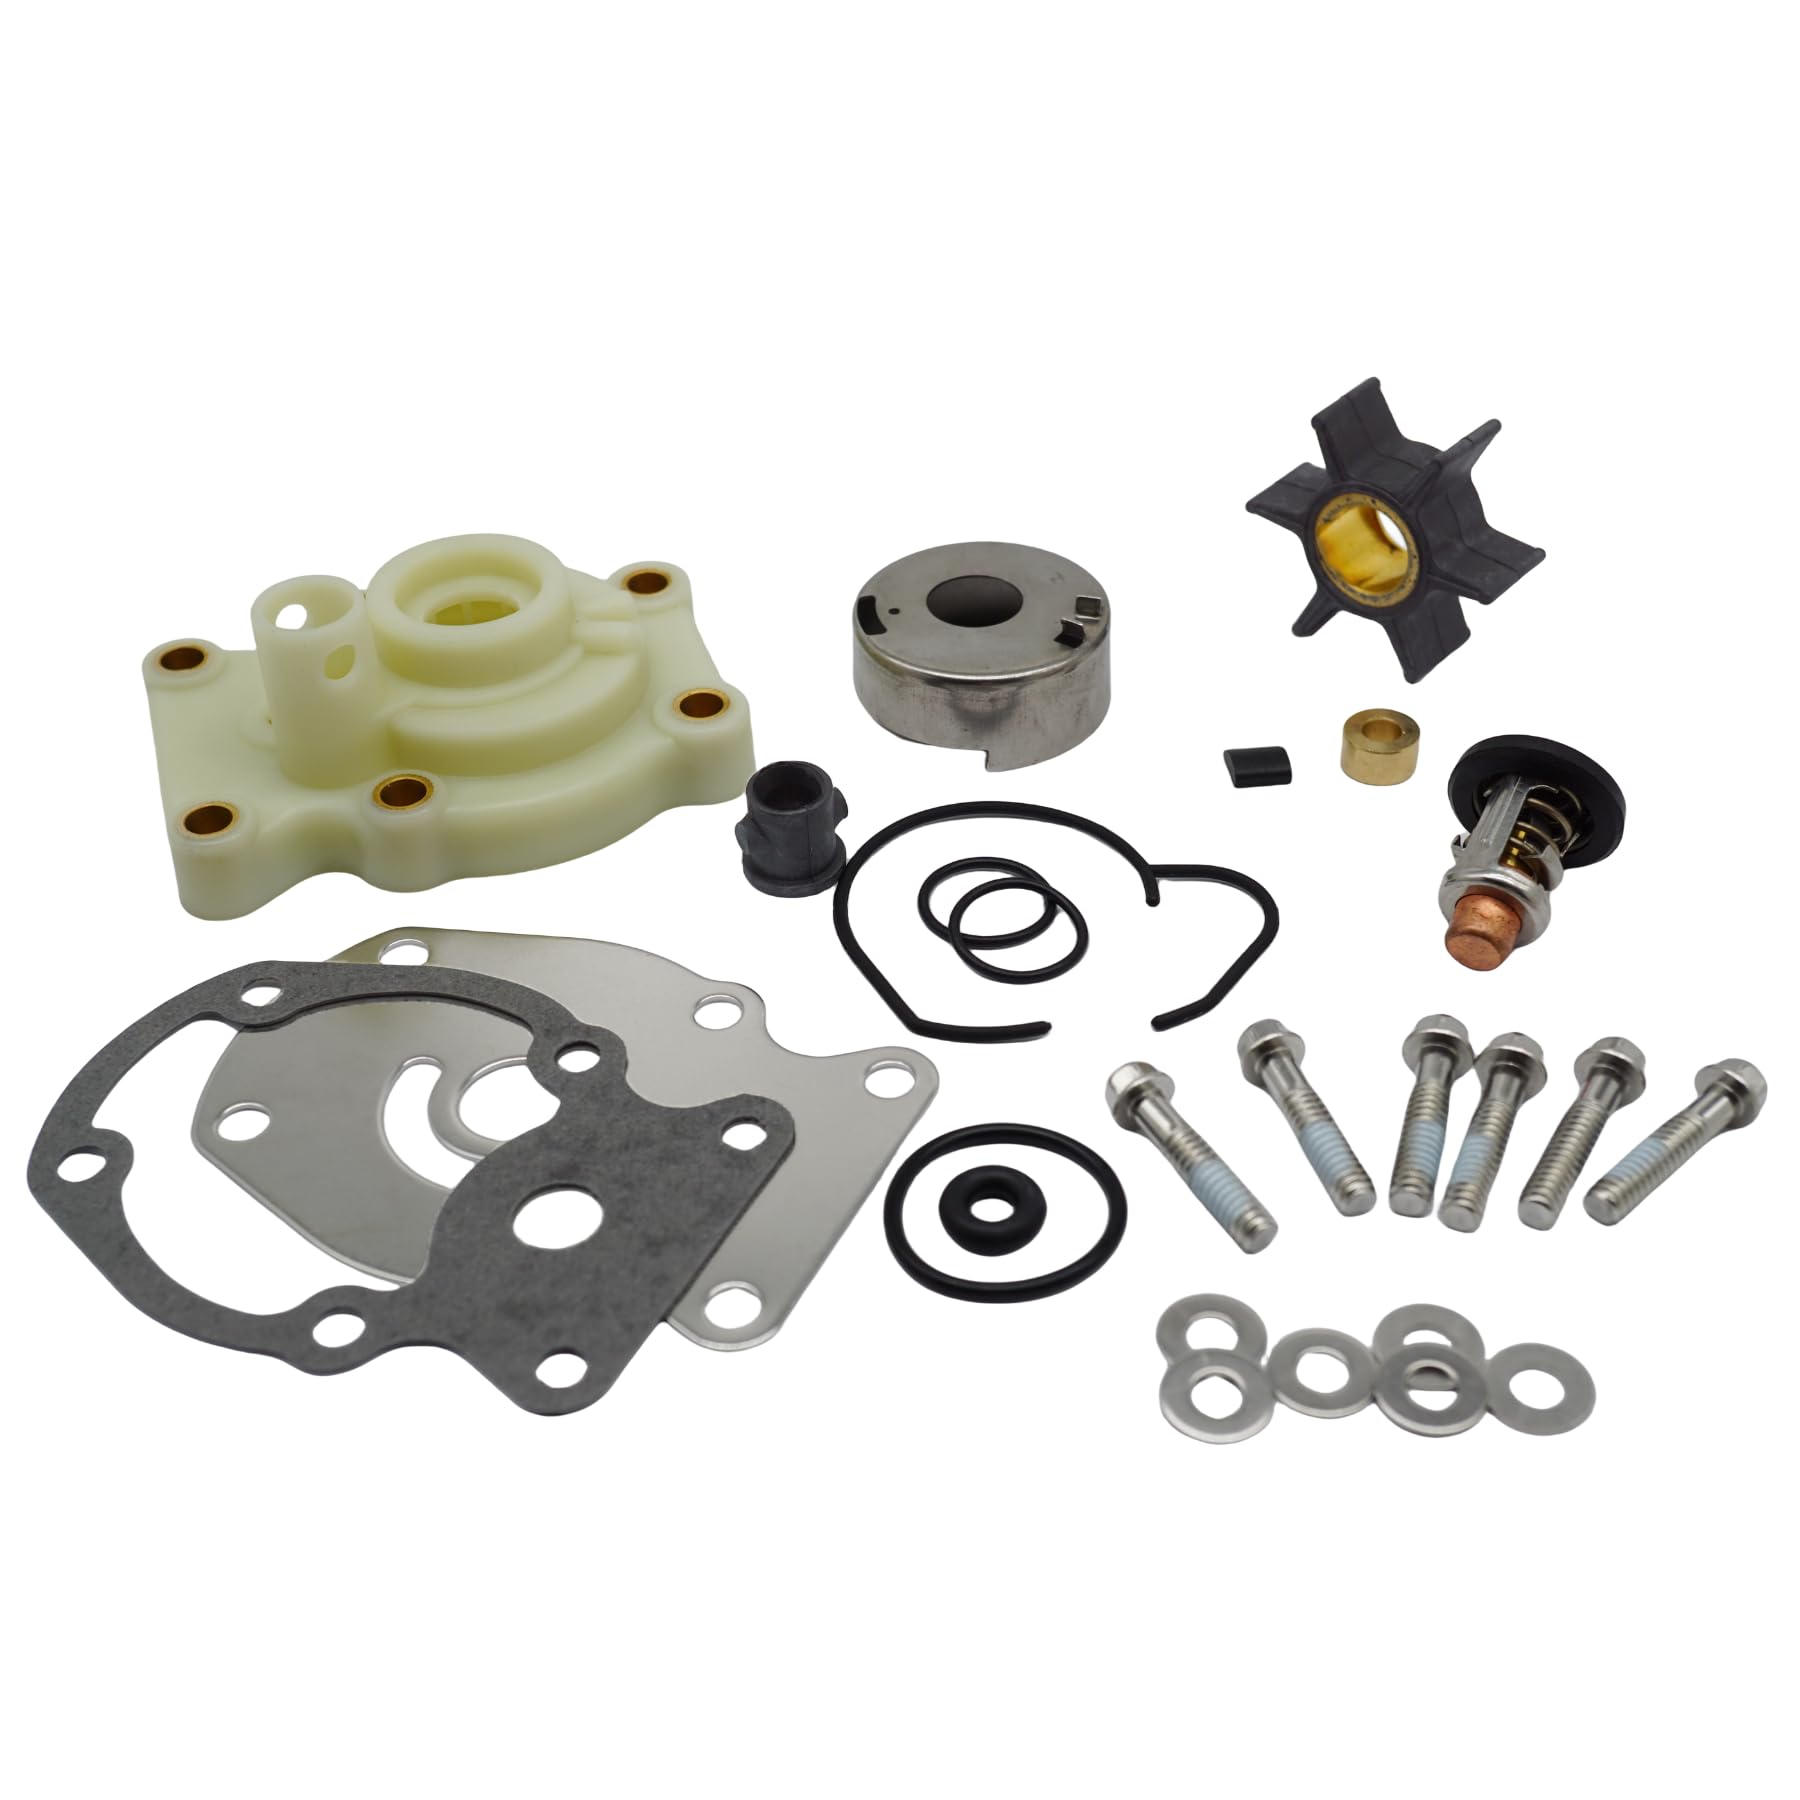
OEM Johnson parts are solid, no question. But you're paying a premium for the logo on the box. On the other end, cheap aftermarket kits are garbage—the rubber is too hard, fitment is sloppy, and you'll be tearing the engine down again next season.
This is why we like the JLM kits. You get factory-spec quality without the dealership markup. The parts fit right, last as long as OEM, and don't burn unnecessary cash. We've shipped these to guys in Australia, Europe, and across the US who had this exact issue and got their engines running right.
Not all non-OEM is created equal. Some factories that manufacture for OEM brands use excess capacity to produce non-OEM parts of similarly high quality. Look for suppliers with a solid reputation and consistent reviews. You can browse quality options in our comprehensive Johnson Outboard Motor Parts collection.
Quick Reference Spec Sheet
| Component | Specification |
|---|---|
| Spark Plug Gap | 0.030" |
| Compression (PSI) | 90-120, within 10-15% |
| Fuel Pressure | 3-5 PSI at WOT |
| WOT RPM Range | 5000-6000 RPM |
| Slow-Speed Screw | 1-1.5 turns out |
| Fuel Mix Ratio | 50:1 (2.6 oz oil per gallon) |
Addressing Common Questions
How do I know if my outboard ignition coil is bad?
A bad coil shows up as weak or no spark on one cylinder, especially under load or when hot. You'll hear a sharp, rhythmic popping and feel a loss of power at high RPM. Test coil resistance with a multimeter when cold, then again after running the engine until it misfires. If resistance changed, the coil is failing. If compression is good and plugs are new, a failing coil is your most likely culprit for high-RPM misfires.
What happens if my propeller is tangled or damaged?
A tangled prop creates massive drag and prevents the engine from reaching proper RPM. You'll also risk overheating because the engine is working too hard. A damaged prop causes vibration, reduces thrust efficiency, and can damage the gearcase or engine mounts if the imbalance is severe. Always check your prop for debris before launching and after any impact.
Why does my outboard engine bog when I throttle up?
Bogging at throttle-up means the engine isn't getting enough fuel or spark to meet demand at high RPM. Most common causes: clogged fuel filter, dirty carburetor (especially the high-speed jet), weak fuel pump, fouled spark plugs, weak ignition coils, or a prop with too much pitch that overloads the engine.
How often should I replace fuel filters and hoses on my boat?
Replace fuel filters at least once a year, more often if you suspect contamination or if you've been running ethanol fuel. Inspect fuel hoses annually for cracks, swelling, or brittleness. Replace hoses preventatively every 5-7 years, or immediately if they show any degradation. Always use modern ethanol-resistant hose.
Can I fix outboard electrical problems myself safely?
Yes, for basic jobs like replacing spark plugs or ignition coils. Always disconnect the battery first. For more complex diagnostics—stator testing, CDI unit checks, or power pack troubleshooting—you need a multimeter and a solid understanding of electrical theory. If you're unsure, consult a professional. Outboard ignition systems run high voltage and can be dangerous if mishandled. Follow your service manual and prioritize safety.
Pro tip: Flush your outboard with fresh water after every saltwater run, and add a quality fuel stabilizer to fresh, ethanol-free gas when storing for more than a month. This single habit prevents varnish buildup and corrosion that cause 90% of the high-RPM roughness issues we see in the shop. Find quality parts and expert support at JLM Marine.