


How to Clean an Outboard Carburetor Without Removing It: A Complete Guide

Maintaining your outboard motor's carburetor is essential for optimal performance, but the thought of removing and disassembling it can be intimidating for many boat owners. The good news is that there are effective methods to clean your outboard carburetor without complete removal, potentially saving you time and reducing the risk of reassembly errors.
In this comprehensive guide, we'll explore practical techniques, recommended products, and step-by-step procedures for cleaning your outboard carburetor while it remains on the engine. We'll also discuss the limitations of this approach and when a full removal might be necessary.
Understanding Carburetor Fouling: Why Cleaning Is Necessary
Before diving into cleaning methods, it's important to understand why carburetors become dirty and how this affects your outboard's performance.
Common Causes of Carburetor Fouling
- Fuel Degradation: Gasoline begins to deteriorate within 30 days, forming gummy deposits and varnish that clog small passages
- Ethanol Issues: Ethanol-blended fuels attract moisture and accelerate the formation of deposits
- Infrequent Use: Engines that sit unused for extended periods are particularly prone to carburetor fouling
- Improper Storage: Failure to properly winterize or prepare for storage leads to sticky residue formation
- Contaminated Fuel: Dirt, water, or other contaminants in fuel can accumulate in the carburetor
Signs Your Carburetor Needs Cleaning
Your outboard may be telling you it's time for a carburetor cleaning if you notice:
- Hard starting or failure to start
- Rough idle or stalling
- Hesitation during acceleration
- Reduced power output
- Increased fuel consumption
- Black smoke from exhaust

In-Place Cleaning Methods: What's Possible Without Removal
While complete removal offers the most thorough cleaning, several effective methods can be employed without dismantling the entire carburetor system.
Method 1: Fuel Additive Treatment
Using specialized fuel additives is the least invasive approach and can be effective for mild to moderate carburetor fouling.
Required Materials:
- Quality carburetor cleaner fuel additive (Sea Foam, Mercury Quickleen, Yamaha Ring Free, etc.)
- Fresh fuel
- Fuel stabilizer (for long-term protection)
Step-by-Step Procedure:
- Prepare the fuel mixture:
- For regular maintenance: Follow the manufacturer's recommended ratio (typically 1 oz per gallon)
-
For aggressive cleaning: Create a stronger mixture (up to 50% cleaner to 50% fuel for severe cases)
-
Apply the treatment:
- Run the engine to warm it up (if possible)
- Add the treatment to your fuel tank
-
For direct application, disconnect the fuel line and use a small separate tank with the concentrated mixture
-
Run the engine:
- Operate the engine at various RPMs for 15-20 minutes to circulate the cleaning solution
-
Include idle periods and brief acceleration to ensure the cleaner reaches all carburetor circuits
-
Complete the process:
- After treatment, add fresh fuel with a quality stabilizer
- Run the engine again to flush the system with clean fuel
Effectiveness Rating: ★★★☆☆ (3/5)
This method works well for preventative maintenance and addressing minor issues but may not resolve severe fouling or completely blocked passages.

Method 2: Spray Cleaner Application
For more direct cleaning action, aerosol carburetor cleaners can be applied to accessible parts of the carburetor.
Required Materials:
- Quality aerosol carburetor cleaner (CRC Clean-R-Carb, Berryman B-12, Gumout Jet Spray, etc.)
- Safety glasses and gloves
- Shop towels
- Small container to catch runoff
Step-by-Step Procedure:
- Prepare the engine:
- Ensure the engine is off and cool
- Remove the engine cover/cowling
-
Place absorbent materials to catch chemical runoff
-
Access the carburetor:
- Locate the air intake and remove the air filter/flame arrestor
-
Identify accessible external components of the carburetor
-
Apply the cleaner:
- Spray cleaner into the air intake while manually operating the throttle
- Target visible carburetor components, especially the throttle plate and choke
- Use the extension tube to reach deeper into intake passages
-
Allow the cleaner to penetrate for 5-10 minutes
-
Clean external components:
- Spray cleaner on a shop towel and wipe down external carburetor surfaces
- Clean linkages and visible components
-
Be careful not to spray directly onto rubber or plastic parts that may be damaged by the solvent
-
Reassemble and test:
- Replace the air filter/flame arrestor
- Start the engine and check for improvement
Effectiveness Rating: ★★★★☆ (4/5)
This method can effectively clean the throttle body, air intake, and accessible parts but won't reach internal jets and passages.

Method 3: Bowl Drain and Flush
If your carburetor has accessible drain screws, you can perform a more direct cleaning of the float bowl without complete removal.
Required Materials:
- Aerosol carburetor cleaner with extension tube
- Appropriate screwdriver for drain screws
- Small container to catch fuel
- Fresh fuel
- Safety glasses and gloves
Step-by-Step Procedure:
- Locate the drain screw:
- Find the drain screw at the bottom of the float bowl
-
Place a container underneath to catch the drained fuel
-
Drain the bowl:
- Loosen (don't completely remove) the drain screw
- Allow all fuel to drain from the bowl
-
Tighten the screw just enough to stop the flow
-
Flush with cleaner:
- Insert the extension tube of the carburetor cleaner into the partially opened drain
- Spray cleaner into the bowl, allowing it to fill partially
-
Let it sit for 5-10 minutes to dissolve deposits
-
Drain and repeat:
- Loosen the drain screw again to release the cleaner
-
Repeat the process 2-3 times for thorough cleaning
-
Final steps:
- Tighten the drain screw securely
- Start the engine to draw fresh fuel into the system
Effectiveness Rating: ★★★★☆ (4/5)
This method effectively cleans the float bowl and can help dissolve some deposits in the main jet, but won't reach all internal passages.

Method 4: Combination Approach for Maximum Effectiveness
For the best results without removal, combine multiple methods in this sequence:
- Initial spray cleaning of accessible components
- Bowl drain and flush to clean the float bowl
- Concentrated fuel additive treatment to clean internal passages
- Regular strength fuel additive in a full tank for final cleaning and protection
This comprehensive approach addresses multiple areas of the carburetor and can resolve many issues without complete disassembly.
Effectiveness Rating: ★★★★☆ (4/5)
While not as thorough as complete removal and cleaning, this combination approach can effectively resolve many common carburetor issues.
Product Recommendations: What Works Best
Not all carburetor cleaning products are created equal. Here are the most effective options for in-place carburetor cleaning:
Top Fuel Additives
- Sea Foam Motor Treatment
- Pros: Highly effective at dissolving varnish, safe for all components, works as a fuel stabilizer
- Cons: May require multiple treatments for severe fouling
- Best for: General maintenance and mild to moderate deposits
-
Usage tip: For aggressive cleaning, use a 1:2 ratio of Sea Foam to fuel
-
Mercury Quickleen
- Pros: Specifically formulated for marine engines, excellent at preventing carbon buildup
- Cons: More expensive than some alternatives
- Best for: Mercury outboards and preventative maintenance
-
Usage tip: Regular use prevents deposit formation
-
Yamaha Ring Free Plus
- Pros: Excellent for removing carbon deposits, manufacturer-approved for Yamaha engines
- Cons: Premium price point
- Best for: Yamaha outboards with performance issues
- Usage tip: Can be used in higher concentrations for cleaning runs
Top Spray Cleaners
- CRC Clean-R-Carb
- Pros: Fast-acting formula, includes lubricants for moving parts, good penetration
- Cons: Strong odor requires good ventilation
- Best for: Direct application to accessible carburetor components
-
Usage tip: Use the extension tube for better targeting of specific areas
-
Berryman B-12 Chemtool
- Pros: Powerful solvent action, dissolves tough deposits quickly
- Cons: Can damage certain plastics and rubber components
- Best for: Metal components and severe deposit removal
-
Usage tip: Avoid spraying on gaskets or rubber parts
-
Gumout Jet Spray
- Pros: Good balance of cleaning power and component safety, works quickly
- Cons: May require multiple applications for tough deposits
- Best for: General carburetor cleaning and throttle body treatment
- Usage tip: Excellent for cleaning throttle plates and external components

Limitations of In-Place Cleaning: When to Remove the Carburetor
While in-place cleaning methods can be effective, they have limitations. Be aware of situations where complete removal and disassembly is necessary:
When In-Place Cleaning Is Insufficient
- Severe varnish buildup that has completely blocked jets and passages
- Physical debris that cannot be dissolved by solvents
- Mechanical issues such as stuck floats or worn needle valves
- Damaged components that require replacement
- Multiple failed attempts at in-place cleaning without improvement
Signs You Need a Complete Rebuild
Consider a full carburetor removal and rebuild if:
- In-place cleaning methods fail to improve performance
- The engine runs extremely rich or lean despite adjustments
- You notice fuel leaking from the carburetor
- The engine has sat unused with fuel for more than a season
- Performance issues persist across all RPM ranges
Preventative Maintenance: Avoiding Future Carburetor Issues
The best way to deal with carburetor problems is to prevent them from occurring in the first place.
Fuel Management Best Practices
- Use fresh fuel: Try to use fuel within 30 days of purchase
- Add stabilizer: Always use fuel stabilizer for any fuel that will sit more than two weeks
- Consider ethanol-free fuel: If available in your area, it reduces many common issues
- Keep tanks full during storage to minimize condensation
- Use fuel filters: Replace them regularly to catch contaminants before they reach the carburetor
Regular Maintenance Schedule
- Add fuel treatment every 50 hours of operation or monthly during the season
- Perform spray cleaning at the beginning and end of each season
- Run the engine regularly, even during off-season (at least monthly)
- Proper winterization including fogging oil and stabilized fuel
- Annual inspection of all fuel system components
Safety Considerations When Working with Carburetor Cleaners
Carburetor cleaning chemicals are powerful solvents that require proper safety precautions:
- Always work in a well-ventilated area to avoid inhaling fumes
- Wear eye protection to prevent chemical splashes
- Use chemical-resistant gloves to protect your skin
- Keep a fire extinguisher nearby as many cleaners are highly flammable
- Dispose of chemicals properly according to local regulations
- Avoid smoking or open flames when working with solvents
- Protect painted surfaces from accidental contact with harsh chemicals
Troubleshooting: When Cleaning Doesn't Solve the Problem
If your outboard still experiences issues after in-place carburetor cleaning, consider these potential causes:
- Fuel delivery problems: Clogged filters, weak pump, or restricted lines
- Ignition issues: Faulty spark plugs, coils, or timing problems
- Compression problems: Worn rings, valves, or gaskets
- Air intake restrictions: Clogged air filters or intake passages
- Exhaust restrictions: Carbon buildup in exhaust ports or muffler
In these cases, further diagnosis beyond the carburetor may be necessary.
Conclusion: Balancing Convenience with Effectiveness
Cleaning your outboard carburetor without removing it offers a practical middle ground between doing nothing and performing a complete rebuild. While not as thorough as full disassembly, these methods can effectively resolve many common issues and extend the time between major servicing.
For best results:
- Be proactive with regular maintenance rather than waiting for problems
- Combine multiple cleaning methods for maximum effectiveness
- Use quality products specifically designed for marine applications
- Know the limitations and recognize when removal is necessary
- Follow proper fuel management practices to prevent future issues
By following the techniques outlined in this guide, you can maintain your outboard's carburetor in good working condition with minimal disassembly, keeping your boat running smoothly and reliably throughout the season.
For Outboard Owners:
To assist you in maintaining and repairing your marine engines, we hope the following resources may be of use:
-
Carburetors from JLM Marine
-
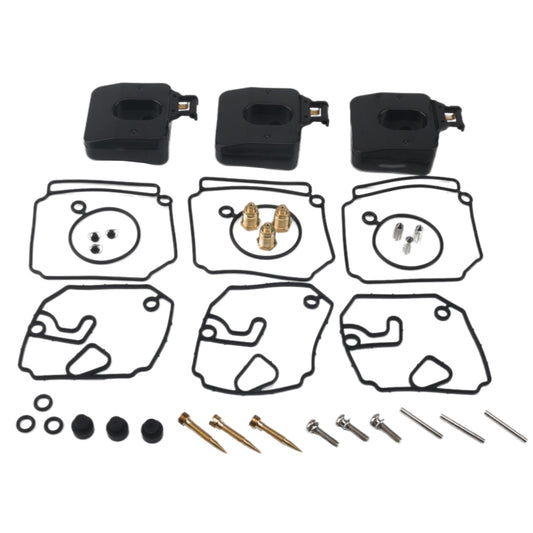
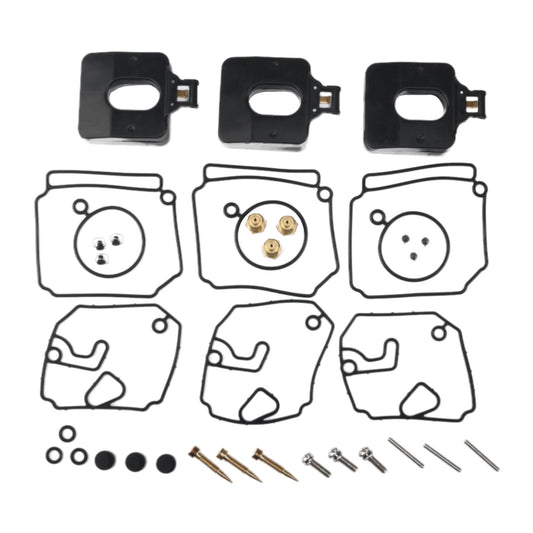
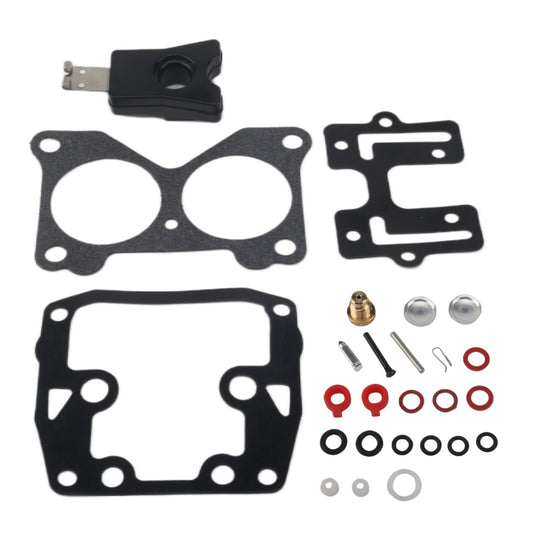
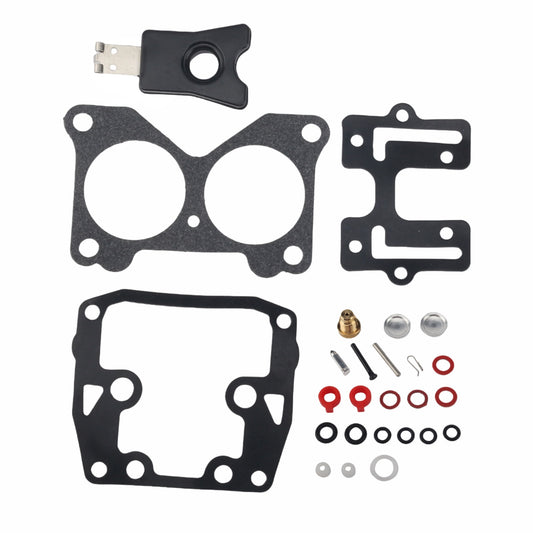
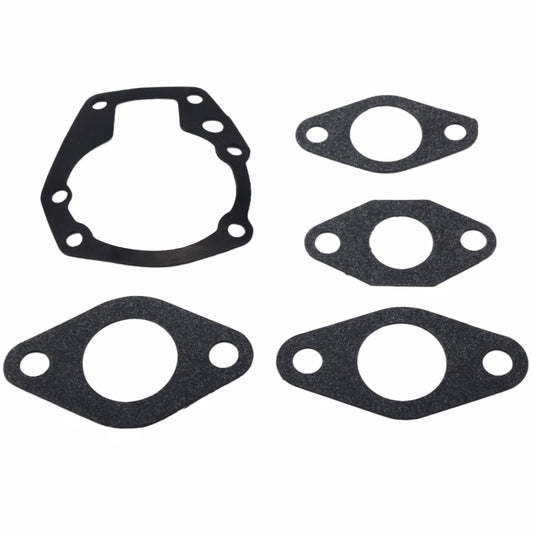
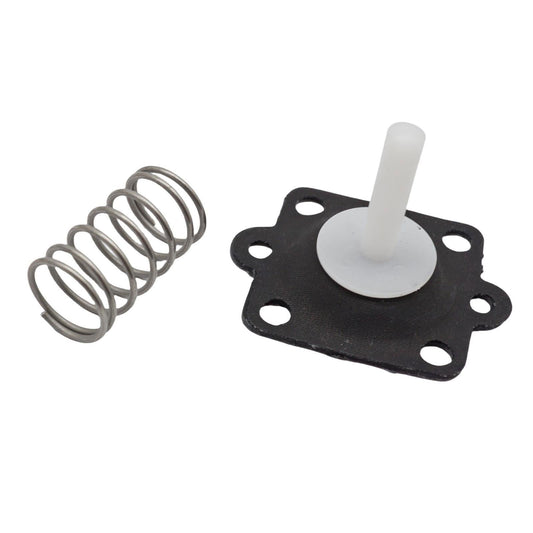
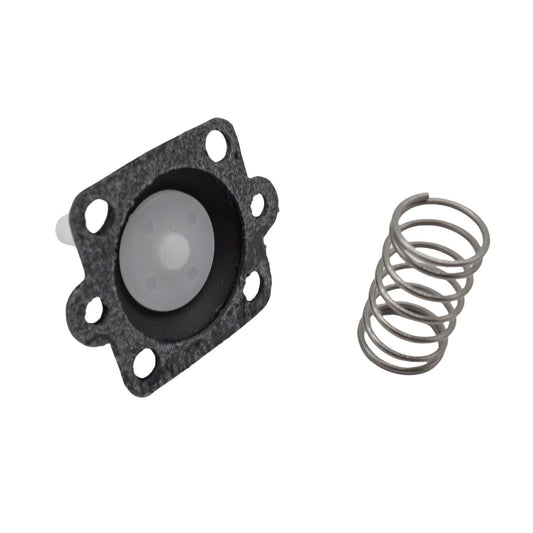
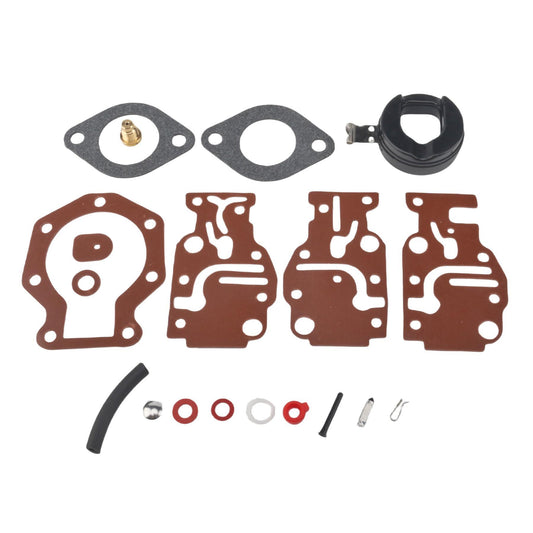
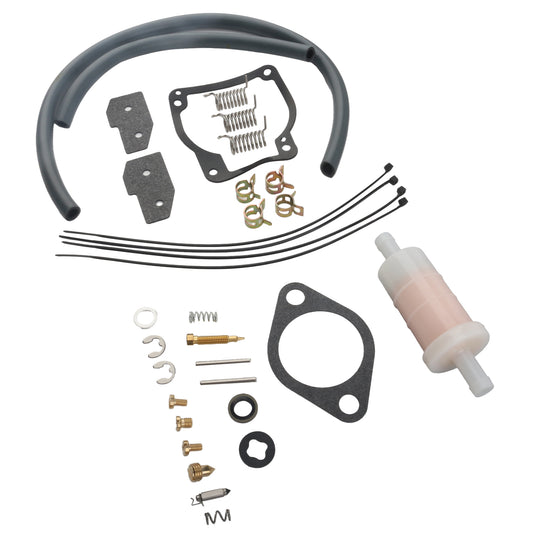
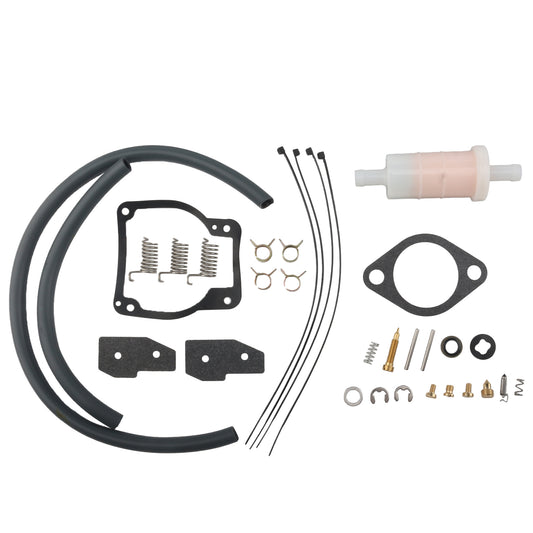
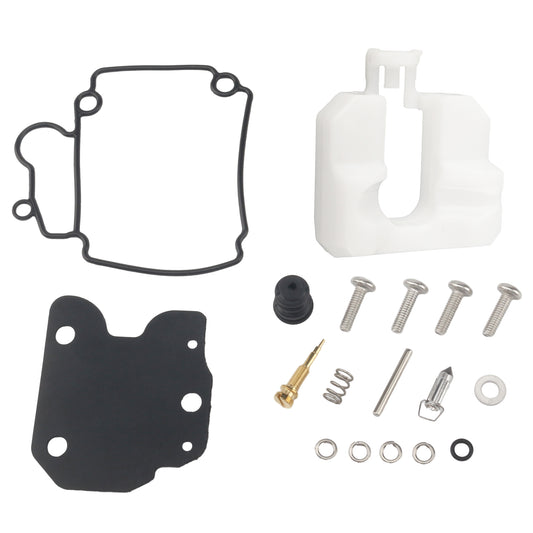
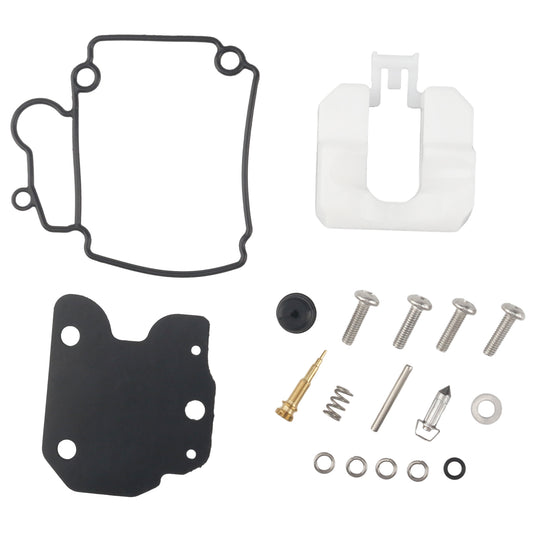
Carburetor Rebuild Kits from JLM Marine
About JLM Marine
Founded in 2002, JLM Marine has established itself as a dedicated manufacturer of high-quality marine parts, based in China. Our commitment to excellence in manufacturing has earned us the trust of top marine brands globally.
As a direct supplier, we bypass intermediaries, which allows us to offer competitive prices without compromising on quality. This approach not only supports cost-efficiency but also ensures that our customers receive the best value directly from the source.
We are excited to expand our reach through retail channels, bringing our expertise and commitment to quality directly to boat owners and enthusiasts worldwide.
Carburetor Repair Kits on Sale
- $46.00
$55.00- $46.00
- Unit price
- per
- $18.13
$59.00- $18.13
- Unit price
- per
- $24.99
$29.00- $24.99
- Unit price
- per

- $19.50
$23.00- $19.50
- Unit price
- per
- $17.39
$22.50- $17.39
- Unit price
- per
- $21.19
$32.00- $21.19
- Unit price
- per


- $21.99
$24.00- $21.99
- Unit price
- per
- $15.99
$13.00- $15.99
- Unit price
- per

- $18.99
$15.00- $18.99
- Unit price
- per

- $16.99
$20.00- $16.99
- Unit price
- per

- $21.99
$19.00- $21.99
- Unit price
- per

- $18.79
$15.00- $18.79
- Unit price
- per

- $19.99
$23.00- $19.99
- Unit price
- per

- $19.99
$23.00- $19.99
- Unit price
- per
- $20.72
$18.00- $20.72
- Unit price
- per

- $20.89
$17.00- $20.89
- Unit price
- per

- $17.68
$16.00- $17.68
- Unit price
- per
- $30.50
- $30.50
- Unit price
- per
- $17.58
$23.00- $17.58
- Unit price
- per

- $17.59
$13.00- $17.59
- Unit price
- per