


Outboard Carburetor Adjustment and Tuning for Optimal Performance
Properly adjusted carburetors are essential for your outboard motor's performance, fuel efficiency, and reliability. Whether you're experiencing poor idle quality, hesitation during acceleration, or simply want to maximize your engine's potential, understanding how to tune your outboard's carburetor can save you money and enhance your boating experience.
This comprehensive guide will walk you through the process of adjusting and tuning outboard carburetors, from basic idle adjustments to synchronizing multiple carburetors for peak performance.

Why Carburetor Adjustment Matters
Before diving into adjustment procedures, it's important to understand why proper carburetor tuning is critical:
- Improved Fuel Economy: A properly tuned carburetor delivers the optimal air-fuel mixture, reducing wasted fuel
- Enhanced Performance: Correct adjustments ensure smooth acceleration and maximum power output
- Reliable Starting: Proper settings make cold and hot starting more consistent
- Extended Engine Life: The right air-fuel mixture prevents excessive wear and carbon buildup
- Reduced Emissions: Optimal combustion produces fewer harmful exhaust emissions
Even small adjustments can make a significant difference in how your outboard performs across its entire RPM range.
A thank-you to carburetor enthusiasts: 10% off all carburetor parts and kits.
Enter code CARB10 at checkout to apply.
Understanding Carburetor Adjustment Points
Most outboard carburetors have several adjustment points that control different aspects of engine operation:
1. Idle Mixture Screw
- Function: Controls the air-fuel ratio at idle and low speeds
- Location: Usually on the side of the carburetor body
- Effect: Turning in (clockwise) leans the mixture; turning out (counterclockwise) richens it
- Symptoms of Poor Adjustment: Rough idle, stalling, poor low-speed operation

2. Idle Speed Screw
- Function: Controls the engine's idle RPM
- Location: Typically on the throttle linkage or throttle stop
- Effect: Turning in increases idle speed; turning out decreases it
- Symptoms of Poor Adjustment: Idle too fast or too slow, stalling when shifting into gear
3. High-Speed Mixture Adjustment
- Function: Controls the air-fuel ratio at higher RPMs
- Location: May be a needle valve in the main jet or an adjustable main jet
- Effect: Richer mixture provides more power but can foul plugs; leaner mixture improves economy but can cause overheating
- Symptoms of Poor Adjustment: Poor top-end performance, overheating, black smoke (too rich) or hesitation (too lean)
4. Accelerator Pump Adjustment (if equipped)
- Function: Provides extra fuel during sudden throttle opening
- Location: Connected to the throttle linkage
- Effect: Controls the amount and timing of extra fuel delivery
- Symptoms of Poor Adjustment: Hesitation or stumble during acceleration

Tools Required for Carburetor Adjustment
Having the right tools makes carburetor adjustment much easier and more precise:
Basic Tools:
- Screwdrivers: Various sizes of flat and Phillips head
- Tachometer: To accurately measure engine RPM
- Temperature gauge: To ensure the engine is at proper operating temperature
- Service manual: For your specific outboard model (contains factory specifications)
Advanced Tools (for multiple carburetors):
- Carburetor synchronizer: Vacuum gauge set or manometer to balance multiple carburetors
- Fuel pressure gauge: To verify proper fuel pressure to the carburetor
- Air/fuel ratio meter: For precise mixture analysis (professional tool)

Preparation for Carburetor Adjustment
Proper preparation ensures accurate adjustments and prevents damage:
- Ensure the engine is in good mechanical condition:
- Compression should be within specifications
- Ignition system should be functioning properly
-
Fuel system should be clean and free of restrictions
-
Warm up the engine:
- Adjustments should be made with the engine at normal operating temperature
-
Run the engine for at least 10-15 minutes before making adjustments
-
Connect a tachometer:
- Accurate RPM readings are essential for proper adjustment
-
Follow manufacturer's instructions for tachometer connection
-
Prepare your work area:
- Ensure adequate ventilation
- Have fire extinguisher nearby
- Remove any loose items that could be drawn into the engine
Basic Carburetor Adjustment Procedure
Follow this step-by-step process for basic carburetor adjustment:
Step 1: Initial Idle Mixture Setting
- Locate the idle mixture screw(s) on your carburetor
- Gently turn the screw clockwise until it lightly seats (do not force it)
- Back the screw out the manufacturer's recommended amount (typically 1 to 1.5 turns)
- This provides a baseline setting for further adjustment
Step 2: Set Initial Idle Speed
- Locate the idle speed adjustment screw
- With the engine in neutral, adjust to achieve the manufacturer's recommended idle RPM
- Typical idle speeds range from 600-900 RPM in neutral
- This is a preliminary setting that will be fine-tuned later
Step 3: Fine-Tune Idle Mixture
This is where the real tuning begins:
- With the engine at operating temperature and running at idle in neutral:
- Turn the idle mixture screw slowly inward (clockwise) until the engine begins to run rough or RPM drops
- Note this position
- Turn the screw slowly outward (counterclockwise) until the engine again begins to run rough or RPM drops
- Note this position
-
Set the screw halfway between these two positions for the optimal setting
-
For the "lean best idle" method (preferred by many professionals):
- Turn the idle mixture screw slowly inward until the engine begins to lose RPM
- Back the screw out slowly until the highest stable RPM is achieved
- This is the "lean best idle" position

Step 4: Adjust Idle Speed in Gear
- With the boat safely secured, shift into forward gear
- Adjust the idle speed screw to achieve the manufacturer's recommended in-gear idle RPM
- Typical in-gear idle speeds range from 700-900 RPM
- The engine should idle smoothly without stalling when shifted into gear
Step 5: High-Speed Mixture Adjustment (if adjustable)
Many modern outboards have fixed high-speed jets, but if yours is adjustable:
- In a safe testing environment with the boat properly loaded:
- Run the engine at 3/4 throttle
- Adjust the high-speed mixture screw in small increments
- Look for the highest sustainable RPM without engine hesitation
-
Back off slightly (richer) from this point for safety margin
-
Verify with a test run:
- The engine should accelerate smoothly without hesitation
- At full throttle, there should be no black smoke (too rich) or overheating (too lean)
- Spark plug color after running should be light tan (ideal mixture)
Synchronizing Multiple Carburetors
Outboards with multiple carburetors require synchronization to ensure all cylinders receive the same air-fuel mixture:
Why Synchronization Matters
- Balanced Power: Each cylinder contributes equally to overall power
- Smooth Operation: Eliminates rough running and vibration
- Optimal Efficiency: Prevents some cylinders from running rich while others run lean
- Reduced Wear: Prevents uneven cylinder wear and stress
Synchronization Tools
Two main types of tools are used for carburetor synchronization:
- Vacuum Gauge Sets:
- Multiple gauges connected to each carburetor's intake manifold
- Shows the vacuum produced by each carburetor
- More expensive but very precise
-
Easier to read in various conditions
-
Manometers:
- Fluid-filled tubes that measure vacuum by fluid displacement
- Less expensive but can be more difficult to read
- Can be homemade with clear tubing and colored fluid
- Highly accurate when properly set up

Synchronization Procedure
- Prepare the engine:
- Warm up to operating temperature
- Ensure idle speed is correctly set
-
Locate vacuum ports on each carburetor or intake manifold
-
Connect the synchronization tool:
- Attach vacuum gauges or manometer to each carburetor
-
Ensure all connections are secure and leak-free
-
Identify the master carburetor:
- One carburetor is typically designated as the "master" (usually the one directly connected to the throttle cable)
-
This carburetor serves as the reference point for adjusting the others
-
Adjust the slave carburetors:
- Run the engine at idle
- Locate the synchronization adjustment screws (typically on the throttle linkage)
- Adjust each "slave" carburetor to match the vacuum reading of the master
-
Make small adjustments and allow readings to stabilize between changes
-
Check at various RPMs:
- Increase engine RPM to approximately 2000
- Verify carburetors remain synchronized
- Make additional adjustments if necessary
-
Return to idle and recheck
-
Final verification:
- The engine should run smoothly across the entire RPM range
- All vacuum readings should be within 1" Hg (mercury) of each other
- No single cylinder should sound different from the others

Common Adjustment Problems and Solutions
Even with careful adjustment, you may encounter these common issues:
Problem: Engine Stalls When Shifted Into Gear
- Likely Cause: Idle speed set too low
- Solution: Increase idle speed slightly until the engine maintains idle in gear
Problem: Rough Idle Despite Adjustments
- Likely Cause: Air leak around carburetor or intake manifold
- Solution: Check for loose mounting bolts, damaged gaskets, or cracked intake components
Problem: Inconsistent Idle Quality
- Likely Cause: Worn throttle shaft bushings allowing unmetered air
- Solution: Rebuild or replace the carburetor
Problem: Cannot Achieve Smooth Synchronization
- Likely Cause: Binding throttle linkage or worn components
- Solution: Lubricate or replace linkage components
Problem: Rich Running (Black Smoke) Despite Adjustments
- Likely Cause: Stuck choke or float level set too high
- Solution: Verify choke operation and float level
Seasonal Adjustment Considerations
Carburetors often need slight adjustments as seasons change:
Summer Adjustments
- Higher temperatures may require slightly leaner mixtures
- Watch for signs of overheating with lean settings
- Higher humidity may require minor richening of mixture
Winter Adjustments
- Colder temperatures typically require richer mixtures for starting and warm-up
- Ensure choke operation is correct
- Consider slightly higher idle speed for cold-weather operation
When to Seek Professional Help
While many adjustments can be performed by boat owners, some situations call for professional assistance:
- Complex multi-carburetor setups on larger outboards
- Persistent problems despite careful adjustment
- Specialized adjustment tools required but not available
- Warranty concerns on newer outboards
- Racing applications requiring precise tuning
A qualified marine technician has the experience, tools, and diagnostic equipment to handle complex carburetor issues.
Maintenance Tips to Maintain Proper Adjustment
Once your carburetor is properly adjusted, these practices will help maintain optimal performance:
- Use quality fuel with appropriate octane rating
- Add fuel stabilizer when the boat will sit unused
- Run the engine regularly to prevent fuel degradation in the carburetor
- Keep air filters clean to ensure proper air flow
- Periodically check adjustment screws for vibration-induced movement
- Maintain proper fuel filters to prevent contamination
- Follow winterization procedures to prevent off-season issues
Conclusion
Properly adjusting your outboard's carburetor is both an art and a science. With patience, attention to detail, and the right tools, you can achieve optimal performance, improved fuel economy, and enhanced reliability from your outboard motor.
Remember that carburetor adjustment is an iterative process—small changes can make significant differences in performance. Take your time, make methodical adjustments, and always document your changes so you can return to previous settings if needed.
By following this comprehensive guide, you'll be well-equipped to keep your outboard running at its best throughout the boating season.
For Outboard Owners:
To assist you in maintaining and repairing your marine engines, we hope the following resources may be of use:
-
Carburetors from JLM Marine
-
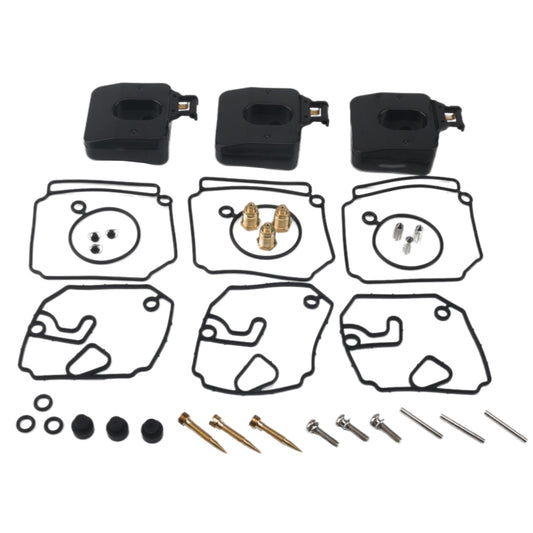
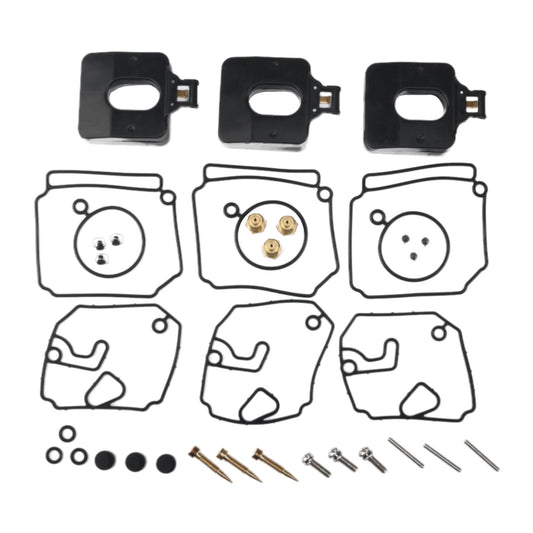
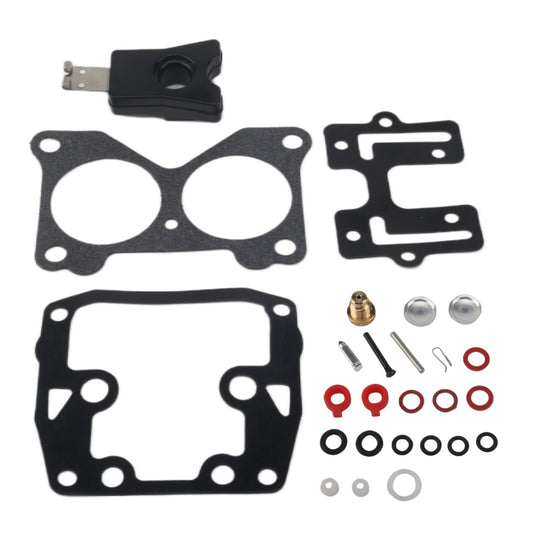
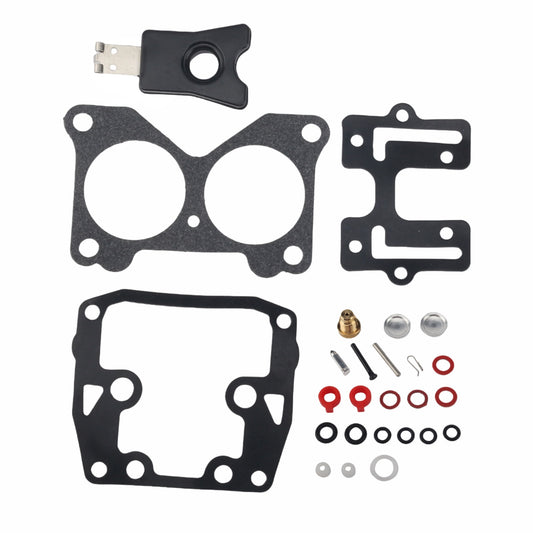
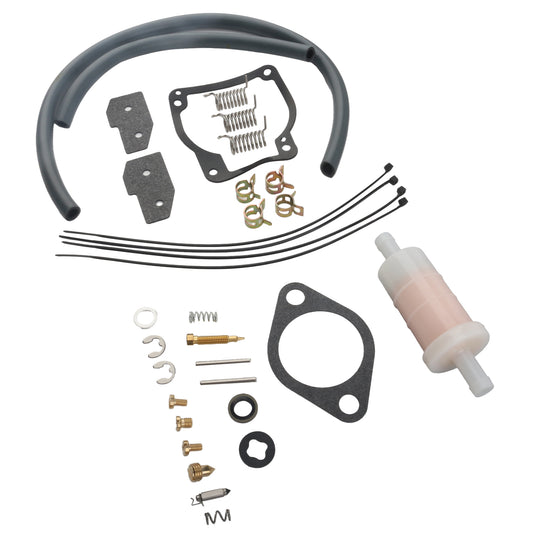
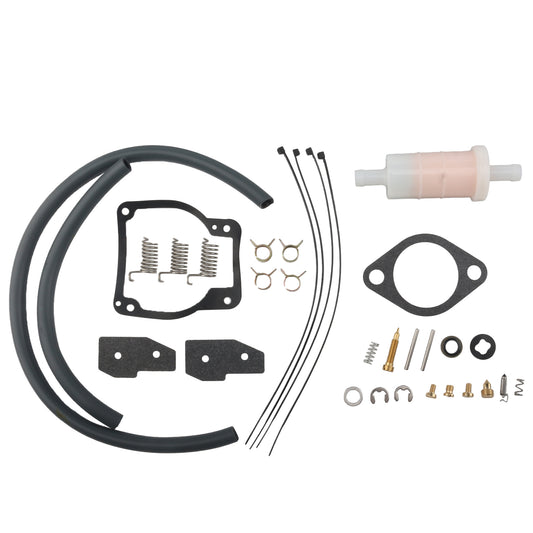
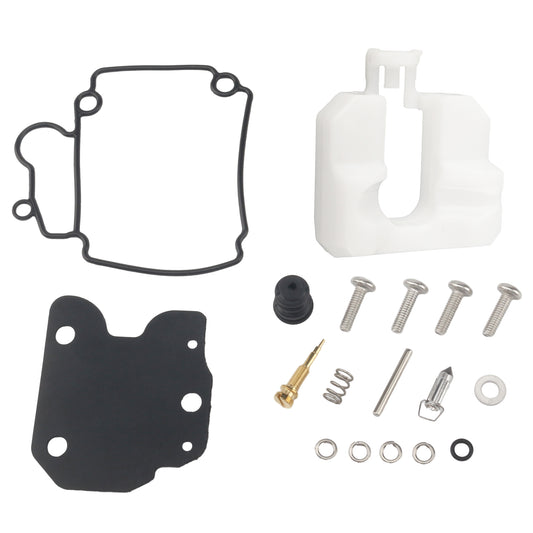
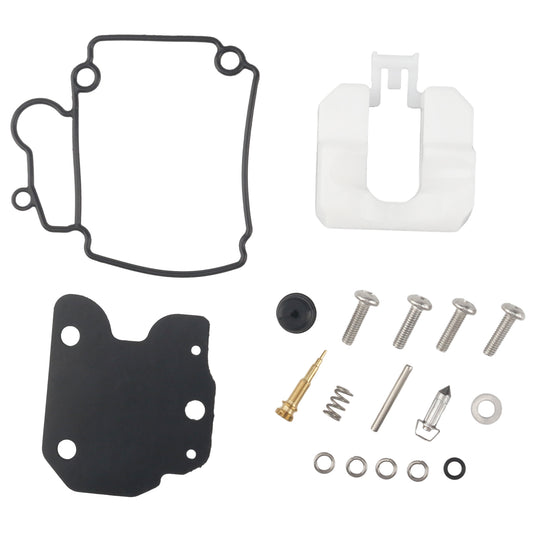
Carburetor Rebuild Kits from JLM Marine
About JLM Marine
Founded in 2002, JLM Marine has established itself as a dedicated manufacturer of high-quality marine parts, based in China. Our commitment to excellence in manufacturing has earned us the trust of top marine brands globally.
As a direct supplier, we bypass intermediaries, which allows us to offer competitive prices without compromising on quality. This approach not only supports cost-efficiency but also ensures that our customers receive the best value directly from the source.
We are excited to expand our reach through retail channels, bringing our expertise and commitment to quality directly to boat owners and enthusiasts worldwide.
Carburetor Repair Kits on Sale
- $46.00
$55.00- $46.00
- Unit price
- per
- $18.13
$59.00- $18.13
- Unit price
- per
- $24.99
$29.00- $24.99
- Unit price
- per

- $19.50
$23.00- $19.50
- Unit price
- per
- $17.39
$22.50- $17.39
- Unit price
- per
- $21.19
$32.00- $21.19
- Unit price
- per


- $21.99
$24.00- $21.99
- Unit price
- per
- $15.99
$13.00- $15.99
- Unit price
- per

- $18.99
$15.00- $18.99
- Unit price
- per

- $16.99
$20.00- $16.99
- Unit price
- per

- $21.99
$19.00- $21.99
- Unit price
- per

- $18.79
$15.00- $18.79
- Unit price
- per

- $19.99
$23.00- $19.99
- Unit price
- per

- $19.99
$23.00- $19.99
- Unit price
- per
- $20.72
$18.00- $20.72
- Unit price
- per

- $20.89
$17.00- $20.89
- Unit price
- per

- $17.68
$16.00- $17.68
- Unit price
- per
- $30.50
- $30.50
- Unit price
- per
- $17.58
$23.00- $17.58
- Unit price
- per

- $17.59
$13.00- $17.59
- Unit price
- per
2 Comments