


Impeller Failure vs Thermostat Failure: Diagnosing Overheating

If your engine's running hot, you've got two usual suspects: the thermostat or the water pump impeller. Both cause overheating, but they do it differently, and mixing them up costs you time and money. I've pulled apart enough engines to know that swapping a thermostat when the real problem is a dead impeller just means you're doing the job twice.
Marine vs Automotive: Know Your System First
Before you start wrenching, understand what you're working on. Marine engines—especially outboards and inboards with raw-water cooling—use a flexible rubber impeller in the water pump. It's a fan with soft vanes that grabs seawater or lake water and pushes it through the block and out the exhaust. When those vanes crack, break, or wear flat, water flow drops hard and the engine cooks. You won't always see a leak; the pump just stops moving enough water.
Automotive engines use a different setup. The water pump has a metal or plastic centrifugal impeller that circulates coolant through a closed loop. Failures here usually show up as bearing noise, a wobbly pulley, or coolant weeping from the weep hole. The rubber-vane breakdown you see in boats doesn't happen in cars, but the result—loss of flow—is the same.
Both systems rely on the thermostat to regulate temperature. It's a valve that stays shut when cold, then opens at a set temperature to let coolant reach the radiator or heat exchanger. Stuck closed, it blocks flow and spikes the temp gauge. Stuck open, the engine stays too cool and you lose cabin heat.
Diagnosing Thermostat Problems

Temperature Gauge Behavior
A stuck-closed thermostat makes the gauge climb fast—sometimes into the red within minutes of reaching operating temp. The upper radiator hose stays cool or just warm because hot coolant never reaches it. The engine is cooking, but the radiator isn't doing anything.
A stuck-open thermostat does the opposite. The gauge barely moves off cold, or it wanders up and down. The engine takes forever to warm up, and if you're in a car, the cabin heater blows lukewarm air even on full blast. Fuel economy often drops because the engine runs rich trying to compensate for low temperature.
The Upper Hose Test
Run the engine to operating temperature. Carefully squeeze the upper radiator hose. If the engine is overheating but the hose is cool and soft, the thermostat is stuck closed—coolant isn't flowing to the radiator. If the hose is hot and pressurized (hard to squeeze), the thermostat opened and the problem is elsewhere.
Safety note: Never open the radiator cap or touch hoses on a hot engine. Wait until it cools. Pressurized coolant will burn you badly.
Coolant Leaks Around the Housing
Thermostats don't usually leak on their own, but the housing gasket can fail from age or heat cycling. If you see coolant seeping from the thermostat housing bolts or a puddle under that area, plan to replace the gasket when you swap the thermostat.
Unusual Sounds
A thermostat stuck closed can cause a gurgling noise as coolant boils in the block. That's steam pockets forming. You might also hear pinging or knocking—that's pre-ignition from excessive heat, not the thermostat itself. If you hear that, shut it down immediately.
Thermostat Lifespan
Thermostats generally last 100,000 to 150,000 miles in cars, or about 10 years in marine engines with lower annual hours. Cheap aftermarket units can fail much sooner—sometimes in under two years. If your engine is past 100k miles or a decade old and you're seeing temperature swings, replace the thermostat as preventive maintenance. It's a $20 part that can save a $2,000 head gasket job.
Diagnosing Impeller and Water Pump Problems

Marine: Check the Telltale Stream
On outboards and stern drives, the easiest check is the raw-water discharge—the "pee stream" that shoots out near the lower unit or exhaust. At idle, it should be a steady, strong flow. If it's weak, intermittent, or gone, the impeller is likely shot. A common pattern: the stream is fine at throttle but dribbles at idle. That means some vanes are broken but enough remain to move water under higher RPM. This is why regular outboard water pump impeller replacement is so critical.
Automotive: The Radiator Cap Test
With the engine cold, remove the radiator cap. Start the engine and bring it to operating temperature while watching the coolant in the neck. Once the thermostat opens, you should see turbulence—coolant visibly circulating. If the coolant sits still like a puddle, even after the thermostat opens, the water pump impeller isn't moving fluid. The pump might spin and make no noise, but internally it's dead.
Noise and Wobble
Automotive water pumps fail at the bearing before the impeller in most cases. You'll hear a grinding or squealing from the front of the engine, and if you grab the pulley with the engine off, it'll wobble or feel rough when you spin it by hand. Marine raw-water pumps are quieter but can make a rattling sound if debris jams the impeller or the faceplate is worn.
Coolant Leaks at the Pump
Car water pumps have a weep hole designed to drip coolant when the internal seal fails. If you see green, orange, or pink stains below the pump or dried coolant crust on the pump body, the seal is gone. This usually happens before the impeller itself fails, but both mean the pump needs replacement.
Overheating Under Load
Impeller failure often shows up when you're working the engine hard—highway speeds in a car, or pulling a skier in a boat. At idle or low speed, there's just enough flow to keep temps normal, but under load the cooling demand exceeds what the worn impeller can supply and the gauge climbs. A thermostat stuck closed, by contrast, causes overheating at any speed once it's warm.
Key Differences: Impeller vs Thermostat
| Symptom | Thermostat Stuck Closed | Thermostat Stuck Open | Impeller/Pump Failure |
|---|---|---|---|
| Temp gauge | Rapid spike to hot | Stays low, wanders | Gradual climb, worse under load |
| Upper radiator hose | Cool/warm, soft | Warm, normal pressure | May be hot if stat opens, but flow weak |
| Cabin heat (cars) | May work briefly, then overheat | Poor/none | Usually normal until severe overheat |
| Telltale stream (boats) | Strong if pump works | Strong if pump works | Weak, intermittent, or absent |
| Coolant flow at radiator | Blocked until stat opens (never does) | Always flowing | Little or none even after stat opens |
| Onset | Sudden after warm-up | Immediate from cold start | Can be gradual over weeks |
Cooling system failures cause roughly 25% of major engine damage in North America, and overheating accounts for 15% of failures in engines over 100,000 miles according to May Automotive. Thermostats and water pumps together make up a large share of those cases, which is why nailing the diagnosis the first time matters.
Step-by-Step Replacement: Thermostat
Replacing a thermostat is straightforward if you work methodically.
- Drain coolant. Open the petcock at the bottom of the radiator or pull the lower hose. Catch the coolant in a drain pan—don't dump it on the ground.
- Locate the housing. Follow the upper radiator hose to the engine. The thermostat sits in a housing where that hose connects, usually held by two or three bolts.
- Remove the housing. Unbolt it and pry it gently off the block. The old thermostat will either lift out or be stuck to the gasket.
- Clean the surfaces. Scrape off all old gasket material with a plastic scraper. Any remnants will cause leaks.
- Install the new thermostat. Pay attention to orientation. Most have a jiggle pin or air bleed that must face up. Some have an arrow or "front" marking. Install it wrong and it won't open.
- Use a new gasket. Don't reuse the old one. Some thermostats come with a rubber seal instead of a paper gasket—either works.
- Torque the bolts. Snug them evenly. Over-torquing cracks the housing; under-torquing leaks. Spec is usually 10–15 ft-lbs.
- Refill and bleed. Top off the coolant and run the engine with the cap off (when safe) or open the bleed screw if equipped. Squeeze the upper hose to burp out air pockets. Air in the system mimics a bad thermostat or pump and will make you chase your tail.
We use JLM thermostats because they use a copper-impregnated wax element that responds to heat changes faster and more reliably than budget aftermarket units. The spring tension is factory-spec, so you get smooth, consistent opening at the rated temperature. OEM is fine if you want to pay double for the logo on the box, but JLM gives you the same engineering at half the cost. Learn more about thermostat care in our Thermostat Maintenance guide.
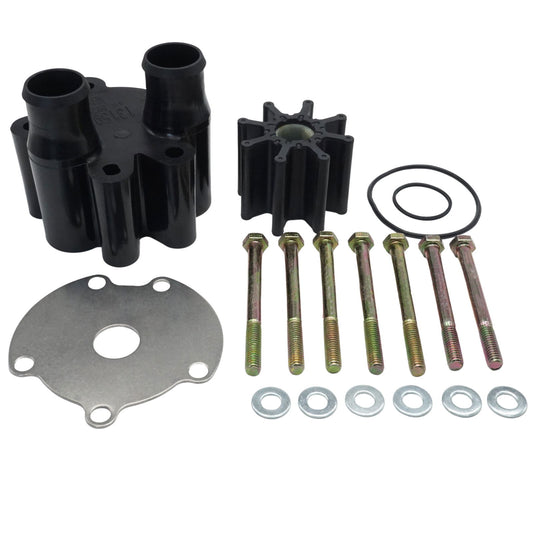
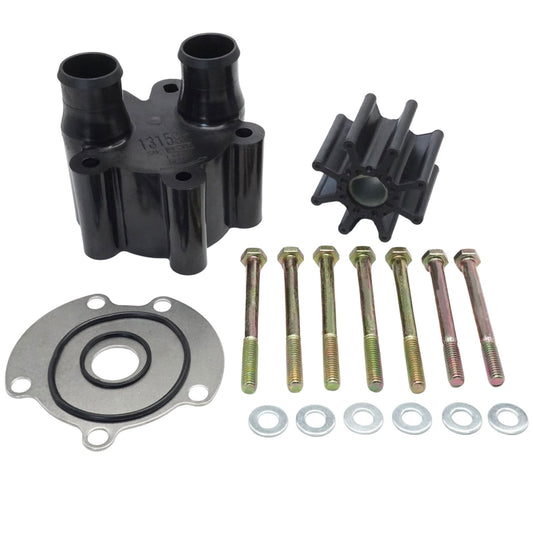
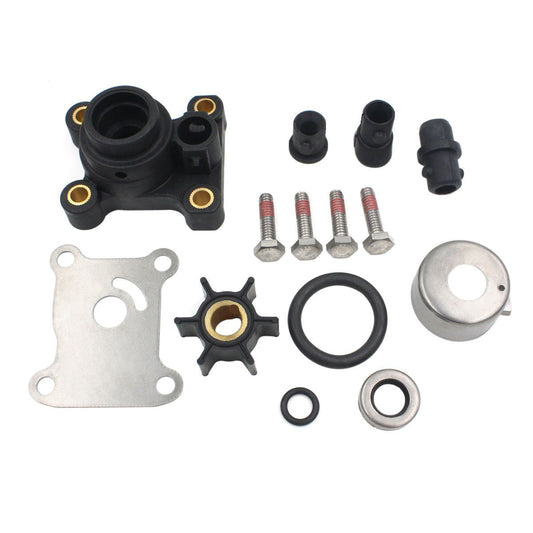
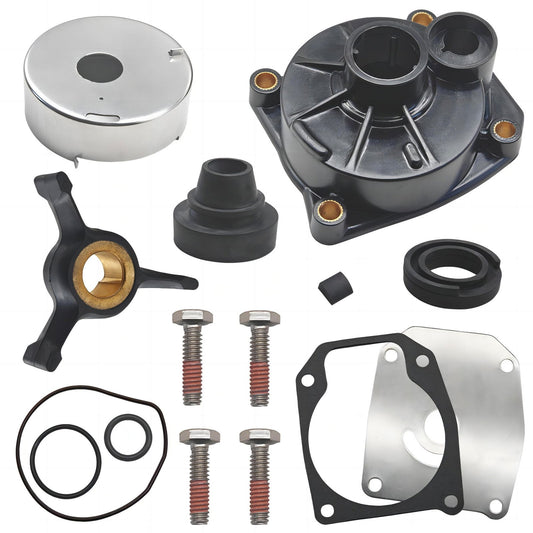
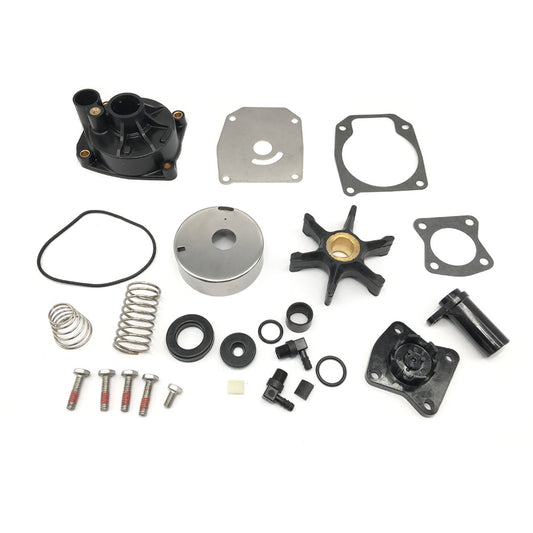
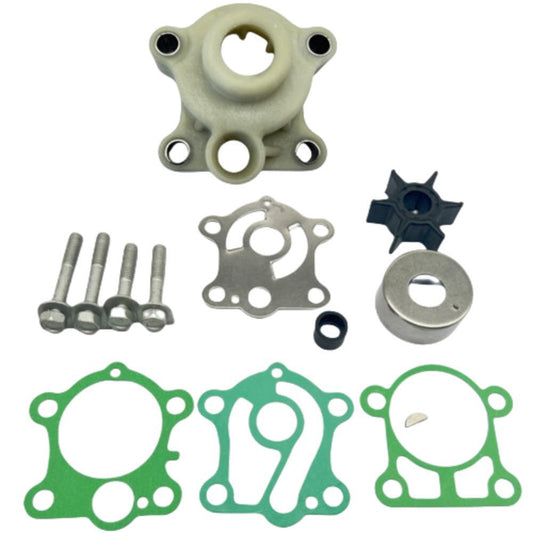
Step-by-Step Replacement: Water Pump Impeller
Marine Impeller (Outboard/Inboard Raw-Water Pump)
- Pull the lower unit or access cover. On outboards, this usually means dropping the lower unit by removing four to six bolts. On inboards, remove the faceplate or pump cover.
- Inspect the old impeller. Count the vanes. If any are missing, find them—they're somewhere in the cooling passages and can cause a blockage. Flush the system if needed.
- Lubricate the new impeller. Use marine-grade water pump grease or glycerin. Do not install it dry; the vanes will tear on startup.
- Orient the vanes correctly. Vanes must curve in the direction of rotation. Check your service manual or mark the old one before removal.
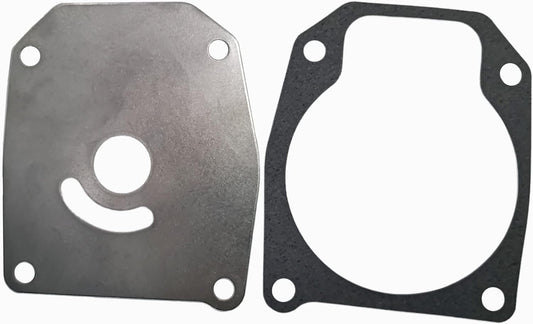
- Install the faceplate and gasket. Torque evenly in a star pattern to avoid warping.
- Test. Run the engine on muffs or in a test tank. Confirm a strong telltale stream before you launch.
Impeller service interval: Most manufacturers recommend every 2–3 years or 200–300 hours, whichever comes first, even if the old one looks okay. We sent a kit to a guy in Queensland last month whose impeller looked perfect but had hardened from sitting—it overheated on the first trip. Replace it on schedule and you won't get stranded. For more details, check our comprehensive How Often Should You Replace Your Outboard’s Impeller? guide.
Automotive Water Pump
- Remove the drive belt. Loosen the tensioner and slip the belt off the pulleys.
- Drain the coolant. Same as the thermostat job.
- Unbolt the pump. Typically four to eight bolts hold it to the block or timing cover. Some pumps are behind the timing belt, which means pulling the cover and possibly the belt itself—check your manual.
- Clean the mating surface. Scrape off old gasket material and RTV. A dirty surface will leak.
- Install the new pump with a new gasket. Some use RTV sealant instead of a gasket. Apply a thin, even bead and torque the bolts in sequence to avoid warping the flange.
- Reinstall the belt and refill coolant. Bleed the system thoroughly.
Don't use the $30 pump from an unknown brand. The impeller blades are often thinner, the bearings are junk, and the seal leaks within a year. JLM water pumps use the same foundries that supply OEM contracts, but we cut out the dealership markup. You get a pump that fits correctly, seals properly, and lasts.
When the Problem Is Neither
If you've confirmed the thermostat opens and the pump is moving coolant but the engine still overheats, check:
- Radiator blockage. External debris (bugs, leaves) or internal scale can choke flow. Flush the radiator or have it rodded out.
- Clogged coolant passages. Rust, corrosion, or stop-leak sludge can restrict flow inside the block. This is common in engines that sat for years or ran straight water instead of proper coolant mix.
- Head gasket failure. Combustion gases entering the cooling system create hot spots and pressure spikes. Look for bubbles in the radiator, white smoke from the exhaust, or a sweet smell.
- Faulty radiator cap. If the cap doesn't hold pressure, coolant boils at a lower temperature. Test it or swap in a new one—they're $10.
Cooling system pressure testing and combustion gas testing are jobs for a shop if you don't have the tools.
Preventive Maintenance 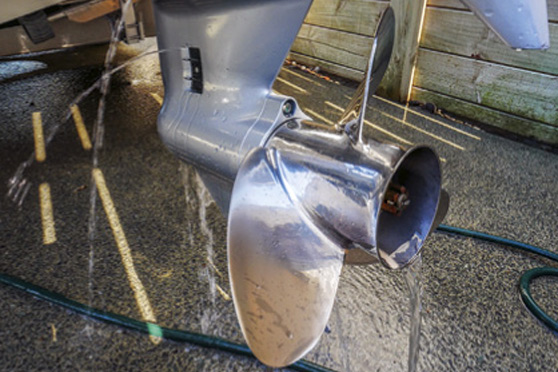
Marine engines: Flush with fresh water after every saltwater use. Salt crystals corrode the impeller housing and vanes. Change the impeller every 2 years minimum, even if it looks fine. Carry a spare impeller kit and the tools to swap it—breaking down offshore because of a $40 part is inexcusable. For detailed tips, see our Johnson/Evinrude Outboard Water Pump Replacement Guide.
Automotive engines: Use the correct coolant type (OAT, HOAT, IAT—check your manual) and change it per the manufacturer's interval, usually 5 years or 100,000 miles. Old coolant turns acidic and eats gaskets, hoses, and thermostat seals. Check the water pump for leaks and noise every time you change the belt. Catch a bearing failure early and you'll replace just the pump; ignore it and you'll replace the pump, belt, and possibly the alternator it grenades when it locks up.
Pro tip: After any cooling system work, run the engine to full operating temperature, let it cool overnight, then check the coolant level again in the morning. Bleeding never gets 100% of the air out on the first try, and low coolant from trapped air will overheat your engine even with brand-new parts. For all your marine part needs and expert advice, explore JLM Marine's direct factory parts collection.
About JLM Marine
Founded in 2002, JLM Marine has established itself as a dedicated manufacturer of high-quality marine parts, based in China. Our commitment to excellence in manufacturing has earned us the trust of top marine brands globally.
As a direct supplier, we bypass intermediaries, which allows us to offer competitive prices without compromising on quality. This approach not only supports cost-efficiency but also ensures that our customers receive the best value directly from the source.
We are excited to expand our reach through retail channels, bringing our expertise and commitment to quality directly to boat owners and enthusiasts worldwide.
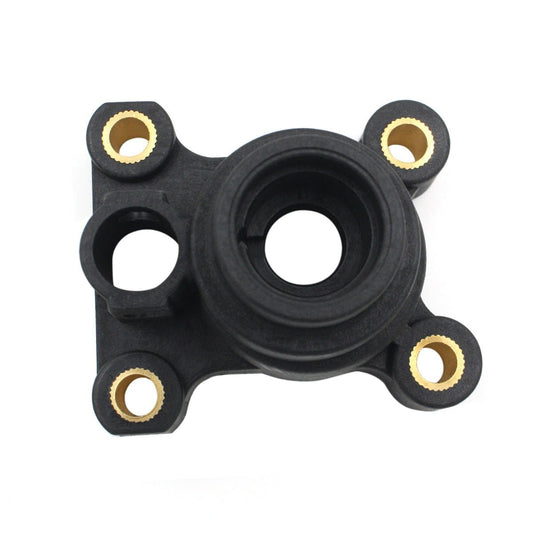
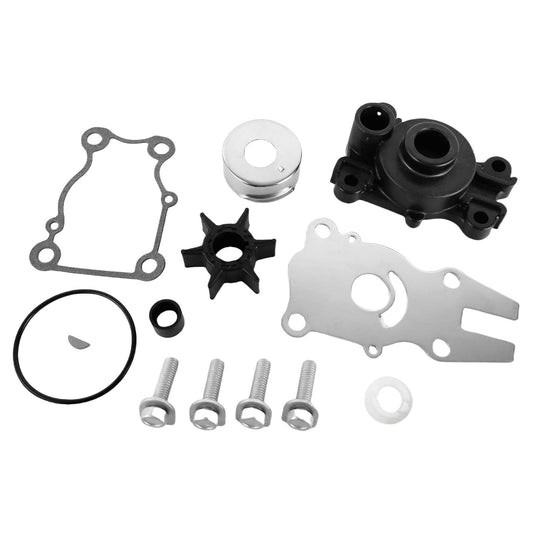
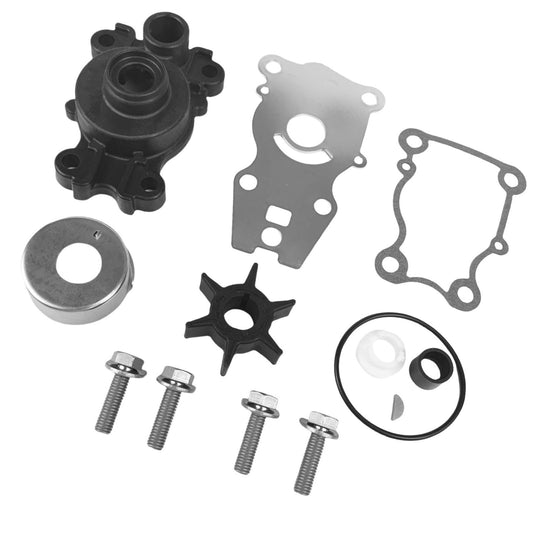
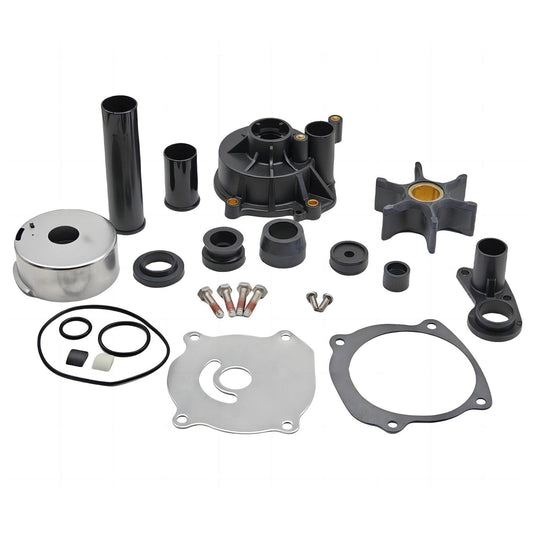
Water Pump Repair Kits on Sale
- $29.75
$35.00- $29.75
- Unit price
- per
- $16.99
$27.00- $16.99
- Unit price
- per
- $19.99
$23.00- $19.99
- Unit price
- per

- $85.99
$103.00- $85.99
- Unit price
- per

- $35.00
$42.00- $35.00
- Unit price
- per

- $27.99
$33.00- $27.99
- Unit price
- per

- $55.00
$66.00- $55.00
- Unit price
- per
- $39.89
$45.00- $39.89
- Unit price
- per
- $26.90
- $26.90
- Unit price
- per
- $55.50
- $55.50
- Unit price
- per
- $50.99
$59.00- $50.99
- Unit price
- per

- $29.99
$35.00- $29.99
- Unit price
- per
- $39.98
$45.00- $39.98
- Unit price
- per

- $49.99
$59.00- $49.99
- Unit price
- per

- $45.99
$55.00- $45.99
- Unit price
- per

- $43.00
- $43.00
- Unit price
- per

- $27.99
$33.00- $27.99
- Unit price
- per

- $25.56
$30.00- $25.56
- Unit price
- per

- $19.50
$23.00- $19.50
- Unit price
- per

- $36.00
- $36.00
- Unit price
- per