


Vintage Outboard Motor Restoration: No Spark to Running Smoothly
- Start with the Ignition System
- Fuel System Comes Next
- Cooling System Prevents Overheating
- Lower Unit and Propeller
- Compression and Mechanical Tune
- Reassembly and First Start
- OEM vs Aftermarket Parts for Vintage Restorations
- The Vintage Outboard Community
- Real Restorations: No Spark to Running
- Market Context
- Parts Sourcing Strategy
- Sources
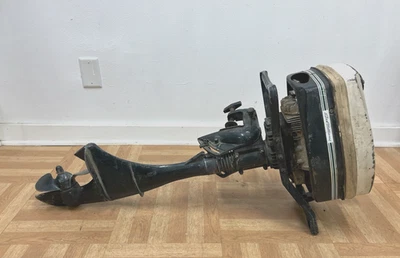
Getting a vintage outboard from dead to smooth takes patience and a methodical approach. After 20 years working on these motors, I can tell you most no-spark problems boil down to five things: corroded connections, bad coils, weak magnets, faulty CDI units, or a stop switch that's shorting out. The good news? Once you fix ignition, the rest usually falls into line.
Start with the Ignition System
Pull the spark plug first. Hook it to the wire, ground it against the block, and have someone yank the starter. No spark? Don't panic yet. Disconnect the stop circuit completely—that kill switch or its corroded wiring shorts out more motors than people think. Test again. If you get spark now, your problem was the stop circuit. If not, keep going.
Check every electrical connection you can reach. Old Johnson and Evinrude motors love to collect corrosion under flywheel covers and around coil mounts. Wire-brush the contacts, spray with contact cleaner, reassemble. Test again before you go deeper.
Coils fail. It happens. The original coil on a 1960s motor has been through decades of heat cycles and moisture. Generic aftermarket coils work fine for testing—swap it in and see if spark returns. If your motor uses points, pull the flywheel and inspect them. Points get pitted and burn. Clean them with 400-grit sandpaper or a points file, reset the gap per your service manual, and check the condenser while you're in there. A bad condenser kills spark just as dead as bad points.
Flywheel magnets lose strength over time. It's rare, but it happens on motors that sat in damp sheds for 30 years. You can test magnet strength with a gauss meter, but honestly, if everything else checks out and you still have weak spark, suspect the flywheel. Magneto systems are simpler than CDI but just as prone to failure from sitting. Clean every surface, check for cracks in the stator windings, and verify the air gap between flywheel and coil is correct—usually 0.010 to 0.015 inches.
CDI units on later vintage motors either work or they don't. There's no fix—you replace them. The Antique Outboard Motor Club forums are full of guys tracking down used CDI boxes because new ones aren't made anymore. Test by swapping in a known-good unit if you can borrow one.
Fuel System Comes Next
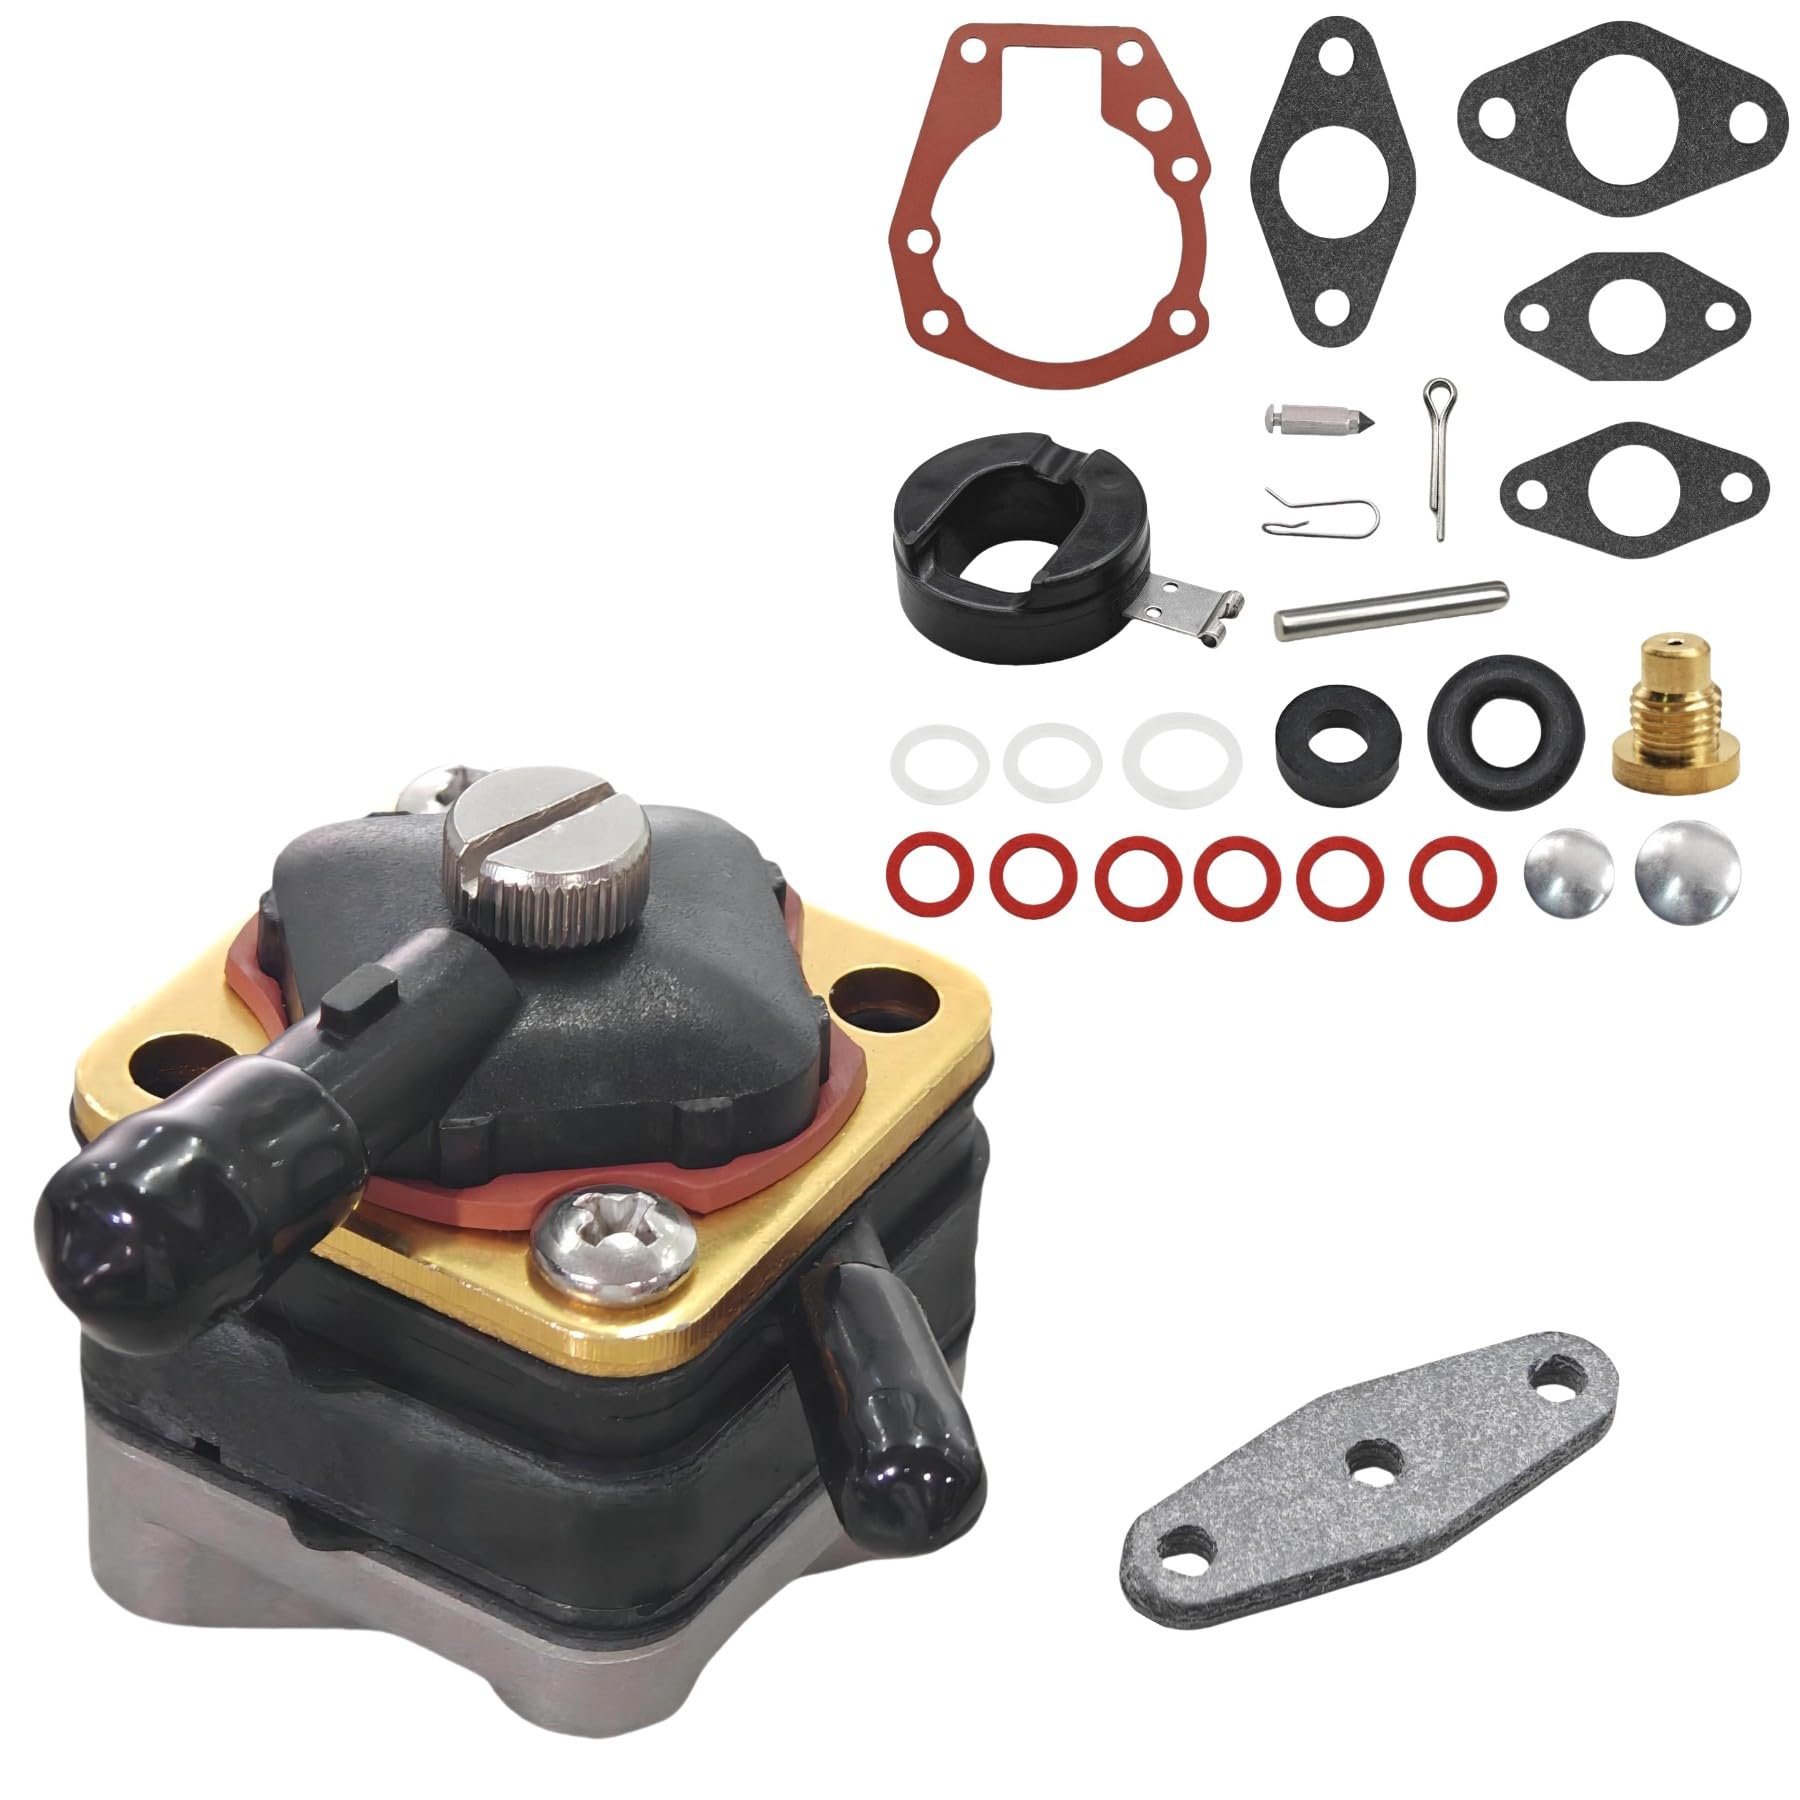
Once spark is solid, move to fuel. Drain whatever's in the tank—it's varnish by now. Ethanol-blended gas destroys old fuel system components, so expect to rebuild the carburetor and fuel pump completely. Use ethanol-tolerant rebuild kits. The cheap kits from random online sellers use rubber that swells or cracks within months. We've seen it dozens of times. A quality rebuild kit—like what we stock at JLM Marine—uses diaphragms and check valves that handle modern fuel. The difference is real: proper fit, correct spring tension, and materials that don't degrade.
Strip the carburetor down to bare metal. Soak the body in carburetor cleaner overnight, blow out every passage with compressed air, and make sure the jets are clear. Check the float for leaks—old cork or brass floats absorb fuel and sink. Replace if needed. Inspect the needle valve and seat; if they're worn, the motor will flood. Reassemble with the new gaskets and diaphragms from your kit, set the idle mixture screws to factory spec as a starting point, and plan to fine-tune later.
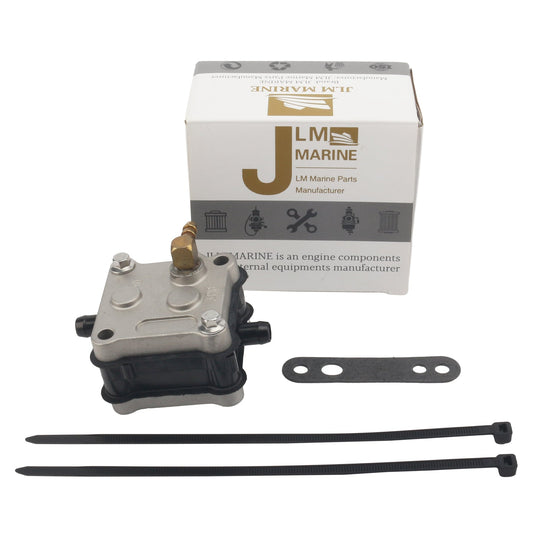
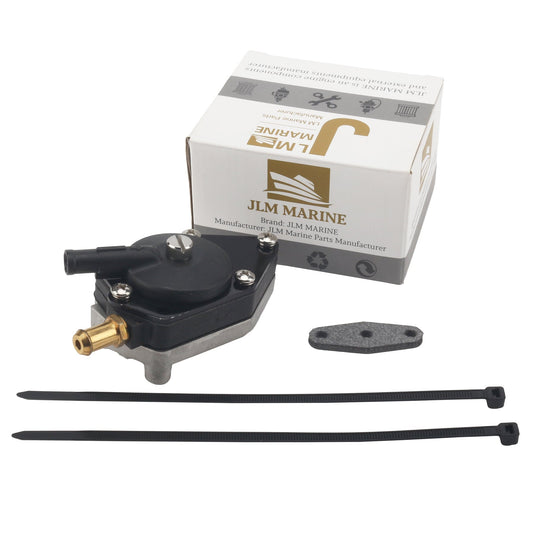
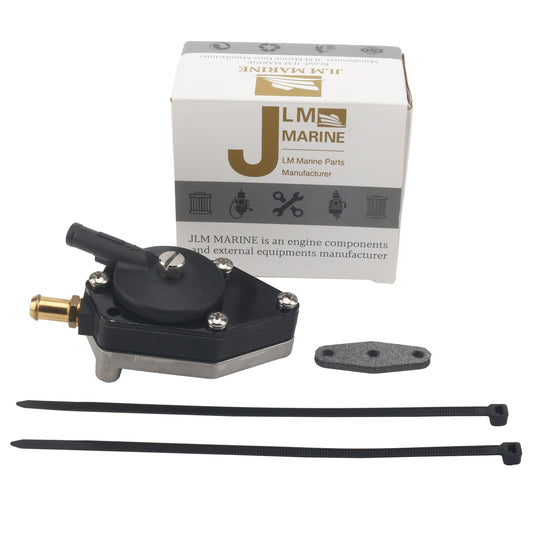
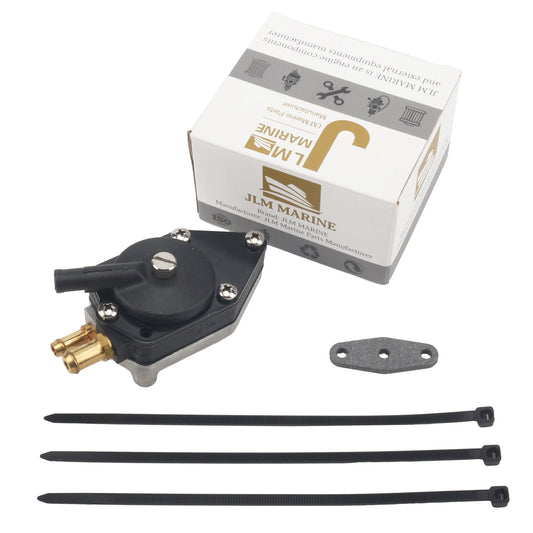
Fuel pumps fail from sitting. The diaphragms get stiff, check valves stick, and the little spring inside loses tension. Rebuild it the same way you did the carb. Replace all lines—the old rubber cracks and sucks air, leaning out your mixture and causing erratic running or failure to start. Use modern fuel line rated for ethanol.
Cooling System Prevents Overheating
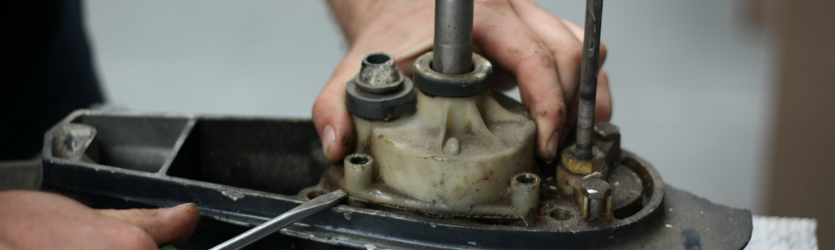
A vintage motor that starts but overheats won't run long. The water pump impeller is your first check. Pull the lower unit, open the pump housing, and inspect the impeller. If the vanes are stiff, cracked, or missing chunks, replace it. Even if it looks okay, replace it anyway if it's been sitting—rubber hardens over time. Check the pump housing for scoring. Deep grooves mean the impeller dragged metal and the housing needs replacement or machining.
Clear the intake grates on the lower unit of mud, leaves, and fishing line. We've pulled motors apart to find the intake completely blocked. Verify the thermostat opens at the correct temperature by dropping it in a pot of water with a thermometer. If it sticks closed, the motor overheats. If it sticks open, the motor runs cold and burns fuel poorly.
The tell-tale stream—the "pee stream"—is your real-time cooling indicator. On a healthy motor it's a steady stream at idle and stronger at throttle. If it dribbles at idle but improves with throttle, you likely have a partial blockage in the cooling passages or a weak impeller. If there's no stream at all, stop immediately—you'll seize the powerhead.
For detailed steps on checking and replacing water pump components, consult our Johnson/Evinrude Outboard Water Pump Replacement Guide and explore the cooling system parts collection for quality replacements.
Lower Unit and Propeller
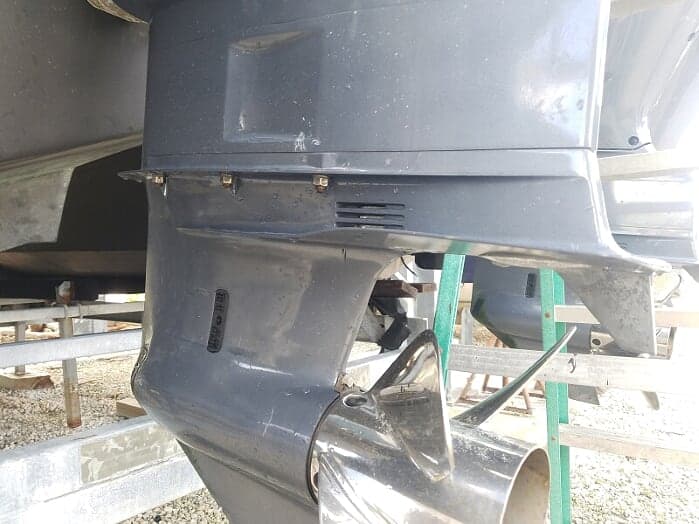
Drop the lower unit and inspect the propeller. Bent blades cause vibration. Check for hub slippage by marking the prop and hub with a paint pen, then running the motor under load—if the marks shift, the hub is spinning inside the prop. Fishing line wrapped around the prop shaft binds the seals and overheats the lower unit. Cut it all away.
Check the lower unit oil. Milky oil means water intrusion through bad seals. Drain it, refill with fresh lower unit oil, and monitor. If it goes milky again quickly, plan to replace the seals. The Cruising World service guide walks through seal replacement if you want to DIY it, but it's a pain without a press and the right tools.
Compression and Mechanical Tune

Run a compression test on all cylinders. Vintage two-strokes should show at least 90-100 psi per cylinder, and the numbers should be within 10% of each other. Low compression means worn rings, scored cylinder walls, or a blown head gasket. If compression is good, verify timing with a timing light. Most service manuals specify timing at idle and at a specific RPM. Adjust the stator plate or points to hit the marks.
Rebuild the recoil starter while you're in there. These things are simple: a spring, a rope, and a ratchet mechanism. Clean out 40 years of grease, inspect the spring for cracks, replace the rope if it's frayed, lubricate the pawls, and reassemble. A smooth pull makes starting so much easier.
Reassembly and First Start
Button everything up. Fresh fuel, fresh plug, all connections tight. Prime the carburetor by pushing the bulb until it's firm. Set the throttle to neutral, pull the choke if equipped, and pull the starter. If everything is right, it should fire within a few pulls. Let it warm up in a barrel or on the hose—don't run it dry.
Listen for irregular firing or bogging. Adjust the idle mixture screw a quarter-turn at a time until it idles smoothly. Advance the throttle gradually and listen for acceleration stumbles. If it bogs, you're lean—richen the mixture. If it loads up and smokes excessively even for a two-stroke, you're rich—lean it out.
Check the tell-tale stream constantly during the first run. If it's weak or stops, shut down immediately. Once it runs clean at all throttle positions and the cooling system is confirmed, take it to the water for a real test. Run it under load, watch the temp, and listen for any odd sounds.
OEM vs Aftermarket Parts for Vintage Restorations
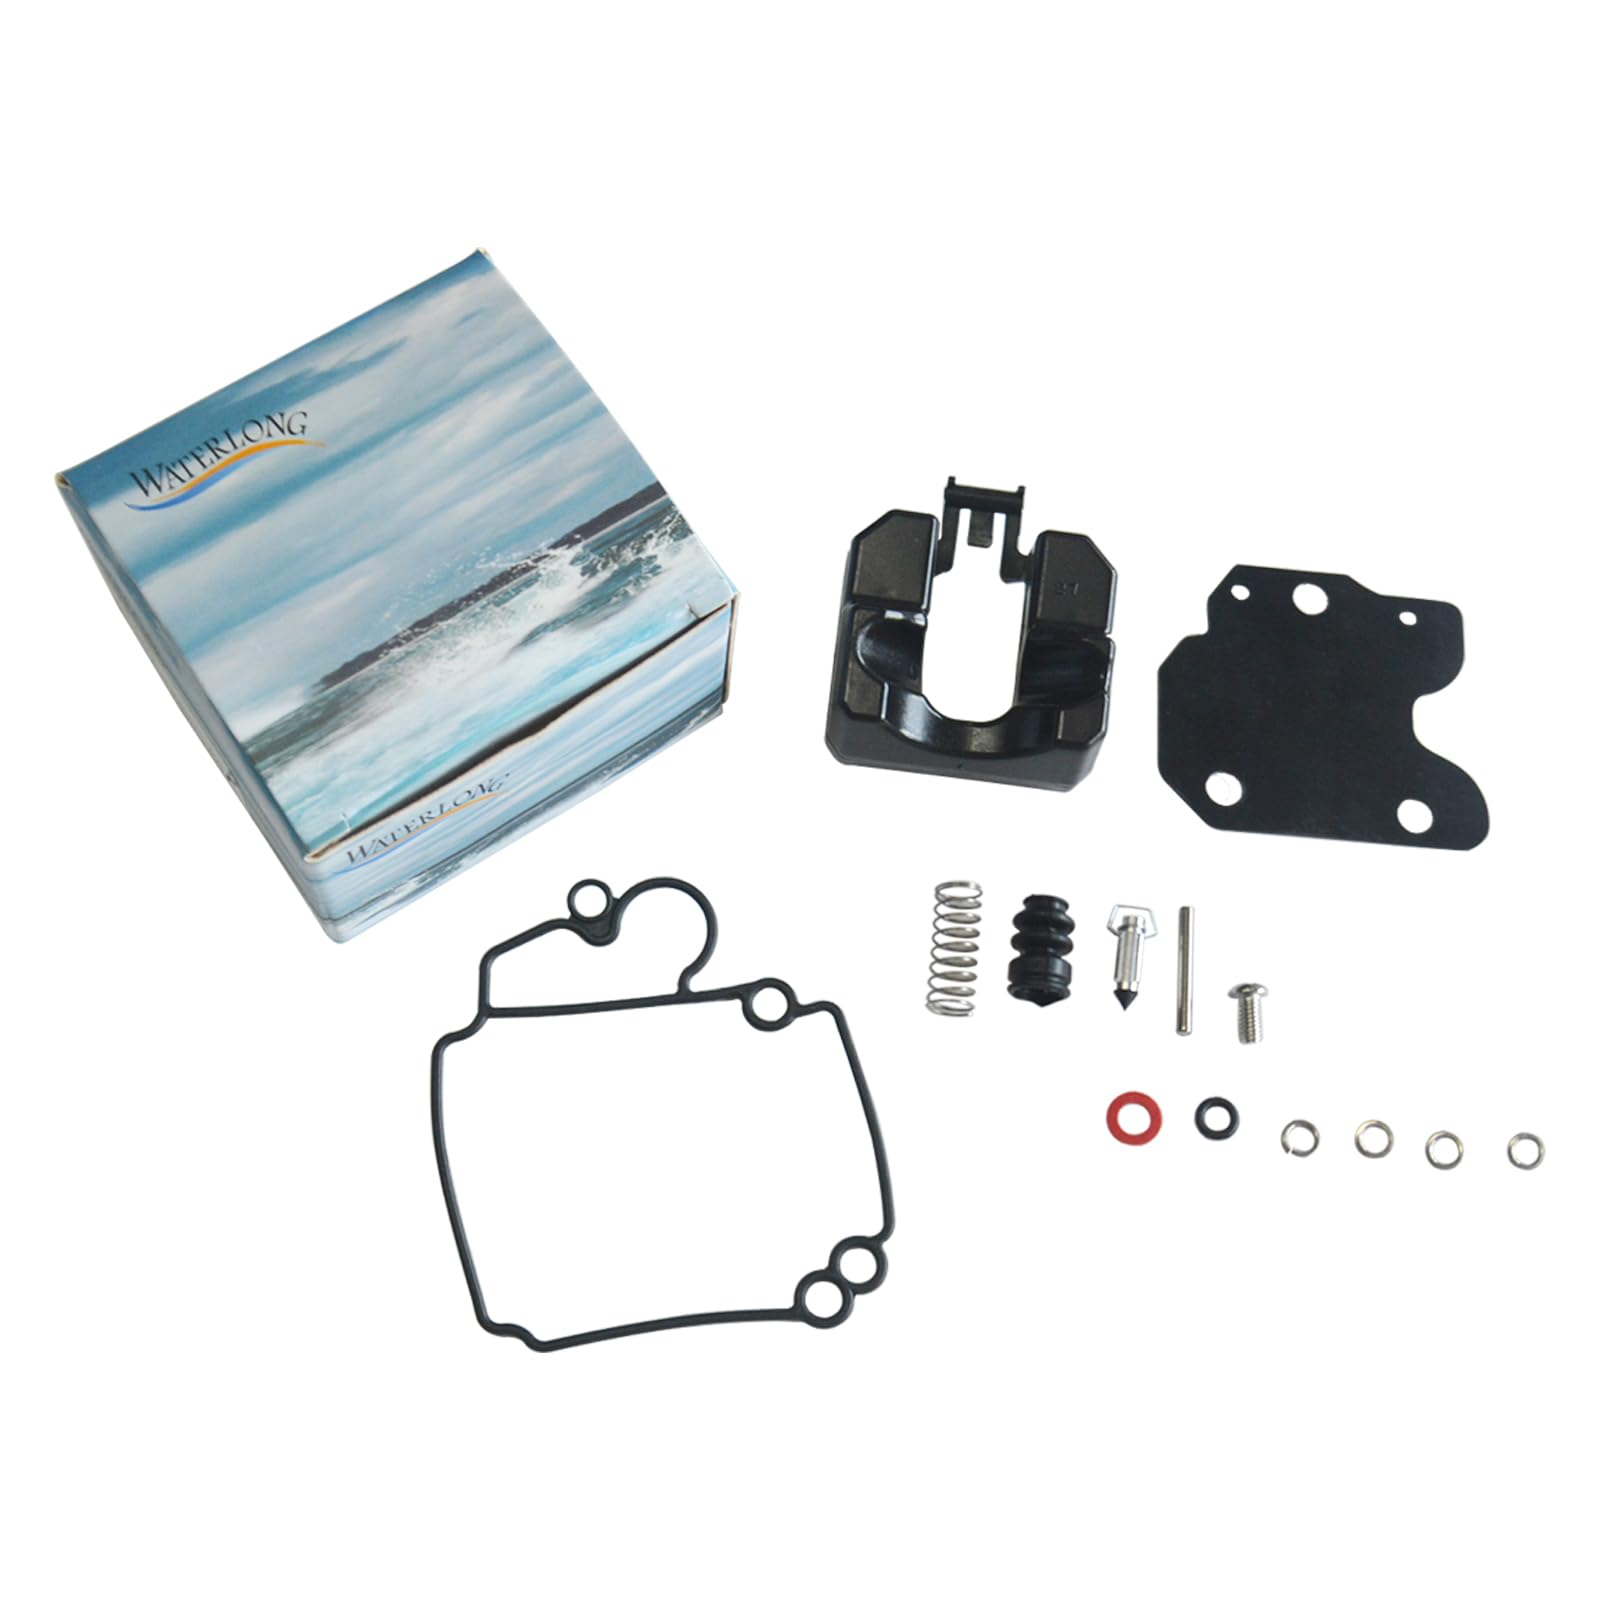
You'll need parts. OEM parts for vintage motors—when you can find them—cost a fortune. A factory water pump kit or carburetor rebuild kit from a dealer can run $80-$150. Yes, OEM quality is reliable, but you're paying a premium for a box with a logo on it.
Cheap no-name aftermarket kits are a gamble. We've installed $15 carburetor kits that failed within weeks because the diaphragm material was wrong or the check valves didn't seat. The motor runs poorly, you tear it apart again, and you've wasted a weekend.
The middle ground—reputable aftermarket manufacturers—gives you factory-spec quality without the dealer markup. Some of the same factories that produce OEM components use excess capacity to manufacture non-OEM parts. These parts meet the same tolerances and material standards. That's why we like the JLM Marine carburetor repair kits. They fit correctly, use ethanol-resistant materials, last through multiple seasons, and don't burn your budget unnecessarily. We ship direct from the factory to your door, whether you're in Ohio or Australia. Find all your needed parts and accessories at JLM Marine.
The Vintage Outboard Community
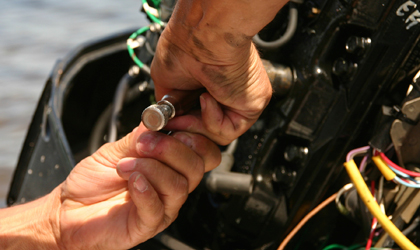
The Antique Outboard Motor Club, active since 1965, supports thousands of restorers. Members share service manuals, troubleshooting advice, and parts sources. Bill Andrulitis, an AOMC member since 1971 and retired mechanical engineer, says "The nice thing about the hobby is that acquiring most outboards is relatively inexpensive and the parts are not overly pricey. And, of course, with the internet and social media, as well as our club meetups, getting help and having questions answered is usually easy, even if you're just starting out and aren't mechanically inclined."
Andrulitis adds, "Some guys are good with specific outboard brands, others are sort of tuned into the electrical aspects of the outboards and some guys know how to source or make parts. It's pretty difficult to get stumped with a problem if you're active in the club." He even makes custom parts in his small machine shop for members who can't find originals. "But folks who are a little crafty can often make their own gaskets, carb floats, seals and things like that. Some old automobile engine parts even work on these outboards."
Walter Leniart, a 35-year AOMC Yankee member, points out a key challenge: "You really can't just pop the motor on, pull the cord and run it in many cases. That's where having the club helps. If you don't know the settings, someone will."
Real Restorations: No Spark to Running
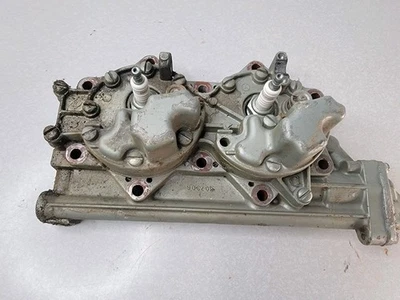
A restorer brought a late-1940s Johnson TD20 5 HP back to life after it sat unused since the early 1970s. Initially no spark due to dirty breaker points. He cleaned the points with sandpaper, reinstalled the flywheel, confirmed strong spark on both cylinders, added fresh gas, and the motor idled smoothly in a barrel after priming. Only minor cleanup required.
T-Mike of T-Mikes Vintage Outboards fully restored a 1958 Johnson 18 HP from non-running condition, addressing spark, compression, and fuel. The motor runs beautifully now, and he documented the entire process for other hobbyists.
A 15-year-old from Cartersville, Georgia, got a barn-stored 1955 Johnson 3 HP running after years of inactivity. The ignition was perfect—coils and points had been replaced before storage—so he focused on adjusting the carburetor needles. The motor fired right up. He's now planning a full cosmetic restoration with paint and decals for use on jon boats.
Market Context
About 18% of US outboard engines undergo partial rebuilds after 1,000 operating hours as part of annual maintenance. Rebuilt engines can achieve reliability comparable to new if done by skilled technicians using quality parts. The US outboard motor rebuild service market, which includes vintage restorations, was valued at USD 0.15 billion in 2023 and is projected to reach USD 0.30 billion by 2032 at an 8% CAGR. North America leads due to its boating culture.
Well-maintained outboards last 1,500-3,000 hours. Restorations extend this lifespan significantly, with four-strokes potentially reaching 4,000 hours using proper oil. Nearly 40% of premature failures link to lubrication issues, highlighting restoration's role in prevention.
Parts Sourcing Strategy
Track down service manuals through the AOMCI library or online archives. You need specs for point gap, timing, carburetor settings, and torque values. eBay often has used parts—CDI boxes, coils, lower units—but verify compatibility before buying. Marine salvage yards stock older components. Specialists like T-Mike's and online retailers carry rebuild kits and common wear items.
When you can't find a part, improvise. Some old automotive engine parts cross-reference to vintage outboards. Gaskets can be cut from sheet material. Andrulitis notes, "Sometimes, nothing can be done," when discussing motors too far gone, but most are salvageable with creativity and patience.
After every ride, flush your engine with fresh water through the cooling system for five minutes. This prevents salt or mineral buildup in the passages and keeps the thermostat from seizing. Do this and your vintage motor will start reliably next season.
Sources
- Antique Outboard Motor Club (AOMCI): https://www.aomci.org
- Business Research Insights - Outboard Motor Rebuild Service Market: https://www.businessresearchinsights.com/market-reports/outboard-motor-rebuild-service-market-113203
- 360 Market Updates - Outboard Motor Rebuild Service Market: https://www.360marketupdates.com/market-reports/outboard-motor-rebuild-service-market-403370
- Cairns Outboard Service - Spark Problem Help: https://www.cairnsoutboardservice.com.au/help/q1/spark%20problem.html
- Soundings Online - Obsessed With Antique Outboards: https://soundingsonline.com/features/gearheads/
- YouTube - Johnson TD20 Revival: https://www.youtube.com/watch?v=0VDNAZK6QVI
- YouTube - 1958 Johnson 18 HP Restoration: https://www.youtube.com/watch?v=XsZohDbS3O8
- TinBoats.net - Outboard Motor Collection Thread: https://www.tinboats.net/threads/my-outboard-motor-collection.6701/
- Boats.com - Make Your Old Outboard Engine New Again: https://www.boats.com/how-to/make-your-old-outboard-engine-new-again/
- Cruising World - How to Service Outboard Engine: https://www.cruisingworld.com/story/how-to/how-to-service-outboard-engine/
- JLM Marine - Outboard Engine Lifespan: https://jlmmarine.com/blogs/outboard-101/outboard-engine-lifespan-plummeting-here-are-the-5-fatal-damage-causes
- JLM Marine carburetor repair kits
- Johnson/Evinrude Outboard Water Pump Replacement Guide: https://jlmmarine.com/blogs/outboard-101/johnson-evinrude-outboard-water-pump-replacement-the-ultimate-diy-guide
- JLM Marine Cooling System Parts Collection: https://jlmmarine.com/collections/cooling-system
- JLM Marine Main Website: https://jlmmarine.com/
Hi—I’m Jim Walker
I grew up in a Florida boatyard, earning pocket money (and a few scars) by rebuilding outboard carbs before I could drive. That hands-on habit carried me through a Ph.D. in mechanical engineering, where I studied how salt water quietly murders metal.
I spent ten years designing cooling systems for high-horsepower outboards, then joined JLM Marine as CTO. We bench-test every new part in the lab, but I still bolt early prototypes onto my own 23-foot skiff for a weekend shake-down— nothing beats real wake and spray for finding weak spots.
Here on the blog I share the fixes and shortcuts I’ve learned so your engine—and your day on the water—run smooth.

For Outboard Owners:
To assist you in maintaining and repairing your marine engines, we hope the following resources may be of use:
-
Fuel Pumps from JLM Marine
-
Fuel Pump Kits from JLM Marine
About JLM Marine
Founded in 2002, JLM Marine has established itself as a dedicated manufacturer of high-quality marine parts, based in China. Our commitment to excellence in manufacturing has earned us the trust of top marine brands globally.
As a direct supplier, we bypass intermediaries, which allows us to offer competitive prices without compromising on quality. This approach not only supports cost-efficiency but also ensures that our customers receive the best value directly from the source.
We are excited to expand our reach through retail channels, bringing our expertise and commitment to quality directly to boat owners and enthusiasts worldwide.
Fuel Pump on Sale
- $73.50
$88.00- $73.50
- Unit price
- per
- $16.00
- $16.00
- Unit price
- per
- $17.99
$21.00- $17.99
- Unit price
- per

- $18.99
- $18.99
- Unit price
- per

- $21.99
- $21.99
- Unit price
- per

- $45.99
$55.00- $45.99
- Unit price
- per

- $23.59
$28.00- $23.59
- Unit price
- per

- $28.99
$34.00- $28.99
- Unit price
- per

- $21.99
- $21.99
- Unit price
- per
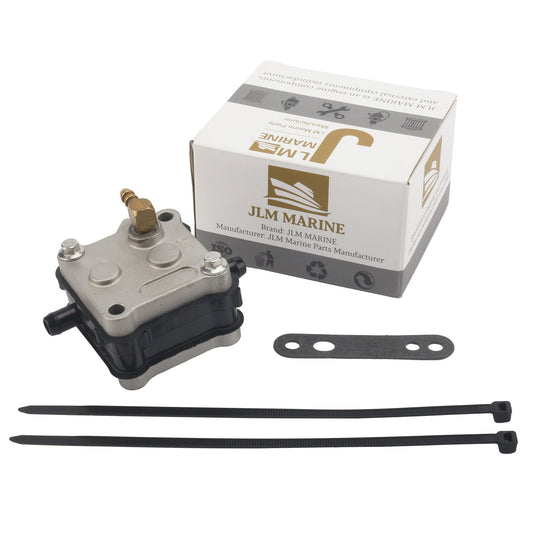
- $46.50
$60.00- $46.50
- Unit price
- per
- $26.80
- $26.80
- Unit price
- per
- $24.80
- $24.80
- Unit price
- per
- $28.90
- $28.90
- Unit price
- per

- $27.77
- $27.77
- Unit price
- per

- $56.99
- $56.99
- Unit price
- per

- $129.95
$155.00- $129.95
- Unit price
- per

- $31.20
$37.00- $31.20
- Unit price
- per

- $129.95
$155.00- $129.95
- Unit price
- per
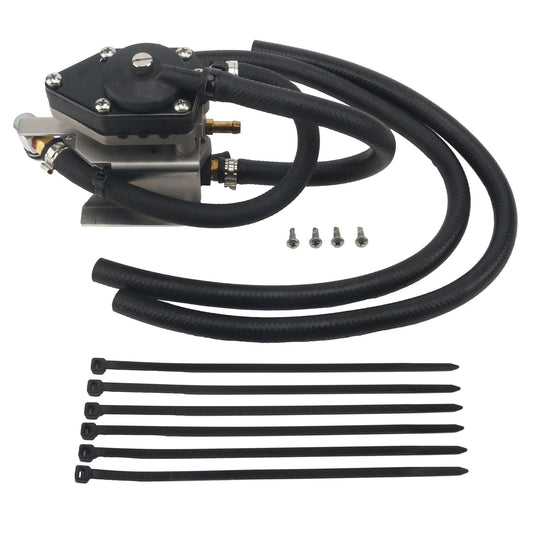
- $138.00
- $138.00
- Unit price
- per
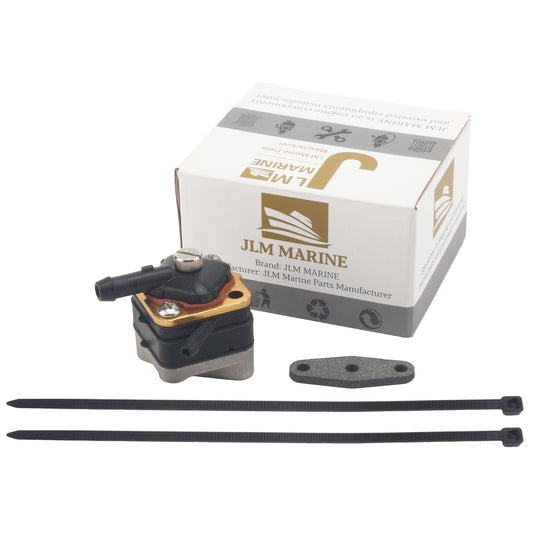
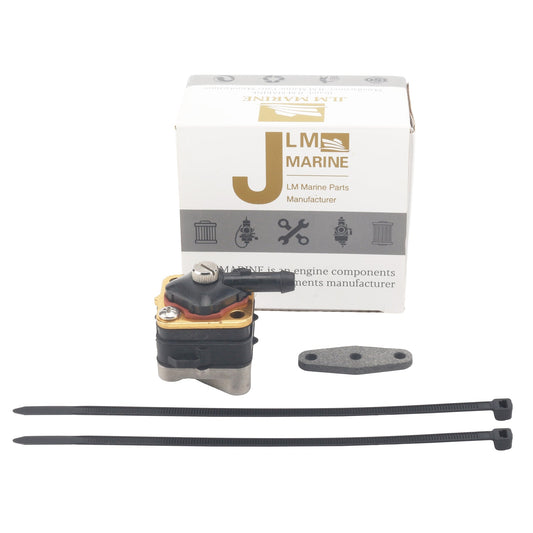
- $24.80
$45.00- $24.80
- Unit price
- per