


Troubleshoot No Spark on a Vintage 15 HP Chrysler Outboard: A DIY Guide for Coil & Condenser Issues
- Quick Diagnostic Checklist
- Required Tools
- Understanding the Magneto System Components
- Step-by-Step No Spark Troubleshooting
- Common Causes of No Spark
- Case Study: 1991 Chrysler Force 15 HP Wiring Issue
- Case Study: Invisible Corrosion
- Repair Guide: Coil & Condenser Replacement
- Upgrading to CDI Ignition
- DVA Testing for CDI-Equipped Motors
- Wiring Color Code Confusion
- Additional Diagnostic Tips
- Where to Find Parts and Documentation
- Symptoms vs. Solution Table
- OEM vs. Aftermarket Parts
- Final Maintenance Tip
- Sources
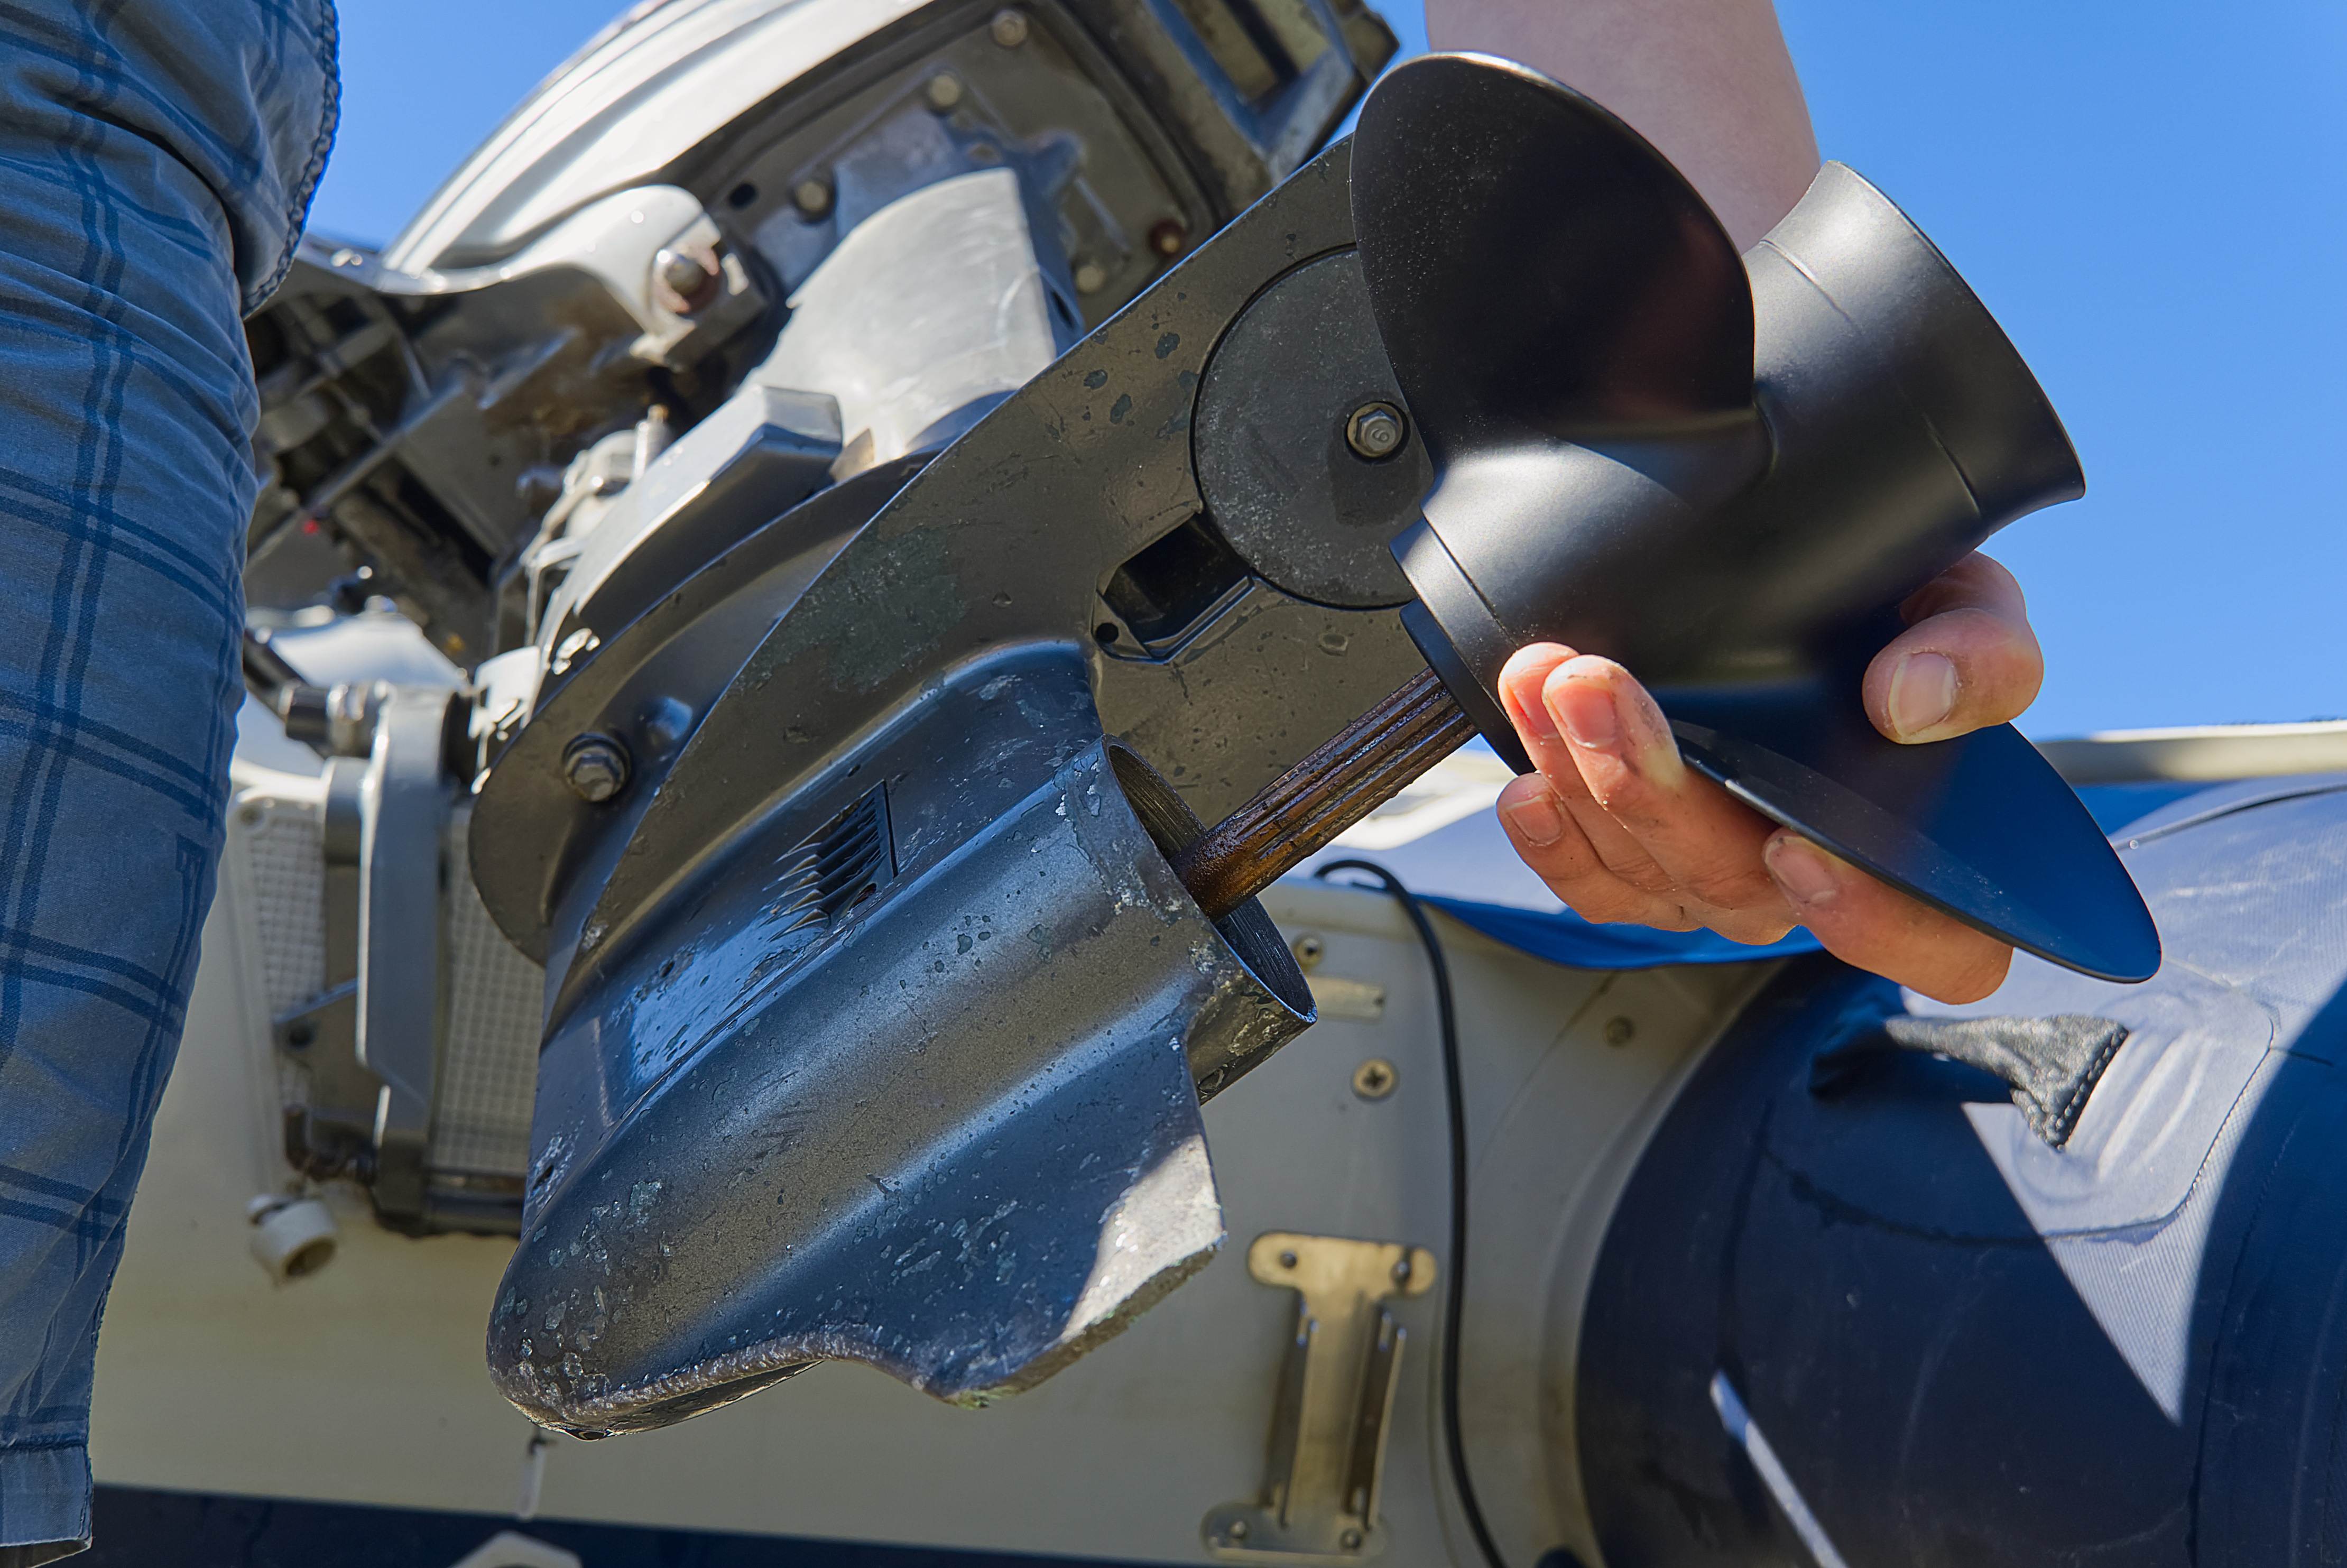
Your Chrysler 15 HP won't fire. You pull the starter rope or hit the key, and nothing happens. No sputter, no cough. For vintage models built between the 1960s and early 1980s—like the 152HA or 154BA series—this usually points to the magneto ignition system. Specifically: coils, condensers, or points.
I've been wrenching on these motors for two decades. Most no-spark cases on vintage Chryslers come down to three components: the ignition coil, the condenser, or the breaker points. According to repair discussions on forums like AOMCI and iboats, coils and condensers account for over 70% of failures. These parts wear out from arcing, moisture, and plain old age.
This guide covers the magneto-style ignition found on most vintage 15 HP Chryslers. If your motor has a separate CDI box (black plastic unit mounted near the flywheel), some steps differ, but the diagnostic logic remains the same.
Quick Diagnostic Checklist

Before you start tearing into the flywheel, check these three things:
- Kill switch: Disconnect the lanyard kill switch and the key switch wires completely. A stuck or corroded kill switch grounds out the ignition circuit even when the key is "on." I've seen motors sit in shops for weeks because someone didn't think to bypass this first. For help understanding kill switches, see our article on Understanding the Kill Switch: Why Your Engine Won’t Start.
- Spark plug: Pull it. If it's black, wet, or the gap is crushed, replace it. Gap should be 0.030" for most 15 HP Chryslers. Test spark by holding the plug (with insulated pliers) against the engine block while someone cranks. You want a fat, blue snap—not a weak orange glow.
- Grounds: Check every ground wire. Salt, corrosion, and vibration loosen the bolt under the coil mounting bracket more than anywhere else on these motors. Clean it with a wire brush.
If those three don't fix it, you're dealing with internal magneto components.
Required Tools
- Multimeter (Fluke or similar; cheap meters give false readings on high-resistance secondary windings)
- Feeler gauge set (0.004" to 0.020" range)
- 7/8" socket and breaker bar (flywheel nut)
- Flywheel puller or rubber mallet
- Points file or 400-grit sandpaper
- DVA (Direct Voltage Adapter) if testing stator output on CDI-equipped models
Understanding the Magneto System Components
Your vintage Chrysler uses a magneto ignition. The flywheel has permanent magnets. As it spins, those magnets pass the stator windings and generate AC voltage. The breaker points act as a mechanical switch, opening and closing to interrupt current flow in the coil's primary circuit. When the points open, the magnetic field in the coil collapses, and the secondary winding steps up voltage to 20,000+ volts, which fires the spark plug.
The condenser (also called a capacitor) sits in parallel with the points. Its job is to absorb the current spike when the points open, preventing arcing that would pit the contact surfaces. When the condenser fails—and they all eventually do—arcing burns the points, or the coil can't generate enough voltage.
Coil Failures
Coils fail from heat cycling, vibration, and internal insulation breakdown. You'll see smoke residue, cracks in the epoxy, or complete electrical failure. AOMCI forum users report coils failing even on stored motors with low hours. Bench testing can confirm a bad coil, but sometimes they test fine cold and fail under load.
For 1975-1985 Chrysler 15 HP models, typical coil resistance values are:
- Primary winding: 0.3 to 0.8 ohms
- Secondary winding: 5,000 to 10,000 ohms
If your readings are outside this range—open circuit (infinite resistance) or dead short (near zero on secondary)—the coil is toast.
Condenser Failures
Condensers fail via breakdown of the internal mylar insulation. Repair documentation shows this accounts for 99% of condenser issues. A bad condenser won't hold a charge, or it leaks voltage. The spec for most vintage Chrysler condensers is 0.18 to 0.25 microfarads. A standard multimeter can't reliably test this; you need a high-voltage condenser tester to check for leakage. Since condensers cost $5-10, replacement is cheaper than testing.
Points Wear
Points develop pits and carbon buildup from arcing. If the condenser is weak, the points burn faster. A worn cam follower or incorrect gap (should be 0.020" at the high point of the cam lobe) will also kill spark. Clean points should look chrome-shiny. If they're black or pitted, they need cleaning or replacement.
Step-by-Step No Spark Troubleshooting
1. Remove the Flywheel
You need access to the magneto components. The flywheel nut is 7/8" and usually torqued tight. After removing the nut, use a flywheel puller or the "rap method"—thread the nut back on flush with the end of the crankshaft, then tap it sharply with a rubber mallet while pulling upward on the flywheel. It'll pop off.
Inspect the flywheel key (woodruff key). If it's sheared, the timing is off, and you won't get spark at the right moment. This is common if the motor hit something hard or backfired during a starting attempt.
2. Inspect and Test the Points
With the flywheel off, you'll see the points assembly. Rotate the crankshaft by hand and watch the points open and close as the cam lobe passes.
Cleaning: If the contact surfaces are dirty or slightly burned, clean them with a points file or 400-grit sandpaper. Do not use coarse sandpaper—it scratches the surface and promotes more arcing. After cleaning, wipe with contact cleaner. The surfaces should look mirror-bright.
Gap setting: Rotate the crankshaft until the points are at maximum opening (cam lobe at its highest point). Insert a 0.020" feeler gauge between the contacts. Adjust the points screw until the gap is correct. The gauge should slide with light resistance.
Electrical test: With your multimeter set to continuity, touch one probe to the points arm and one to ground. When the points are closed (cam lobe not touching), you should have continuity. When the cam opens the points, continuity breaks. If they don't open cleanly, adjust the spring tension or replace the points.
3. Test the Condenser
You can't fully test a condenser with just a multimeter, but you can check for obvious failure.
Set your multimeter to ohms. Touch the probes to the condenser lead and the condenser body (ground). You should see the resistance climb from near zero toward infinity as the meter charges the condenser. If it stays at zero (shorted) or immediately reads infinite (open), it's bad.
If you have a multimeter with a capacitance setting, measure the condenser. It should read 0.18-0.25 µF. Anything outside this range means replacement.
Swap test: If you have a twin-cylinder motor, swap the condensers between cylinders. If the no-spark condition moves with the condenser, you've confirmed it's bad. For single-cylinder motors, just replace the condenser—it's cheap insurance.
4. Test the Ignition Coil
Resistance test:
- Primary circuit: Disconnect the wire from the points to the coil. Measure resistance between the coil's positive terminal (where the points wire connects) and the coil body (ground). You should get 0.3 to 0.8 ohms for most vintage Chrysler coils.
- Secondary circuit: Measure from the spark plug wire terminal to the coil body. Expect 5,000 to 10,000 ohms.
If either winding is open (infinite resistance) or shorted (near zero on the secondary), the coil is dead. Some coils fail intermittently when hot, so even if it tests okay cold, swap it with a known good unit if possible.
Swap test: On twin-cylinder motors, swap the coils between cylinders. If the no-spark condition moves with the coil, you've found your problem.
Air gap: When reinstalling or replacing a coil, check the air gap between the coil legs and the flywheel magnets. Use a 0.004" to 0.006" feeler gauge (a standard business card works in a pinch). The coil should not rub the flywheel but needs to be close enough for the magnets to induce voltage in the windings.
5. Wiring and Kill Switch Verification
Incorrect wiring kills more spark than bad parts, especially after a previous repair.
On many 1980s Chrysler 15 HP models, the kill wire is blue, not the black/yellow you see on generic diagrams. The previous owner or a shop might have used an aftermarket CDI unit with different color codes. For example, CDI Electronics uses brown for ground on some packs, but your original Chrysler harness might use black.
Kill switch test: The kill switch grounds the ignition circuit when activated. Disconnect it completely at the motor. If spark returns, the switch is either stuck closed or the wiring is chafed and grounding out somewhere in the harness.
Trace every wire from the ignition switch to the coil. Look for chafed insulation where the harness passes through the cowling or near the steering pivot. Salt buildup in these areas creates unwanted ground paths.
6. Compression Test
This seems out of place for a spark issue, but it matters. If compression is below 90 PSI on this motor, the cylinder isn't sealing. Low compression affects how the magneto operates under cranking load and might give a false "no spark" symptom because the motor won't run even if spark is present.
Thread a compression tester into the spark plug hole. Crank the motor several times. You should see consistent readings between 100-120 PSI on a healthy vintage 15 HP Chrysler. If one cylinder is significantly lower, you've got a mechanical issue (worn rings, bad head gasket, or stuck valves) that needs fixing before you chase ignition problems further. For more on compression issues and diagnostics, refer to our Outboard Won’t Start? 10 Troubleshooting Steps guide.
Common Causes of No Spark

Both cylinders dead:
- Kill switch grounded or wiring shorted
- Stator failure (no voltage generation)
- Ignition switch stuck in "off" position
One cylinder dead:
- Bad coil on that cylinder
- Fouled or damaged spark plug
- Points not opening (if single-point ignition) or incorrect gap
Intermittent spark:
- Weak condenser causing inconsistent coil discharge
- Corroded ground connection
- Cracked coil housing allowing moisture in
Sheared flywheel key: This is a mechanical failure that mimics electrical problems. If the woodruff key is sheared, ignition timing is off. You'll get spark, but not at the right moment in the combustion cycle, so the motor won't fire. Always check the key when you pull the flywheel.
Case Study: 1991 Chrysler Force 15 HP Wiring Issue
A customer brought in a '91 Chrysler Force 15 HP with zero spark on both cylinders. Compression tested good at 110 PSI. He'd already replaced both coils with CDI Electronics units, disconnected the kill switches, and cleaned every ground he could find. Still nothing.
When we traced the wiring, we found the problem. A previous owner had installed an aftermarket tachometer and wired it into the charging circuit. The tach's ground wire—blue with a white stripe—was incorrectly routed and touched a terminal on the ignition coil's kill circuit. Even with the kill switch physically disconnected, this wire was creating an intermittent ground that shut down the entire ignition system.
We re-routed the tach wire, heat-shrinked the connection, and the motor fired immediately. This highlights why you can't just trust color codes. You have to trace the wire's path and understand its function.
Case Study: Invisible Corrosion
A 1982 Chrysler 15 HP twin-cylinder came in with no spark on either side. The owner had cleaned and gapped the points, tested the coils (secondary resistance was 7,500 ohms—within spec), and replaced the condensers. Everything looked right.
We pulled the flywheel again and inspected the points under magnification. There was a tiny speck of green corrosion—barely visible—right in the center of one point contact. It was small enough that the points appeared to close, but that microscopic layer prevented full electrical contact. The coil couldn't generate enough voltage with the incomplete circuit.
We polished the points with a fine emery cloth, regapped to 0.020", and the motor had spark on both cylinders within two pulls. The lesson: Even new parts fail if there's contamination. Always inspect under magnification if you've got a persistent no-spark issue after replacing components.
Repair Guide: Coil & Condenser Replacement

Replace the condenser first. It's cheap and the most common failure. For vintage Chryslers, you can use a universal condenser from an OMC or Tecumseh engine. Look for 0.20 µF capacitance. These are often available from marine suppliers or small-engine parts stores.
Coil replacement:
- For magneto systems, you'll need a coil compatible with points ignition. Some CDI Electronics packs work as direct replacements if you're willing to upgrade to electronic ignition, but you'll also need to remove the points and install a trigger sensor.
- If staying with the original setup, look for NOS (New Old Stock) Chrysler coils or compatible aftermarket coils from suppliers like The Manual Store or T-Mike's Vintage Outboards.
Installation steps:
- Mount the new coil with the air gap set to 0.004-0.006". Use a feeler gauge between the coil legs and the flywheel magnets while tightening the mounting screws.
- Connect the primary wire (from the points) to the coil's positive terminal. Connect the condenser lead to the same terminal.
- Ground the coil body securely. Use a star washer under the mounting bolt to ensure a clean metal-to-metal contact. This is where most ground failures occur on these motors—vibration loosens the bolt over time.
- Apply dielectric grease to all connections.
Re-timing the ignition: After installing new points or coils, you need to verify ignition timing. Rotate the flywheel until the points just start to open. At this moment, the "F" or timing mark on the flywheel should align with the mark on the stator plate. If it doesn't, loosen the stator plate screws and rotate the plate until alignment is correct. Tighten and retest.
For precise timing, use a multimeter set to continuity. Connect one probe to the points terminal and one to ground. Rotate the flywheel slowly. The exact moment the points open (continuity breaks) should match the timing mark.
Upgrading to CDI Ignition

Many owners ditch the points and condenser entirely by upgrading to a CDI (Capacitive Discharge Ignition) system. CDI units from manufacturers like CDI Electronics or MSD eliminate the mechanical points. Instead, a magnetic trigger sensor tells the CDI box when to fire.
Advantages:
- No points to clean or adjust
- Stronger spark at low RPM
- More consistent timing
Disadvantages:
- Higher upfront cost ($200+ for the CDI box and coils)
- Requires different coils (low-impedance CD coils, not the high-impedance coils used with points)
- Some wiring modification needed
If you go this route, ensure the CDI kit is compatible with your specific Chrysler model year. Generic kits sometimes require custom wiring. Check with the manufacturer before ordering.
DVA Testing for CDI-Equipped Motors
If your Chrysler 15 HP has a CDI box (found on some late-1980s and early-1990s Force-branded models), you'll need a DVA (Direct Voltage Adapter) to test the stator and trigger outputs. A standard multimeter can't accurately read the high-voltage AC spikes these components produce.
Stator output test: Connect the DVA to your multimeter and set it to DC volts. Connect the DVA leads to the stator output wires (usually white or white/green). Crank the motor. You should see 150-250V DC on the meter. If you're getting less than 100V, the stator is weak or failing.
Trigger output test: Connect the DVA to the trigger wires (often purple or white/black). Crank the motor. You should see 1-5V DC. If there's no reading, the trigger sensor is bad or the air gap between the sensor and the flywheel reluctor is incorrect (should be around 0.010").
Negative voltage readings: Sometimes the DVA will show a negative voltage. This doesn't mean the component is bad—it's just the polarity of the signal. What matters is the magnitude. If the spec says 200V and you're seeing -200V, that's fine. If you're seeing -20V, the component is failing.
Wiring Color Code Confusion
Generic wiring diagrams often don't match vintage Chrysler motors. Here's what I've seen:
- Kill switch wire: Many diagrams show this as black or black/yellow. On 1980s Chryslers, it's often blue or blue/white.
- Charging coil output: Generic diagrams use red or yellow. Chrysler uses white/green or brown on some models.
- Ground wires: Diagrams show black. Chrysler sometimes uses brown or green.
Always trace the wire from its source. If you're installing an aftermarket CDI unit, compare the function of each wire (not the color) to your motor's original harness. For example:
- CDI "kill" wire = your motor's blue wire from the key switch
- CDI "power" wire = your motor's white/green charging coil output
If you're unsure, contact CDI Electronics or the aftermarket supplier directly. They can often provide custom wiring guidance for vintage Chrysler models.
Additional Diagnostic Tips
Listen for the spark sound. A healthy spark makes a sharp "crack" sound. A weak, silent arc means voltage is too low, usually from a failing coil or bad condenser.
Test the starter solenoid. On electric-start models, a failing solenoid won't crank the motor fast enough to generate sufficient magneto voltage. You can jump the solenoid terminals with a screwdriver (wear gloves and safety glasses) to bypass the ignition switch. If the motor cranks faster and spark returns, the switch or solenoid is the problem, not the ignition components.
Check the rectifier/regulator. The rectifier converts AC from the stator to DC for charging the battery. If the rectifier is shorted internally, it can drain voltage from the ignition circuit. Disconnect the rectifier completely. If spark returns, the rectifier is bad and killing the ignition.
Where to Find Parts and Documentation

- Original service manuals: The Manual Store has Chrysler factory manuals and Clymer B750 guides. For electrical troubleshooting, the factory manual is better than the generic Seloc version.
- OEM parts: OEM Chrysler coils and condensers are rare and expensive. Expect $150+ for a coil.
- Aftermarket parts: Universal OMC coils or Tecumseh condensers work on many vintage Chryslers. Verify the specs (capacitance, resistance, mounting dimensions) before ordering.
- Wiring diagrams and troubleshooting guides: CDI Electronics offers free PDFs. Search for "Troubleshooting Guide for 2 Cylinder Force Engines" on their support page.
For general marine parts needs, including coils and condensers, consider browsing the extensive Inboard & Outboard Motor Parts collection at JLM Marine, a trusted manufacturer with over 20 years of experience.
Symptoms vs. Solution Table
| Symptom | Most Likely Cause | Test/Fix |
|---|---|---|
| No spark on both cylinders | Kill switch grounded, stator failure | Disconnect kill switch; test stator output with DVA |
| No spark on one cylinder | Bad coil, fouled plug | Swap coil to other cylinder; replace plug |
| Weak yellow spark | Low coil voltage, bad condenser | Test coil secondary resistance; replace condenser |
| Intermittent spark | Corroded ground, weak condenser | Clean all ground connections; replace condenser |
| Spark present but won't start | Sheared flywheel key, timing off | Inspect flywheel key; reset stator plate timing |
OEM vs. Aftermarket Parts
OEM Chrysler ignition parts are rare and overpriced. You're paying for a logo on a box that's been sitting on a shelf for 40 years. The rubber and insulation degrade even in storage.
Cheap no-name aftermarket parts from random online sellers are junk. The coil windings are often mis-wound, the condensers fail within hours, and nothing fits correctly. You'll waste a weekend pulling the flywheel twice.
The smart middle ground is reputable aftermarket suppliers like JLM Marine. These manufacturers often produce parts for OEM brands and use the same tooling and specs for their aftermarket line. You get factory-quality components without the dealership markup. The coils fit right, the condensers are properly rated, and they last. I've installed JLM ignition components on dozens of vintage motors and had zero comebacks.
If you're ordering a coil or condenser, verify the specs match your motor. For a vintage 15 HP Chrysler with points ignition, you need:
- Coil primary resistance: 0.3-0.8 ohms
- Coil secondary resistance: 5,000-10,000 ohms
- Condenser capacitance: 0.18-0.25 µF
- Mounting hole spacing (measure your old coil)
Don't assume "universal" means it fits. Measure twice, order once. Browse quality ignition parts on the JLM Marine Inboard & Outboard Motor Parts page.
Final Maintenance Tip
Once you've got the motor running, flush the cooling system with fresh water after every trip, especially if you run in saltwater. Salt creeps into the lower cowling and corrodes the ground connections on the coil and stator. It also builds up on the CD box terminals if your motor has one. A five-minute flush prevents a weekend of ignition troubleshooting next season. For more on maintaining your cooling system, see our Cooling System collection for high-quality parts and accessories.
Sources
- Antique Outboard Motor Club International (AOMCI) Forums: https://www.aomci.org/forums/topic/91-chrysler-force-15-hp-no-spark/
- CDI Electronics Troubleshooting Guide (7th Edition): https://www.cdielectronics.com/wp-content/uploads/2016/12/7th-Edition-Troubleshooting-Guide_RS.pdf
- iboats Community Forums (Chrysler no-spark troubleshooting): https://forums.iboats.com/threads/chrysler-outboard-no-spark-on-one-cylinder.735103/
- The Manual Store (Chrysler service manuals): https://www.themanualstore.com/outboard-motor-manuals-s/1814.htm
- Leeroy's Ramblings (Chrysler Force 15 HP repair guide): https://www.leeroysramblings.com/chryslerforcegamefisher_15.html
- Western Reserve Classics (Condenser failure modes): https://wrcoutboards.org/wp-content/uploads/2020/04/Part1CondenserConstructionFailureModes.pdf
- JLM Marine - Direct from Factory Boat Parts for Marine and Outboard Motor Parts
Для владельцев подвесных моторов:
Мы надеемся, что следующие ресурсы окажутся полезными для вас в обслуживании и ремонте ваших судовых двигателей:
-
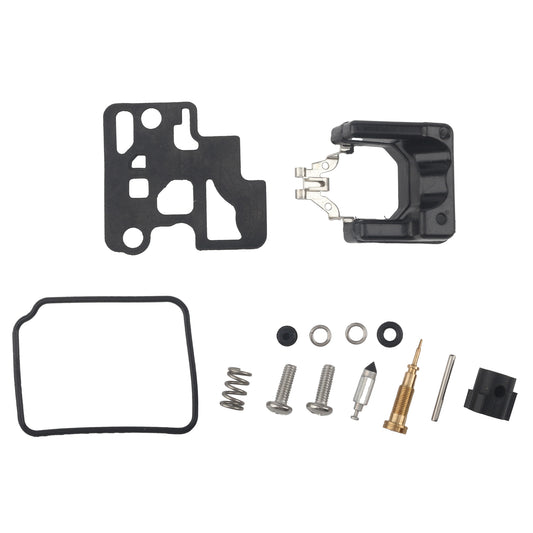
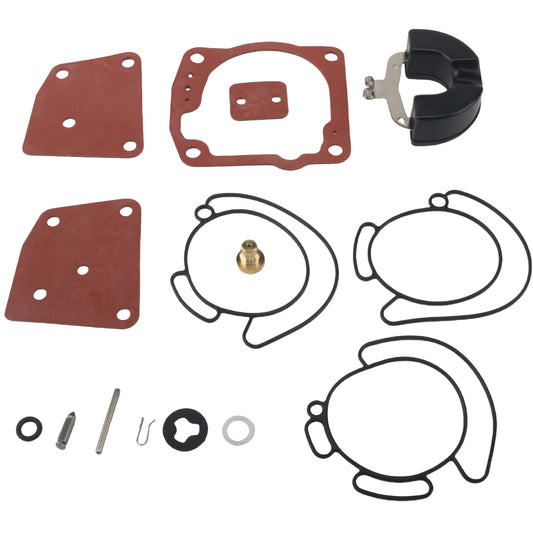
Карбюраторы от JLM Marine
-
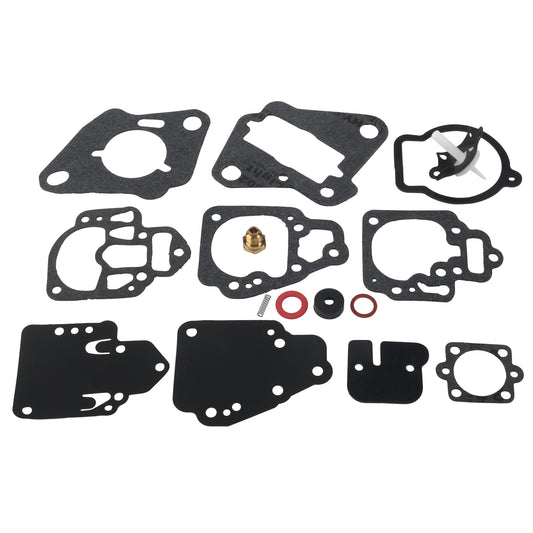
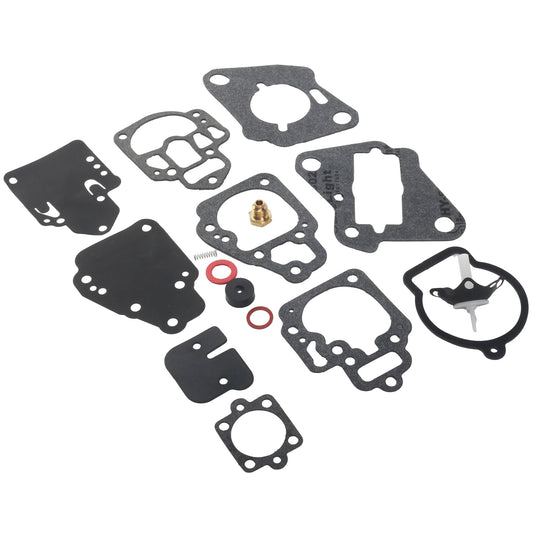
Комплекты для восстановления карбюраторов от JLM Marine
- Комплект для ремонта карбюратора
- Комплект для ремонта карбюратора Yamaha
- Комплект для ремонта карбюратора Mercury
- Комплект для ремонта карбюратора Johnson
- Комплект для ремонта карбюратора Evinrude
- Комплект для ремонта карбюратора Suzuki
- Комплект для ремонта карбюратора Honda
- Комплект для ремонта карбюратора Volvo
- Комплект для ремонта карбюратора Tohatsu
О компании JLM Marine
Основанная в 2002 году, компания JLM Marine зарекомендовала себя как специализированный производитель высококачественных морских деталей, базирующийся в Китае. Наша приверженность совершенству в производстве заслужила нам доверие ведущих мировых морских брендов.
Как прямой поставщик, мы обходим посредников, что позволяет нам предлагать конкурентоспособные цены без ущерба качеству. Такой подход не только поддерживает экономическую эффективность, но и гарантирует, что наши клиенты получают наилучшую ценность напрямую от источника.
Мы рады расширить свое присутствие через розничные каналы, предлагая наш опыт и приверженность качеству непосредственно владельцам и любителям лодок по всему миру.
Комплекты для ремонта карбюратора в продаже
- $46.00
$55.00- $46.00
- Unit price
- per
- $18.13
$59.00- $18.13
- Unit price
- per
- $24.99
$29.00- $24.99
- Unit price
- per

- $19.50
$23.00- $19.50
- Unit price
- per
- $15.19
$32.00- $15.19
- Unit price
- per
- $11.39
$22.50- $11.39
- Unit price
- per

- $12.99
$15.00- $12.99
- Unit price
- per
- $9.99
$13.00- $9.99
- Unit price
- per

- $12.79
$15.00- $12.79
- Unit price
- per


- $15.99
$24.00- $15.99
- Unit price
- per

- $16.99
$20.00- $16.99
- Unit price
- per

- $19.99
$23.00- $19.99
- Unit price
- per

- $19.99
$23.00- $19.99
- Unit price
- per
- $14.72
$18.00- $14.72
- Unit price
- per
- $17.58
$23.00- $17.58
- Unit price
- per

- $15.99
$19.00- $15.99
- Unit price
- per

- $17.59
$13.00- $17.59
- Unit price
- per
- $27.50
- $27.50
- Unit price
- per
- $18.99
$16.00- $18.99
- Unit price
- per
- $44.99
$25.50- $44.99
- Unit price
- per