


Drain Plugs and Muffs: Pre-Launch Must-Do’s
You're about to back your boat into the water. Two things need your attention before that trailer touches the brine: the drain plug and your flush muffs. Both are simple, but skipping either can wreck your day—or your engine.
We'll walk through why these items matter, how to handle them, and what goes wrong when you don't.
Checking Your Drain Plug Before Launch

The drain plug sits at the lowest point of your transom. When the boat's out of the water, you pull it to let rainwater and washdown water drain. Before you launch, you screw it back in. If you forget, water floods the hull the second you back down the ramp.
Find the plug on the transom—usually dead center, sometimes off to one side depending on the hull design. Some boats have more than one: a main hull plug, plus separate plugs for livewells or ballast tanks. Walk around and check them all.
Types of Drain Plugs
Screw-in plugs are the most common. They're threaded—plastic, brass, or stainless steel—and you twist them in by hand until snug. Some come with a tether so you don't lose them in the truck bed.
Rubber stopper plugs use a cam-lock or lever. You push the stopper into the opening and flip the lever to lock it. The rubber gasket seals against the hull.
Livewell and bilge plugs work the same way but drain specific compartments. The livewell plug is obvious if you run bait. The bilge plug drains the lowest internal cavity where water collects. If your bilge is full, pull that plug on the trailer so it's dry before you launch.
What Happens If You Forget the Plug
Water pours in. Not a trickle—an immediate flood. The stern sits low, the bilge pump can't keep up, and you're swamped before you clear the no-wake zone.
In 2023, flooding and swamping killed 44 people and seriously injured 90 others in the US. A big factor? Forgetting the drain plug, along with overloading and rough seas. In 2024, swamping incidents resulted in 57 deaths, often in open motorboats where the plug oversight is common.
Your bilge pump is designed to handle spray and minor seepage. It's not built to fight the volume that rushes through an open drain hole. We've seen boats sink right at the dock because someone was in a hurry.
Boats Without Traditional Plugs
Kayaks, canoes, and some dinghies use scupper holes—self-draining ports that let water flow out of the cockpit. They usually have flaps or valves to stop water from coming back in. Self-bailing designs work the same way: water that gets in drains out through channels.
But if you run a motorboat—especially one you trailer—you need a drain plug. Even if your boat has scuppers, make sure they're clear and functioning. For any dedicated drain opening, install the plug before launch.
How to Inspect and Install the Plug
Before you back down the ramp, do a quick visual check. Is the plug in? Give it a tug. It shouldn't wiggle or spin freely. If it's a screw-in type, the resistance should build smoothly as you tighten. If it stops abruptly or feels gritty, check for sand or corrosion in the threads.
Look at the rubber gasket if your plug has one. If it's cracked, flattened, or hard, replace it. A bad gasket leaks even when the plug is tight.
If you have multiple plugs—main hull, livewell, washdown—check every one. It takes 30 seconds and can save you from a total loss.
Some folks tie a bright ribbon to the steering wheel when the plug is out, then remove it only after the plug goes in. When you pull the boat out, yank the plug first thing so water drains on the ride home.
Keep a spare plug in your toolkit. If you lose one at the ramp, you're stuck. A universal emergency plug (tapered rubber stopper) can work in a pinch, but it's not a permanent fix—get the right size for your hull. For quality marine parts like plugs, consider browsing high-quality boat accessories that ensure reliable pre-launch preparation.
Using Flush Muffs: The Pre-Launch Engine Test

Flush muffs—also called ear muffs—are Y-shaped rubber attachments that fit over the water intake ports on your outboard's lower unit. You connect a garden hose, turn on the water, and flush the engine with fresh water. This clears salt, sand, and debris from the cooling system.
Before you launch, muffs let you test-start the engine on the trailer to confirm it fires and the cooling system works. After you pull the boat out, you use them again to flush saltwater and prevent corrosion.
How to Attach and Use Muffs
Locate the water intake ports on the sides of the lower unit, just above the prop. Slide the muff cups over both intakes—they should fit snugly. If they're loose, adjust the spring or get muffs sized for your engine.
Turn the water on before you start the engine. You need water flowing through the system the moment the impeller starts spinning. If you start the engine dry, the impeller can burn up in seconds. For detailed insight into protecting your engine's cooling system, see our guide on preventing outboard overheating.
Once water is flowing, start the engine and let it idle. Watch the tell-tale stream (the small stream of water that spits out near the powerhead). It should be steady. If it's weak or missing, shut down immediately—you've got a blockage or the muffs aren't seated right.
Run the engine for 5-10 minutes at idle. Don't rev it hard on muffs; the lower unit isn't submerged, and you can overheat or damage seals. After the flush, shut the engine off before you turn off the water. Let the cooling system finish draining.
Why Pre-Launch Testing Matters
Starting the engine on the trailer before you launch tells you if it's going to run. If the battery's dead, the fuel line's clogged, or the impeller's shot, you find out in the driveway—not after you've launched and blocked the ramp.
In 2024, machinery failure caused 289 incidents, 13 deaths, and 94 injuries on the water. Some of those failures could've been caught with a pre-launch test. Running the engine on muffs for a few minutes also warms it up if it's been sitting, which helps with cold starts in saltwater. This ties in closely with the benefits explained in our post about daily engine flushing for saltwater boats.
If you run in salt water, flushing after every trip cuts corrosion rates significantly. Flushing with freshwater after saltwater use cuts corrosion by up to 40%. It's cheap insurance. We've had customers in Charleston and Savannah tell us that flushing while the engine's still warm prevents most avoidable saltwater damage.
Muff Mistakes to Avoid
Don't start the engine before the water's flowing. The impeller relies on water for lubrication and cooling. Running it dry—even for a few seconds—can melt the vanes.
Make sure the muffs seal over both intakes. If one side isn't covered, you're only flushing half the system, and you can starve the pump. Some lower units have additional flush ports or hose attachments built in—check your engine manual. If your outboard has a flush port, you can skip the muffs and connect a hose directly, but muffs work on almost any engine and they're universal.
Don't use muffs while the boat's in the water. They're for trailer use only. The muffs restrict water flow compared to normal operation, and running in-water with muffs can cause overheating.
Inboard and Sterndrive Differences
Outboards take muffs on the lower unit. Inboards and sterndrives usually have a flush fitting or a raw-water strainer you can access. Some use hose attachments that screw into a dedicated flush port. The principle is the same: circulate fresh water through the cooling system after saltwater use.
For inboards, you might pull the raw-water intake hose off the through-hull and insert a hose, or you might use a strainer plug that lets you pump antifreeze or freshwater through the system during winterization. Check your engine manual for the correct procedure. More on cooling system care and parts like water pumps can be found in our cooling system collection.
Pre-Launch Checklist: The Sequence
Here's the order that works:
- Check the drain plug. Install it, tighten it, tug it. If you have multiple plugs, check them all.
- Attach muffs and test the engine. Water on, engine start, watch the tell-tale, idle for a few minutes, engine off, water off.
- Remove muffs and stow the hose. Don't leave them on the lower unit when you launch.
- Release tie-downs, load gear, trim the motor down.
- Launch.
If you skip step one, you sink. If you skip step two, you might not know the engine's dead until you're floating. Both are avoidable.
What If You Forget the Plug at the Ramp?
If you catch it before you launch, back out, dry the hull if needed, install the plug, and try again. If you realize it after you're in the water, get back to the ramp or dock fast. The boat will handle poorly, the stern will be low, and you'll hear water sloshing in the bilge.
One boater ran for a minute, noticed sputtering and water intake, returned to the dock, inserted the plug, pumped out the water, and avoided engine damage. Another had 6-8 inches of water in a no-wake zone, got help trailering it, and drained it without total loss. Both got lucky.
A third case: a Grady White sank at the marina on day two because the new owner forgot the plug after transport. Recovery required pumping and a haul-out. That's a repair bill around 40% of the boat's value, per industry data. Don't improvise. A cork or rag isn't a plug. If you've lost the plug and don't have a spare, don't launch. Drive to a marine store and buy the right size. Most plugs are cheap—under $10.
Plug and Gasket Maintenance
Inspect the threads on the plug and the receptacle. If they're cross-threaded or corroded, clean them with a wire brush or replace the plug. Brass and stainless steel can corrode in saltwater if they're mixed with aluminum or bronze fittings—dissimilar metals cause galvanic corrosion.
If your plug has a nylon or rubber body, check for cracks. UV and salt degrade plastic over time. Replace it every few seasons even if it looks okay.
Some plugs are "captive"—tethered to the boat with a lanyard. They're harder to lose, but the tether can break or the plug can dangle and get damaged. Non-captive plugs are fine if you're disciplined about storing them in the same spot every time.
If the plug is installed but still leaks, the problem might not be the plug itself. The sealant around the drain fitting (the threaded tube in the transom) can fail. We've seen cases where the fitting loosens or the bedding compound cracks. Fixing that requires pulling the fitting, cleaning the hole, re-bedding with marine sealant, and reinstalling. That's a shop job unless you're comfortable working on the hull.
Saltwater vs. Freshwater Considerations
Saltwater eats brass threads faster than freshwater. If you boat in salt, consider stainless steel or nylon plugs. Rinse the plug and the fitting with fresh water after every trip—same as you do for the engine.
Freshwater boaters still need to check the plug, but corrosion is slower. You'll see more issues with algae or zebra mussels clogging scuppers than with corroded fittings.
PWC (Jet Ski) Owners
Personal watercraft have drain plugs too—usually at the rear of the hull. They're easy to forget because the plug is small and the hull drains fast. Check it before every launch. Some PWCs have a tether that clips to the handlebar so you can't start without removing it from the plug.
Vintage Boats and Garboard Plugs
Older boats sometimes have "garboard" drain plugs—threaded bronze fittings that require a wrench or a specific tool to remove. They're less common now, but if you've got one, keep the tool in the boat. Hand-tightening won't work.
Pre-Launch Stories: What We've Seen
We sent a lower unit seal kit to a boater in Australia last year. The engine was a discontinued model, and local dealers didn't stock the part. He emailed us the serial number, we matched it in our system, and shipped it in 10 days. That kind of attention to detail—knowing your engine, keeping records, ordering the right part—is the same mindset you need at the launch ramp. If you're diligent about parts and maintenance, you're probably diligent about the pre-launch checklist.
We've also had customers from Hilton Head and Savannah tell us they flush their engines every single trip. Boaters in those areas report that flushing while the engine is still warm prevents 90% of avoidable saltwater damage. That's a routine that pays off.
OEM vs. Non-OEM: Plugs and Muffs
OEM drain plugs and muffs are fine, but you're paying for the logo. A factory Yamaha plug might run $15; a quality aftermarket plug is $5 and does the same job. The threads are standard, the materials are comparable. For high-quality alternatives, explore OEM vs Aftermarket Outboard Parts: What’s the Difference? for advice on picking parts that perform well at a fair price.
Cheap aftermarket is a different story. A $3 plug from a random seller might have threads that don't match, a gasket that's too hard, or plastic that cracks after one season. You'll spend more time and money fixing the problem than you saved.
Quality non-OEM parts—like the ones we stock—are often made in the same factories that produce OEM components. The difference is the box. You get factory-spec fitment and materials without the dealership markup. For a drain plug or a set of muffs, that's a smart buy.
Building the Habit
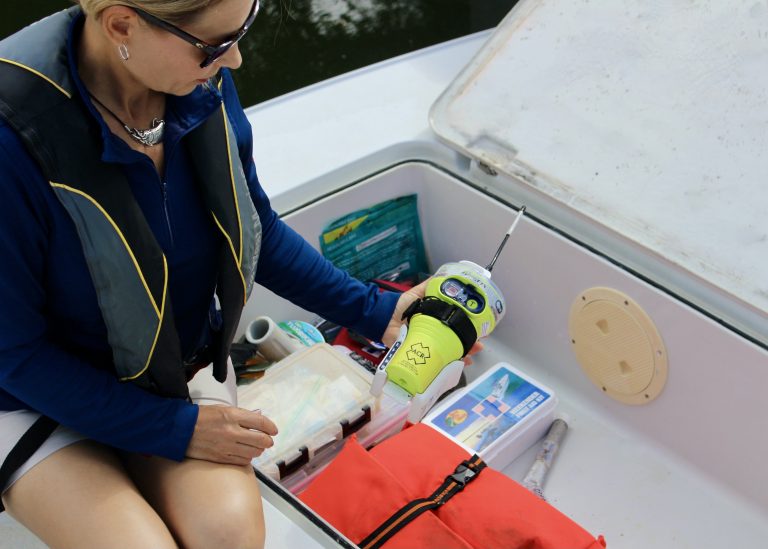
The only way to avoid forgetting the plug is to make checking it automatic. Before you leave the house, walk around the boat. Plug in? Muffs off? Tie-downs released? Gear loaded?
Some folks use a printed checklist clipped to the dash. Others just do the same sequence every time. Either way, the goal is muscle memory.
After you pull the boat out, the first thing you do is yank the plug. That way, water drains on the trailer, and the plug is out and ready for you to put back in before the next launch.
If you're towing a long distance, pull the plug so condensation can escape. In some states, like Arkansas, it's the law to drain the boat while trailering to prevent the spread of invasive species.
What About Life Jackets and Other Gear?


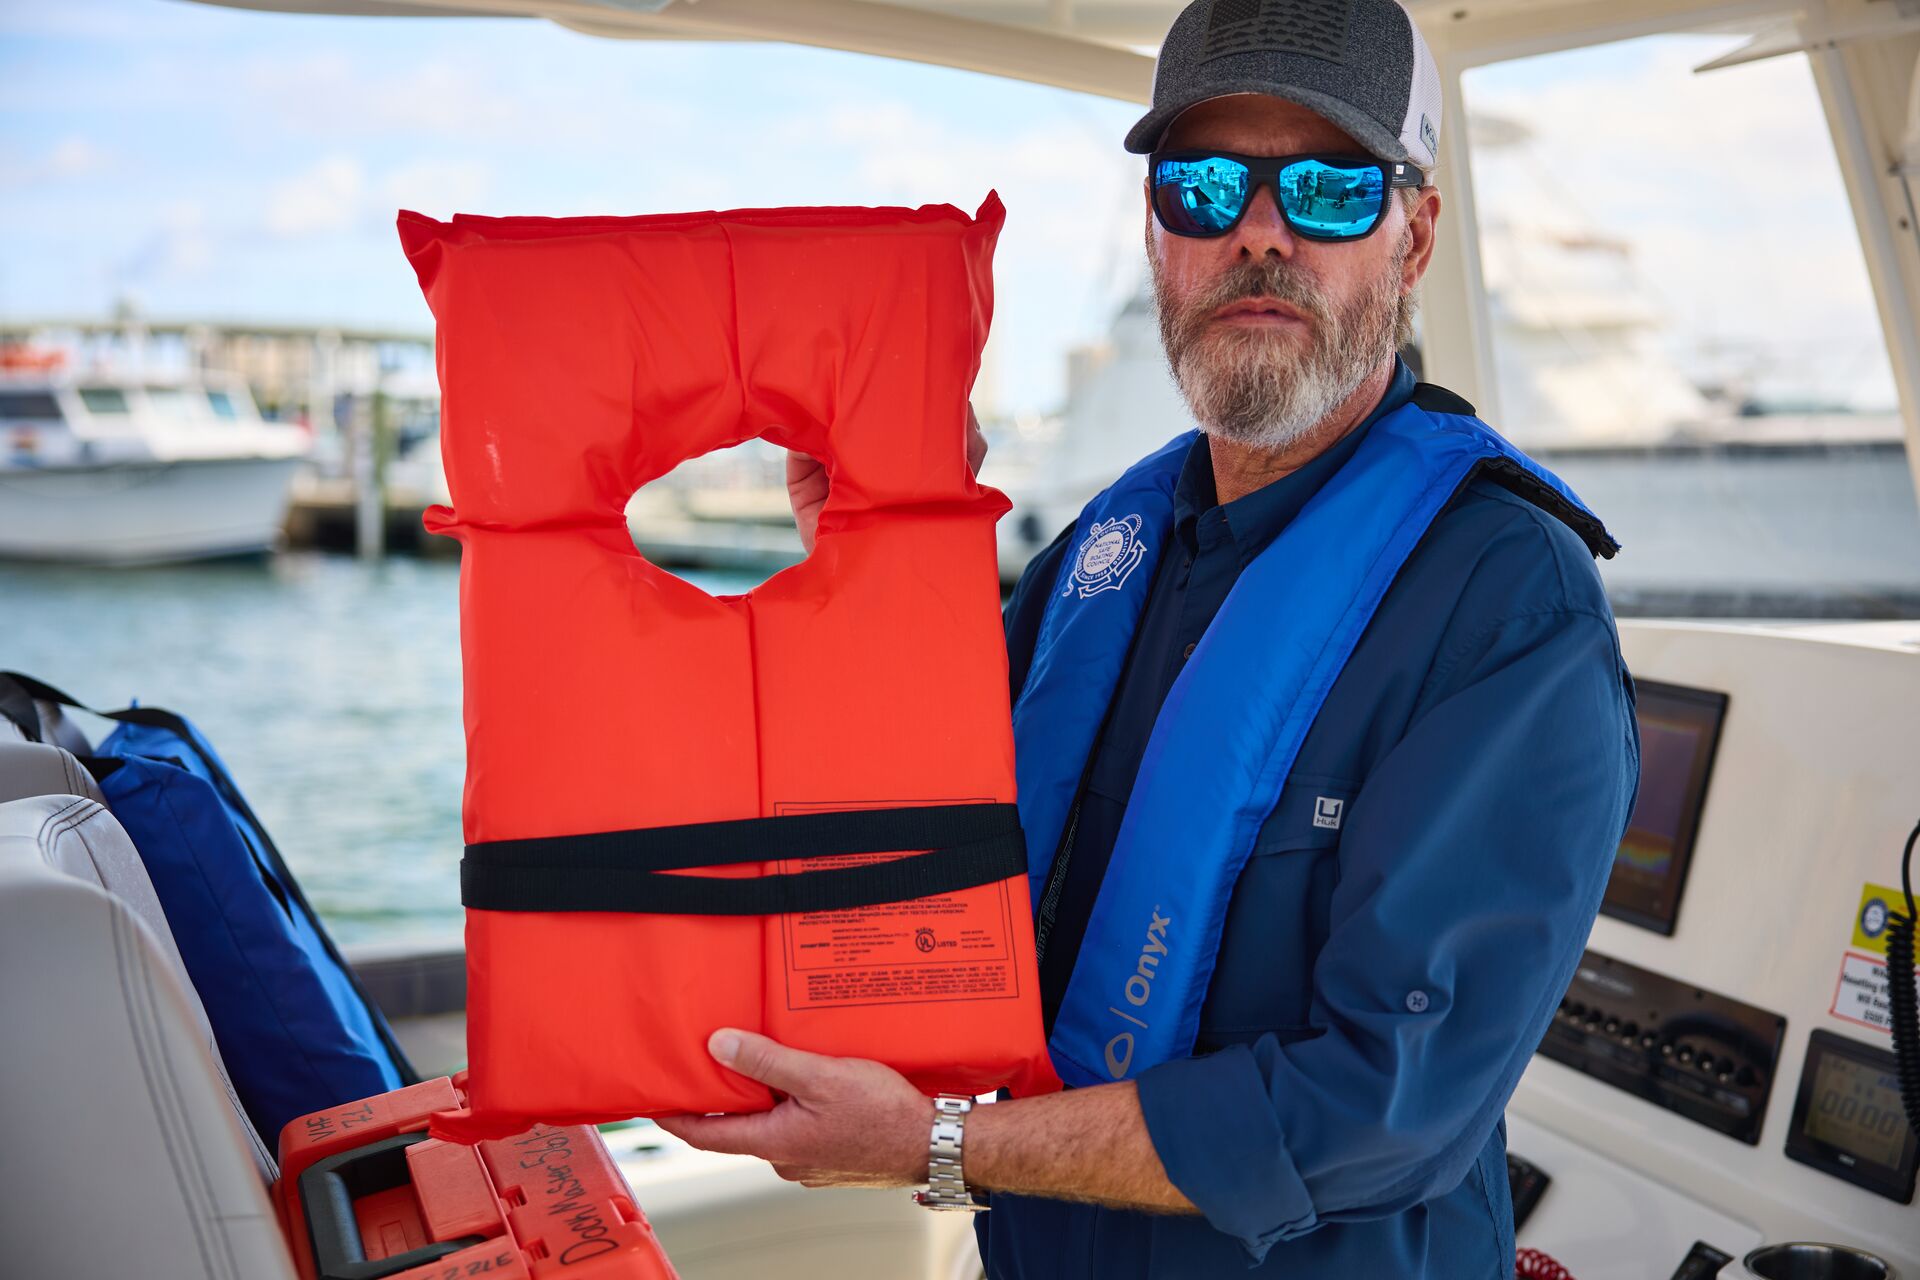
This article is about plugs and muffs, but don't ignore the rest of the checklist. In 2024, 76% of drowning deaths involved boaters not wearing life jackets—365 people total. The drain plug keeps the boat afloat; the life jacket keeps you afloat.
Federal requirements include PFDs, sound signals, visual distress signals, and fire extinguishers, depending on your boat type. The Coast Guard doesn't mandate drain plugs in federal rules, but safety organizations and state laws stress them.
Final Check
Before you back down the ramp, do one last walk-around. Plug in, snug, no leaks. Muffs off, hose stowed. Tie-downs released, trailer lights unplugged, motor trimmed down.
It's a 30-second routine that prevents sinking, engine failure, and a blocked ramp with a line of angry boaters behind you.
Pro tip: After every saltwater trip, flush the engine with muffs while it's still warm. Hot metal expands slightly, so flushing warm pushes salt out of tight passages better than flushing cold.
Sources:
- https://www.uscgboating.org/library/accident-statistics/Recreational-Boating-Statistics-2024.pdf
- https://local-news-archive.crystalbeach.com/recreational-boating-safety-2023-coast-guard-accident-statistics/
- https://jlmmarine.com/blogs/outboard-101/daily-engine-flush-for-saltwater-boats-a-good-habit
- https://www.marineengine.com/boat-forum/threads/oops-forgot-to-put-in-drain-plug.218102/
- https://forums.iboats.com/threads/finally-experienced-the-i-forgot-my-drain-plug-today.678419/
- https://www.youtube.com/watch?v=zHE-qHH4ll0
- https://www.greatlakesscuttlebutt.com/news/awesome-products/home-port-marine-s-product-of-the-week-safe-launch-drain-plug-remind…
- https://apps.agfc.com/regulations/detail/fb38163b-a710-46f8-aa68-299279793af6/
For more expert marine parts and advice, visit our JLM Marine Hub.