


Yamaha Outboard Cranks But Won't Start? Troubleshooting Fuel System Issues (300-Hour Maintenance)
- Required Tools for 300-Hour Diagnosis
- Battery and Electrical System Diagnostics
- How to Test Fuel Pressure and Replace Filters (Fuel System)
- Testing for Spark and Coil Resistance (Ignition System)
- Diagnosing ECU Fault No-Start with Aural Warnings
- Mechanical and Propeller Considerations
- Remote Control Ignition Switch and Wiring Failures
- Prolonging Yamaha Outboard Life with Proper Maintenance
- Specific Yamaha Troubleshooting Scenarios
- OEM vs Non-OEM Parts: What You Need to Know
- Troubleshooting Summary: The Diagnostic Path
- Where to Buy Parts
Your Yamaha cranks but won't fire. You're on the dock, key turned, starter spinning, but the engine won't catch. Fuel system problems cause most of these no-starts in the US, particularly around 300 hours when filters clog, pumps wear out, and ethanol fuel starts breaking down components.
Required Tools for 300-Hour Diagnosis
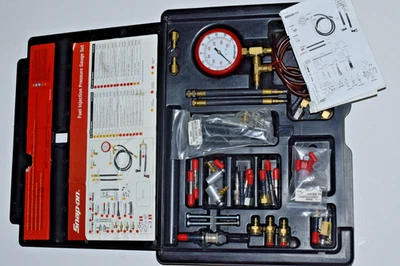
Before you start, gather these:
- Digital multimeter
- Fuel pressure gauge with 14mm or 1/8" NPT adapter (model-specific)
- Spark tester or spare plug
- 5/8" or 16mm spark plug socket
- Wire brush for terminals
- Shop rags
- Fire extinguisher (required when working near fuel)
Difficulty indicators appear at each section.
Battery and Electrical System Diagnostics
Difficulty: Easy
Battery issues masquerade as fuel problems. A weak battery can't run the fuel pump or ECM properly, even if the starter turns.
Check voltage first. A healthy resting battery reads 12.6V. While cranking, watch for voltage drop—anything below 9.5V on most models means your battery can't supply enough current. Larger engines like the F250 and F300 pull more amperage and can drop to 10.2V safely, but smaller engines like the F115 shouldn't dip below 9.8V under load.
Clean battery terminals with a wire brush. Corrosion adds resistance. Check the main ground strap from battery to engine block—salt and vibration loosen these.
Diagnosing Buzzing Solenoid Symptoms
A buzzing or chattering starter solenoid means insufficient voltage. The solenoid tries to close but can't pull enough current to latch. This isn't always the battery—corroded connections at the main relay or solenoid terminals create the same symptom.
We traced one F150 buzzing issue to a loose connection at the ignition switch harness plug. The plug had backed out 2mm from vibration, adding just enough resistance to starve the circuit. Pushed it back in, engine fired.
Test the relay by bypassing it with jumper cables directly to the starter. If the engine cranks strong, replace the relay. If it still buzzes, your battery is dead or cables are corroded through.
Stop and call a pro if: You find melted insulation on cables or smell burning plastic near the starter.
Inspecting Battery Cables, Grounds, and Fuses
Pull each fuse and inspect for hairline cracks. A blown main fuse cuts power to the fuel pump and ECM. Check the 20A fuse labeled "Fuel Pump" on fuel-injected models—it's usually in the rigging tube or under the cowl near the vapor separator tank.
Ground connections fail in saltwater. The engine block ground often hides under the throttle linkage bracket. Unbolt it, sand both surfaces to bare metal, reassemble with dielectric grease.
How to Test Fuel Pressure and Replace Filters (Fuel System)
Difficulty: Intermediate to Advanced
Fuel delivery failures—clogged filters, water in ethanol gas, weak pumps—prevent starting even when the battery and spark are good.
Step 1: Check the Primer Bulb and Lines
Pump the primer bulb. It should firm up and stay hard. A bulb that won't firm up signals an air leak, a clogged pickup screen in the tank, or a bad anti-siphon valve.
The anti-siphon valve sits at the fuel tank pickup. It's a spring-loaded check valve that prevents fuel from siphoning if a line breaks. When it sticks closed, it mimics a dead fuel pump. Disconnect the line at the tank, blow back through it gently—you should feel the valve crack open. If it's stuck, replace the pickup assembly or remove the valve (check local regulations first).
Inspect fuel lines for cracks, especially where they bend at the engine. Ethanol-blended fuel (E10, common in the US) dissolves older rubber. Squeeze the line—if it feels hard or you see surface cracks, replace it. At 300 hours, replace all fuel lines regardless of appearance per Yamaha's maintenance schedule.
Step 2: Drain and Inspect Fuel for Water
Ethanol absorbs water. When the fuel hits about 0.5% water content, "phase separation" occurs—the ethanol and water drop out of the gasoline and settle at the bottom of the tank. This water-ethanol mix clogs the high-pressure filter in the VST (Vapor Separator Tank) on fuel-injected models and corrodes metal components.
Drain a cup of fuel from the lowest point in the system (usually the water separator bowl or the fuel filter). Look for a distinct layer of cloudy fluid at the bottom. If present, drain the entire tank, flush the lines, and refill with fresh ethanol-free fuel. The National Marine Manufacturers Association recommends E10 maximum for marine engines; avoid E15.
Step 3: Replace Fuel Filters
At 300 hours, replace:
- Inline fuel filter (between tank and engine)
- Water separator element
- VST filter (fuel-injected models—inside the vapor separator tank under the cowl)
The VST filter catches the finest debris. Access it by removing the top cover of the VST (four bolts, typically 10mm heads). Expect fuel spillage—have rags ready. Pull the old filter screen, inspect for brown sludge or metal particles. Metal shavings mean internal pump damage—stop and call a pro.
Safety: Depressurize the fuel system before opening any fittings. Turn the key on to prime the pump, then immediately turn it off and disconnect the battery negative terminal. Crack the fuel line fitting at the filter slowly to release residual pressure. Keep the fire extinguisher within arm's reach.
When replacing filters on your Yamaha outboard, you can find high-quality fuel filter parts from JLM Marine that meet OEM specifications and come with free worldwide shipping.
Step 4: Test Fuel Pump Pressure
Connect a fuel pressure gauge to the test port on the fuel rail (fuel-injected) or at the carburetor inlet. Expected pressure:
- F150, F175, F200: 35–45 PSI at key-on (pump prime)
- F250, F300: 42–50 PSI
- Carbureted models (older 2-strokes): 2.5–4 PSI
Turn the key to "on" without cranking. The pump should run for 2 seconds and build pressure. If pressure is low or zero, the lift pump or high-pressure pump has failed. Low pressure also results from a stuck fuel pressure regulator—excess pressure (above 50 PSI) floods the engine.
A failed lift pump often leaks fuel into the crankcase. Pull the dipstick and smell the oil. If it smells like gas or the level is overfilled, the diaphragm in the lift pump has split. Change the pump (Yamaha part 68V-24410-00-00 on many four-strokes), then flush the crankcase: drain the oil, refill with cheap oil, run 5 minutes, drain again, refill with proper marine oil, and replace the filter.
For reliable repairs, consider sourcing a Yamaha fuel pump or a fuel pump kit from JLM Marine, offering factory-spec quality at a better price.
Symptoms and Causes of Fuel System Failure
- Soft primer bulb: Air leak in suction side, clogged tank vent, or stuck anti-siphon valve
- Engine cranks, fires briefly, dies: Fuel starvation from clogged filter or failing pump
- Runs only when squeezing primer bulb: Pump not maintaining pressure
- Black, wet spark plugs after cranking: Flooding from stuck injector or regulator dumping too much fuel
Part Replacement: OEM vs Aftermarket
OEM Yamaha parts are reliable, but you're paying a premium for the sticker. A Yamaha fuel pump runs $350–500 at the dealer. Cheap eBay or Amazon kits for $40? The rubber diaphragms are too stiff, the check valves leak, and you'll be pulling the lower unit off again in 50 hours.
Factory-spec aftermarket from JLM Marine offers the middle path—parts manufactured to OEM tolerances without the dealership markup. We've supplied fuel pump kits, VST gaskets, and filter assemblies to customers worldwide, including a 250HP VST corrosion repair in Fort Myers where the inner plate had rusted through and dumped fuel into the crankcase. The owner replaced the corroded plate with a machined stainless unit, new gaskets, fresh filters, and verified fuel pressure. Engine started instantly, no more sputtering under load.
At 300 hours, the standard maintenance kit includes:
- Water pump impeller and housing
- Fuel filter elements (inline and VST)
- Fuel lines (low and high pressure)
- Spark plugs
- Lower unit gear oil
- Engine oil and filter
- Thermostat and gasket
- Anodes
JLM Marine stocks a comprehensive Yamaha water pump impeller kit collection that is perfect for these routine maintenance intervals.
Testing for Spark and Coil Resistance (Ignition System)
Difficulty: Easy to Intermediate
No spark means no combustion. If fuel pressure is good and the engine cranks strong, pull the plugs.
Spark Plug Inspection, Cleaning, and Gap
Remove each plug with a 5/8" socket (most Yamaha four-strokes) or 16mm (some older models). Read the electrode:
- Black, sooty, wet: Too much fuel (rich). Check for stuck injector, flooding from bad regulator, or clogged air filter.
- White, blistered ceramic: Too lean or overheating. Possible air leak at intake gasket, wrong plug heat range, or failing water pump.
- Oil-fouled (wet, tan/brown): Oil entering combustion chamber. Valve guide wear or piston ring issue—compression test required, stop and call a pro if below 100 PSI per cylinder.
- Normal: Light tan, dry electrode.
Check the gap with a feeler gauge. Specs:
- F150, F175, F200: 0.039–0.043 inches (1.0–1.1 mm)
- F250, F300: 0.043 inches (1.1 mm)
- Older 2-strokes (e.g., 200 HPDI): 0.031 inches (0.8 mm)
A gap too wide causes weak spark and misfires. Too narrow fouls quickly. Replace plugs every 300 hours regardless.
You can find OEM-quality Yamaha spark plugs at JLM Marine, ensuring reliable ignition performance.
Testing for Spark
Ground a plug against the engine block (clamp the threads to bare metal). Crank the engine and watch for spark. You want a strong blue spark that jumps the gap consistently. Weak yellow or intermittent spark means:
- Failing ignition coil (test coil primary and secondary resistance per manual)
- Bad ECM ground
- Corroded plug wire terminals
Saltwater corrosion on ignition components increases resistance. Pull the spark plug boots and inspect inside—white or green crust builds up. Spray with electrical contact cleaner, wire-brush the terminal, coat with dielectric grease on reassembly.
Additional Ignition and Sensor Checks
Fuel-injected models rely on sensors. A failed crank position sensor or throttle position sensor prevents the ECM from firing the injectors or spark. Common error codes:
- Fuel pressure sensor anomaly: VST pump failing or clogged filter
- Crank position sensor: No RPM signal, ECM won't fire coils
- Air temperature sensor: Leans out mixture excessively on cold start
Scan the ECM with a Yamaha diagnostic tool (YDS software) or aftermarket OBD reader compatible with NMEA 2000. Codes don't always mean the sensor is bad—check wiring and connectors first.
ECM Voltage and Grounding
The ECM powers the fuel pump and coils. Measure voltage at the ECM connector during cranking—should read at least 10.5V. Low voltage here points to main harness resistance or bad relay.
ECM mounting bolts often have colored tamper-proof paint or witness marks. If you see these disturbed without prior service, someone has been inside—verify the ECM wasn't swapped or incorrectly reflashed.
For detailed wiring and electrical parts, see the comprehensive inboard & outboard motor parts collection from JLM Marine.
Diagnosing ECU Fault No-Start with Aural Warnings
Difficulty: Advanced/Technician Recommended
Modern Yamahas protect themselves. If the ECM detects low oil pressure, overheating, or a failed sensor, it triggers aural alarms (beeping patterns) and may shut down the ignition entirely.
Common fault sequences:
- Continuous beep, engine won't start: Overheat or low oil pressure. Check oil level, water pump pee stream (should be strong steady stream, not dribble), and temperature sensors.
- Intermittent beep, engine cranks but won't fire: Sensor fault. Scan for codes—often crank position sensor or fuel pressure.
A Florida Yamaha 250HP developed ECU fault warnings with hard starts and sputtering. Diagnostics revealed a corroded VST inner plate with a hole, causing fuel bypass into the crankcase and starving injectors. Technicians replaced the VST plate, installed new gaskets, cleaned lines, and verified pressure. Engine started instantly afterward per Island Marine case study.
Mechanical and Propeller Considerations
Difficulty: Easy
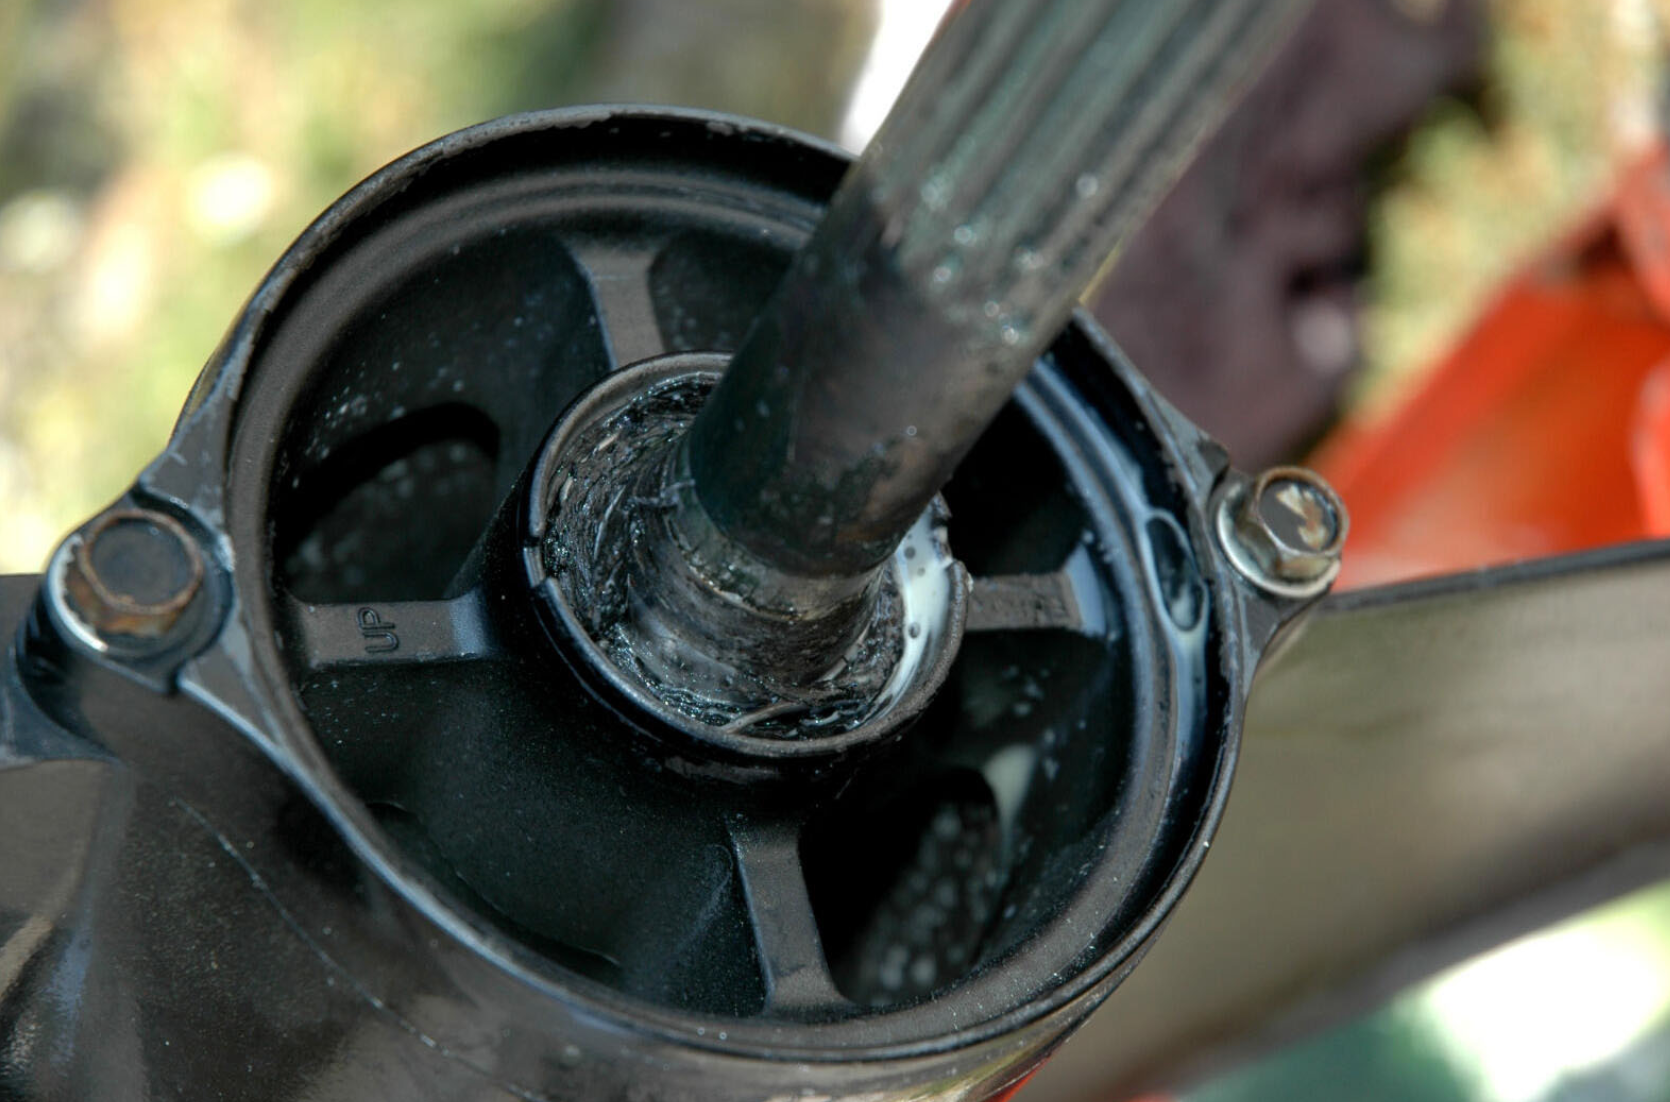
A seized propeller or spun hub won't prevent the engine from starting, but they add confusion. If the engine cranks and fires but won't move the boat, the prop hub has sheared. The engine revs freely, prop spins on the hub.
Propeller nut torque: typically 40–55 ft-lbs depending on model. Check your manual. Loose prop nuts walk off and drop the prop.
Debris wrapped around the prop shaft (fishing line, plastic bags) creates drag but again doesn't stop starting. Clear it before diagnosing further.
Learn more about proper prop care in the guide on sheared propeller pins and how to replace them.
Remote Control Ignition Switch and Wiring Failures
Difficulty: Intermediate
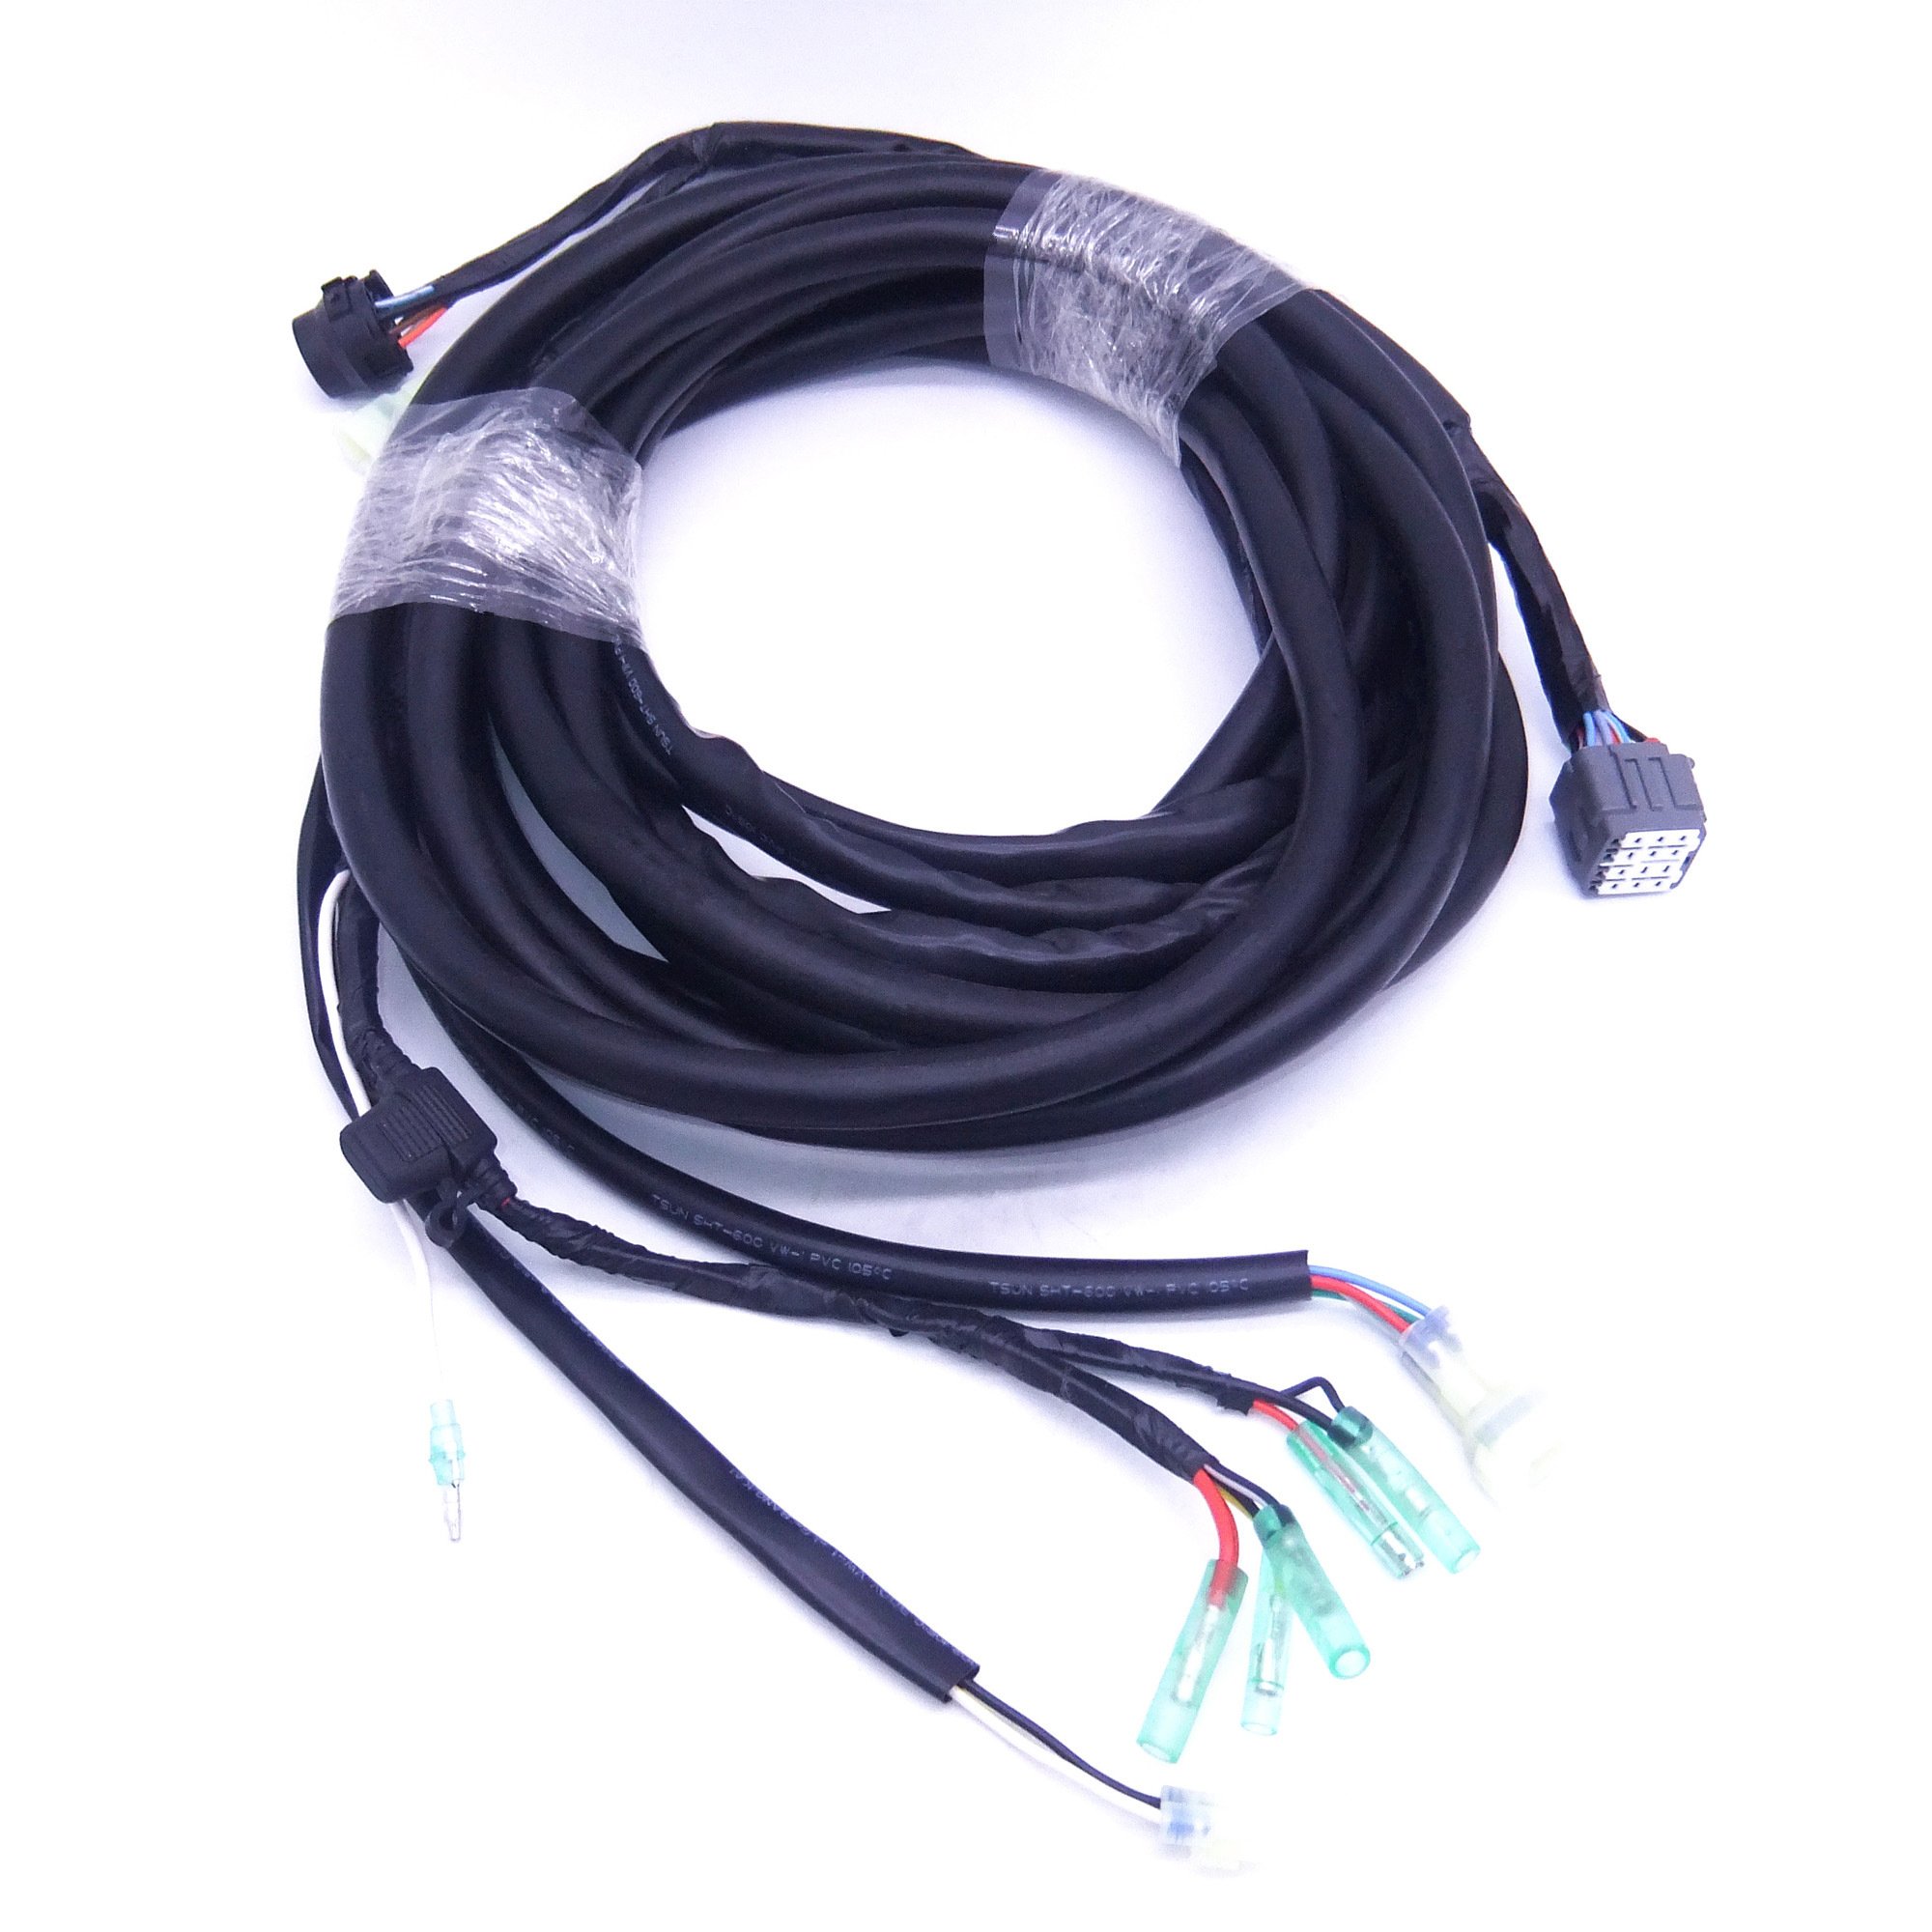
The problem isn't always at the engine. A faulty ignition switch or broken wire in the binnacle control can prevent the start signal from reaching the starter solenoid.
Trace the harness from the key switch to the engine. Wiggle connectors while turning the key—if the engine suddenly cranks, you've found a loose pin. We fixed a no-start on a center console by pushing the 10-pin Deutsch connector at the ignition switch back into its housing—it had vibrated loose 3mm.
Check the neutral safety switch inside the throttle control. The engine won't crank unless in neutral. If the switch fails, jumping the two terminals at the engine harness connector bypasses it for testing.
Prolonging Yamaha Outboard Life with Proper Maintenance
A Yamaha four-stroke maintained per schedule runs 1500–2500 hours before major work. We've seen F150s with 2200 hours still pulling strong—original lower unit, minimal oil consumption. The difference? Oil changes every 100 hours, fresh water flushes after every saltwater trip, and fuel system service at every interval.
See how to keep your engine cool with the thermostat maintenance guide and protect your water pump with the Yamaha water pump impeller replacement tutorial.
Importance of Using Model-Specific Repair Manuals
Every Yamaha model has unique specs. Torque values, fuel pressure, timing, and sensor resistances vary. Download or buy the official service manual for your model year:
- F150 (2015–2023): LIT-18616-03-15
- F250 (2016–2023): LIT-18616-F2-50
- 200 HPDI (2000–2010): LIT-18616-02-33
These manuals include wiring diagrams, troubleshooting flowcharts, and exact part numbers. Generic advice won't cut it when you're setting valve clearances or bleeding a high-pressure fuel rail.
When to Consult Certified Yamaha Technicians
Some jobs exceed DIY scope:
- Internal engine repairs (piston rings, valve guides)
- ECM reprogramming or replacement
- High-pressure fuel rail service on HPDI models
- Powerhead removal
Find a certified tech through Yamaha's US dealer locator. Bring your own parts if the dealer allows—we ship worldwide with free shipping, 5–15 day delivery to your dock. Explore all our offerings and get parts direct from the manufacturer on our main JLM Marine site.
Specific Yamaha Troubleshooting Scenarios
Scenario: Engine Cranks, Fires for 2 Seconds, Dies
Cause: Fuel pump primes on key-on (you hear it run), builds initial pressure, but can't maintain pressure during cranking. The engine gets one gulp of fuel, fires, then starves.
Fix: Replace fuel pump or check for clogged VST filter. Test pressure during cranking—it should hold steady at spec, not drop off.
Scenario: Cranks Fine Cold, Won't Restart Hot
Cause: VST heat-soaks after shutdown. Fuel vaporizes inside the tank, creating vapor lock. Pump can't move vapor, only liquid.
Fix: Install VST insulation kit or relocate VST to cooler area (modification—consult manual first). Let engine cool 20 minutes before attempting restart.
Scenario: Buzzing Relay, No Crank, Battery Tests Good
Cause: Voltage drop in harness between battery and relay, or corroded relay terminals.
Fix: Clean relay socket, test for 12V at relay coil input while key is turned. If voltage is present but relay won't close, replace relay. If no voltage at relay, trace back to ignition switch.
Scenario: Engine Runs Only When Squeezing Primer Bulb
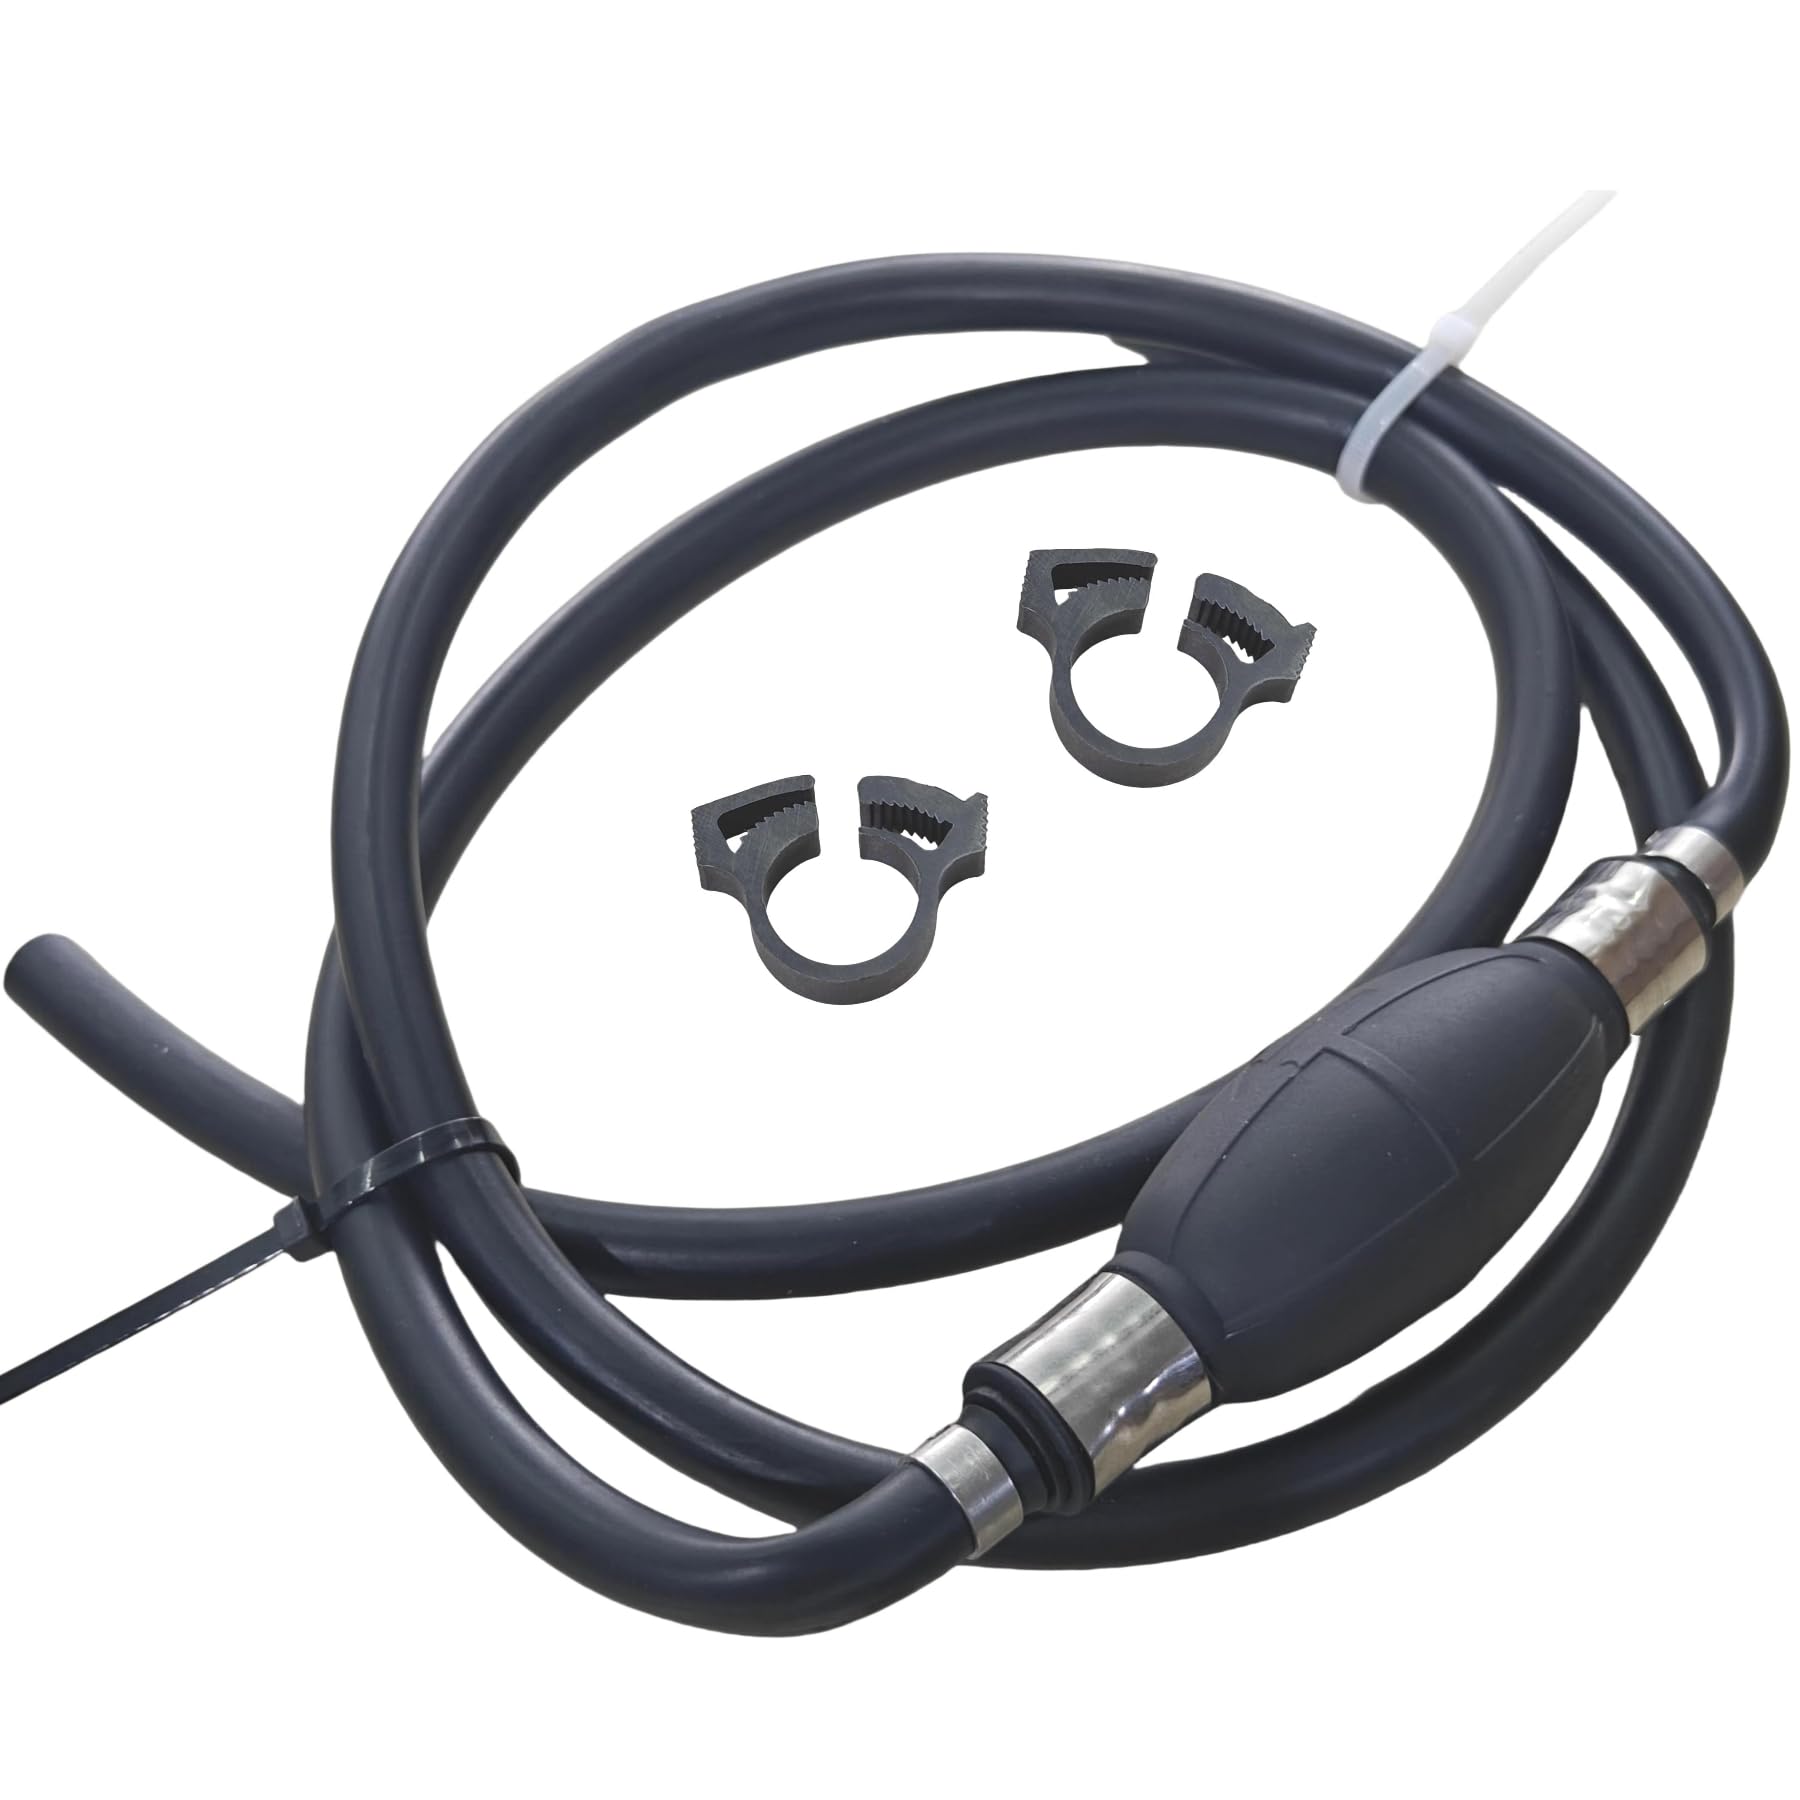
Cause: Fuel pump not maintaining pressure. You're manually pressurizing the system with the bulb.
Fix: Replace lift pump. Often accompanied by fuel dilution in oil. Check dipstick—if oil smells like gas, drain crankcase and replace pump.
One customer ran a four-stroke until it wouldn't start at all, repeatedly squeezing the bulb. The lift pump had failed, dumped fuel into the crankcase, and diluted the oil to the point it lost lubricity. Replaced the pump (part 68V-24410-00-00), flushed the crankcase twice with fresh oil, changed the filter, refilled, and test-ran it per this documented case. Engine ran clean afterward.
OEM vs Non-OEM Parts: What You Need to Know

OEM quality is consistent, but expensive. Non-OEM quality ranges from garbage to excellent. Some factories manufacture for Yamaha, then use excess capacity to produce unbranded or aftermarket parts with identical specs—same materials, same tolerances, no logo tax.
Low-end aftermarket (random eBay sellers, unbranded kits under $30): Hard rubber that doesn't seal, incorrect spring tension in check valves, poor machining. These fail within weeks.
High-quality aftermarket (JLM Marine, established suppliers): Factory-spec materials, proper fitment, tested. These match OEM performance at 40–60% of the dealer price.
When selecting parts, look for:
- Material specs matching OEM (e.g., Viton seals, not Buna-N)
- Dimensional accuracy (gaskets fit without trimming)
- Warranty and return policy
- Established supplier history
We've shipped VST rebuild kits, fuel pumps, and water pump impellers to Australia, Europe, and across the US. Example: A customer needed a discontinued VST gasket for a 2008 F250. Yamaha dealer quoted 6 weeks backorder, $85. We sourced it from factory stock and delivered in 9 days for $42 with free shipping.
Troubleshooting Summary: The Diagnostic Path
Follow this order to isolate the fault:
- Battery: Test voltage resting and cranking. Clean terminals. Check main ground.
- Fuel Delivery: Verify primer bulb firms up. Replace filters. Test pump pressure. Drain fuel for water.
- Spark: Pull plugs, read color, check gap. Test for strong blue spark at each cylinder.
- Sensors (fuel-injected): Scan ECM for codes. Test crank position sensor, fuel pressure sensor.
- Mechanical: Confirm neutral safety switch. Check propeller for damage.
Stop and call a pro if:
- Compression below 100 PSI per cylinder
- Metal shavings in oil or fuel filter
- Melted wiring or burnt relay smell
- ECM codes indicating internal engine faults (e.g., "Catastrophic Overheat")
Where to Buy Parts
When parts need replacing, avoid cheap offshore sellers with no return policy. OEM is available but overpriced at dealers. Quality aftermarket from JLM Marine offers factory-spec components—same materials, proper fit, tested—without the dealer markup. We ship free worldwide, 5–15 day delivery. Whether you're a boat owner or marine service shop, we stock fuel pumps, VST kits, filters, impellers, and ignition parts for most Yamaha models.
Flush your engine with fresh water for 10 minutes after every saltwater trip—this prevents salt buildup in the cooling passages and corrosion on fuel system components that lead to these no-start issues down the road. Visit the JLM Marine homepage to browse all parts and accessories.
Links added strategically to related collections, tutorials, maintenance guides, and relevant resources for Yamaha outboards from JLM Marine and other expert sources.