


Replacing a Blown Head Gasket on an Overheated Outboard
- Confirming Head Gasket Failure with a Compression Test
- Visual Symptoms to Check Before Pulling the Head
- Checking for Cylinder Head Warpage
- Removing the Cylinder Head on a Yamaha Outboard
- Cleaning the Mating Surfaces
- Installing the New Head Gasket and Torquing the Head
- Parts: OEM vs. Aftermarket Head Gaskets
- DIY Cost vs. Professional Shop Cost
- What Else to Inspect While the Head Is Off
- Preventing Future Head Gasket Failure
- Post-Repair Testing
- When the Gasket Isn't the Problem
- Tools You Actually Need
- Sources

If your Yamaha outboard overheated and now runs rough, shows white exhaust smoke, or has milky oil, you're probably looking at a blown head gasket. Catch it early and you'll spend a few hundred bucks. Ignore it and you're shopping for a new powerhead.
Confirming Head Gasket Failure with a Compression Test
The most reliable way to confirm a blown head gasket is a compression test. Symptoms point you in the right direction, but the gauge tells you for sure.
What you need: A screw-in compression gauge. The cheap push-and-hold types leak and give garbage readings.
Procedure:
- Warm the engine to operating temperature. Cold compression readings are useless.
- Pull all spark plugs and disconnect the plug wires.
- Disable fuel delivery—yank the main fuel line or pull the fuel pump fuse.
- Thread the gauge into the first cylinder. Make sure it seats fully or you'll read low.
- Have someone crank the engine for 5–6 compression strokes. Watch the gauge climb and stop.
- Record the number. Repeat for every cylinder.
What the numbers mean:
Yamaha 4-strokes typically show 120–150 PSI. Two-strokes often run higher, sometimes 140–160 PSI depending on the model. The absolute number matters less than the spread between cylinders. If all cylinders are within 10–15% of each other, compression is good. If one cylinder reads 25% lower than the rest—say 95 PSI when the others are at 130 PSI—that's a problem.
Head gasket vs. other failures:
Low compression in one cylinder next to another normal cylinder strongly suggests a head gasket blown between those two bores or between a bore and a water jacket. Low compression across all cylinders usually means worn rings or a seized powerhead from the overheat itself, not the gasket. If the weak cylinder also shows white smoke or wet, steam-cleaned spark plugs, the gasket is letting coolant into the combustion chamber.
According to MarineEngine forum mechanics, "Any engine that has been that hot should have the head gasket and exhaust cover gaskets replaced," even if compression still looks acceptable, because heat degrades gasket material and it will fail soon.
Visual Symptoms to Check Before Pulling the Head

Water in the cylinders: Pull the plugs and look down the bores with a flashlight. If you see standing water or a milky film, coolant is leaking past the gasket. Two-strokes sometimes show tiny black rubber flecks from disintegrated gasket material stuck to the piston crown.
Exhaust smoke color: White smoke that smells sweet (coolant) and appears at idle or under load points to coolant burning. Blue-gray smoke means oil (rings or seals), black means rich fuel.
Cooling system bubbles: With the engine running in a test tank, watch the pee stream or remove the thermostat cover and observe the water flow. Bubbles or erratic surges indicate exhaust gases pressurizing the cooling passages—classic head gasket leak. Some engines will pee fine at throttle but dribble or steam at idle because the gasket only leaks under certain combustion pressures. For tips on testing and maintaining cooling systems, see our guide on Yamaha Outboard Overheating: Diagnose & Clear Blocked Cooling Passages (2.5 HP F2.5A).
Oil condition: Pull the dipstick. Milky, tan, or frothy oil means coolant contamination. Chocolate-milk oil means the head gasket has been leaking for a while. Change the oil immediately even if you're not doing the gasket yet; running contaminated oil destroys bearings.
Spark plug appearance: A blown gasket often leaves one or two plugs looking steam-cleaned—white porcelain insulator with almost no carbon, as if the coolant washed it. Normal plugs are tan to light brown. Wet, fuel-fouled plugs (black and oily) suggest a different issue like a stuck float or bad coil.
Checking for Cylinder Head Warpage
Overheating doesn't just blow the gasket—it warps the aluminum head. If the head is bent, a new gasket won't seal and you'll be right back where you started.
Tools needed:
- A machinist's straight edge, at least 12 inches long. A level from the hardware store is not accurate enough.
- A set of feeler gauges in 0.001-inch increments.
How to check:
After you remove the head (see next section), clean the mating surface completely. Lay the straight edge across the head in several directions: front-to-back, side-to-side, and diagonally. Try to slide feeler gauges under the straight edge. If a 0.003-inch (0.076 mm) feeler slips under anywhere, the head is warped beyond spec for most Yamahas.
Yamaha's factory tolerance is typically 0.004 inches (0.1 mm) maximum across the entire surface. Some models allow only 0.002 inches. Check your service manual. Dangar Marine's video on outboard head gasket replacement emphasizes this step: "I'm a little bit worried that this is overheated to such an extent that this head is now warped so I'm going to use a straight edge, just put it across various angles…"
What to do if it's warped:
A machine shop can mill the head flat, but you can only remove so much material before valve timing or compression ratio shifts. Most Yamaha heads can lose 0.010–0.020 inches before they're junk. Milling costs $80–150 in most US shops. If the head is cracked or warped beyond the service limit, you need a new or used head. At that point, weigh the cost of a replacement head (often $300–600 used, $800+ new) against the value of the entire outboard.
Removing the Cylinder Head on a Yamaha Outboard
Sequence:
- Disconnect everything. Remove the cowling, throttle linkage, fuel line, and any electrical connectors to the head (temp sensors, ignition coils).
- Pull the plugs. Makes cranking easier and lets you inspect the bores.
- Remove head bolts in reverse torque order. Most Yamaha heads use a spiral pattern starting from the outside and working in. Loosen each bolt a quarter-turn at a time in the reverse of the tightening sequence to avoid cracking the head. If your engine has studs instead of bolts, remove the nuts the same way.
- Break the seal carefully. Tap the head with a rubber mallet around the edges. Do not pry between the head and block with a screwdriver—you'll gouge the aluminum and ruin the seal. If it's really stuck, thread two bolts back into opposite corners and slowly tighten them evenly to jack the head off the block.
- Lift the head straight up. Wiggling it side-to-side can snap off a dowel pin or scratch the cylinder walls.
Seized fasteners:
Saltwater corrosion can freeze head bolts. Spray penetrating oil (PB Blaster, not WD-40) 24 hours before you start. If a bolt starts to twist off, stop. Heat the surrounding aluminum with a propane torch (not the bolt itself) to expand the metal, then try again. Snapped bolts require drilling and extraction; that's a full day of misery.
Cleaning the Mating Surfaces

This step determines whether your new gasket seals or blows out again in a week.
Scraping:
Use a plastic razor blade scraper or a brass scraper. Never use a steel putty knife or a wire wheel on the aluminum. Even small scratches create leak paths. Work slowly and peel the old gasket off in strips. For stubborn gasket material, spray it with gasket remover (Permatex, CRC) and let it soak for 10 minutes.
Abrasives:
Once the bulk of the gasket is off, switch to a Scotch-Brite pad (gray or maroon, not green). The gray pads are roughly 600-grit equivalent; green pads are too aggressive and will scratch aluminum. Wipe in a circular motion to avoid directional grooves.
Solvent cleaning:
After scraping, wash the surface with acetone or brake cleaner to remove all oil and residue. Wipe with a clean, lint-free rag. Any oil left behind will prevent the gasket from sealing.
Inspecting for pitting:
Look for small craters or white corrosion spots on the aluminum. Light pitting is usually OK if it's not in a critical sealing area (around the combustion chamber or water jacket). Deep pits near a cylinder bore mean the head is junk.
Cleaning the block deck:
Do the same process on the top of the cylinder block. Be extra careful not to let debris fall into the cylinder bores. Stuff clean shop rags into each cylinder before you start scraping. Remove the rags and wipe the bores with oil before reassembly.
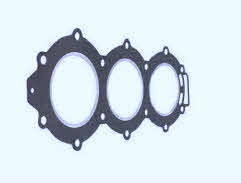
Installing the New Head Gasket and Torquing the Head
Gasket orientation:
Most Yamaha head gaskets are marked "TOP" or "UP." Install it upside down and it won't seal the water passages correctly. Some gaskets have a front and rear—check the notches or bolt-hole patterns against the old gasket.
Sealant or not:
Yamaha specifies Yamabond 4 or 5 on some gasket edges, especially around water passages on older 2-strokes. Read the service manual. Most modern composite gaskets install dry. If you use sealant when you're not supposed to, it squeezes into the cooling passages and blocks flow.
Torque sequence:
Yamaha heads tighten in a spiral pattern starting from the center and working outward. The manual will show a numbered diagram. Typical sequence for a 4-cylinder is center two bolts first, then the next ring, then the outer bolts. Never tighten one bolt all the way and then move to the next. You'll warp the head.
Torque spec and stages:
Most Yamaha outboards use a multi-stage torque process. Example for a common 4-stroke:
- Stage 1: Tighten all bolts to 20 ft-lbs in sequence.
- Stage 2: Tighten to 40 ft-lbs in sequence.
- Stage 3: Final tighten to 27 ft-lbs in sequence.
The numbers vary by model and year. Use a click-type torque wrench, not a beam-style. Click wrenches are more accurate for small, precise settings. We use a Tekton or a CDI in the shop; both are reliable and under $100. For recommendations on quality tools, see our guide on essential tools for outboard maintenance.
Re-torque after break-in:
Some manuals call for re-torquing the head bolts after the first 10–20 hours of run time. Aluminum expands and contracts with heat cycles, which can slightly loosen the bolts. Check your model's spec.
Parts: OEM vs. Aftermarket Head Gaskets

OEM Yamaha gaskets are good. They fit perfectly and last. You're also paying for the Yamaha logo on the box. Expect $40–70 for a genuine Yamaha head gasket kit depending on the model.
Cheap offshore gaskets from random sellers are a gamble. We've seen $15 kits where the gasket is too thick (kills compression), the bolt holes don't line up, or the material is hard composite that doesn't seal. You'll spend your whole weekend tearing the head off again.
Quality aftermarket exists. Some factories that produce OEM gaskets for Yamaha also make non-OEM parts during excess capacity. These parts meet OEM specs but cost less because you're not paying brand markup. JLM Marine sources this type of part—we get the factory quality without the dealer price. Browse our Yamaha head gasket parts collection for genuine options and quality alternatives.
Where you buy matters. Look for suppliers that show part numbers, compatibility charts, and actual photos of the gasket. If the listing just says "universal outboard gasket," keep scrolling.
DIY Cost vs. Professional Shop Cost

DIY parts cost:
- Head gasket: $30–50
- Yamabond sealant (if required): $10
- Gasket scraper, Scotch-Brite pads, acetone: $10
- Total: roughly $50–70 if you already own a torque wrench.
DIY time: 3–5 hours for a first-timer on a simple 2-cylinder. Add an hour if the head is seized or you're chasing broken bolts.
Professional cost:
- Labor: 2–4 hours at $80–120/hour = $160–480
- Parts (gasket, sealant, misc.): $50–100
- Total: $210–580 depending on your region and the shop's rate.
According to PartsVu's analysis of Yamaha outboard head gasket repair costs, professional jobs on small to mid-size recreational Yamahas commonly fall in the $200–500 range, driven mainly by labor.
When to pay a pro:
If your engine overheated badly enough to blow the gasket, there's a good chance the head is warped. A good marine mechanic will check the head with a straight edge, pressure-test the cooling system after reassembly, and verify the thermostat and water pump are working. That diagnostic work is worth the money if you're not confident doing it yourself. A MarineEngine forum mechanic advises, "A blown Head gasket can only lead to more trouble I would consider yourself lucky that you caught it as soon as you did and go ahead and change the head gasket."
What Else to Inspect While the Head Is Off

Water passages: Look into the cooling passages in the block and head. If you see white salt crust, rust, or mud, the cooling system hasn't been flushed regularly. Clean it out now. A clogged passage will cause another overheat and blow the new gasket. Find suitable replacement parts and maintenance supplies in our cooling system parts collection.
Thermostat: Pull it and test it in a pot of water on the stove with a thermometer. It should open at the rated temp (typically 140–160°F for Yamahas). If it's stuck closed, that's probably why the engine overheated in the first place. For detailed instructions, see our post on how to replace the thermostat on your Yamaha outboard.
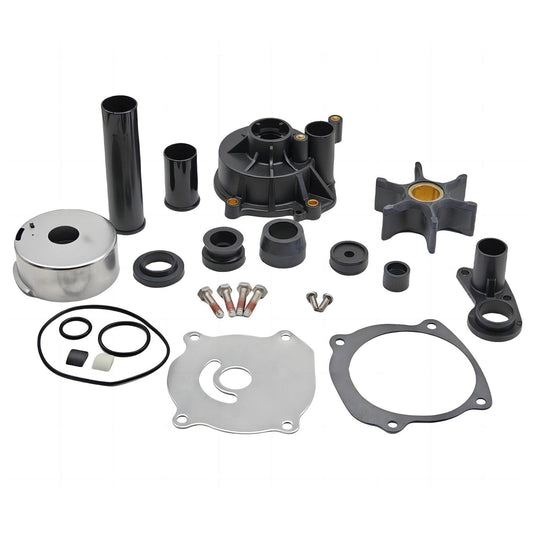
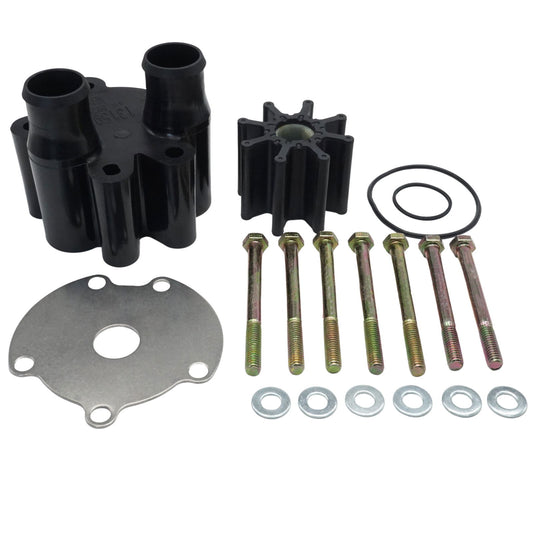
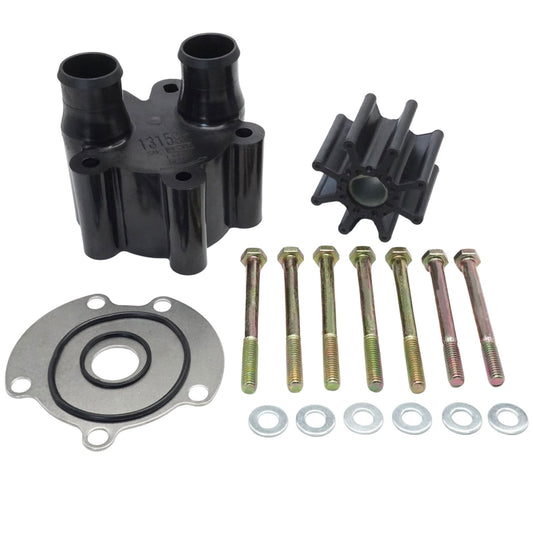
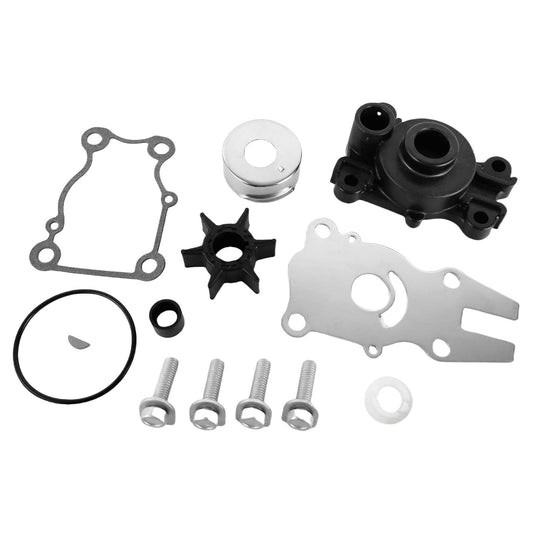
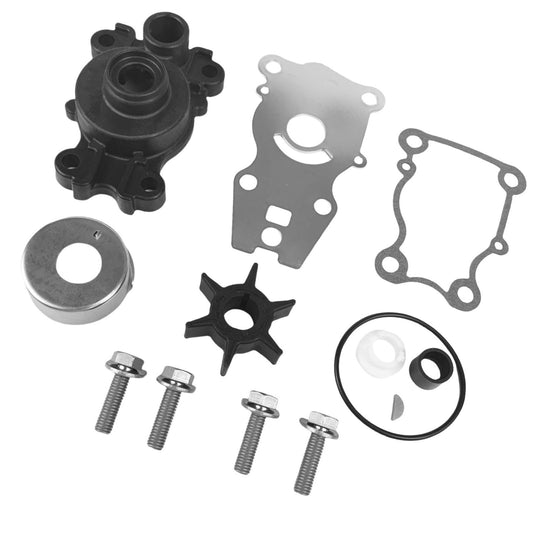
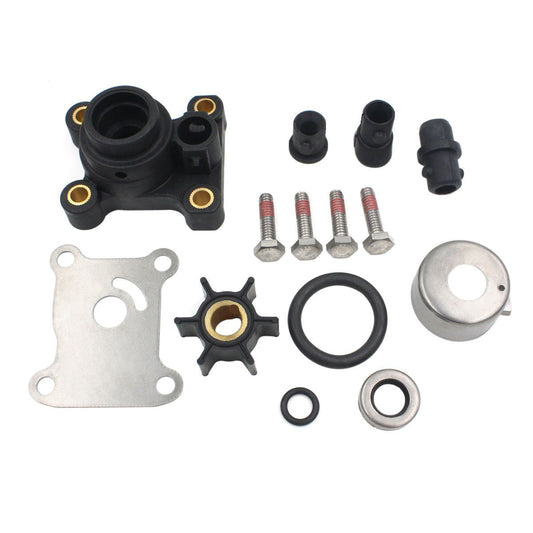
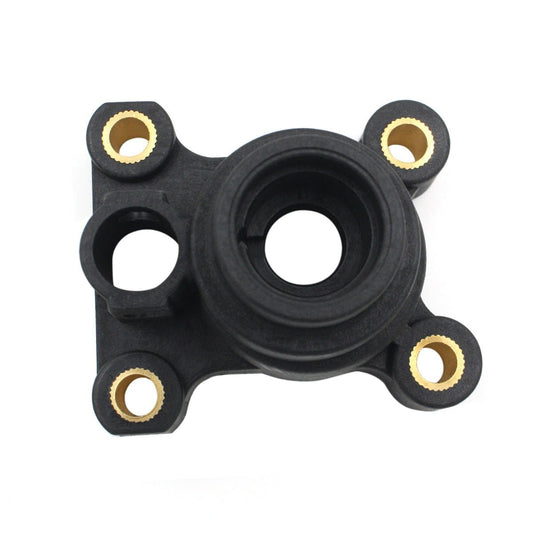
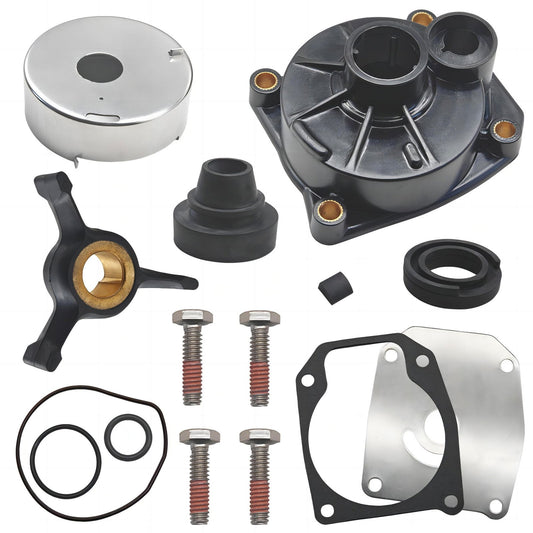
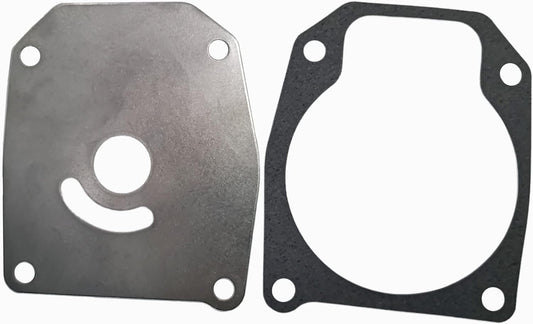
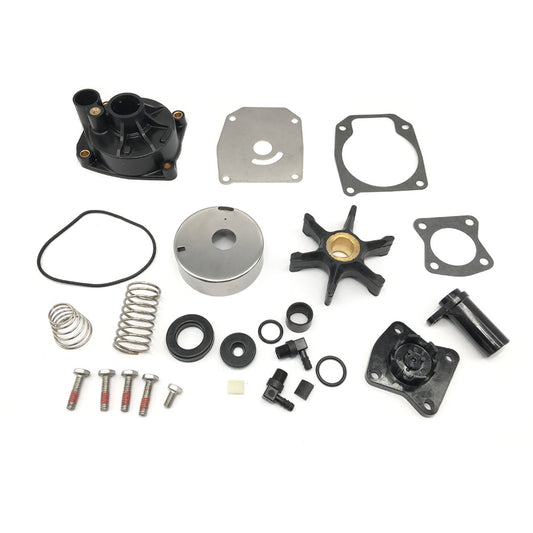
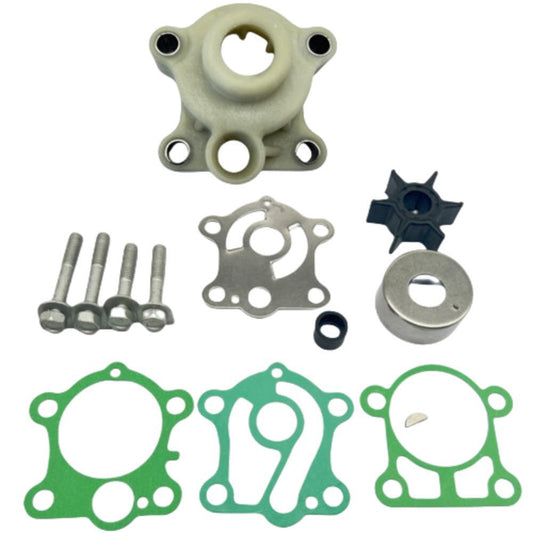
Water pump impeller: If you haven't replaced the impeller in the last 2–3 years, do it now. A worn impeller reduces flow and causes overheating. Check the wear plate in the pump housing for grooves. We offer a full Yamaha water pump impeller kit collection for your maintenance needs.
Anodes: Inspect the sacrificial zinc or aluminum anodes in the cooling passages. If they're more than 50% gone, replace them. Depleted anodes allow galvanic corrosion to eat the engine block instead.
Piston tops (visible through the bores): Shine a light into the cylinders. Look for scoring, cracks, or carbon buildup. Heavy carbon can cause detonation and overheat the engine. If a piston looks damaged, you've got bigger problems than a head gasket.
Preventing Future Head Gasket Failure

Flush after every saltwater use. Run fresh water through the cooling system for 10 minutes. Salt crystals precipitate out when the engine cools and clog the passages. For more on avoiding overheating, see our detailed guide on saltwater use and overheating prevention tips.
Replace the impeller every 2 years. It's a $20 part. Don't wait for it to shred and overheat the engine.
Watch your temperature gauge or alarm. If the overheat alarm goes off, shut the engine down immediately. Running it for even 30 seconds at 220°F+ will warp the head.
Service interval for the head gasket: Some Yamaha models recommend replacing the head gasket every four years as preventive maintenance, especially in saltwater. Check your owner's manual. It's easier to do the job on your schedule than at the ramp when the engine quits.
Check for exhaust restriction. A clogged exhaust—from carbon buildup or a failed exhaust tube—creates back pressure, which raises combustion temps and can blow a head gasket. If your engine has been losing power along with overheating, inspect the exhaust passages.
Post-Repair Testing

After you button everything back up, don't just throw the cowling on and go ride. Test it properly.
On the hose:
Run the engine in a test tank or with flushing muffs for 15 minutes at idle. Watch the pee stream—it should be strong and steady. Feel the cylinder head; it should be warm but not too hot to touch. If the temp climbs into the alarm range, shut it down. You've either got a warped head, a bad thermostat, or a gasket installed wrong.
Re-check torque:
After the first heat cycle (after that 15-minute test), let the engine cool completely. Then re-torque the head bolts to spec in the same sequence. Aluminum expands and contracts, and bolts can settle slightly.
On-water test:
Take the boat out for a short run. Start at idle, then gradually bring it up to cruising RPM. Monitor the temp. Run it hard for 5 minutes, then back to idle. If it overheats at idle but cools at speed, you've still got a flow problem—stuck thermostat or weak impeller. If it runs cool at all speeds, you're good.
Check for leaks:
After the water test, pull the cowling and inspect around the head gasket mating surface. Look for wet spots or water trails. If you see any, the gasket isn't sealing. Could be a warped head, insufficient torque, or debris on the mating surface. You'll have to pull it apart again.
When the Gasket Isn't the Problem
Sometimes what looks like a blown head gasket is actually something else.
Stuck thermostat: Will cause overheating and rough running but won't show coolant in the oil or white smoke. Compression test will be normal across all cylinders.
Cracked exhaust manifold (4-strokes): Can let exhaust gases into the cooling jacket, creating bubbles and overheating. You'll see steam from the pee hole but no coolant in the cylinders.
Blown power head seal (2-strokes): On some 2-stroke models, there's a separate seal between the cylinder block and the crankcase. If that fails, you get a loss of crankcase pressure, which causes poor running, but you won't see water in the oil or white smoke like a head gasket failure.
Cracked cylinder head: Rare but possible after severe overheating. A crack between a cylinder and a water jacket will mimic a blown gasket. The only way to tell is to remove the head and visually inspect it, or have a shop magnaflux it.
If you replace the head gasket and the symptoms don't change, start looking at these other possibilities.
Tools You Actually Need
Minimum:
- Socket set with extensions (usually 10mm, 12mm, or 14mm for head bolts depending on model)
- Click-type torque wrench (3/8" drive, range 0–80 ft-lbs covers most outboards)
- Plastic or brass gasket scraper
- Scotch-Brite pads (gray)
- Straight edge and feeler gauges
- Compression tester
- Spark plug socket
For info on compatible parts and tools, visit our JLM Marine home page for full access to quality marine and outboard motor parts.
Nice to have:
- Rubber mallet
- Needle-nose pliers for O-rings and hoses
- Flashlight or inspection camera for looking into cylinders
- Parts tray or magnetic dish for bolts (they all look the same and it's easy to lose them)
What not to use:
- Steel wire brush or steel scraper on aluminum (you'll gouge it)
- Impact wrench for head bolts (you'll snap them or strip the threads)
- Adjustable wrench instead of a socket (rounds off bolt heads)
Sources
- Replacing Outboard Head Gasket - Dangar Marine
- Overheating and Blown Head Gasket - MarineEngine Forum
- Head Gasket Replacement Advice - MarineEngine Forum
- Yamaha Outboard Head Gasket Repair Cost Analysis - PartsVu
- Blown Head Gasket Symptoms - CRC Industries
Pro tip: After you finish any head work, mark the date on the inside of the cowling with a permanent marker. Next time you pull the cover for service, you'll know exactly when the gasket was last done and whether it's time to do it again.
About JLM Marine
Founded in 2002, JLM Marine has established itself as a dedicated manufacturer of high-quality marine parts, based in China. Our commitment to excellence in manufacturing has earned us the trust of top marine brands globally.
As a direct supplier, we bypass intermediaries, which allows us to offer competitive prices without compromising on quality. This approach not only supports cost-efficiency but also ensures that our customers receive the best value directly from the source.
We are excited to expand our reach through retail channels, bringing our expertise and commitment to quality directly to boat owners and enthusiasts worldwide.
Water Pump Repair Kits on Sale
- $29.75
$35.00- $29.75
- Unit price
- per
- $16.99
$27.00- $16.99
- Unit price
- per
- $19.99
$23.00- $19.99
- Unit price
- per

- $85.99
$103.00- $85.99
- Unit price
- per

- $27.99
$33.00- $27.99
- Unit price
- per

- $35.00
$42.00- $35.00
- Unit price
- per
- $50.99
$59.00- $50.99
- Unit price
- per

- $55.00
$66.00- $55.00
- Unit price
- per
- $39.89
$45.00- $39.89
- Unit price
- per
- $55.50
- $55.50
- Unit price
- per

- $29.99
$35.00- $29.99
- Unit price
- per
- $26.90
- $26.90
- Unit price
- per
- $39.98
$45.00- $39.98
- Unit price
- per

- $49.99
$59.00- $49.99
- Unit price
- per

- $27.99
$33.00- $27.99
- Unit price
- per

- $45.99
$55.00- $45.99
- Unit price
- per

- $43.00
- $43.00
- Unit price
- per

- $25.56
$30.00- $25.56
- Unit price
- per

- $36.00
- $36.00
- Unit price
- per

- $35.98
$43.00- $35.98
- Unit price
- per