


Emergency Restart Techniques: Pull Cords & Backup Plans

After twenty years wrenching on outboards, I've seen plenty of motors die at the worst moment. Getting them running again fast comes down to knowing your restart options and having a backup ready.
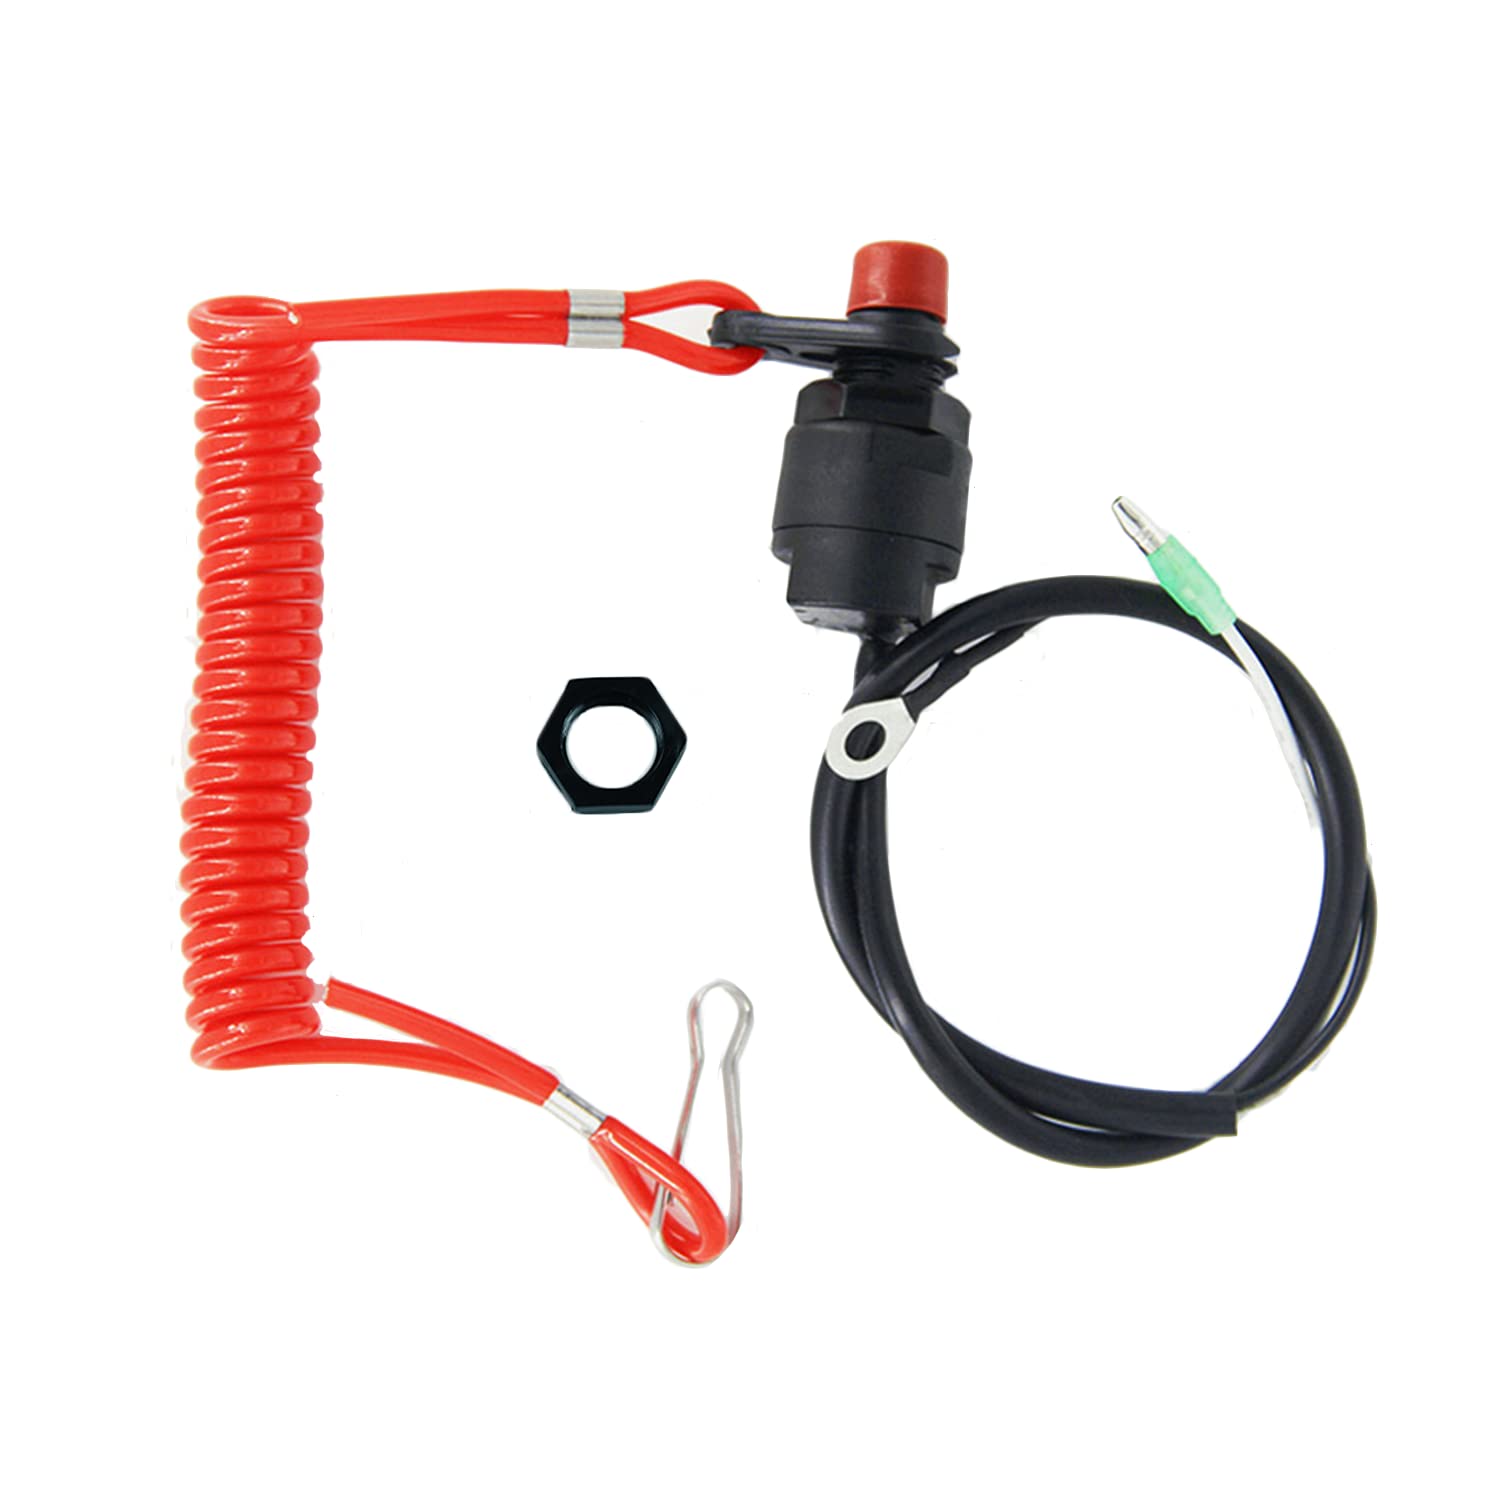
Pull Cord Emergency Stop Systems
Pull cords work differently than mushroom buttons. A cable pull switch uses a steel wire rope running along machinery – yank it anywhere, and the whole line stops. You'll see these on long conveyors where a worker 50 feet from the control panel needs to kill power fast.
When to Use Cable Pull vs. Buttons
Buttons make sense for stationary equipment where the operator stays in one spot. Pull cords handle situations where people move along the machine. A 2% failure rate in 1,100 US conveyor systems according to MSHA in 1995 sounds low, but that's still 22 failed stops. Check the cable tension monthly – a slack rope won't trip the switch.
The switch itself is just a limit switch with a lever arm. The cable pulls the arm, breaks the circuit. Reset means manually pushing that lever back and confirming the area's clear before hitting the main start button.
Pull Cord Installation Specs
Run the cable 3 to 4 feet off the floor along the entire machine length. Mount brackets every 10 feet maximum to prevent sag. Use 3/16-inch galvanized aircraft cable – anything thinner will stretch. The pull force should be 10 to 15 pounds, enough that it won't trip from a breeze but light enough for anyone to activate.
Healthcare facilities have different pull cord rules. Joint Commission found 63.47% noncompliance in 893 out of 1,407 hospitals during 2021 surveys. ADA requires cords in accessible bathrooms to reach 6 inches above floor level, with the call button mounted no higher than 48 inches. Staff has to be able to pull it from a seated position on the floor.
Mushroom Button Emergency Stops
The red mushroom button is what most people picture. NFPA 79 sets the standards – red actuator, yellow background panel when needed, and mechanical latching so it stays down until you twist or pull to reset.
Category 0 vs. Category 1 Stops
Category 0 kills power instantly. You're cutting voltage to the motor contactor – the machine coasts to a stop based on inertia alone. Use this when you need everything dead now, like if someone's hand is near a blade.
Category 1 applies a controlled deceleration first, then removes power once motion stops. A heavy flywheel or big conveyor drum benefits from this – slamming it to a halt can shear drive shafts or snap belts. The E-stop triggers the drive to ramp down, then the safety relay cuts main power.
Wiring Architecture: Series vs. Parallel
Wire multiple E-stop buttons in series on the same safety circuit. If any button opens, the whole circuit drops out. Don't wire them in parallel – a single failed closed contact will bypass every other button.
The safety relay is the brains. Brands like Allen-Bradley, Siemens, and Schneider Electric all make them. These relays require a deliberate reset signal separate from the E-stop release. Just twisting the mushroom button out won't restart the machine – you have to walk to the control panel and press a reset button there. This forces you to verify the area is safe.
Troubleshooting Reset Failures
If you release the button but the machine won't restart, start here:
Contact welding: Pull the E-stop button assembly and check the normally closed contacts inside. If they're fused together from arcing, the safety relay never sees the "open" signal when you press the stop. Replace the contact block – don't try to file the contacts clean.
Mechanical latch stuck: Twist-to-release buttons have a plastic cam mechanism. If it's gummed up with dirt or corrosion, the button releases but the internal switch stays open. Spray contact cleaner in the base and work it back and forth. If that doesn't free it, swap the whole assembly.
Safety relay lockout: Some safety relays require confirmation that all guarding is closed before allowing a restart. Check for open gate switches or light curtain faults.
Break-Glass Enclosures: Trade-Offs
A clear plastic cover over the E-stop prevents accidental bumps. The operator has to flip the cover up or, in some designs, break a frangible shield to reach the button. This adds maybe half a second to reaction time. Use these where nuisance trips cost serious money – like an automated paint line – but skip them if the hazard is severe and speed matters more.
The psychological factor is real. Operators hesitate to press the E-stop because they know it'll halt production and bring supervisors running. Training needs to hammer home that pressing it for a legitimate hazard always beats the alternative. I've seen guys try to reach into a running machine rather than stop the line. That's how you lose fingers.
Placement Rules
OSHA 1910.212 on machine guarding requires E-stops within easy reach of anyone in the danger zone. Maximum reach distance is typically 30 inches – if someone has to lunge or step away from the hazard to hit the button, it's too far.
Mount them at 42 to 48 inches off the floor for standing operators. On a workbench, mount them at the front edge where hands naturally rest. Don't hide them behind a control pendant or put them so low you have to bend down.
Post-Incident Analysis Checklist

After an E-stop activation, don't just reset and restart. Run through this:
- Interview the operator: What exactly did they see or hear before pressing the button?
- Inspect the area: Look for debris, broken tooling, loose wiring, or leaking hydraulics.
- Check interlocks: Did a guard door pop open? Is a proximity sensor misaligned?
- Review the sequence: If it's a multi-stage process, did something upstream cause the fault?
- Document it: Log the date, time, machine, and cause. Patterns show up over weeks.
If you're seeing E-stop trips more than once a month on the same machine, you've got an underlying problem. Nuisance trips train operators to ignore safety, which defeats the whole point.
Black Start Procedures for Power Systems
When the grid goes completely black – no external power available – you need a black start plan. This is how utilities bring the system back up without pulling power from another source.
The Bootstrap Process
Start with a small diesel generator that has battery-powered starting. Use that to energize the auxiliaries on a larger gas turbine or hydro unit – things like control panels, lubrication pumps, and cooling systems. Once the big unit is self-sustaining, you've got enough power to bring up the next tier of generation.
Form "islands" of generation and load, then synchronize them. NERC and regional operators like ERCOT have specific black start plans that designate which plants have this capability. According to NREL research on black start, most renewables can't do this yet because they lack grid-forming capability – they need an existing AC waveform to sync to.
Procurement and Economics
PJM and CAISO use cost-of-service contracts for black start capability. ERCOT runs competitive bidding. Either way, it's expensive capacity that sits idle until disaster hits. Plants that can black start get paid a premium just for maintaining the capability.
Backup Power Systems
Standby emergency backup systems hold 49.9% of the US market in 2025. That's mostly standby generators – automatic transfer switches sense utility failure, start the genset, and switch the load over in under 10 seconds.
Generator Restart After Pull Cord Stop
Some industrial gensets have pull cord E-stops separate from the control panel stop. If you've yanked the cord, here's the restart sequence:
Reset the mechanical switch: Push the lever or button at the pull cord switch location back to the run position.
Check the governor: Make sure the fuel rack isn't stuck at idle or shutoff.
Verify the safety relay: Most gensets interlock the E-stop with a safety relay that kills ignition or fuel solenoids. You'll need to reset that relay at the main panel.
Start sequence: Battery-powered starter motor cranks the engine, ignition fires, governor opens the throttle. If it won't crank, check for a tripped start lockout – some controllers prevent restart attempts for 30 seconds after an E-stop.
Load transfer: Don't throw full load on the generator until it's warmed up and stabilized. Let it run unloaded for 30 seconds, then ramp up in steps.
Power Outage Impact
312 major US power outages occurred in 2024, a 164% increase from 2015. Americans average 8+ hours without power annually. Industrial downtime from outages averages $25,000 per hour. That number makes backup power look cheap.
Over 35 GW of unused backup generation capacity sits available nationwide as of 2026, per DOE. Section 202(c) orders during events like Winter Storm Fern allow grid operators to activate idle backup generators at data centers and facilities before declaring full emergencies.
UPS vs. Generator
An uninterruptible power supply uses batteries to bridge the gap between utility failure and generator startup. Critical loads – PLCs, control computers, safety systems – stay online. Size the UPS for at least 10 minutes runtime. That covers 95% of utility sags and gives the genset time to start and stabilize.
Generators handle longer outages. A 20 kW standby unit will run essential circuits in a small facility indefinitely as long as you keep fuel in the tank. Natural gas units tie into the utility gas line, so fuel isn't an issue unless that fails too.
Carbon Monoxide Risk
Generators produce carbon monoxide. Never run one indoors, in a garage, or within 20 feet of windows and doors. Exhaust must point away from the building. A working CO detector is mandatory, not optional – carbon monoxide is colorless and odorless, and you'll be unconscious before you realize there's a problem.
Conveyor Restart Protocol
OSHA and ASME require lockout/tagout and audible warnings before restarting conveyors after an E-stop. This prevents 40+ annual US fatalities and 9,000 injuries.
Lockout/tagout: De-energize the system, lock the disconnect switch open, and tag it with your name. Walk the entire conveyor length to verify nobody is clearing a jam or doing maintenance.
Audible warning: Sound a horn or siren for 5 seconds before restarting. This gives anyone in the area a chance to clear out or yell if they're not ready.
Controlled restart: Bump the start button to jog the conveyor a few feet, then stop again. Watch for abnormal sounds or movement. If everything looks good, restart normally.
OEM vs. Aftermarket Safety Components

OEM E-stop buttons and safety relays are reliable, but you're paying for the logo. A genuine Siemens contact block might run $80. A factory that makes components for Siemens – and uses the exact same tooling and materials during their off-hours – can sell a non-branded version for $35.
Quality in the aftermarket ranges from excellent to garbage. The $8 E-stop button from a random online seller uses harder plastic in the latch mechanism and thinner contacts that arc and weld faster. You'll replace it in six months, and it might fail dangerous – stuck in the "run" position.
JLM Marine sources from factories that produce OEM components. You get the same specs and fit without the premium. We've shipped safety relay modules to facilities in Australia and Europe where local OEM pricing was double what we charge. The parts fit right, the contacts are rated properly, and you're not burning budget on branding. For trusted parts and support, check out the JLM Marine collection of outboard motor parts.
Testing Frequency and Compliance
Test E-stops monthly at minimum. Press each button, verify the machine stops, check that the reset procedure works. Document the test with date, time, and who performed it. PUWER 98 in the UK mandates this, and while US regulations vary by state and industry, the principle holds: untested safety equipment is a liability.
If a button fails the test – doesn't latch, doesn't break the circuit, or won't reset – take the machine out of service immediately. Don't run "just one more batch" with a broken E-stop. That's how inspectors write citations and how accidents happen.
False activation rates in healthcare pull cords run from 2.1% to 67% of total calls, with falls being the primary legitimate cause. In industrial settings, if you're seeing high false trip rates, the problem is usually placement (too easy to bump) or operator training (hitting the button instead of the normal stop).
Maintenance and Documentation
Clean E-stop buttons quarterly. Shop grime and oil residue can gum up the twist-release mechanism. Use contact cleaner, not WD-40 – you don't want a lubricant film on electrical contacts.
Inspect pull cords for fraying. Replace any cable showing broken strands or rust. Check mounting brackets for looseness – vibration will work hardware free over time.
Keep a maintenance log. Note every test, every activation, every replacement. Inspectors will ask for it, and the records help you spot trends. If one machine's E-stop trips twice as often as others, that machine has a problem worth investigating.
Pro tip: Keep a spare E-stop button assembly and a spare safety relay contact block in your maintenance stock. When one fails, you swap it in five minutes instead of waiting three days for shipping. And run your backup generator under load for 30 minutes every month – sitting idle lets fuel varnish gum up the carburetor and leaves you dead when you actually need it. For guidance on keeping your outboard running smoothly, review our Johnson/Evinrude Outboard Water Pump Replacement Guide.
For a comprehensive overview of our products and marine expertise, visit the JLM Marine home page hub.