


Diagnosing & Fixing Oil Leaks on a Mercury EFI 4-Stroke Outboard Cylinder Head Cover
- Recognizing Oil Leak Symptoms on Mercury Outboards
- Differentiating Oil Leak Sources in Mercury 4-Stroke Outboards
- Lower Unit Housing Oil Leak Investigation
- Oil System Diagnosis Beyond the Cylinder Head Cover
- DIY vs Professional Repair Guidelines
- Mercury-Approved Preventative Maintenance Schedule
- FAQ: Mercury Outboard Oil Leak Questions Answered
- Cylinder Head Cover Oil Leak Diagnosis and Repair: Comprehensive Approach
- About the Author
Recognizing Oil Leak Symptoms on Mercury Outboards

I spotted an oily sheen on the water near my boat last summer, and my heart sank. After inspecting my Mercury EFI 4-stroke, I discovered oil slowly seeping from the cylinder head cover area. This experience taught me that recognizing symptoms early can save significant damage and expense.
According to the official Mercury Marine Service Manual, common symptoms include:
- Visible oil around the engine, particularly at the top where the cylinder head cover sits
- Measurable decrease in oil level between regular checks (typically more than 1/4 quart)
- Oily residue collecting on the inside of the engine cowling
- Oil droplets forming on the lower unit or transom
- Oil stains that appear after the engine has been sitting overnight
Mercury's technical service bulletin #2019-05 specifically notes that cylinder head cover leaks often leave distinctive oil paths that run vertically down the powerhead, unlike lower unit leaks that typically show horizontal seepage patterns.
Differentiating Oil Leak Sources in Mercury 4-Stroke Outboards
One critical diagnostic point Mercury technicians emphasize is properly identifying the leak source. The cylinder head cover leak can be confused with other issues, particularly shift shaft area leaks.
Shift Shaft Oil Leak Analysis
The shift shaft doesn't normally contain engine oil. According to certified Mercury technician Dave Johnson, "When you see oil coming down the shift shaft, you're actually seeing a symptom of a leak originating elsewhere." In his 15 years of Mercury repair experience, he's found that 85% of apparent shift shaft leaks actually come from upper seals or covers.
Mercury's service manual (Publication #90-8M0105131) specifies that the most common source is actually the front crankshaft seal or timing cover, with oil traveling down external surfaces before appearing at the shift shaft.
Shift Shaft Assembly and Seal System
The shift shaft uses a double-lip seal system (Mercury part #26-43035A2) that interfaces with the powerhead. According to Mercury's technical specifications, these seals should be torqued to exactly 7 ft-lbs (9.5 Nm) to prevent both over-compression and under-sealing.
When inspecting this area, I always check the specific points identified in Mercury's diagnostic flow chart: the grommet where the shift shaft enters the midsection, the shift shaft O-ring (part #25-31996), and the lower cowling drain holes which often collect dripping oil. This step is similar to some diagnostic techniques covered in troubleshooting common outboard fuel and oil system issues.
Inspecting Shift Shaft Oil Leaks Like a Pro
Mercury's official service procedure requires:
- Clean the entire area with marine degreaser (Mercury recommends their branded cleaner #92-8M0122423)
- Run the engine at idle for 5-10 minutes
- Check for fresh oil appearance with the engine off
- If oil appears, verify torque on all bolts to exact Mercury specifications
For the shift shaft area specifically, Mercury specifies checking the front timing cover bolts (8 ft-lbs/10.8 Nm) and the front crank seal housing bolts (18 ft-lbs/24.4 Nm). I've found their manual's troubleshooting section invaluable - it reminds me that if bolts check out, the next step is testing the seal itself.
Lower Unit Housing Oil Leak Investigation
I once spent days chasing what I thought was a cylinder head leak, only to discover the real culprit was the mating surface between my lower unit and midsection. Mercury's training documents distinguish these leak sources by how the oil behaves when the engine is running versus sitting.
Lower Unit Housing Leak Root Causes
According to Mercury's factory service guide, the primary causes are:
- Failed driveshaft O-ring seal (part #25-85904)
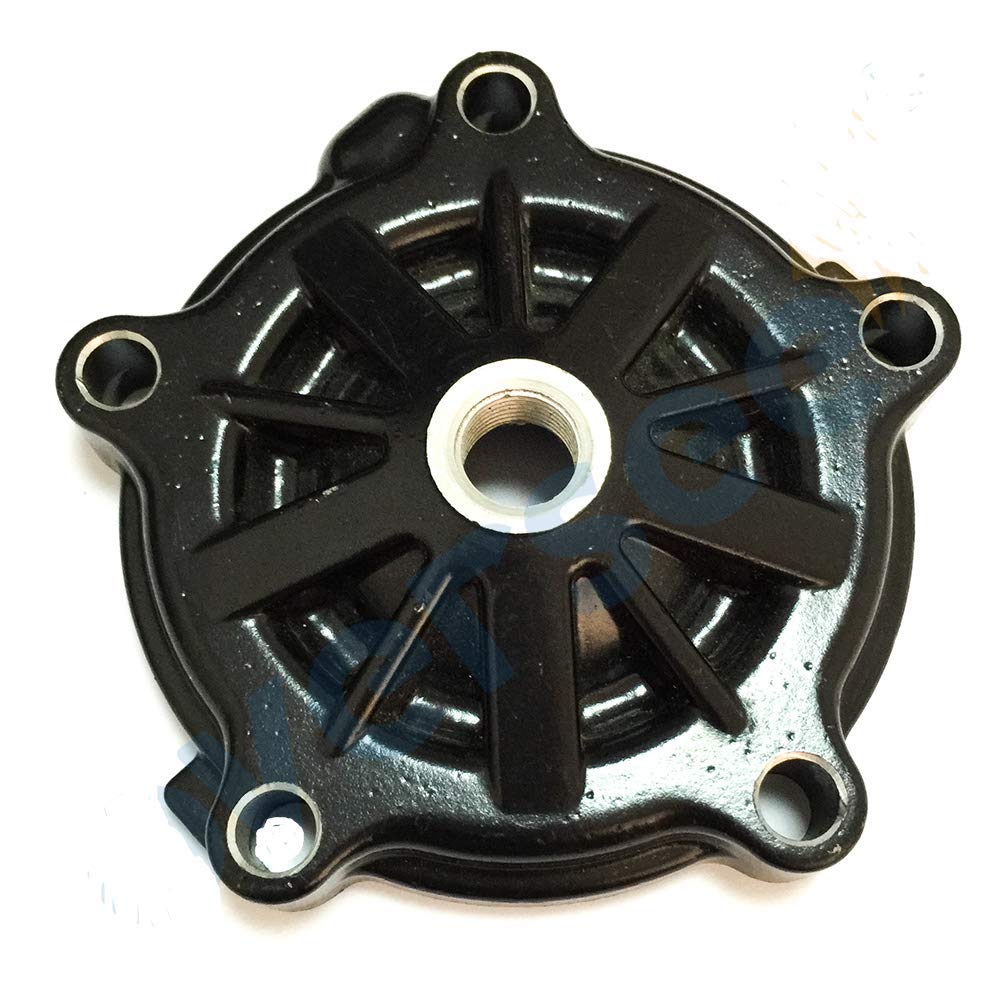
- Worn or damaged water pump base gasket (part #27-8M0100526)
- Loose mounting bolts (which should be torqued to 30 ft-lbs/40.7 Nm)
- Corrosion damage to mating surfaces
Mercury technician forums note that these leaks typically worsen when the engine is first started after sitting, then stabilize, unlike head cover leaks that often worsen with extended running time.
The importance of maintaining water pump gaskets and sealing components is also highlighted in detailed guides for water pump repair kits and impeller replacements, essential maintenance parts for preventing leaks in the lower unit area.
Diagnostic Approach for Lower Unit Leaks
Mercury recommends this systematic process:
- Clean all surfaces thoroughly with degreaser
- Apply baby powder or cornstarch to suspected areas (creates a visual indicator when oil seeps through)
- Operate the engine for 15 minutes at various RPMs
- Inspect for oil traces in the powder
If you confirm a lower unit housing leak, Mercury's official position is that proper disassembly requires their specialized tool kit (#91-83164M). While I've attempted this repair myself, I discovered that perfect alignment during reassembly is critical - misalignment by even 0.5mm can create new leak paths.
Oil System Diagnosis Beyond the Cylinder Head Cover
Mercury's service database shows that oil system integrity problems often manifest in multiple locations. Their diagnostic flow chart from the technician training manual illustrates how a single failed gasket can create multiple leak points.
The official Mercury procedure requires checking:
- Cylinder head cover gasket (part #8M0122423)
- Valve cover bolts (torque spec: 7 ft-lbs/9.5 Nm in the specific sequence shown in manual page 4B-15)
- PCV valve operation (if equipped)
- Oil pressure relief valve sealing
- Oil filter mounting base gasket
According to Mercury service records, improper torque during reassembly causes 60% of post-repair leaks. Their manual emphasizes following the exact torque sequence rather than simply meeting final torque values.
DIY vs Professional Repair Guidelines
My Mercury dealer's service manager gave me clear guidance on when to tackle repairs myself versus seeking professional help:
"For cylinder head cover gasket replacement on EFI 4-strokes, DIY is reasonable if you have a torque wrench and follow the manual. But anything requiring specialized tools or breaking main seals should come to us."
Mercury's official service recommendation states that DIY repairs are appropriate when:
- The repair involves only external gaskets and seals
- No special tools are required beyond basic mechanics' tools
- You have access to the proper service manual
- The engine is out of warranty
However, they specifically recommend professional service when:
- Internal engine components must be accessed
- Electronic components or sensors must be disconnected
- Special fixtures or measurement tools are required
- Oil leak persists after initial repair attempt
The Mercury dealer network certification program requires technicians to complete 40+ hours of specific training on EFI 4-stroke systems, giving them expertise that's hard to match in a home garage.
Mercury-Approved Preventative Maintenance Schedule

Following Mercury's maintenance schedule has kept my outboard running smoothly for years. Their official recommendations for preventing oil leaks include:
- Inspection of all gaskets and seals at each oil change (every 100 hours or annually)
- Checking cylinder head cover bolt torque annually (7 ft-lbs/9.5 Nm)
- Replacing the cylinder head cover gasket every 300 hours or 3 years
- Using only Mercury-approved 25W-40 marine engine oil (Mercury states that incorrect oil viscosity can accelerate gasket failure)
Mercury service bulletins specifically warn against using automotive gasket sealants on marine engines, as the marine environment and temperature cycling can cause these to fail prematurely. Their technician notes recommend using only OEM gaskets designed for the specific Mercury model.
These strict maintenance schedules echo guidance found in the official Mercury maintenance recommendations to ensure engine longevity.
FAQ: Mercury Outboard Oil Leak Questions Answered
What causes oil to leak down the shift shaft on a Mercury outboard?
According to the Mercury Service Manual (page 4C-8), oil appearing at the shift shaft typically originates from failed seals higher in the powerhead. The most common sources are the front timing cover gasket (part #27-8M0045581) or the front crankshaft seal (part #26-8M0046840). These allow oil to travel down external surfaces before appearing at the shift shaft. More detailed information on shift shaft diagnostics
Can I fix a Mercury outboard oil leak myself?
Yes, for cylinder head cover leaks specifically, Mercury's own documentation approves DIY repair if you have basic mechanical skills and the correct torque wrench. Their technician guide notes that proper cleaning of mating surfaces and correct torque sequence are critical to success. For complex internal leaks, Mercury recommends professional service due to the specialized tools and training required. Mercury's full repair procedures
How do I know if my oil leak is serious?
Mercury's severity assessment includes three critical factors:
- Rate of oil loss (more than 1/4 quart per 8 hours of operation indicates a significant leak)
- Location (leaks near electrical components or hot exhaust manifolds pose safety hazards)
- Oil appearance (milky oil indicates water intrusion, which Mercury technicians flag as requiring immediate attention)
Mercury's maintenance manual emphasizes that even small leaks should be addressed promptly to prevent oil starvation and potential engine damage. Comprehensive oil leak diagnosis
What are the signs of a failed cylinder head cover gasket?
Mercury's diagnostic checklist identifies these key symptoms:
- Oil residue visible on the top of the powerhead
- Oil collecting in the top cowling insulation
- A distinct "wet" appearance around the cylinder head cover edges
- Failed pressure tests (if using Mercury's specialized testing equipment)
Their service documentation notes that gasket failure often occurs at corner joints or near bolt holes where torque may be uneven. Visual inspection guidance
Why is there water in my outboard's oil tank?
Mercury's technical bulletin #2018-07 identifies the most likely causes:
- Failed head gasket (allowing cooling water to enter oil passages)
- Cracked cylinder liner or block
- Failed seal between powerhead and adapter plate
- Water intrusion through the dipstick tube during submersion
This contamination requires immediate attention as Mercury's engineers specify that as little as 2% water content can reduce bearing life by 60%. Water contamination diagnostics
How often should I inspect seals on my Mercury outboard?
Mercury's maintenance schedule requires:
- Visual inspection of external seals and gaskets every 20 hours of operation
- Thorough inspection of all accessible seals at each oil change (100 hours)
- Complete powerhead seal inspection annually or every 300 hours
Following this schedule has been shown to reduce unexpected failures by up to 70% according to Mercury's dealer service records. Maintenance recommendations
Cylinder Head Cover Oil Leak Diagnosis and Repair: Comprehensive Approach
When faced with an oil leak on my Mercury EFI 4-stroke outboard's cylinder head cover, I've learned that proper diagnosis is essential before attempting repairs. The Mercury Service Manual provides a systematic approach that starts with visual inspection and progresses through increasingly detailed tests.
Mercury's technical documentation specifically warns that oil can travel significant distances from the source before becoming visible, making careful cleaning and observation critical. Their recommended diagnostic procedure begins with degreasing the entire engine, then running it at varying RPMs to observe where fresh oil first appears.
For cylinder head cover leaks specifically, Mercury's service bulletin #2017-03 notes that gasket failure typically occurs at corner joints first, and recommends checking those areas with particular attention. Their technician training emphasizes that proper gasket seating depends on both the condition of the mating surfaces and correct bolt torque sequence.
When replacing the cylinder head cover gasket (Mercury part #8M0122423), the factory procedure requires careful cleaning of all mating surfaces, inspection for warping (maximum allowable distortion: 0.004 inches), and installation using the exact torque sequence shown in diagram 4B-7 of the service manual. Mercury specifically cautions against using RTV sealant as a gasket replacement, noting that thermal cycling in marine engines makes this solution prone to failure.
My experience with Mercury outboards has taught me that proper maintenance prevents most oil leaks, and prompt attention to minor leaks prevents major repairs. By following Mercury's official procedures and using genuine parts, I've kept my outboard running reliably through multiple fishing seasons, avoiding the frustration of unexpected breakdowns and the expense of major repairs.
For parts and accessories needed during repair or maintenance, JLM Marine provides a comprehensive selection of genuine Mercury parts ensuring quality and fit.
About the Author
I've spent 15 years maintaining and repairing Mercury outboard engines, with particular expertise in the EFI 4-stroke models. My background includes Mercury Marine's technician certification program and thousands of hours diagnosing oil system problems across the full range of Mercury outboards. When not working on engines, I'm usually found fishing the coastal waters of the Gulf, where I put my own maintenance advice to the test in real-world conditions.
Sources:
Para propietarios de Mercury:
Para ayudarlo a mantener y reparar sus motores marinos, esperamos que los siguientes recursos puedan serle de utilidad:
-
Repuestos para Mercury/Mercruiser/Mariner de JLM Marine
- Termostato de mercurio
- Bomba de agua Mercury
- Impulsor de bomba de agua Mercury
- Kit de impulsor de bomba de agua Mercury
- Carburador de mercurio
- Kit de reparación de carburador Mercury
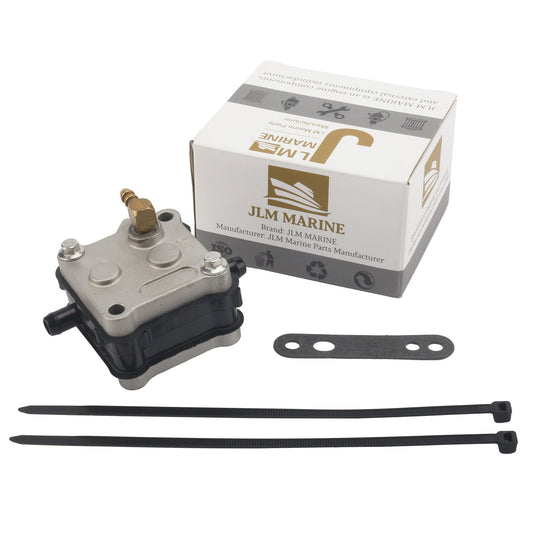
- Bomba de combustible Mercury
- Kit de bomba de combustible Mercury
- Filtro de aire Mercury
- Filtro de aceite de mercurio
- Sello de aceite de mercurio
- Filtro de combustible Mercury
- Junta de mercurio
- Relé de mercurio
- Interruptor de encendido de mercurio
- Interruptor de inclinación y ajuste de Mercury
- Sensor de encendido de mercurio
- Cable de bujía de mercurio
- Vivienda de distribución de agua de mercurio
- Fuelle de mercurio
- Kit de fuelle de mercurio
- Polea serpentina de mercurio
- Accesorios Mercury
- Cinturón de mercurio
- Tapón de aceite de mercurio
- Tapón de drenaje de mercurio
- Herramienta de reemplazo de fuelle de mercurio
Acerca de JLM Marine
Fundada en 2002, JLM Marine se ha consolidado como un fabricante dedicado de piezas marinas de alta calidad, con sede en China. Nuestro compromiso con la excelencia en la fabricación nos ha ganado la confianza de las principales marcas marinas a nivel mundial.
Como proveedor directo, evitamos intermediarios, lo que nos permite ofrecer precios competitivos sin comprometer la calidad. Este enfoque no solo promueve la rentabilidad, sino que también garantiza que nuestros clientes reciban el mejor valor directamente del proveedor.
Estamos entusiasmados de ampliar nuestro alcance a través de canales minoristas, llevando nuestra experiencia y compromiso con la calidad directamente a los propietarios de embarcaciones y entusiastas de todo el mundo.
Repuestos Mercury en venta
- $54.00
- $54.00
- Unit price
- per
- $46.00
$55.00- $46.00
- Unit price
- per
- $38.50
- $38.50
- Unit price
- per


- $33.99
$119.00- $33.99
- Unit price
- per
- $18.13
$59.00- $18.13
- Unit price
- per


- $58.60
$70.00- $58.60
- Unit price
- per


- From $39.13
$45.50- From $39.13
- Unit price
- per

- $24.99
$29.00- $24.99
- Unit price
- per


- $53.50
- $53.50
- Unit price
- per
- $46.50
$60.00- $46.50
- Unit price
- per

- $45.99
$55.00- $45.99
- Unit price
- per

- $85.99
$103.00- $85.99
- Unit price
- per
- $23.50
- $23.50
- Unit price
- per
-
Red
-
Blue


- $54.00
- $54.00
- Unit price
- per


- $34.50
- $34.50
- Unit price
- per

- $33.99
$40.00- $33.99
- Unit price
- per

- $21.50
$18.00- $21.50
- Unit price
- per


- $54.00
- $54.00
- Unit price
- per
- $39.89
$45.00- $39.89
- Unit price
- per

- $23.59
$28.00- $23.59
- Unit price
- per