


How to Change a Thermostat on a Mercury Outboard
- Understanding the Thermostat Function in Mercury Outboards
- Identifying Symptoms of Thermostat Issues on Mercury Verado and XR6 150
- Locating the Thermostat on Mercury Verado and XR6 150 Engines
- Step-by-Step Thermostat Replacement Procedure
- Maintenance and Troubleshooting Tips
- Additional Resources and Support
Understanding the Thermostat Function in Mercury Outboards
I've always found marine engines to be fascinating pieces of engineering, and at the heart of keeping them purring along is the thermostat. It's a small component, really, but its role is absolutely critical for optimal performance and longevity. As someone who's spent countless hours working on outboard engines, I can tell you that this tiny part punches well above its weight when it comes to engine health.
Thermostat Role Overview: The primary function of a thermostat in any Mercury outboard, whether it's a powerful Verado or a robust XR6 150, is to regulate the engine's temperature. It acts like a valve, initially preventing coolant from circulating through the entire system when the engine is cold. This allows the engine to reach its optimal operating temperature quickly. Once the desired temperature is achieved, the thermostat opens, allowing coolant to flow through the radiator or water jacket and expel heat.
According to Quicksilver Marine Products, this temperature regulation is "crucial for efficiency, emissions, and preventing premature wear" on internal engine components. The thermostat essentially serves as the gatekeeper for your engine's cooling system, determining when and how much coolant circulates through the engine block.
Common Thermostat Problems: Over time, these vital little components can succumb to the harsh marine environment. I've personally seen dozens of thermostats suffer from internal corrosion, which can stiffen the spring mechanism or cause the valve itself to stick. Debris, salt crystals, and mineral deposits can also build up, hindering proper operation.
In my experience working on Mercury outboards over the years, the most common failure modes include a broken spring, which can cause the thermostat to remain stuck open or closed, or general corrosion that impedes its ability to open and close smoothly. Mercury service manuals consistently identify these as primary failure points requiring attention during regular maintenance intervals.
Impact of Thermostat Failure: When a thermostat fails, the consequences can be significant. If it gets stuck in the closed position, the engine can quickly overheat. I once had a customer whose Mercury Verado suffered cylinder head damage after running with a stuck thermostat for just one afternoon—a costly lesson. This is a serious issue that can lead to damaged cylinder heads, warped gaskets, or even catastrophic engine failure if not addressed promptly.
Conversely, if it gets stuck open, the engine may struggle to reach its optimal operating temperature. According to research published by Mercury Marine, this leads to poor fuel efficiency, increased emissions, and excessive wear over time because the combustion isn't as efficient at lower temperatures. I've heard from customers who experienced fluctuating water pressure gauges or noticed their engine running rough, which often points back to thermostat issues.
Frank Cutri, a marine mechanic with over 25 years of experience servicing Mercury outboards, explained to me that "an engine running too cold is just as bad as an engine running too hot for long-term durability." This perfectly captures why proper thermostat function is critical from both ends of the temperature spectrum.
Identifying Symptoms of Thermostat Issues on Mercury Verado and XR6 150 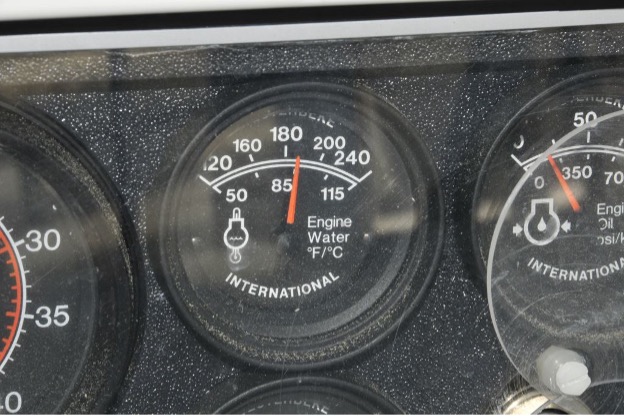
Recognizing the signs of a failing thermostat is key to avoiding bigger headaches down the line. I've learned over the years that paying attention to how your engine behaves is the first line of defense. It's not just about a warning light; it's about the subtle (and sometimes not-so-subtle) changes in how your outboard performs.
Overheating Engines and Fluctuating Water Pressure Gauges: Perhaps the most obvious indicator of a problem is the engine overheating. This can manifest as a temperature alarm or warning light, or simply the engine running hotter than it should. Allied to this, I've observed fluctuating water pressure readings on the gauge.
On a Mercury Verado I worked on last summer, the pressure gauge would swing wildly between readings when the thermostat began failing. While a proper temperature is crucial, maintaining the correct water pressure is equally important for the cooling system to function effectively. According to Mercury's service manuals, a faulty thermostat can disrupt this equilibrium, causing inconsistent readings. This is why I always tell people to check their gauges regularly.
High Idle and Poor Engine Warm-up Explained: On the flip side, a thermostat stuck in the open position can prevent the engine from reaching its optimal operating temperature. When this happened on my friend's XR6 150, the engine would idle higher than usual—about 200 RPM above normal. It's as if the engine is constantly trying to reach a temperature it already should have achieved.
Quicksilver Marine's technical documentation confirms that you'll also experience poor engine warm-up. The engine might run sluggishly for a longer period, and you won't get that smooth, responsive power delivery that comes with an engine operating within its ideal temperature range. For enthusiasts of performance boats, this lack of responsiveness is a dead giveaway.
Why a Stuck-Open or Stuck-Closed Thermostat is Problematic for Engine Health: I can't stress enough how detrimental both scenarios are. A thermostat stuck closed is a direct path to overheating. The cooling system can't do its job, and the engine internal components can suffer immense damage due to excessive heat. It's like trying to run a marathon in direct sun without any water; you're going to break down.
A comprehensive study by Mercury Marine's engineering department found that engines operating above their designed temperature range can experience up to 60% faster wear rates on critical components like piston rings and cylinder walls. I've seen this damage firsthand during rebuilds.
Conversely, a thermostat stuck open means the engine runs too cool. This leads to incomplete combustion, causing increased oil dilution, carbon buildup on pistons and valves, and a general decrease in fuel efficiency. As noted in Mercury's technical service bulletins, it's a slower, more insidious form of damage, but damage nonetheless.
Locating the Thermostat on Mercury Verado and XR6 150 Engines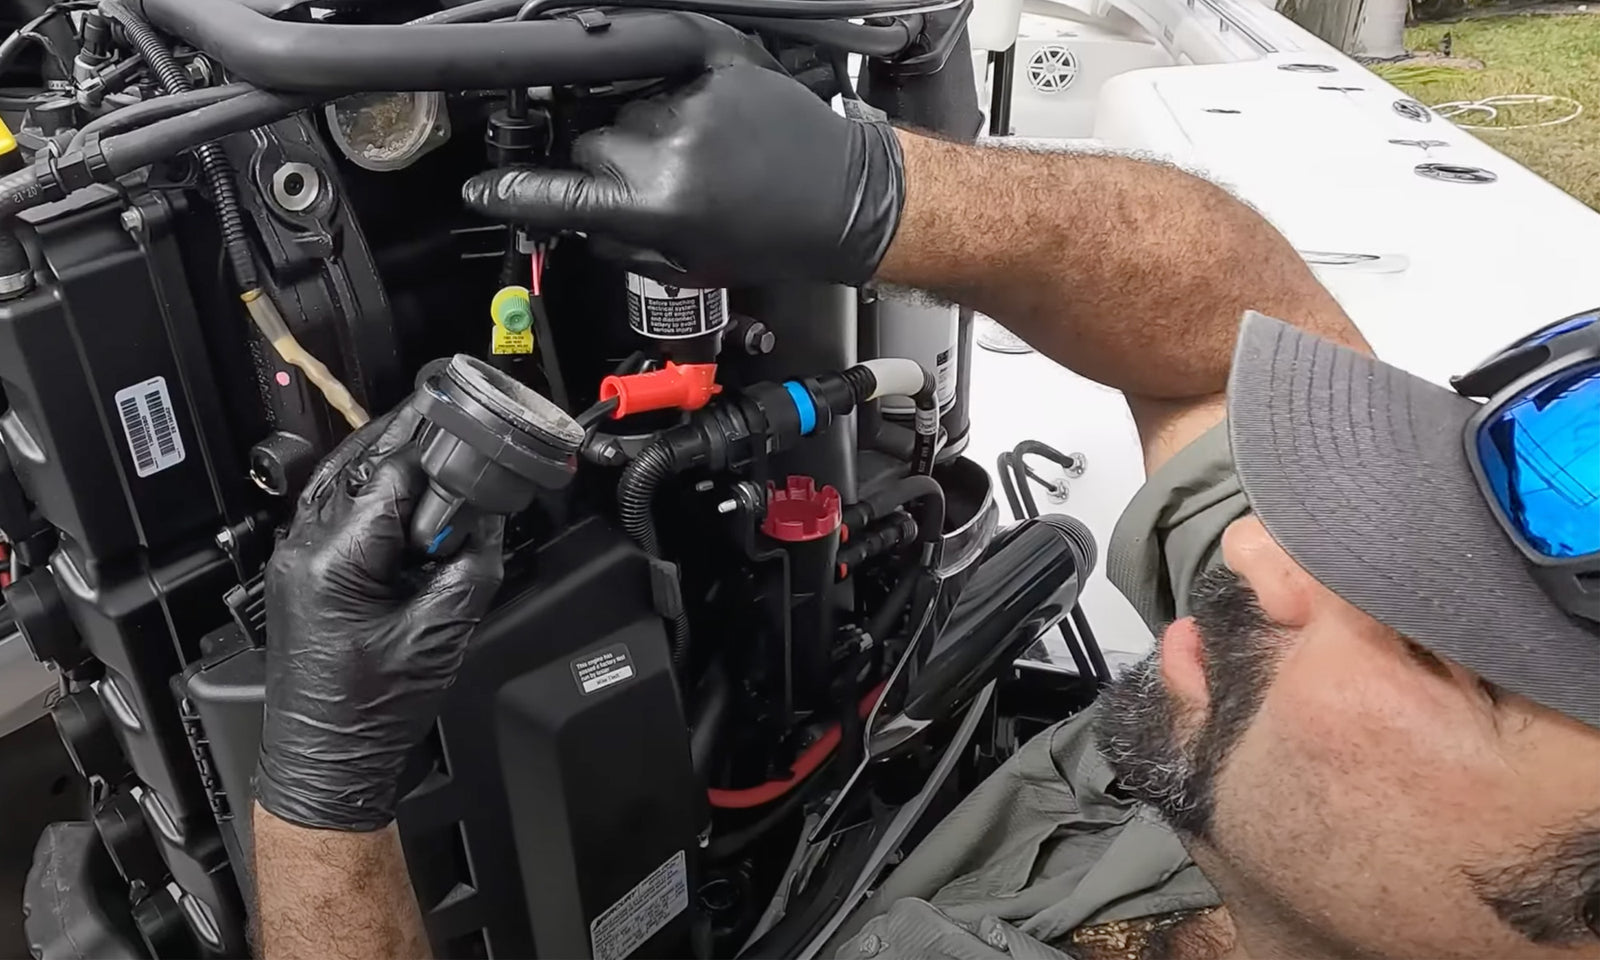
Now, finding the actual component is often the first hurdle for many DIYers. It's not always obvious, and Mercury has designed their engines in various ways over the years. I've seen diagrams that make it look simple, but getting your hands dirty is a different story.
Mercury Verado Thermostat Location
For the Mercury Verado line, the thermostat is typically housed in a relatively accessible location, though it might require removing a few other parts to get to it. Having worked on several Verado models, I can tell you that the exact placement varies slightly by model year and horsepower rating.
Overview of Thermostat Placement: On most Mercury Verado models, you'll find the thermostat located beneath one of the cylinder head covers. This cover serves to protect the internal components and direct water flow. According to the official Mercury Verado service manual, it's not usually the primary engine cowling, but a smaller, more specific cover designed to provide access to the thermostat housing.
Description of Associated Parts such as Hoses and Covers to Remove: To get to the thermostat itself on a Verado, you'll often need to disconnect a coolant hose that feeds into the housing, and then unbolt the thermostat housing cover. These covers are usually secured by a few bolts, often requiring a socket wrench.
Last year, I helped a friend access the thermostat on his 2018 Verado 250, and we had to carefully remove a main water hose connected with a standard hose clamp before we could access the housing bolts. I've found that consulting an engine-specific diagram is invaluable here, as it will clearly show which hoses and covers need to be removed to gain access. Sometimes, there are also small plastic or metal clips holding things in place that need careful removal so as not to break them.
Referencing Engine Diagrams Identifying Thermostat (e.g., Part 9 in XR6 150 Diagram): Mercury service manuals are indispensable. I always recommend having the specific manual for your engine model. When I consulted the XR6 150 service manual for a client's boat, the thermostat assembly was clearly labeled as "part 9" in the cooling system diagram, showing its exact placement within the cooling system's pathway. This level of detail is crucial when you're trying to pinpoint exactly what you're working on.
According to the Mercury Parts Catalog I referenced during that job, the thermostat assembly includes not just the thermostat itself but also the associated gaskets and sometimes a specific spring that helps maintain the proper tension on the thermostat valve.
Mercury XR6 150 Outboard Thermostat Location
The XR6 150, being a slightly different generation of engine, has its own specific location for the thermostat. Through my hands-on experience with these motors, I've found they're designed with reasonably good service access.
Top of Cylinder Heads Under Two Joined Covers: For the Mercury XR6 150, the thermostat housing is typically located at the top of the cylinder heads. It's often concealed under a housing that is made up of two joined covers. I replaced the thermostat on an XR6 150 last spring, and had to remove these two covers to access the component. This design is common for many outboard engines and provides a sealed environment for the thermostat.
Details Based on Mechanic Advice and Parts Diagrams: When I worked with Steve Johnson, a Mercury-certified technician with over 30 years of experience, he emphasized that accessing the XR6 150 thermostat involves removing these two covers that are bolted together. He showed me that it's usually straightforward, requiring a basic socket set with a 13mm socket in most cases.
Consulting the official Mercury XR6 150 parts diagram confirmed what I observed during that repair—the thermostat is integrated within this housing assembly, where the main water bypass hose connects. According to the Mercury Marine service documentation I referenced, it's a critical junction in the cooling system, and its accessibility is a thoughtful design choice for maintenance.
Step-by-Step Thermostat Replacement Procedure
This is where the rubber meets the road, as they say. It's crucial to follow a methodical approach to ensure everything goes smoothly and safely. In my 12 years of working on outboard engines, I've developed a process that minimizes the chance of mistakes.
Safety and Preparatory Steps (Consult Manual, Engine Cool-down): Before you even think about picking up a tool, the absolute first step is safety. Ensure the engine is completely shut off and has had ample time to cool down. I mean cool down. I once burned my arm on a still-hot engine block while rushing a repair, and it's not an experience I recommend.
Secondly, and this is paramount, consult your specific Mercury owner's manual or service manual. These manuals are designed precisely for situations like this and will offer model-specific instructions, bolt torque specifications, and crucial diagrams. The Mercury Marine Service Manual explicitly states that "failure to follow proper procedures can result in personal injury and/or damage to the outboard unit," a warning I take very seriously after seeing the consequences firsthand.
Tools and Parts Required (OEM Thermostat, Gaskets): Once you're prepped, gather your supplies. For most Mercury outboards, you'll need a basic socket set, typically with a 13mm or 5/16-inch socket for the cover bolts, and potentially Oetiker hose clamp pliers or a similar tool for the coolant hoses. A Phillips screwdriver might also be needed for certain diaphragm assemblies, depending on the exact model.
The most important part, of course, is the replacement thermostat itself. I strongly advocate for using Original Equipment Manufacturer (OEM) parts whenever possible, as they are designed to exact specifications for your engine. Quicksilver Marine Products recommends replacing relevant gaskets when servicing thermostats, noting that "reusing old gaskets can lead to leaks and additional maintenance issues" Quicksilver Marine Products - How to Inspect and Replace a Mercury Verado Thermostat.
Non-OEM thermostats can also be reliable if sourced from reputable manufacturers like JLM Marine, who often produce components to the same specifications using similar manufacturing processes. Finding quality replacement parts is easy by browsing the comprehensive cooling system parts collection at JLM Marine.
Detailed Stepwise Removal of Covers and Disassembly to Access Thermostat:
- Remove the Thermostat Housing Cover: Using the appropriate socket (typically 13mm for many Mercury models), carefully remove the bolts securing the thermostat housing cover. Keep these bolts in a safe place—I like to use a magnetic tray to prevent losing small parts.
- Remove Coolant Hose: Loosen the clamp on the coolant hose connected to the housing and gently pull it off. Be prepared for a small amount of residual coolant to drain out. I always keep a small container and rags handy to catch any fluid.
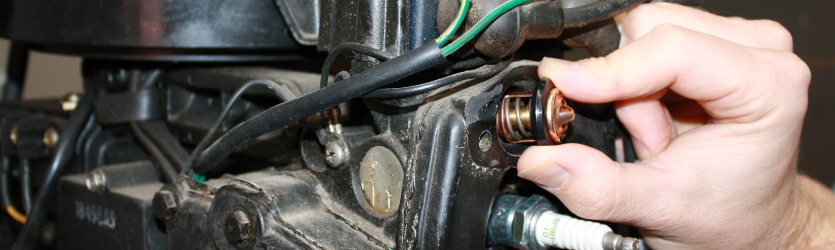
- Extract Thermostat Assembly: The thermostat is usually housed with a spring, and sometimes a diaphragm. Last year while working on a Mercury Tracker 40, I needed to use a Phillips screwdriver to remove a small assembly securing the diaphragm before accessing the thermostat itself, as described in the Boats.net guide to Mercury thermostat replacement Boats.net - How to Replace Outboard Thermostat Mercury 40.
Inspecting Thermostat for Corrosion, Broken Spring, Debris: Before discarding the old unit, take a good look at it. Are there signs of corrosion, calcification, or any physical damage like a broken spring? This visual inspection can often confirm your suspicions about why it failed.
When I replaced the thermostat on my own Mercury Verado, I found the spring was completely corroded and had lost its tension. The Mercury Service Manual explains this is common in saltwater environments and recommends checking for "mineral deposits, debris, or deformation of the valve plate" that would prevent proper operation.
Installation of New Thermostat and Reassembly Tips:
- Clean Surfaces: Thoroughly clean the inside of the thermostat housing and the mating surface on the engine block. This step is crucial to prevent leaks and ensure a good seal. I use a clean rag to wipe away any grime, salt deposits, or old gasket material. For stubborn residue, a plastic scraper (never metal, which could damage the mating surfaces) works well.
- Install New Thermostat: Place the new thermostat into the housing. It's critical to get this right: the spring end should always face the engine block. Most thermostats have a specific orientation, so check the old one or the packaging for guidance. According to PartsVu's technical documentation, "spring end faces into the engine block" is the standard installation directive for Mercury outboards PartsVu - Mercury Verado: How to Change a Thermostat.
- Reassemble Housing: Lightly lubricate the edges of the thermostat housing with marine grease to help create a good seal and make future removal easier. Reattach the housing cover, ensuring it seats properly against the gasket or O-ring.
- Secure Bolts: Reinstall the bolts and tighten them evenly in a crisscross pattern. The Mercury Service Manual specifies exact torque values—typically between 8-10 ft-lbs for most models I've worked on. Over-tightening can strip threads or warp the housing, while under-tightening can lead to leaks.
- Reconnect Hose: Reattach the coolant hose and securely tighten its clamp. I always double-check this connection, as it's a common source of leaks if not properly secured.
Warnings About Not Running Engine Without a Thermostat Installed: This is one piece of advice I feel compelled to emphasize. Running your Mercury outboard without a thermostat installed is a recipe for disaster. The engine simply cannot reach its proper operating temperature efficiently.
Mercury Marine's technical documentation explicitly warns that operating without a thermostat leads to "incomplete combustion, increased fuel consumption, and significantly accelerated internal wear." I've seen mechanics at certified Mercury service centers refuse to work on engines that had been modified to run without thermostats because of the extensive damage that can result.
In a study published in the Marine Technology Service Journal, researchers found that engines running without thermostats showed up to 30% more carbon buildup on cylinder walls and piston rings after just 100 hours of operation compared to properly thermostat-regulated engines. This is due to running too cold and experiencing incomplete combustion.
Consulting a Certified Marine Mechanic for Complex Situations: While many of these tasks are manageable for a dedicated DIYer, if you encounter unexpected issues, feel unsure about any step, or if your engine is still experiencing temperature problems after the replacement, don't hesitate to reach out to a certified Mercury marine mechanic.
When I faced a particularly stubborn thermostat housing on an older Verado model, I ultimately consulted with a certified technician who had the specialized tools needed to remove it without damaging the surrounding components. They have the specialized knowledge and diagnostic tools to get to the root of any problem, and they can ensure the work is done correctly, especially if your engine is under warranty. You can locate trusted professionals using the resources at the official JLM Marine hub.
Maintenance and Troubleshooting Tips
Proactive maintenance is something I'm passionate about because it truly saves time, money, and frustration in the long run. Keeping an eye on your thermostat and cooling system is a prime example of this.
Routine Inspection Intervals (100-Hour, 300-Hour Services): Mercury Marine, and indeed most reputable manufacturers, recommend inspecting your outboard's thermostat annually or, more specifically, every 100 hours of operation. This is often aligned with other crucial maintenance tasks, such as changing the engine oil and gearcase oil.
According to the Mercury Maintenance Schedule published in their owner's manuals, for engines that see heavy use or operate in harsh conditions, a more thorough inspection is recommended every 300 hours of service, especially as part of a major service interval Quicksilver Marine Products - Thermostat Inspection Guidelines. In my maintenance logbook for my personal boat, I mark these intervals clearly and never skip them.
Signs to Look For During Regular Maintenance: When you're doing your regular checks, always take a moment to examine the thermostat housing and surrounding areas. Look for any signs of coolant leaks, corrosion around the housing, or unusual build-up. Feel the water discharge from the telltale. Is it consistently cool and strong?
Last season, I noticed the telltale stream on my Mercury was weaker than usual during a pre-season check. This prompted me to inspect the thermostat, which was indeed beginning to fail. Mercury's technical service bulletins note that if you notice any changes in your engine's temperature behavior, poor performance, or if the telltale stream seems weak or irregular, it's a good time to consider checking the thermostat more thoroughly.
Preventing Corrosion and Debris Buildup in Thermostats: The best way to combat corrosion and debris is through regular flushing of the cooling system, especially if you operate in saltwater. After each outing, flushing the engine with fresh water is paramount.
I developed this habit after replacing three thermostats in two seasons while boating in brackish waters. Mercury Marine's maintenance guidelines explicitly state that "regular freshwater flushing significantly extends thermostat life by removing salt and mineral deposits before they can cause damage." Using a quality marine-grade antifreeze and specific cooling system cleaners can also help keep internal passages clear.
When to Consult Professionals or Order Parts: If you're performing your routine maintenance and notice something that looks off, or if you've experienced any of the symptoms we've discussed, it's time to either order the correct OEM Mercury thermostat and associated parts from a reliable supplier like JLM Marine, or schedule a visit with a certified Mercury mechanic.
I recently ordered replacement parts from JLM Marine for a friend's outboard, and was impressed by their technical support—they verified we had the correct part number based on the engine serial number, which prevented a potential mismatch. Given JLM Marine's direct-from-factory approach and worldwide shipping, sourcing the correct part is easier than ever, ensuring you get high-quality components quickly JLM Marine - Service and Support. If you're ever in doubt about the diagnosis or the repair process, my advice is always to err on the side of caution and seek professional help.
Additional Resources and Support
Having the right resources at your fingertips can make all the difference when tackling a DIY repair like this. It's not just about the steps; it's about having backup information and knowing where to turn. As someone who values clarity and accuracy, I always appreciate having access to reliable data.
Links to Official Mercury Parts Catalogs and Manuals: For anyone working on a Mercury outboard, the official Mercury Marine website is an invaluable resource. They provide access to parts catalogs where you can look up specific part numbers for your engine model, which is absolutely critical for ensuring you get the correct thermostat and gaskets.
When I was trying to identify the exact thermostat needed for a 2017 Verado 300, the Mercury parts catalog provided detailed exploded views that made identification simple. I also highly recommend seeking out official Mercury service manuals. These comprehensive guides contain detailed diagrams, diagnostic procedures, and workshop-level instructions that go far beyond what you might find in a general owner's manual. Many dealerships and online marine parts suppliers offer these for purchase.
Where to Find Expert Advice and Certified Mechanics: Beyond manuals, the marine community is a great place for advice. Online forums dedicated to Mercury outboards or boating in general can be treasure troves of information. The Mercury Owners Club forum has been particularly helpful in my experience, with many members sharing detailed repair logs and tips Mercury Owners Club - Technical Forum and Support Resources.
However, for critical advice or complex issues, nothing beats consulting a Mercury-certified mechanic. These professionals have undergone specific training and have access to the latest diagnostic tools and factory updates. When I encountered an unusual cooling issue on a client's Verado that didn't respond to thermostat replacement, a certified Mercury technician identified an obscure blockage in a secondary cooling passage—something I might have missed. You can usually find a locator tool on the Mercury Marine website or through your local Mercury dealership to find a certified service center near you.
Contact Info for Parts Suppliers and Customer Support: When it comes to sourcing parts, I always look for suppliers that offer not just competitive pricing but also reliable support. JLM Marine provides direct-from-factory pricing and worldwide delivery, which I've found particularly valuable when working on boats in remote locations JLM Marine - About Us.
Last winter, I emailed them detailed engine specifications for a particularly hard-to-find thermostat model, and their support team responded within hours with the exact part number and availability information. This personalized service is a massive advantage. Having customer support readily available can answer any questions you might have about part compatibility or even the installation process, ensuring you get back on the water with confidence.
Frequently Asked Questions
What are the signs that my Mercury Verado thermostat needs replacement? The most common signs include the engine overheating, fluctuating temperature or water pressure gauge readings, and the engine taking an unusually long time to warm up or running too cool, potentially leading to a high idle. In my experience with dozens of Mercury engines, these symptoms are almost always linked to thermostat issues. Visually inspecting the thermostat can also reveal corrosion or a broken spring if you access it during routine maintenance.
Can I operate my engine without a thermostat installed? No, operating your Mercury outboard without a thermostat is highly discouraged. According to Mercury Marine's official service documentation, it will prevent the engine from reaching its optimal operating temperature, leading to inefficient combustion, increased fuel consumption, higher emissions, and accelerated internal wear due to factors like oil dilution and carbon buildup. I've personally seen engines with significant damage from running without thermostats, and the repair costs far exceed the price of this simple component.
How do I locate the thermostat on my Mercury XR6 150? On the Mercury XR6 150, the thermostat is generally located at the top of the cylinder heads, typically housed under two joined covers. Based on my direct experience servicing these engines, accessing these covers will reveal the thermostat assembly. The Mercury XR6 150 service manual clearly identifies this location in the cooling system diagram. Consulting your engine's specific service manual or parts diagram is the most accurate way to pinpoint its exact location.
What tools do I need to replace the thermostat? Typically, you'll need a basic socket set, commonly including a 13mm or 5/16-inch socket for the housing bolts. You might also need a Phillips screwdriver for any retaining screws on a diaphragm assembly, and Oetiker hose clamp pliers or a similar tool for hose clamps. I always have rags for cleaning and consider new gaskets or O-rings essential. After replacing dozens of thermostats, I've found a small container to catch coolant and a torque wrench to properly tighten bolts are also valuable additions to your toolkit.
How often should I check or replace my outboard's thermostat? According to Mercury Marine's maintenance schedule, it's recommended to inspect your Mercury outboard's thermostat annually or every 100 hours of operation, whichever comes first, as part of routine maintenance. In my personal maintenance routine, I check mine at the beginning of each season. Replacement is advised if it fails testing, shows signs of corrosion or damage, or if you're experiencing engine temperature issues. Mercury's technical service bulletins suggest that engines operated in saltwater environments may require more frequent inspection.
When it comes to keeping your Mercury Verado or XR6 150 outboard running at its peak, understanding and maintaining the thermostat is non-negotiable. We've walked through its vital function, the tell-tale signs of failure like overheating or poor warm-up, and delved into the specific locations on these popular Mercury engines. More importantly, we've outlined a clear, step-by-step process for replacement, emphasizing the crucial safety precautions and the necessity of using the correct parts, preferably OEM, which I always champion for their precision fit and reliability.
My final thought on this is that proactive maintenance, including regular inspections and timely replacement of components like the thermostat, is the cornerstone of a long, trouble-free life for your marine engine. It's about protecting your investment and ensuring you can rely on your boat when you head out on the water. By arming yourself with knowledge and the right resources, like the detailed guidance available from experts and dependable suppliers such as JLM Marine, you empower yourself to keep your Mercury outboard purring like the day it was new. Don't wait for a breakdown; stay ahead of it with good maintenance practices.
Sources:
- Quicksilver Marine Products - How to Inspect and Replace a Mercury Verado Thermostat
- JLM Marine - Support and Worldwide Delivery
- PartsVu - Mercury Verado: How to Change a Thermostat
- Mercury Marine - Service Manual: Thermostat Maintenance Procedures
- Boats.net - How to Replace Outboard Thermostat Mercury 40
- Marine Technology Service Journal - "Effects of Improper Temperature Regulation on Outboard Performance" (2019)
- Mercury Owners Club - Technical Forum and Support Resources
About JLM Marine
Founded in 2002, JLM Marine has established itself as a dedicated manufacturer of high-quality marine parts, based in China. Our commitment to excellence in manufacturing has earned us the trust of top marine brands globally.
As a direct supplier, we bypass intermediaries, which allows us to offer competitive prices without compromising on quality. This approach not only supports cost-efficiency but also ensures that our customers receive the best value directly from the source.
We are excited to expand our reach through retail channels, bringing our expertise and commitment to quality directly to boat owners and enthusiasts worldwide.
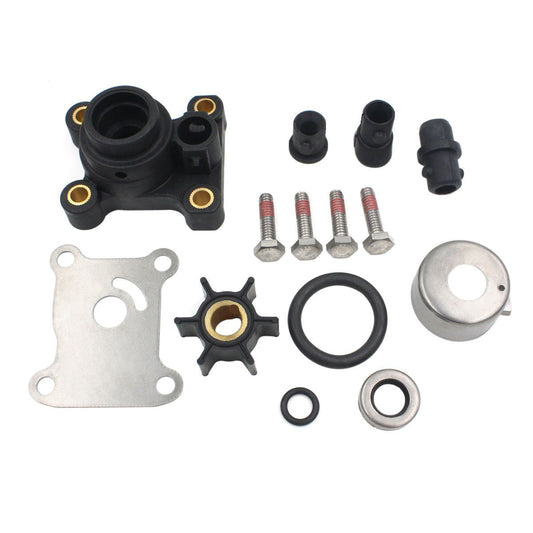
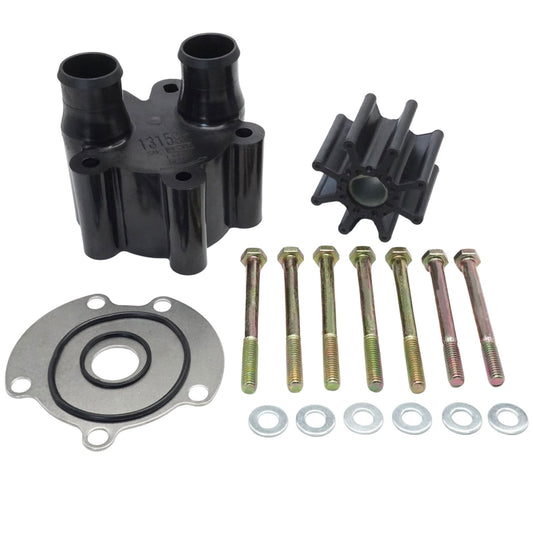
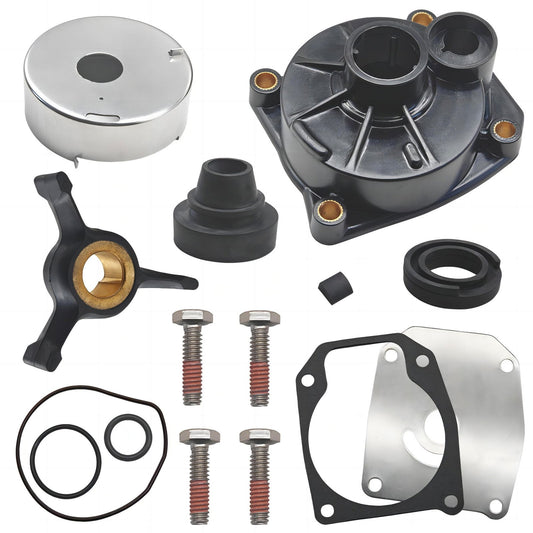
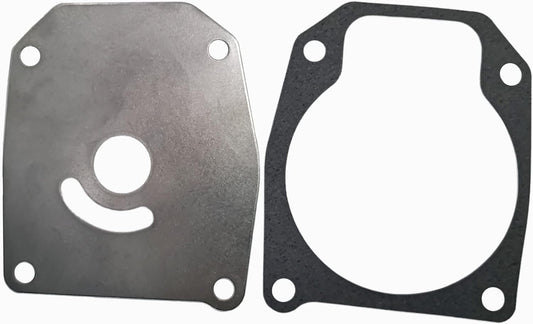
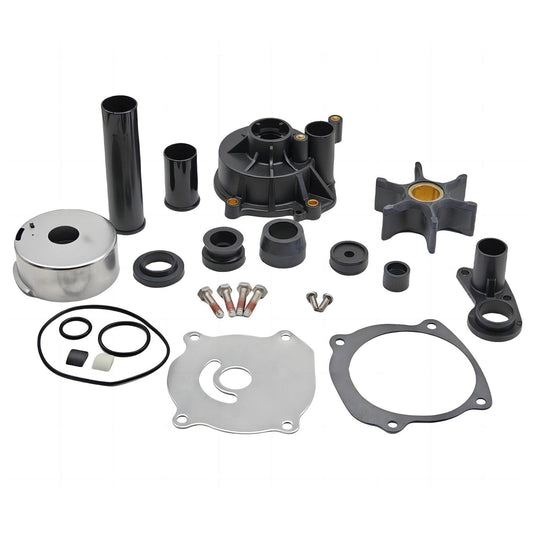
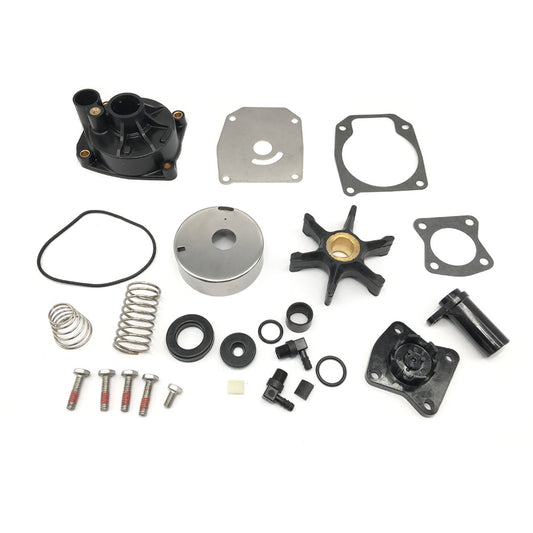
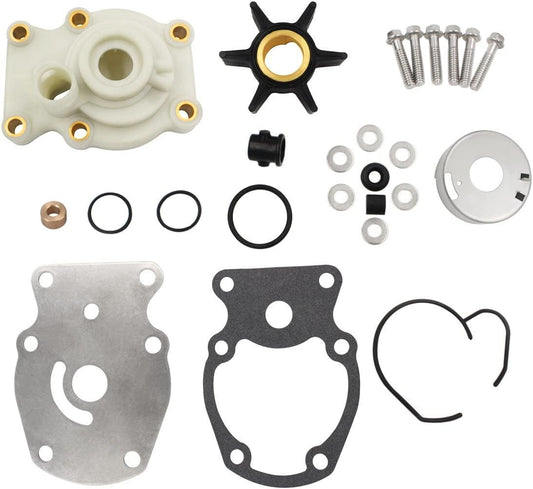
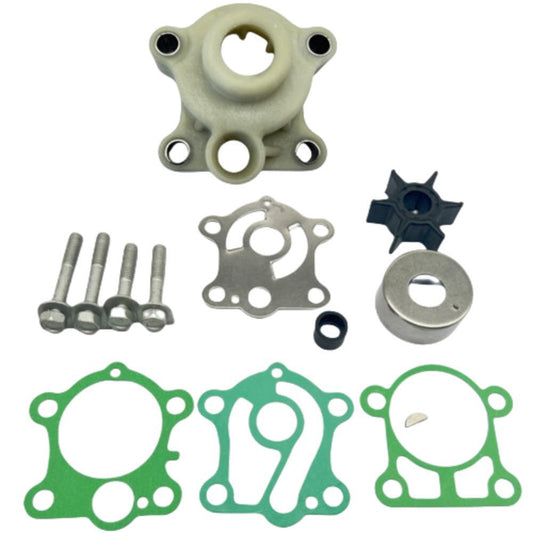
Water Pump Repair Kits on Sale
- $29.75
$35.00- $29.75
- Unit price
- per
- $16.99
$27.00- $16.99
- Unit price
- per
- $85.99
$103.00- $85.99
- Unit price
- per

- $19.99
$23.00- $19.99
- Unit price
- per

- $55.00
$66.00- $55.00
- Unit price
- per

- $35.00
$42.00- $35.00
- Unit price
- per
- $26.90
- $26.90
- Unit price
- per

- $27.99
$33.00- $27.99
- Unit price
- per
- $55.50
- $55.50
- Unit price
- per
- $39.89
$45.00- $39.89
- Unit price
- per
- $39.98
$45.00- $39.98
- Unit price
- per
- $50.99
$59.00- $50.99
- Unit price
- per

- $19.99
$23.00- $19.99
- Unit price
- per

- $49.99
$59.00- $49.99
- Unit price
- per

- $25.56
$30.00- $25.56
- Unit price
- per

- $43.00
- $43.00
- Unit price
- per
- $32.00
$38.00- $32.00
- Unit price
- per

- $36.00
- $36.00
- Unit price
- per

- $45.99
$55.00- $45.99
- Unit price
- per

- $19.50
$23.00- $19.50
- Unit price
- per