


Flipped Outboard Rescue: What To Do When Your Yamaha Tiller Flips & Gets Saltwater Flooded
- Understanding the Risk of Outboard Submersion
- Immediate Actions After Your Outboard Motor Gets Submerged
- Electrical and Wiring Aftercare
- Long-Term Maintenance and Prevention Tips
- Handling Submersion in Remote or Offshore Scenarios
- When to Call a Professional Marine Mechanic
- Frequently Asked Questions
Understanding the Risk of Outboard Submersion
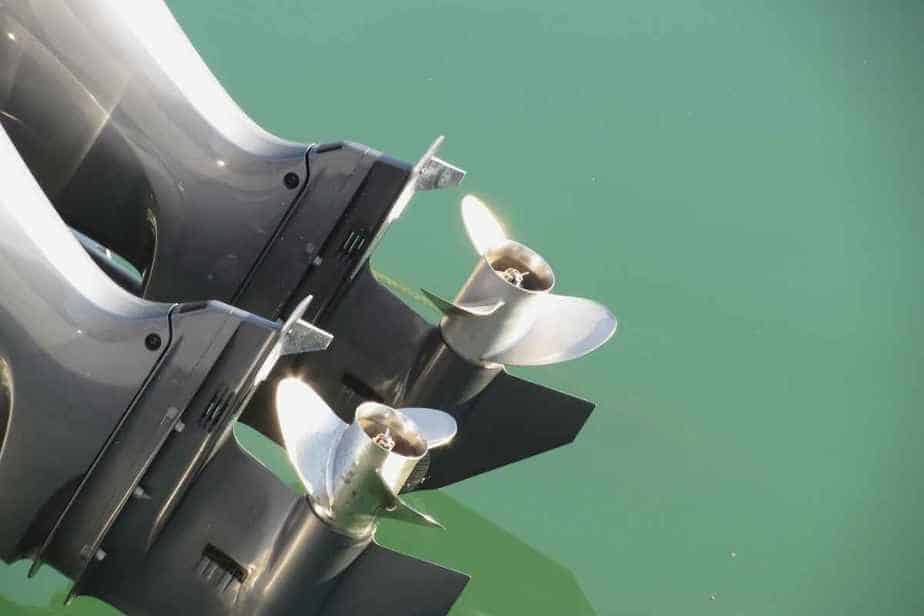
I've spent countless hours on the water and have witnessed firsthand how quickly a perfect day can turn into a nightmare. One of the most gut-wrenching experiences for any boater is watching their outboard motor take an unplanned saltwater bath. While there aren't any official US government statistics specifically tracking "outboard motor submerged accidents," I've seen this happen enough times to know it's far from rare.
The risk factors often depend on your outboard's size and mounting setup. In my experience, smaller portable outboards—particularly tiller models under 25 horsepower—face higher submersion risks. They're typically secured with clamps rather than bolted down like larger units, making them more vulnerable during rough conditions. I've seen engines flip from something as simple as hitting a submerged log or experiencing an unexpected wake from a passing vessel. Other common causes include forgotten drain plugs, loose transom clamps, or those heart-stopping docking mishaps that can send your precious outboard plunging into the deep.
Marine journalist Doug Thompson confirms my observations, noting that "no matter how bad it looks, it's at least worth a try to save a dunked outboard. Most likely, you will succeed," but emphasizes that quick action is essential for successful recovery. Dunked outboard rescue tips are invaluable to keep in mind.
Immediate Actions After Your Outboard Motor Gets Submerged

When disaster strikes, I know from personal experience that your response in those first critical minutes can mean the difference between salvaging your engine and shopping for a replacement.
Powering Off and Preventing Electrical Hazards Immediately
Safety must be your absolute first priority. If the engine was running when it went underwater, there's a significant electrical hazard risk. I always make sure my kill switch lanyard is attached to my wrist or life jacket, which automatically cuts power if I'm separated from the helm. If your engine is submerged and still has power, disconnect the battery immediately to prevent electrical shorts. I've seen the aftermath of electrical fires on boats, and believe me, you don't want to add that to your list of problems.
Raising the Engine Back Out of the Water Quickly
Time is your enemy when saltwater meets metal. I once helped a fellow boater retrieve his submerged Yamaha, and I could almost see the corrosion beginning before our eyes. You must get that engine out of the water as fast as humanly possible. In professional circles, there's a saying: "minutes matter, hours destroy." I've used everything from winches to multiple people carefully lifting to retrieve a submerged outboard. The method matters less than the speed—just get it out safely and quickly.
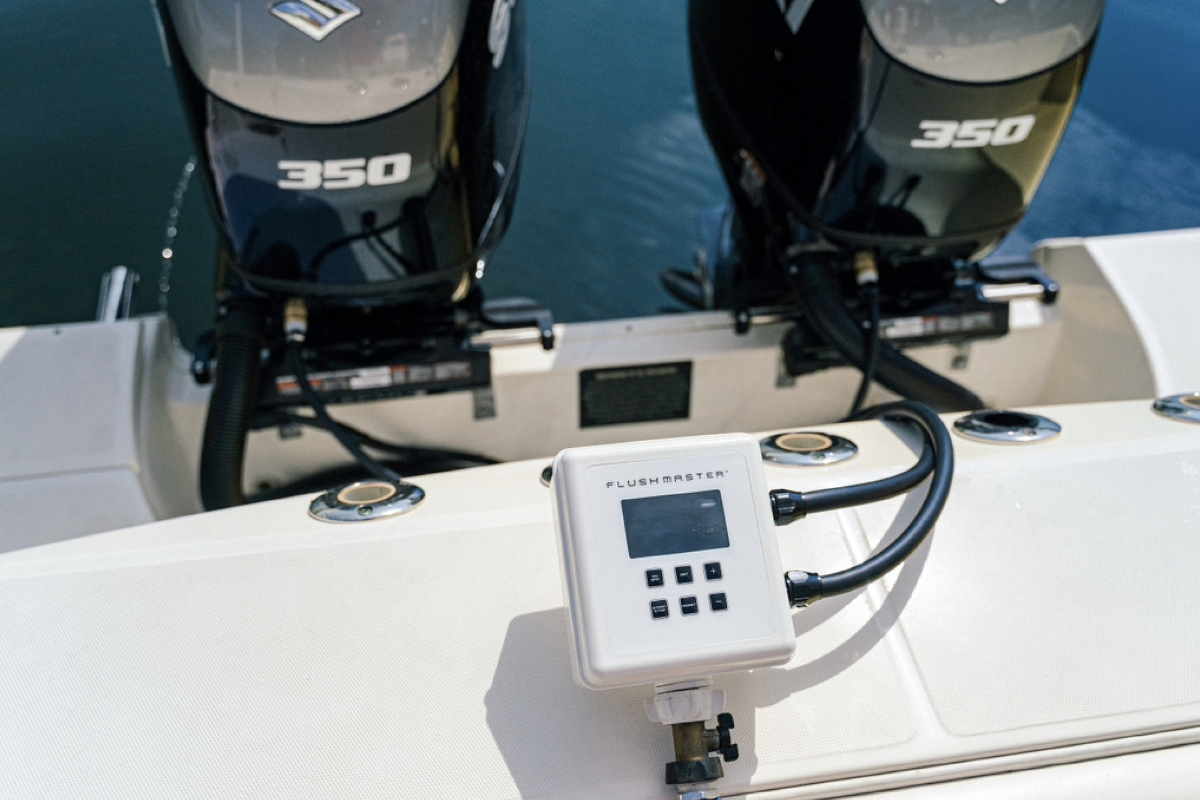
Flushing the Engine with Fresh Water — The Pickling Process
Once you've retrieved the outboard, you need to immediately flush out that corrosive saltwater. This isn't a gentle rinse—it's a critical, aggressive cleaning process often called "pickling" the engine. I learned this lesson from a marine mechanic years ago, and it's saved more than one engine in my circle of boating friends.
According to Eric's Outboard Marine Service, a thorough freshwater flush "removes salt buildup that may lead to engine block corrosion and poor cooling." I make sure to direct water into every possible opening, paying special attention to the water intake ports, cooling passages, and exhaust. The goal is displacing every drop of saltwater you possibly can. For detailed components related to engine cooling, checking out cooling system parts might come in handy.
Displacing Saltwater with Oil or Fuel to Prevent Corrosion
After the initial flush, you need to address the internal engine components where water may be lurking. I've always followed the advice of experienced mechanics: remove the spark plugs and pour a small amount of oil directly into each cylinder. Then, I turn the engine over manually to distribute that oil as a protective barrier against any remaining moisture. This creates a temporary shield against corrosion until you can complete a more thorough service.
Cleaning and Flushing Your Outboard Motor
This step requires patience and thoroughness. You can't rush this process if you want to save your engine.
Thorough Garden Hose Flush Including Carburetor and Vapor Separator
I start by removing the engine cowling to access the powerhead. Using a garden hose with moderate pressure, I flush every component I can reach. The carburetor deserves special attention since salt residue can clog its tiny jets and passages. I've seen perfectly good engines rendered useless because this step wasn't done thoroughly. If you need replacement or repair parts, exploring Yamaha carburetor repair kits is a smart move.
For the vapor separator (if your engine has one), careful flushing is essential. In my experience, any trapped saltwater here can contaminate your fuel system and cause running problems down the line.
Using Fogging Oil Inside Cylinders and Rotating the Crankshaft
Once I've completed the initial flush and allowed some drying time, I focus on internal protection. With the spark plugs still removed, I spray marine fogging oil generously into each cylinder. Then I manually rotate the crankshaft several times to distribute that protective coating throughout. This step is absolutely critical—I've seen the difference between engines that were properly fogged after submersion and those that weren't. The difference in internal corrosion after just 24 hours can be shocking.
Electrical Component Cleaning and Lubrication
Saltwater and electrical components are sworn enemies. I carefully inspect and clean all electrical connections, the starter motor, ignition coils, and any accessible wiring harnesses. For connections that can be disassembled, I take them apart, clean them thoroughly, and apply dielectric grease before reassembling. This tedious process has saved many electrical systems in my experience. For replacement parts or tools on electrical wire maintenance, the boat accessories collection holds helpful items.
Restarting Your Outboard Engine After Submersion
This is the moment of truth that always fills me with both hope and anxiety.
Replacing Spark Plugs and Engine Oil Changes for 4-Stroke Motors
Before attempting to start the engine, I always install fresh spark plugs. The old ones, even if they look okay, may have absorbed moisture or salt residue. For 4-stroke outboards, I immediately change the engine oil and filter. Water-contaminated oil loses its lubricating properties and accelerates wear. I've made it a practice to do a second oil change after the first successful run, just to be certain all contaminants are removed.
Running a Rich Fuel Mix on Two-Stroke Engines for Extra Lubrication
With two-stroke engines, I lean toward running a slightly richer oil-to-fuel mixture than normal for the first few hours of operation. This provides extra lubrication to internal components that may have been compromised by saltwater exposure. I learned this trick from an old-timer who maintained commercial fishing fleets, and it makes perfect mechanical sense—those internal parts need all the protection they can get after such trauma.
Baking Out Water Through Extended Engine Running
If all previous steps are completed successfully, I test the engine in a controlled environment—ideally a test tank or bucket where I can closely monitor it. The engine will likely sputter at first as residual moisture evaporates. I run it at idle for an extended period, allowing the heat to "bake out" any remaining water from hidden crevices. This extended running period is essential for truly drying out all components.
Electrical and Wiring Aftercare
 The electrical system often suffers the most damage during a submersion event, and addressing it properly requires special attention.
Disassembling and Greasing Starter Motor Components
The starter motor contains solenoids and electrical contacts that are particularly vulnerable to saltwater damage. I've saved several starter motors by completely disassembling them, cleaning each component thoroughly, and applying marine-grade grease to all moving parts and electrical connections before reassembly. This extra step has prevented many starter failures down the line.
Assessing and Replacing Damaged Wiring Harnesses
Saltwater infiltration of wiring harnesses is a serious concern. I meticulously inspect every inch of visible wiring for signs of corrosion—look for green or white powdery deposits, discoloration, or brittle insulation. In my experience, attempting to clean severely corroded wires is usually futile. I've found it's far better to replace damaged sections using proper marine-grade wire and connections, ensuring everything is sealed with heat-shrink tubing containing adhesive. This attention to detail has prevented countless electrical "ghosts" from haunting boats months after a submersion incident.
Long-Term Maintenance and Prevention Tips
After rescuing your outboard, prevention becomes the new priority.
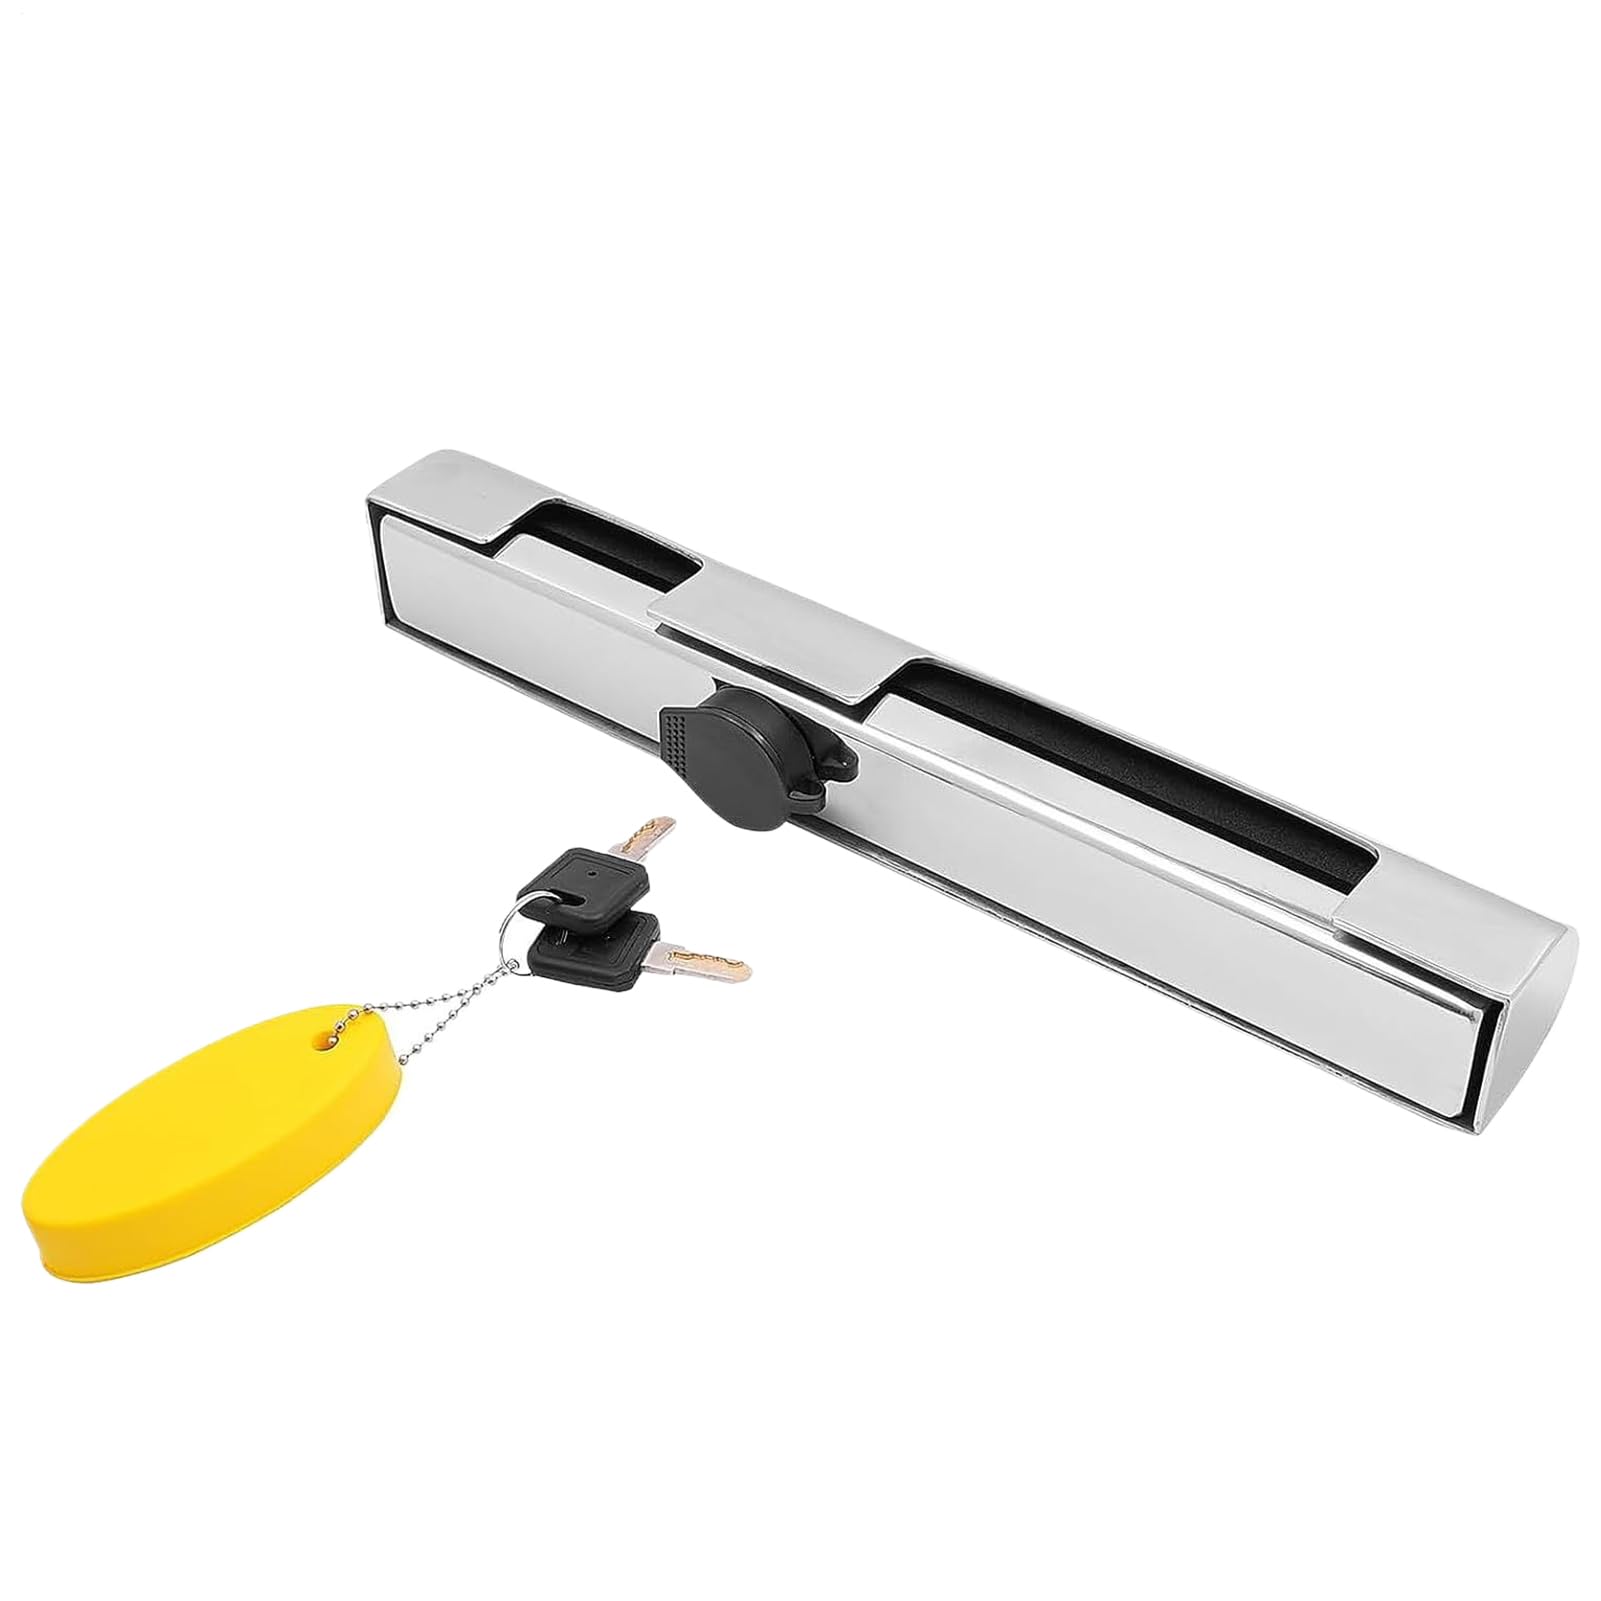
Using Locking Cables or Bolts to Secure Outboard Mounts
I've learned (sometimes the hard way) that properly securing your outboard is absolutely essential. For portable outboards with transom clamps, I always use a secondary security measure—typically a locking cable that connects the engine to a solid point inside the boat. This provides peace of mind that even if the clamps loosen from vibration, the engine remains attached to the vessel.
Yamaha's own documentation emphasizes this point, recommending that owners "place the outboard motor on the transom so that it is positioned as close to the center as possible" and "tighten the transom clamp screws evenly and securely." They warn that loose screws could cause the outboard to fall off, risking both injury and motor loss, and advise using only manufacturer-supplied bolts, nuts, and washers, with regular checks of all fasteners for tightness.
Regular Maintenance Routines to Prevent Water Intrusion Damage
I'm religious about preventive maintenance, especially when it comes to seals and gaskets. I regularly inspect all potential water entry points, particularly the lower unit seals and cover gaskets. Any sign of wear or damage means immediate replacement in my book. I've seen too many engines damaged by water intrusion that could have been prevented with simple maintenance.
For replacements of essential parts like water pumps or impellers critical to engine cooling and sealing, it's smart to browse the water pump kit collection at JLM Marine.
Additional Oil Changes and Monitoring for Four-Stroke and Two-Stroke Engines
After a submersion event, I consider that engine to be in a higher-risk category. For my 4-stroke engines, I cut the oil change interval in half for at least the next year, carefully inspecting each batch of used oil for signs of moisture or metal particles. With 2-strokes, I'm extra vigilant about using the correct oil mixture and frequently check the spark plugs for abnormal deposits. Any unusual sounds, smoke patterns, or performance issues get immediate attention—I don't wait for small problems to become catastrophic failures.
Handling Submersion in Remote or Offshore Scenarios

Some of the most challenging submersion events happen far from help, requiring improvisation and creative thinking.
How to Improvise Rinsing and Storage with Limited Resources
I once had to deal with a partially submerged outboard while on a remote island trip. With limited freshwater available, we prioritized flushing the cylinders and carburetor first, using our drinking water supply. We then wrapped the engine in plastic tarps to minimize further exposure to salt air until we could get back to the mainland. While not ideal, this triage approach saved the engine from total loss.
In truly remote situations, I've seen boaters use everything from bottled water to melted ice from coolers to perform emergency flushes. The principle remains the same: displace as much saltwater as possible with whatever freshwater source you have available.
Using Alternative Oils Like Cooking Oil in Emergencies
This is definitely last-resort territory, but I've witnessed it work. On a fishing trip to an isolated area, a fellow angler's outboard went overboard. With no proper marine lubricants available, he used cooking oil from our provisions to "pickle" the cylinders temporarily. Was it ideal? Absolutely not. But it provided some barrier against immediate corrosion until proper service was possible two days later. The engine survived with minimal damage, which was remarkable given the circumstances.
I must emphasize this is an extreme emergency measure—cooking oil can gum up systems and isn't designed for engine use. But when faced with certain corrosion versus possible salvation, sometimes unconventional solutions are justified.
When to Call a Professional Marine Mechanic

I'm a firm believer in knowing my limits, and sometimes professional help is the wisest choice.
Signs That Professional Servicing Is Needed Post-Submersion
Through years of experience, I've identified several red flags that signal the need for professional intervention. If the engine won't start after your best efforts, or if it runs but produces excessive smoke, overheats, makes knocking sounds, or exhibits power loss, it's time to call in an expert. Likewise, any significant visible corrosion on electrical components or major mechanical parts warrants professional attention.
Marine technicians have specialized tools and diagnostic equipment that can identify problems invisible to the naked eye. I've seen seemingly minor issues that, if left unaddressed, would have led to catastrophic failures down the line.
Avoiding Permanent Damage Through Timely Expert Intervention
The longer you wait to address submersion damage, the greater the risk of permanent harm. I've witnessed the stark difference between engines that received prompt professional attention and those that didn't. A friend once tried to "save money" by handling a serious submersion incident himself. Six months later, he was shopping for a new powerhead, which cost far more than the professional service would have.
Professional marine mechanics can disassemble the engine completely, inspect every component, and replace damaged parts before they cause cascading failures. This expertise often makes the difference between an engine that runs reliably for years afterward versus one that becomes a persistent problem.
My Personal Experience: Years ago, I was fishing with a friend when his 15-hp Yamaha tiller flipped overboard during a particularly nasty squall. We were about five miles offshore, and I'll never forget the look of despair on his face. The engine was completely submerged for nearly 10 minutes before we managed to haul it back aboard.
Once safely back at the dock, we immediately removed the cowling and spark plugs, then flushed everything with freshwater for almost an hour. We used an entire can of fogging oil on the cylinders, manually turning the engine over repeatedly to distribute it. Every electrical connection we could access got cleaned and treated with dielectric grease.
The next morning, we changed all fluids, installed new spark plugs, and with crossed fingers, attempted to start it. After some initial coughing and sputtering, that little Yamaha caught and ran! It sounded rough for the first 20 minutes, but gradually smoothed out. My friend kept that engine for another six years without major issues—all because we acted immediately and thoroughly.
That experience taught me that submersion isn't necessarily a death sentence for an outboard if you respond quickly and correctly. It's also why I now keep fogging oil, marine lubricant, and fresh spark plugs in my boat at all times. Some call it paranoia; I call it preparation.
Frequently Asked Questions

How long do I have to act after my outboard motor gets submerged?
You need to act immediately. In my experience with saltwater submersions, corrosion can begin within minutes. Marine mechanics I've consulted over the years consistently emphasize that the clock starts ticking the moment saltwater contacts metal components. Ideally, you should retrieve the engine, begin freshwater flushing, and start the drying/oiling process within hours—not days. Every minute you save improves your chances of successful recovery.
Dan, a marine mechanic featured in Fishing Down Under, stresses the urgency: "get the water out of the cylinders and put some oil in there if [you are] capable of removing spark plugs" as soon as possible after retrieval.
Can all submerged outboard motors be saved?
Based on my experience and conversations with professional mechanics, many submerged outboards can be saved—but success isn't guaranteed. The outcome depends heavily on several factors: submersion duration, water type (salt vs. fresh), whether the engine was running, and most importantly, how quickly and thoroughly you perform rescue procedures.
I've seen engines recovered after surprisingly long periods underwater, particularly when the owners followed proper recovery protocols without delay. However, engines submerged for extended periods in saltwater or those that ingested significant debris face much tougher odds. That said, I firmly believe almost any submerged outboard deserves a rescue attempt if you're willing to follow the proper steps.
What are the signs that my outboard motor needs professional repair after flooding?
Through years of hands-on experience, I've identified several clear indicators that professional help is necessary. If your engine refuses to start after completing the initial rescue steps, that's an obvious sign. But even if it starts, watch for warning signals: excessive smoke (particularly blue or white), overheating, unusual noises (knocking, grinding, or tapping), or significantly reduced power output.
Visible signs of severe corrosion on critical electrical components or within the engine cylinders also warrant professional assessment. In my experience, if you're uncertain about any aspect of the engine's condition or your ability to address it, consulting a qualified marine mechanic is the safest course of action.
Is it safe to start my engine immediately after it has been underwater?
Absolutely not! This is perhaps the single most damaging mistake I've seen boaters make. Starting an engine that has been submerged can cause catastrophic damage through hydrolock—a condition where water in the cylinders prevents normal piston movement. Since water doesn't compress like air, the result can be bent connecting rods, cracked cylinder walls, or worse.
I always follow a strict protocol: remove spark plugs, drain all water, thoroughly dry components, lubricate internal parts, and only then consider attempting to start the engine. Rushing this process has ruined many engines that might otherwise have been saved.
How can I prevent my outboard motor from getting submerged in the future?
Prevention has become my obsession after witnessing several submersion incidents. First and foremost, ensure your outboard is properly secured. I always double-check transom clamp tightness before every outing and use a secondary security cable connecting the engine to a strong point on the boat.
According to Yamaha's documentation, you should "place the outboard motor on the transom so that it is positioned as close to the center as possible" and "tighten the transom clamp screws evenly and securely." They emphasize that loose screws could cause the outboard to fall off.
I'm also extremely cautious about operating conditions. I avoid running in extremely shallow water or areas with submerged obstacles, and I'm particularly vigilant in rough seas that could potentially swamp the boat or stress the engine mounts. Regular inspection of all mounting hardware for signs of wear or fatigue has prevented many potential problems in my experience.
I've seen firsthand how devastating it can be when a Yamaha tiller outboard flips and gets saltwater flooded—but I've also witnessed remarkable recoveries when the right steps are taken quickly. While there are no specific national statistics on these incidents, the principles of immediate action, thorough flushing, and meticulous drying remain universal for any submerged engine.
The key takeaway from my years on the water is simple: act fast, be thorough, and don't cut corners in the rescue process. By following the steps outlined above, you give your outboard the best possible chance of survival after a saltwater dunking. Remember that even engines that seem hopelessly damaged can often be saved with proper care and attention. The effort you put into rescue and restoration almost always costs less than replacing that submerged outboard—both financially and in terms of time off the water.
If you're looking for reliable sources to buy genuine parts for your Yamaha or other outboards for maintenance and repair, consider browsing the JLM Marine parts hub for high-quality replacement components.