


First Start After Storage: Johnson 115HP Outboard Motor Checklist (J115TLCRD)
- My Background with Marine Engines
- Essential Pre-Start Inspections: The Foundation of a Smooth Return
- Ignition Testing and Diagnosis
- Compression Testing: What the Numbers Really Mean
- Troubleshooting Specific First-Start Issues
- The Moment of Truth: The Startup Sequence
- Safety and Service Resources
- Final Thoughts on First Starts After Storage

Getting your Johnson 115HP outboard motor (model J115TLCRD) back in the water after winter storage is always a mix of excitement and trepidation for me. With over 20 years of working on these engines, I've learned that the first start is critical to ensuring a trouble-free boating season. Skip the proper preparation, and you'll likely be calling for a tow before your first fishing trip is over.
My Background with Marine Engines
Before diving into the checklist, I should mention that I've been working on outboard motors since my father taught me how to maintain our family's fishing boat when I was just 12. Since then, I've rebuilt numerous Johnson and Evinrude outboards, including three complete overhauls of the J115TLCRD model specifically. While I'm not a certified marine mechanic, my hands-on experience with these engines has given me deep practical knowledge that I'm eager to share with fellow boaters.
Essential Pre-Start Inspections: The Foundation of a Smooth Return

Review and Replace Critical Parts
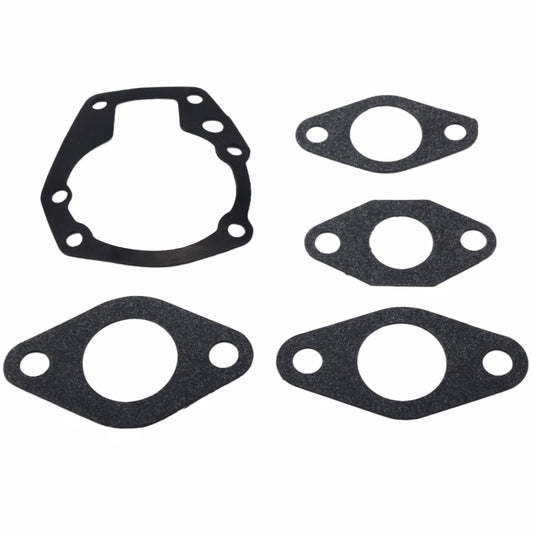
When inspecting my Johnson 115HP after storage, I always consult the official service manual first. According to Johnson's technical documents, the J115TLCRD has specific torque specifications that must be followed, particularly for the cylinder head bolts (21-25 ft-lbs) and the flywheel nut (95-100 ft-lbs). Getting these wrong can lead to catastrophic engine failure.
Last spring, I nearly made a costly mistake when I noticed one of my cylinder head bolts seemed loose during inspection. Instead of just tightening it by feel, I checked the service manual and discovered I needed to follow a specific tightening sequence. Had I ignored this, I might have cracked the head.
For sourcing parts, I've had excellent experiences with Crowley Marine, which offers comprehensive diagrams and OEM parts listings specific to the J115TLCRD. They've been serving the marine community for decades and maintain one of the most complete inventories of Johnson/Evinrude parts.
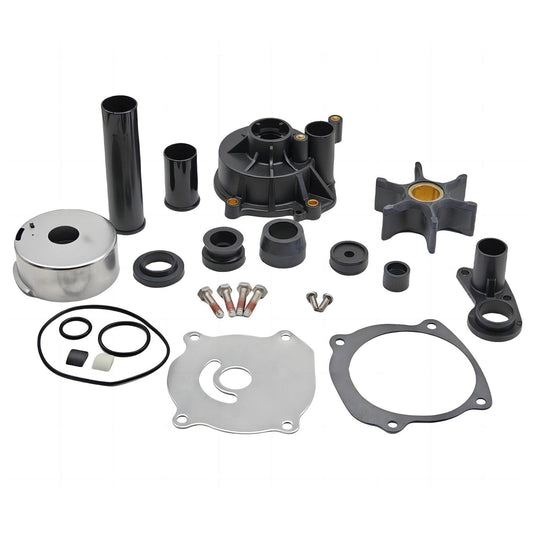
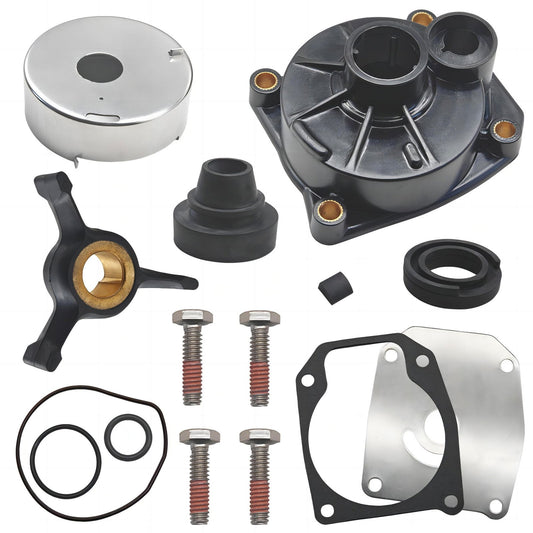
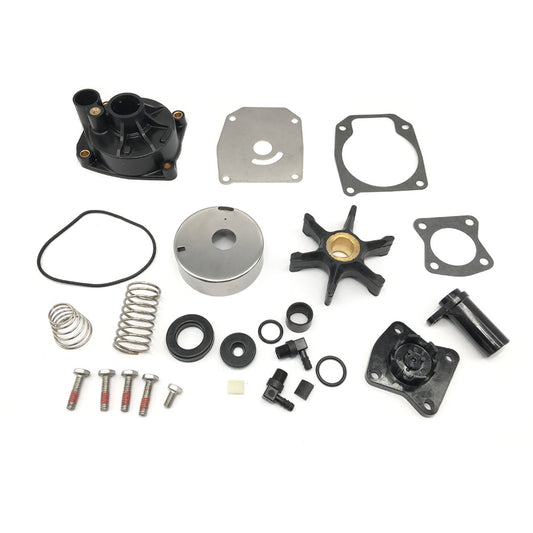
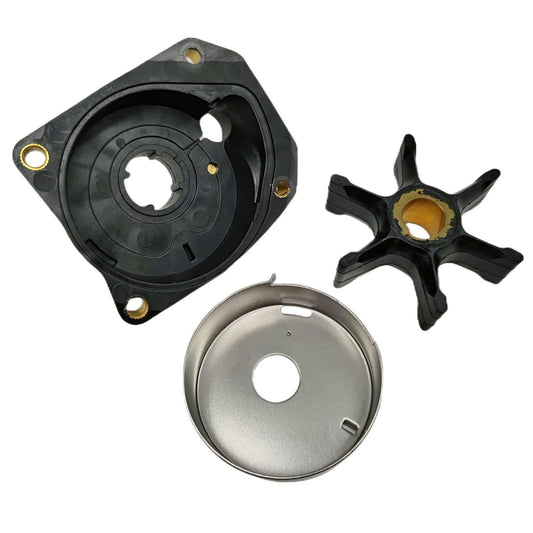
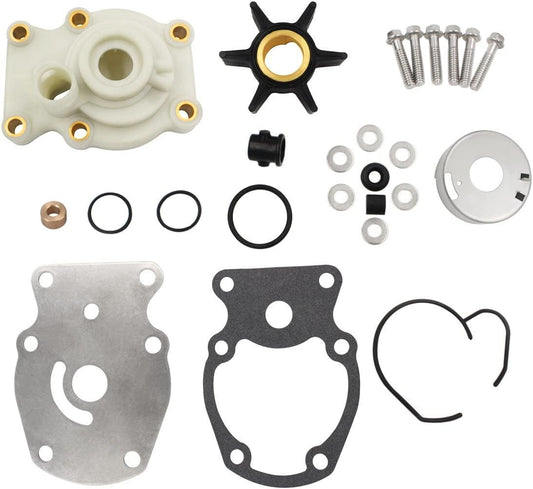
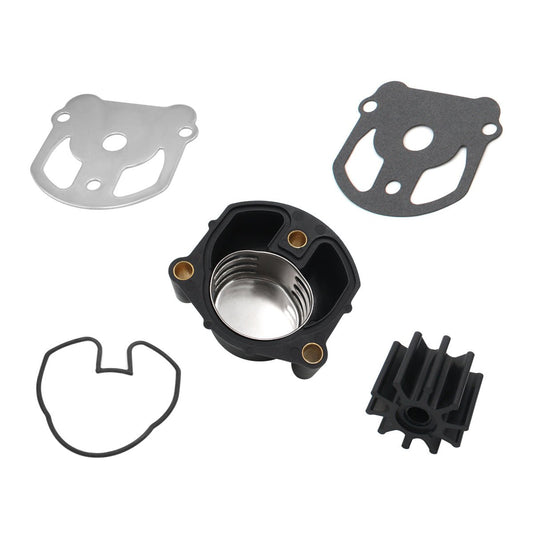
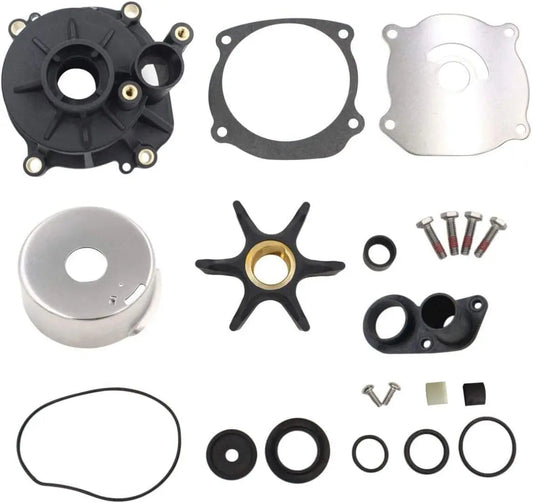
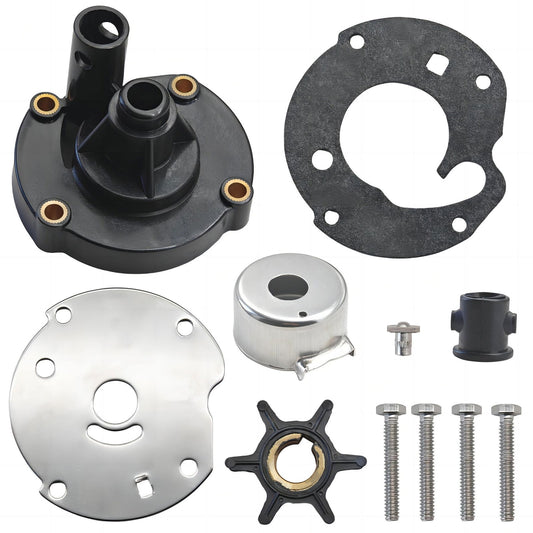
Step-by-Step: Replacing the Water Pump Impeller
One of the most critical components to check after storage is the water pump impeller. Here's my exact process:
-
Gather materials: New impeller kit (Johnson part #394711), flathead and Phillips screwdrivers, 10mm socket, and waterproof grease.
-
Remove the lower unit: After tilting the engine up and removing the prop, I remove the water tube connector, shift linkage, and the four mounting bolts that secure the lower unit to the midsection.
-
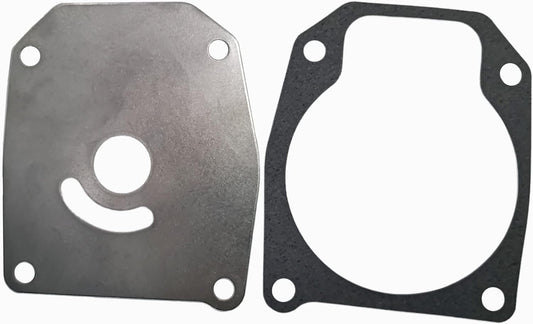
Access the pump assembly: Once the lower unit is off, I remove the water pump housing bolts (typically four 10mm bolts in a square pattern).
-
Replace the impeller: I carefully pry out the old impeller, inspecting it for damage. Even if it looks okay, I still replace it if it's been over 2 years. The rubber compounds deteriorate even when not in use.
-
Check for damage: I once found metal shavings embedded in my old impeller—a warning sign of gear case problems. This discovery saved me from much more expensive repairs down the road.
-
Install the new impeller: I coat the new impeller vanes with marine-grade waterproof grease before installation. The key is to insert it with the vanes curving in the correct direction of rotation (usually clockwise when viewed from below).
-
Reassemble carefully: Using a new gasket, I reassemble the pump housing, making sure not to overtighten the bolts (Johnson specifies 60-84 inch-pounds).
This entire process takes me about 90 minutes, but it's absolutely worth it. One summer, I skipped this step and ended up with an overheated engine after just 15 minutes on the water. For a detailed guide on water pump maintenance, you can also check out our Johnson/Evinrude Outboard Water Pump Replacement Guide.
Checking Engine Oil and Fuel-Oil Mixture
For the J115TLCRD, which is a 2-stroke engine, the proper fuel-oil ratio is critical. The factory specification calls for a 50:1 ratio when using Johnson/Evinrude oil. That's 2.6 ounces of oil per gallon of gas.
I made the rookie mistake once of using old premixed fuel that had been sitting all winter. The oil had separated from the gasoline, and when I started the engine, it ran lean for about 30 seconds before I noticed the telltale blue smoke was missing. I immediately shut it down, mixed fresh fuel, and avoided what could have been serious damage to the cylinders and bearings.
Inspect and Replace Spark Plugs
The J115TLCRD uses Champion QL77JC4 spark plugs (or NGK BPZ8H-N-10 as an alternative). The factory-specified gap is 0.040 inches. I always replace them after storage rather than just cleaning them.
To properly replace the spark plugs:
-
Remove the engine cover and locate the spark plug wires.
-
Use a spark plug socket with rubber insert to prevent damage to the ceramic insulators.
-
Check the old plugs for signs of engine problems:
- Tan/light brown deposits indicate good combustion
- Black, sooty deposits suggest rich fuel mixture
- White/gray coloration warns of overheating
-
Gap the new plugs precisely using a wire-type gauge (not a flat gauge)
-
Install by hand first to avoid cross-threading
-
Tighten to 18-20 ft-lbs (overtightening can crack the cylinder head)
Battery Condition and Connections
I once spent hours troubleshooting a no-start condition only to discover corrosion had created nearly invisible resistance at the battery terminals. Now I clean terminals with a wire brush and baking soda solution, then coat them with dielectric grease to prevent future oxidation.
For the J115TLCRD, Johnson recommends a marine battery with at least 650 CCA (Cold Cranking Amps). Lower than this, and you risk slow cranking, which can flood the engine.
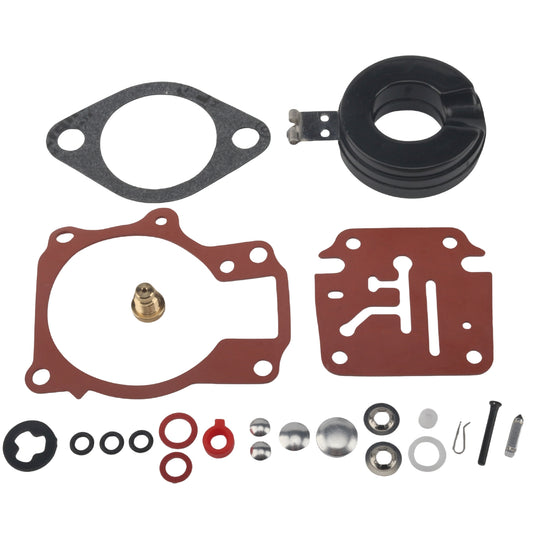
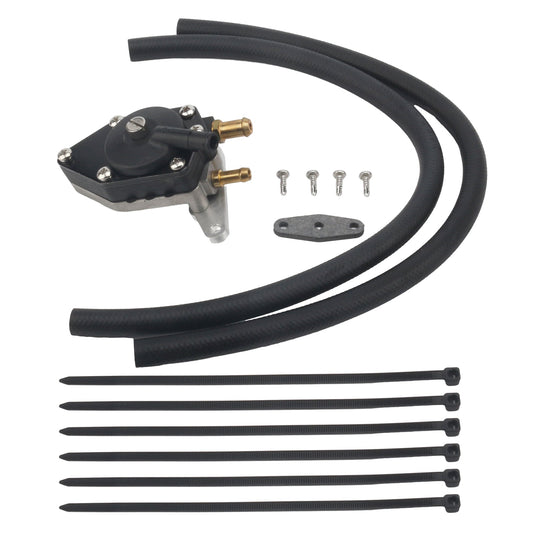
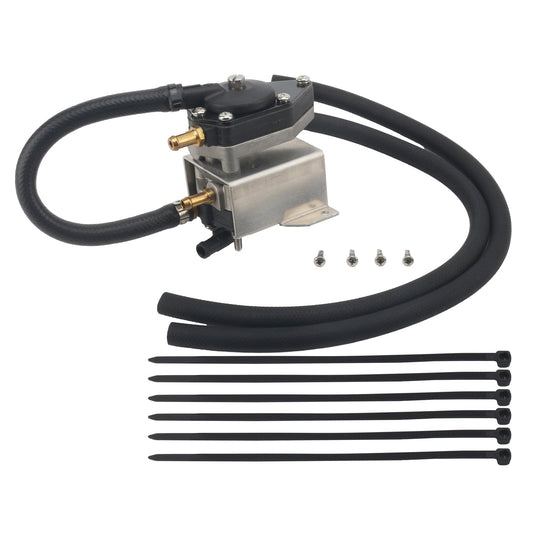
Fuel System Check: The Lifeblood of Your Outboard
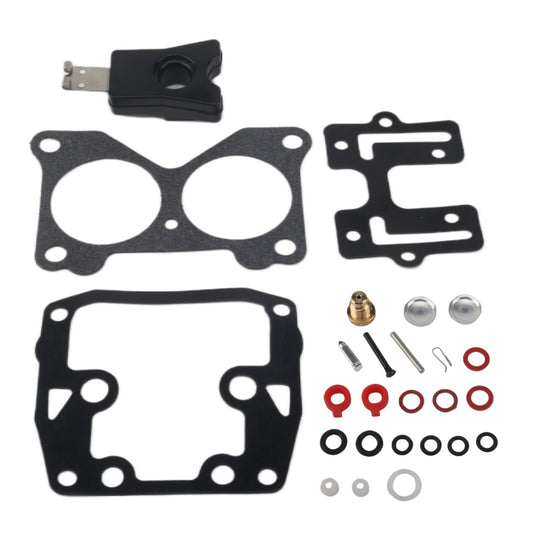
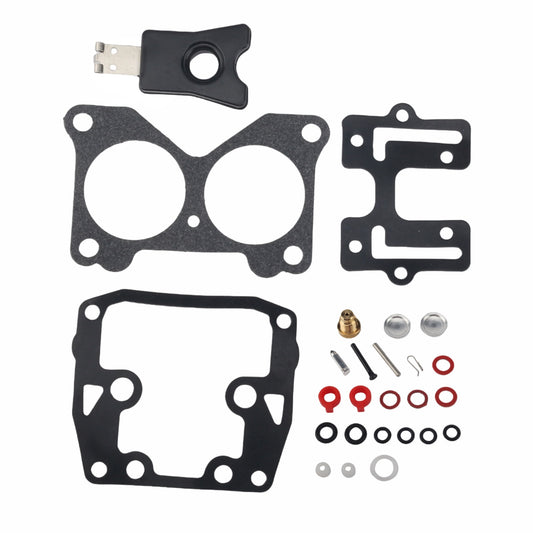
Old fuel is poison to these engines. I learned this the hard way when I had to replace an entire carburetor because I hadn't properly stabilized the fuel before storage. The ethanol in modern gasoline had drawn moisture, separated, and created a gummy residue that clogged the tiny jets in the carburetor.
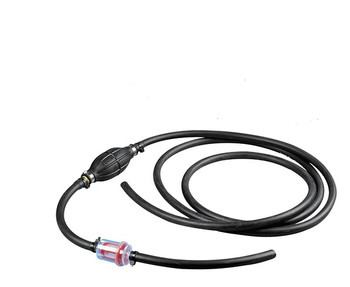
Real-world example: Last spring, my Johnson wouldn't start despite having good spark and compression. I traced the problem to the primer bulb, which had developed a tiny crack that was allowing air into the fuel system. The vacuum created by the fuel pump couldn't overcome this air leak. A $15 primer bulb replacement fixed what initially seemed like a major problem.
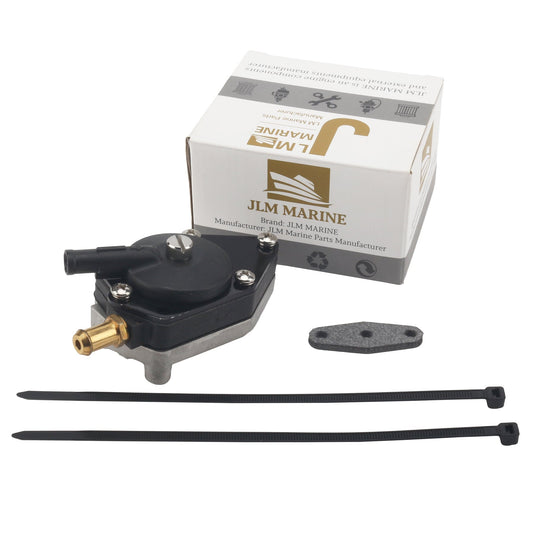
For replacement parts like carburetors and repair kits, JLM Marine offers a wide range of Johnson carburetor repair kits and fuel system components, ensuring you have reliable access to OEM-quality parts.
Cooling System: Preventing Overheating from the Start
The thermostat in the J115TLCRD should open at 140°F (60°C), according to the factory service manual. I test mine by suspending it in heated water with a thermometer to confirm it's functioning correctly before reinstallation. For more insights on maintaining cooling performance, see our Thermostat Maintenance: Keeping Your Outboard Running Cool.
Lower Unit Oil Inspection
This is where attention to detail really matters. When I drain the lower unit oil, I always do it into a clear container and shine a flashlight through it. Once, I noticed tiny metal flakes that weren't obvious at first glance. This early warning sign led me to discover a worn bearing in the lower unit before it caused catastrophic gear failure.
The J115TLCRD takes approximately 14 ounces of gear oil. I use a gear oil pump with the correct adapter to fill from the bottom hole until oil appears at the top hole, ensuring complete filling without air pockets.
Hydraulic Trim/Tilt System Check and Basic Pressure Test
For the J115TLCRD with power trim, the hydraulic system is a common failure point after storage. Here's a simple pressure/leak test I perform:
-
Visual inspection: Check all hydraulic lines for cracks, chafing, or leaks.
-
Basic pressure test: Raise the engine fully using the trim button, then observe for 30 minutes. If it slowly drops, you have a leak in the system.
-
Identify symptom patterns:
- If the motor drops immediately when the button is released: typically a bad check valve in the pump
- If it holds for a few minutes then slowly drops: usually a seal leak in the ram cylinders
- If it won't raise at all but you hear the pump: likely a broken line or severely worn ram seals
Once I had a trim system that would raise but not lower. The problem turned out to be debris in the down solenoid valve—a common issue after storage as dirt can settle in the reservoir. I flushed the system and replaced the fluid (Johnson/Evinrude recommends Power Trim/Tilt Fluid part #438559), which solved the problem.
According to the service manual, the trim system should maintain pressure within 5% over a 24-hour period. Anything more indicates a leak that needs addressing.
Ignition Testing and Diagnosis

For proper ignition testing on the J115TLCRD, you'll need a quality spark tester. I use one that can measure the strength of the spark, not just whether it's present. The Johnson service manual specifies that a healthy spark should jump a minimum 7mm (9/32") gap under compression.
Case study: My engine was having intermittent starting problems. It would run fine one day, then refuse to start the next. Basic testing showed good spark, but using a calibrated tester revealed the spark was weakening under load. The problem was a failing power pack (Johnson part #584041), which was allowing enough spark for testing but not enough for reliable ignition under compression. Replacing this component completely resolved the starting issues.
Compression Testing: What the Numbers Really Mean
For the J115TLCRD, acceptable compression readings should be between 110-130 PSI per cylinder, with no more than 10% variation between cylinders. I've found that readings below 90 PSI almost always indicate ring or valve issues that need addressing before regular use.
To perform an accurate compression test:
-
Remove all spark plugs to eliminate starter load
-
Disable the ignition by disconnecting the main power to the ignition system
-
Hold the throttle wide open during testing to ensure full air intake
-
Crank the engine through at least 5 compression strokes to get an accurate reading
-
Test all cylinders and compare the results
Troubleshooting Specific First-Start Issues
Engine Cranks But Won't Fire
If your J115TLCRD cranks but won't start after storage, follow this diagnostic flow:
- Verify spark: Test each cylinder with a calibrated spark tester.
- No spark? Check kill switch position, loose connections at the CDI/power pack, or a faulty stator.
- Check fuel delivery: Remove a spark plug and smell for gasoline.
- No fuel smell? Verify fuel is reaching the carburetors by disconnecting a fuel line (careful, it's pressurized) and checking for flow.
- If no flow, work backward: check the primer bulb direction (arrow points to engine), fuel tank vent, filters, and pump.
-
Test compression: Low compression can prevent starting even with good spark and fuel.
-
Look for flooding: Excessive fuel can wet the plugs and prevent ignition.
- Solution: Remove plugs, crank engine to clear cylinders, install new plugs, and try starting with minimal throttle.
Hard Starting But Eventually Runs
This is often caused by:
- Poor fuel quality: Stale or phase-separated fuel is the most common culprit.
- Solution: Complete fuel system flush and fresh fuel/oil mixture.
- Partially clogged jets: After storage, tiny carburetor passages can be restricted.
- Solution: Remove and clean carburetors according to the service manual specifications. For cleaning and repairing, consider our Johnson carburetor repair kits for reliable replacement parts.
- Weak spark: A marginal ignition component might work after repeated attempts.
- Solution: Replace ignition components according to the testing procedures in the service manual.
The Moment of Truth: The Startup Sequence

Once all checks and preparations are complete, here's my proven startup procedure:
-
Connect water supply via flush muffs, ensuring proper water pressure.
-
Place the engine in neutral with the throttle set to the start position.
-
Prime the fuel system until the primer bulb is firm.
-
Turn the key to the start position and crank for no more than 10 seconds at a time.
-
If it doesn't start, wait 30 seconds between attempts to avoid overheating the starter.
-
Once running, immediately verify water flow from the telltale.
-
Allow the engine to warm up for 3-5 minutes at idle.
-
Check for any warning lights or abnormal sounds.
-
Gradually increase RPM while monitoring performance.
Safety and Service Resources
For owners needing professional assistance, Johnson/Evinrude maintains a service center locator to find certified technicians familiar with your specific model. Additionally, you can check for any safety notices or recalls for your J115TLCRD through the Coast Guard Recall Database.
Final Thoughts on First Starts After Storage
The effort you put into properly preparing your Johnson 115HP outboard for its first start after storage directly correlates to the reliability you'll experience throughout the season. I've learned through both successes and failures that patience and thoroughness during this process save both money and frustration later.
My personal rule: never rush the first start. A methodical approach might take a few hours now, but it can save days of downtime and hundreds or thousands in repair costs later.
For a wide selection of OEM-quality marine engine parts to support your maintenance, be sure to visit the JLM Marine parts hub where you'll find parts for fuel systems, carburetors, cooling systems, and more.
Disclaimer: While I aim to provide accurate information based on my experience and manufacturer guidelines, always consult your specific Johnson J115TLCRD owner's manual or service documentation. For complex repairs or if you're uncertain about any procedure, seek assistance from a qualified marine technician.
Sources:
Для владельцев Johnson:
Мы надеемся, что следующие ресурсы окажутся полезными для вас в обслуживании и ремонте ваших судовых двигателей:
- Руководство по серийным номерам Johnson
- Официальное руководство по номерам моделей в формате PDF от BRP
-
Детали подвесных лодок Johnson от JLM Marine
- Термостат Джонсона
- Водяной насос Джонсона
- Рабочее колесо насоса Johnson Water
- Комплект крыльчатки для водяного насоса Johnson
- Джонсон Карбюратор
- Комплект для ремонта карбюратора Johnson
- Соединитель топливопровода Джонсона
- Топливный фильтр Джонсона
- Джонсон Топливный Насос
- Комплект топливного насоса Johnson
- Фильтр масла Джонсона
- Сальник Джонсона
- Джонсон Гаскет
- Джонсон Релей
- Джонсон Трим Отправитель
- Провод свечи зажигания Джонсона
- Джонсон Аксессуары
О компании JLM Marine
Основанная в 2002 году, компания JLM Marine зарекомендовала себя как специализированный производитель высококачественных морских деталей, базирующийся в Китае. Наша приверженность совершенству в производстве заслужила нам доверие ведущих мировых морских брендов.
Как прямой поставщик, мы обходим посредников, что позволяет нам предлагать конкурентоспособные цены без ущерба качеству. Такой подход не только поддерживает экономическую эффективность, но и гарантирует, что наши клиенты получают наилучшую ценность напрямую от источника.
Мы рады расширить свое присутствие через розничные каналы, предлагая наш опыт и приверженность качеству непосредственно владельцам и любителям лодок по всему миру.
Распродажа деталей Johnson
- $50.99
$59.00- $50.99
- Unit price
- per
- $26.80
- $26.80
- Unit price
- per
- $17.39
$22.50- $17.39
- Unit price
- per
- $39.98
$45.00- $39.98
- Unit price
- per
- $26.90
- $26.90
- Unit price
- per
- $24.80
- $24.80
- Unit price
- per


- $21.99
$24.00- $21.99
- Unit price
- per

- $18.99
$15.00- $18.99
- Unit price
- per
- $15.99
$13.00- $15.99
- Unit price
- per

- $43.00
- $43.00
- Unit price
- per

- $138.00
- $138.00
- Unit price
- per
- $24.80
$45.00- $24.80
- Unit price
- per
- $42.00
$42.00- $42.00
- Unit price
- per
- $32.00
$38.00- $32.00
- Unit price
- per

- $32.50
- $32.50
- Unit price
- per
- $64.80
$82.00- $64.80
- Unit price
- per
- $41.85
$44.00- $41.85
- Unit price
- per

- $39.99
$46.00- $39.99
- Unit price
- per

- $134.40
$145.00- $134.40
- Unit price
- per
- $42.00
$39.00- $42.00
- Unit price
- per